Tag Archives | Sunny Studio Stamps
both-princess-cards

Happily Ever After…

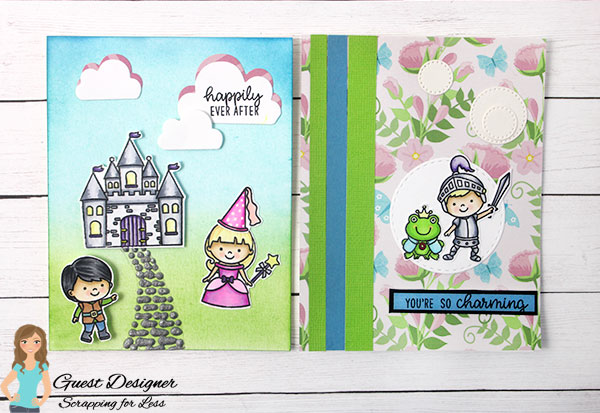
Hello, I’m so excited to share these Happily Ever After cards with you. I used the Fairy’s Garden paper pack and the Sunny Studios Enchanted stamp set today from Scrapping For Less.
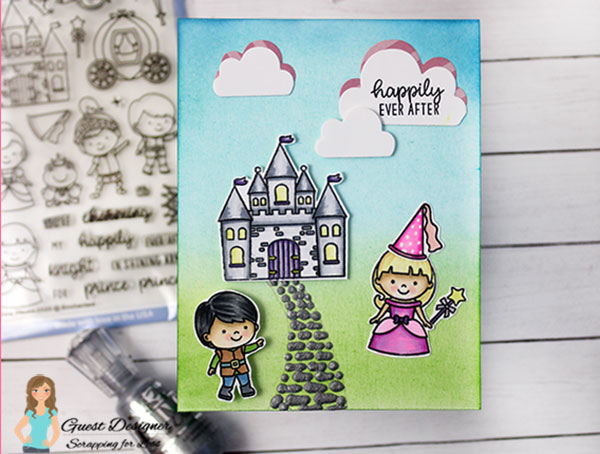
For my first card I created a castle home for the princess and her prince. I first ink blended a soft blue and green ink onto the background. I colored up the images with Copic markers. Then I added some clouds with a pink lining from the paper pack.

I think pink clouds are so dreamy! When they say every cloud has a silver lining, pink lined clouds are one step above that! Lol. I stamped the Happily Ever After sentiment on one of the clouds.
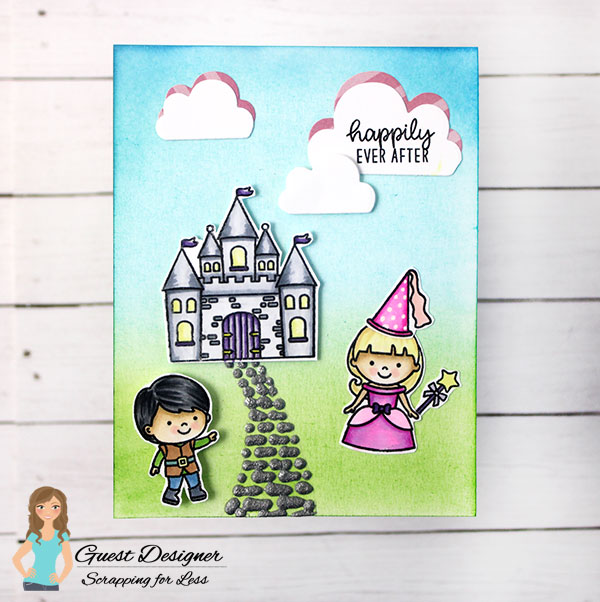
I added the images with 3M foam tape. That cobble stone walkway is made with Nuvo Stone Drops. These are so dimensional and dry with a matte finish to look like stones!

This stamp set is so inspiring, I couldn’t resist featuring that cute little frog in the stamp set for ONE MORE card! I chose one of my favorite papers from the Fairy’s Garden paper pack for the background. Then I added the frog and the Knight in Shining Armor to a circle die cut.
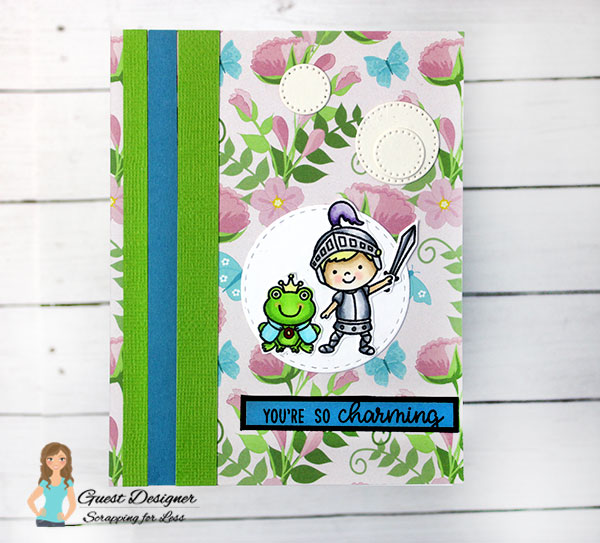
I added some solid paper stripes to the left side of the card, and stamped the sentiment “You’re So Charming” onto one of the blue paper strips.

How many frogs have YOU had to kiss to find your Knight?!
I hope you enjoyed these projects today. They were so much fun to create! Thanks for stopping by!
Find me here: Instagram * Blog * YouTube

Comments { 0 }
rainbow-pegasus-card-2

Pegasus Love

Hello! Today I’m up on the Scrapping For Less blog sharing some cards made with the Prancing Pegasus stamp set and beautiful Fairy’s Garden paper pad.

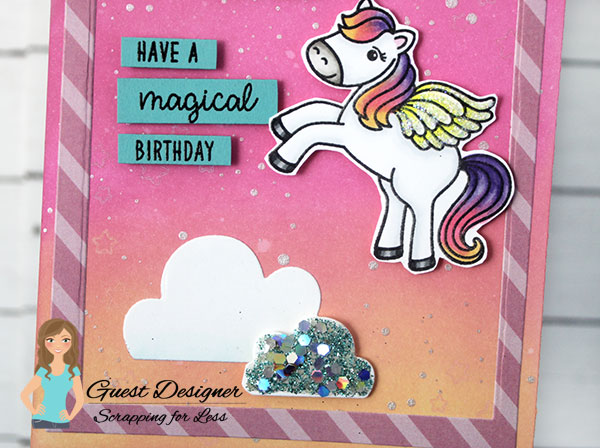
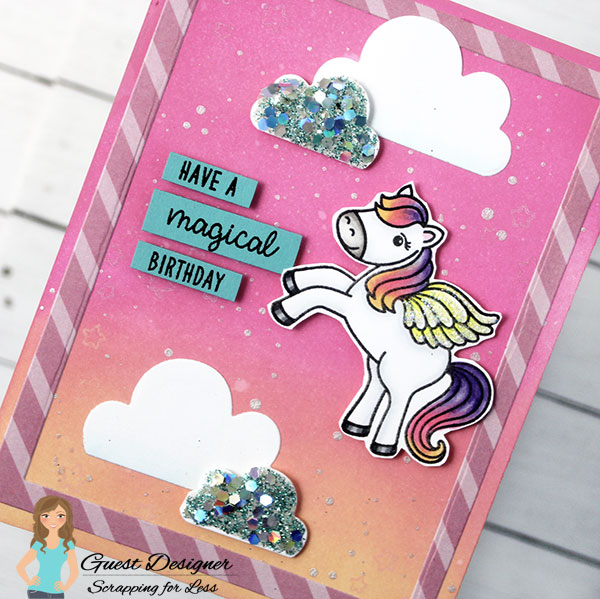
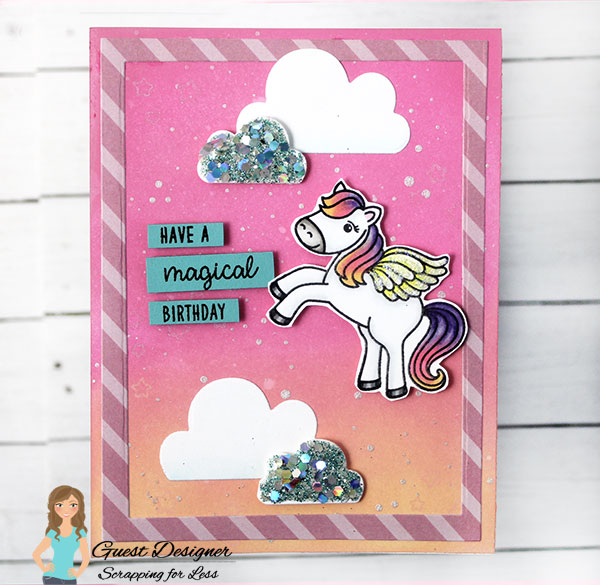
For my first card, I inked up the background with some Distress Oxides in Picked Raspberry and Dried Marigold. Then I splattered on some white pearl watercolor to give it more of a magical feel.

I stamped some of the stars from the same stamp set on the background using the same colors of Distress Oxide inks. They are a little difficult to see in the photos, but it adds a subtle detail.

I colored up the Pegasus with Copic markers and added some sparkly stickles to the wing. I die cut some clouds from my stash and added WOW! Sparkle glitter to the smaller ones. This is some WOW! glitter I got to preview at Creativation and oh…I love it!

That frame is from the diagonal paper in the paper pack and it adds just the right touch! I stamped the sentiment on strips of teal paper and popped it up with foam tape. This is for sure a “magical” birthday card that is fit for a princess!

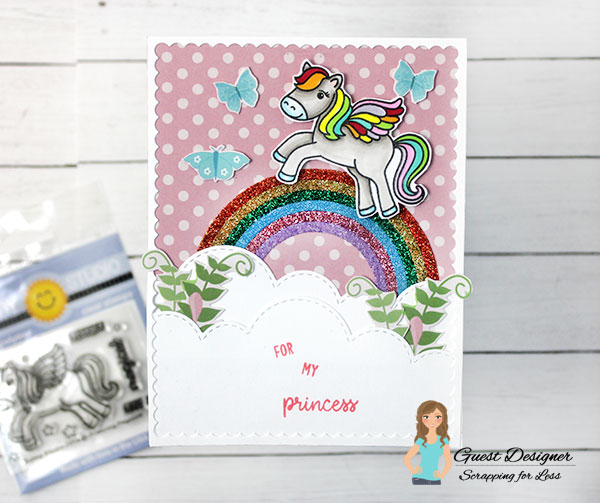
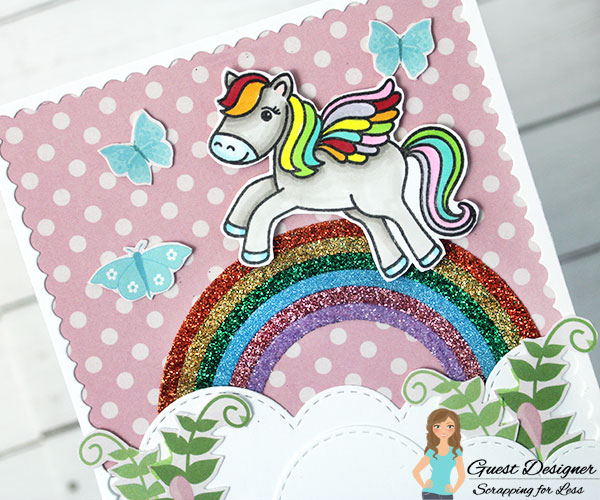
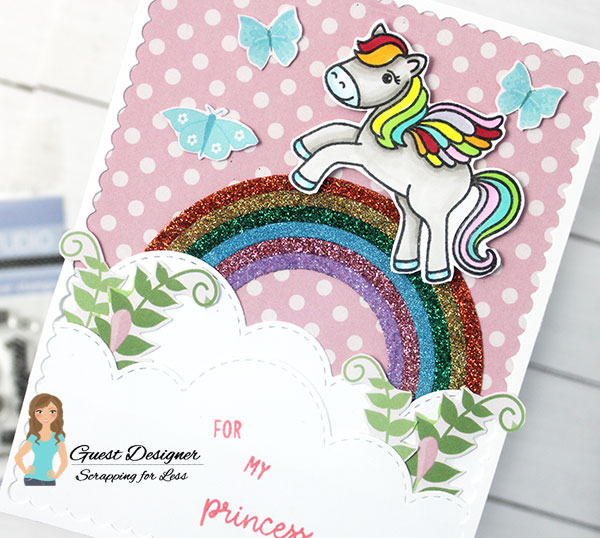
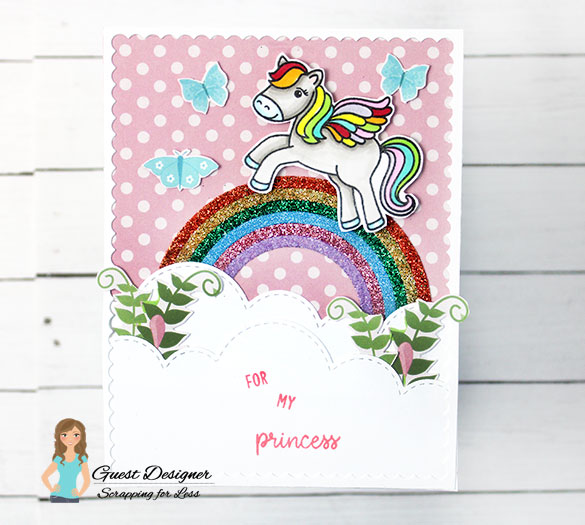
For my second card I knew I wanted that Pegasus to be running on top of a rainbow. So I glittered up a rainbow and added it to a pink polka dot background from the Fairy’s Garden paper.

I colored the Pegasus’ mane, tail, and wing in the same rainbow colors with Copic markers. Those butterflies and leaves are cut from the paper pad as well! I was so excited to see those butterflies in there and they were so perfect for this rainbow card!

I added some clouds to the card and stamped the sentiment “For My Princess” with pink ink.

I added the Pegasus with foam tape to give it more dimension. I also folded up the butterfly wings just a little to so they look like they are flying!

I hope you enjoyed these projects today! I really loved making them. I’ll see you real soon with some more inspiration.

Kari VanNoy
Find me here: Instagram * Blog * YouTube
Comments { 0 }
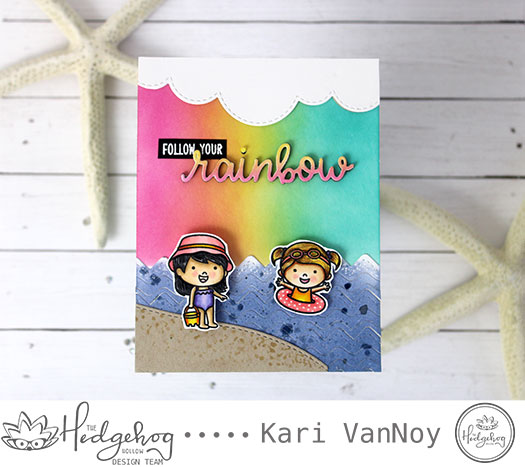
follow-your-rainbow-5

Hello Beach!

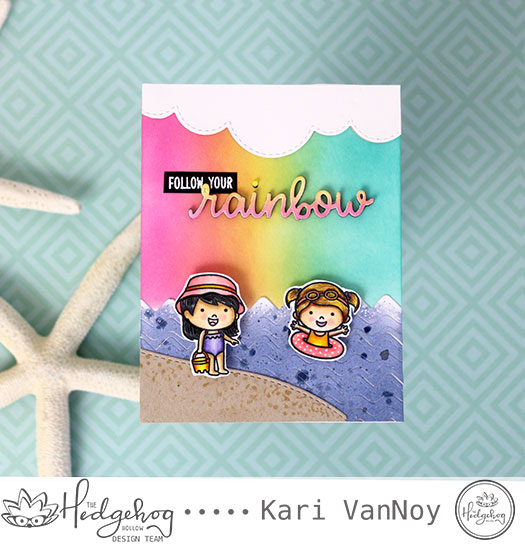
Hi there! It’s about this time of year that I long to go to the beach. Trouble is, I do not have a beach close by. So I make beach cards to tide me over!

This beach card is using the contents from the summer Hedgehog Hollow Kit featuring Sunny Studio Stamps. It’s a fun, bright, summery kit and it’s on SALE right now (at the time of writing this post). Check it out here.

At the beach!

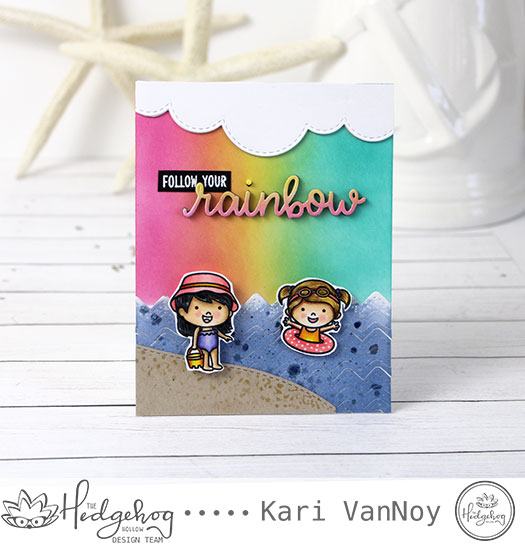
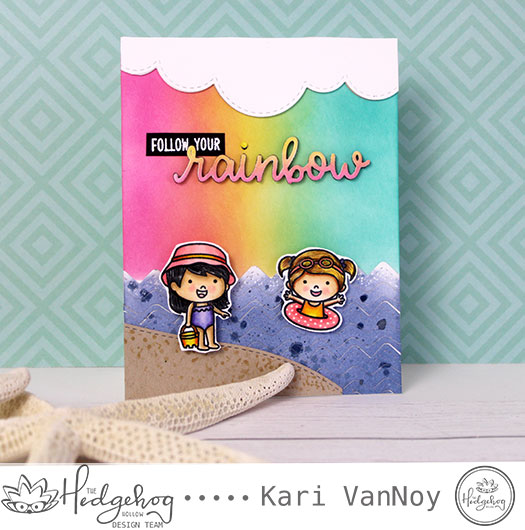
I used two stamp sets from the kit: Coastal Cuties and Over the Rainbow sentiments set. I also used two dies from the kit: Rainbow, and Ric Rac dies (for the water.)

You might not believe this: I used only THREE colors to ink up that rainbow background. Yep. Only Picked Raspberry, Fossilized Amber, and Peacock Feathers in Distress Oxides. They blended together to make a beautiful orange and green in there, too! I love that trick.

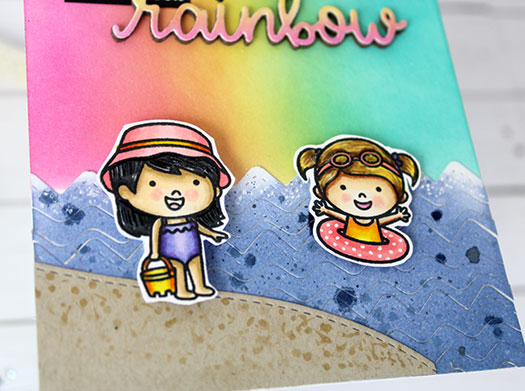
For the ocean, I first inked up a Neenah Solar white cardstock panel with some blue Distress Oxides, then I splattered on some blue watercolor paint. I may have gotten carried away with this. Lol!

Once it dried, I cut it out using those Ric Rac dies and glued them onto my rainbow background.

I layered up five rainbow die cut words to make it pop. I also layered up the clouds three time for even more dimension.

Those cute girls are colored up with Copics and colored pencils, then popped up with foam tape.

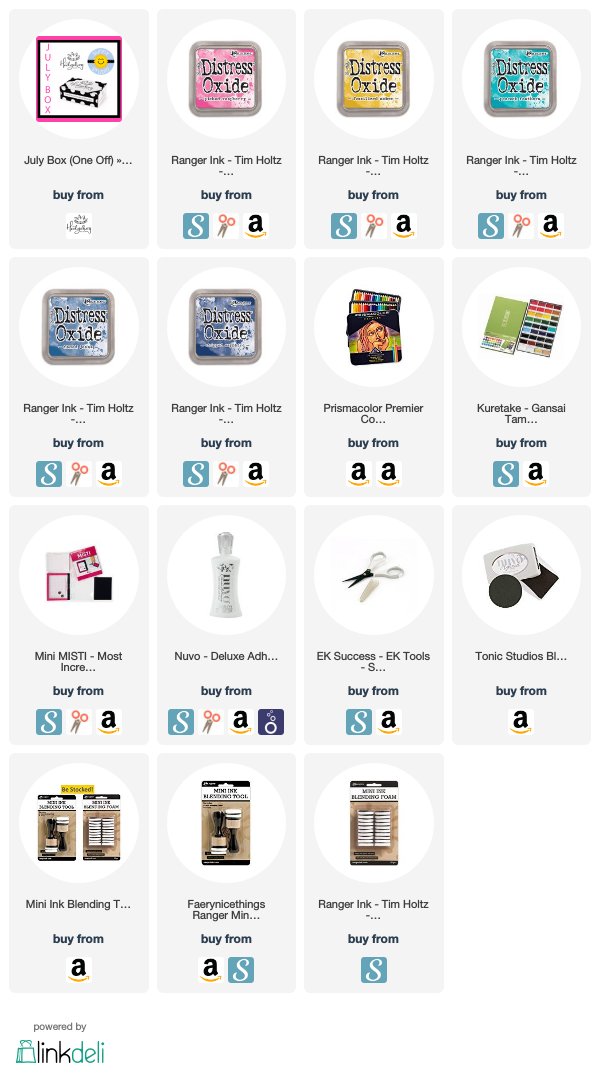
I’m often asked what supplies I use on my projects, so I’ve linked them below using afflilate links when possible. When you purchase through these links I may receive a small commission (at no extra cost to you). These help me keep up with blog costs and continue to bring you fun projects. Thank you!


I hope you enjoyed this beachy/rainbow project today! Thanks for stopping by!

Comments { 0 }
wishing-a-rainbow-of-happiness

Have a Rainbow Kind of Day!

Hello! Today I have some fun rainbow themed cards for you using the Hedgehog Hollow July box. I am just loving this box so much, and I couldn’t stop creating with the cute images and papers that are included!

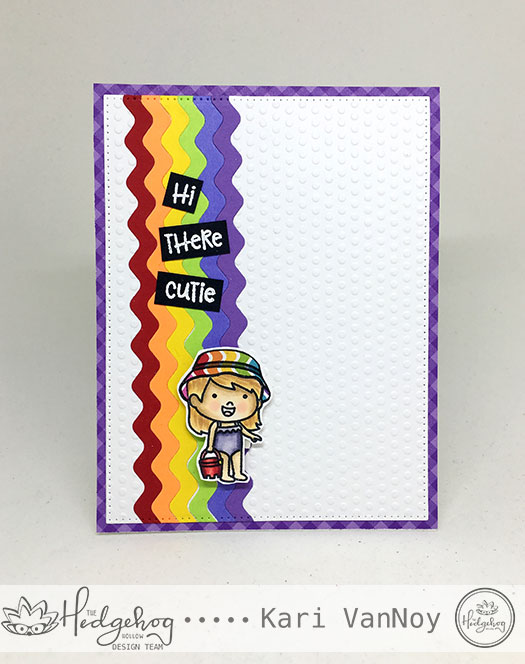
For my first card, I used the Ric Rac dies in the box and created a rainbow element on my card:

rainbow-ric-rac

I used the papers to create the purple background and to paper piece her hat! I love a rainbow hat. Lol. I colored that little girl up with Copic markers, then attached her to the card using foam tape for dimension. The sentiment is white heat embossed on black paper.

have-a-rainbow-kind-of-day

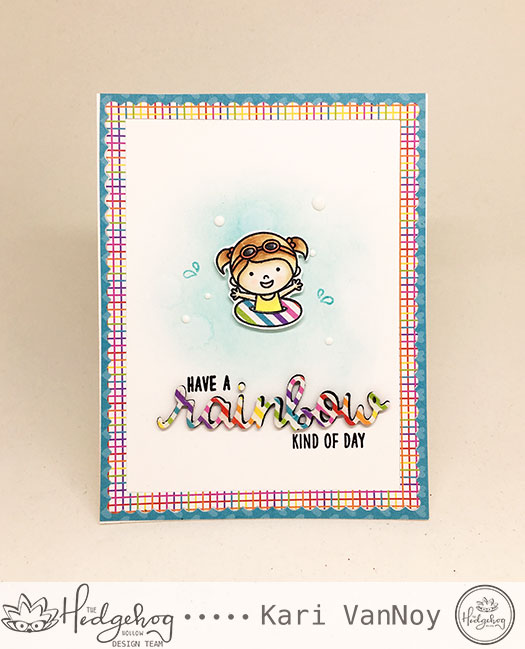
This second card also uses many of the papers included in the box. They are so bright and fun so I had to make the rainbow die striped! (notice it matches her innertube!) This card came together so easily…I just took some Distress Oxide ink for the background, added the girl with foam tape, and stamped on some of the water droplets that are included in the stamp set! Some white Nuvo drops finished it all off.

I die cut the background using a frame die from my stash out of two different papers in the kit. And I really DO wish you a rainbow kind of day!

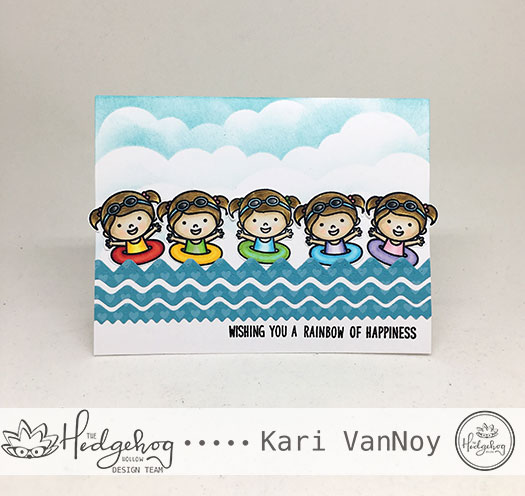
wishing-a-rainbow-of-happiness

This last card was one I made FIRST from the kit, but I’m just sharing it today! I loved the idea of a rainbow color of those innertubes and swimsuits, floating along a ric rac river! Aren’t they cute?

I hope you enjoyed these projects today. I sure enjoyed making them. I cannot WAIT for the next box to arrive. For more information about these jam-packed subscription boxes, visit the Hedgehog Hollow here. Thanks for visiting!

Comments { 2 }
photo-os-stamp-coastal-cuties

You are the Pot of Gold at the end of my Rainbow

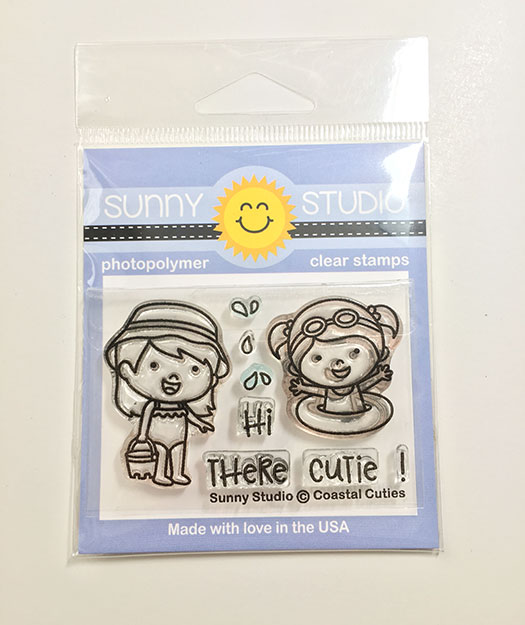
Hello! Today I have two sweet cards to share using the Ric Rac Die from Sunny Studio Stamps (exclusive to the Hedgehog Hollow July Subscription box).

I’ve had so much fun with this July release, and today I want to show you a few creative ways to use these products.

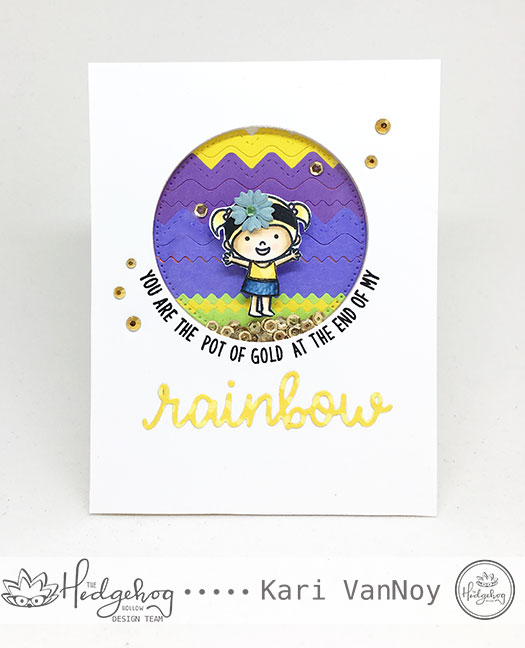
The first card is this Pot of Gold shaker card where I used the ric rac die as a scenery backdrop:

pot-of-gold-at-end-of-my-rainbow-shaker

I made this into a shaker card and added gold sequins…I thought it was completely appropriate with that sentiment! I did shape the sentiment to fit around the circle using my Misti.

You may recognize that little girl as the innertube girl…she did not have legs!

photo-os-stamp-coastal-cuties

Yes, I did a little “paper surgery” and drew her a skirt, cut off the innertube, and used the legs from the other girl image to let her stand!! Hooray! I think she turned out cute. And I only feel a little bit bad about cutting the legs off the other stamped image (ugh!) But it was worth it to get this cutie!

She also had goggles on her head, so I colored over them to create a black “headband” and added a flower. Then I gave her a denim skirt and matched the yellow of her shirt to the rainbow sentiment.

I was going to add some shoes on her…but I chickened out! Hey, you can only do so much, you know what I mean?! Lol.

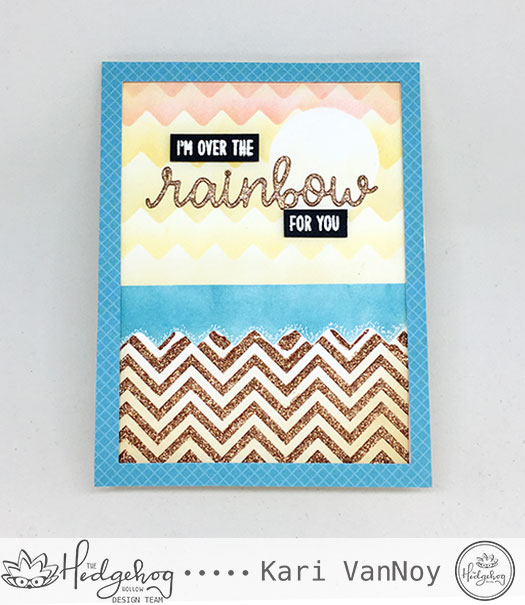
My second card is a card where I used the ric rac border dies as a MASK to make a beautiful sunset and ocean scene.

Im-over-the-rainbow-for-you-copper-sand

The glitter of the Nuvo Glitter Accents is a dreamy copper color! I thought it would look fun as a shimmery sand beach in the sunset.

I have a video showing how I made this one, watch it here or on YouTube:

I hope you enjoyed these projects today. I had a blast, and I will have a few more to share with you throughout the month!

If you have any questions about the subscription boxes, visit The Hedgehog Hollow. I think you will be pleasantly surprised at these boxes and content. I love that she changes up the companies and stamps/dies that come each month. And U.S. shipping is only $3.99…still don’t know how she does it!

See you next time!

Comments { 0 }