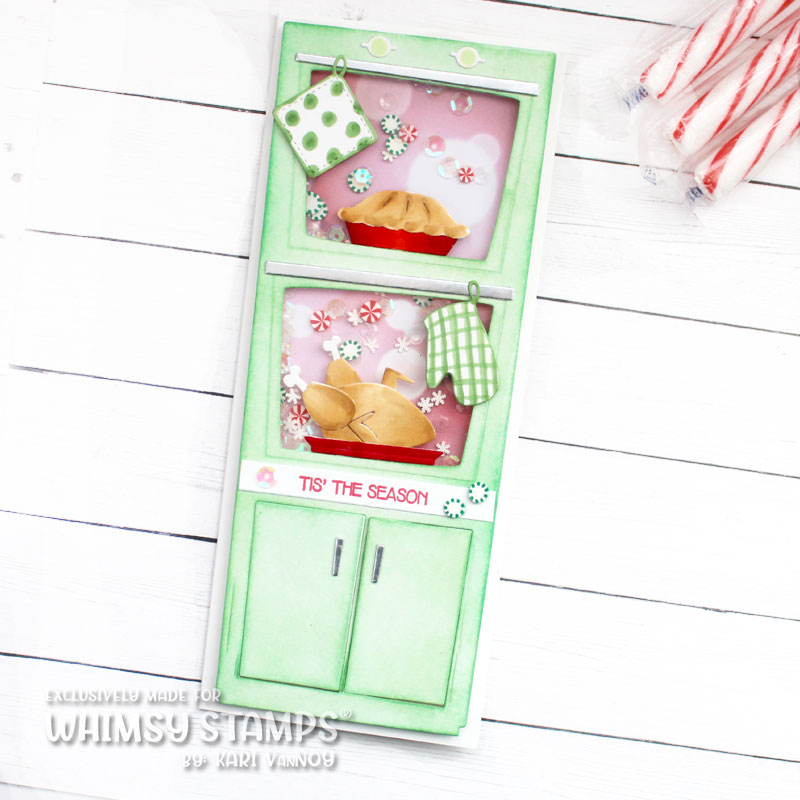
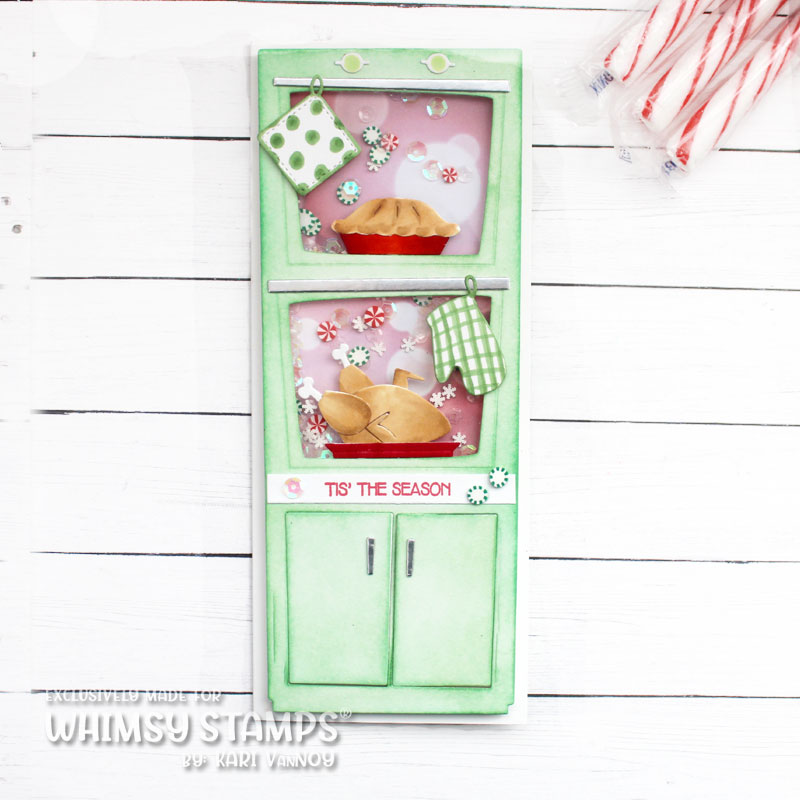
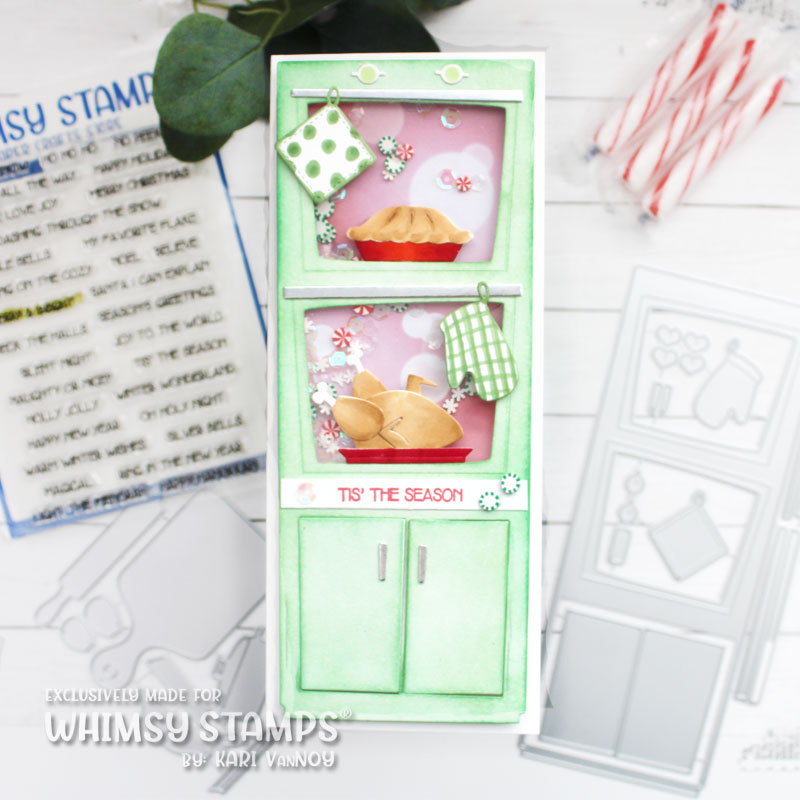
Hello! Today I have a Double Oven Slimline Shaker Card to share and Oh is it awesome! This new die from Whimsy Stamps is one of my new favorites…and I don’t think it’s hard to see why. Just take a look at the video and photos below!

I’ve share all the details and how-to in the video so it’s easy! I love the little oven mitt and potholder. I also used the NEW Baking die set to add in the pie and the turkey (how cute are they)?!?
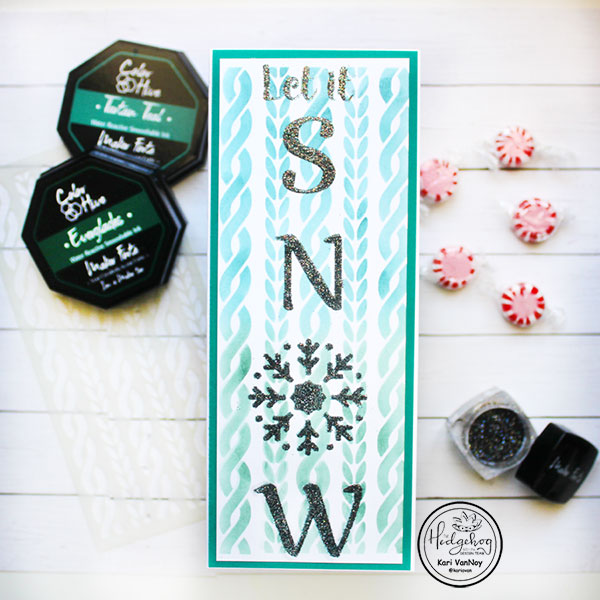
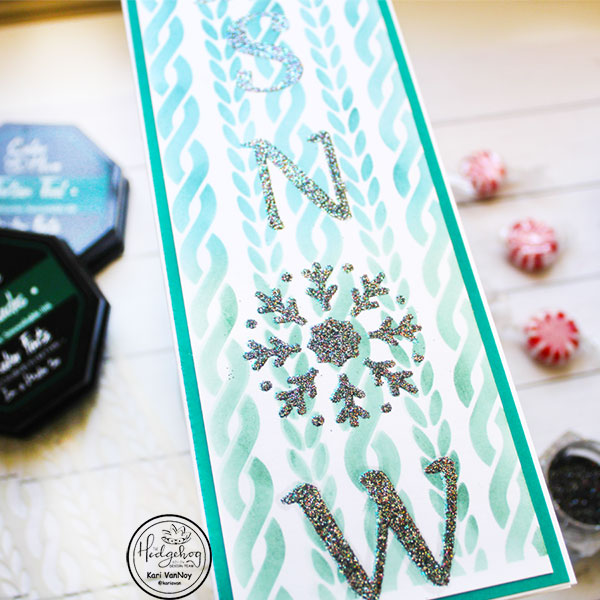
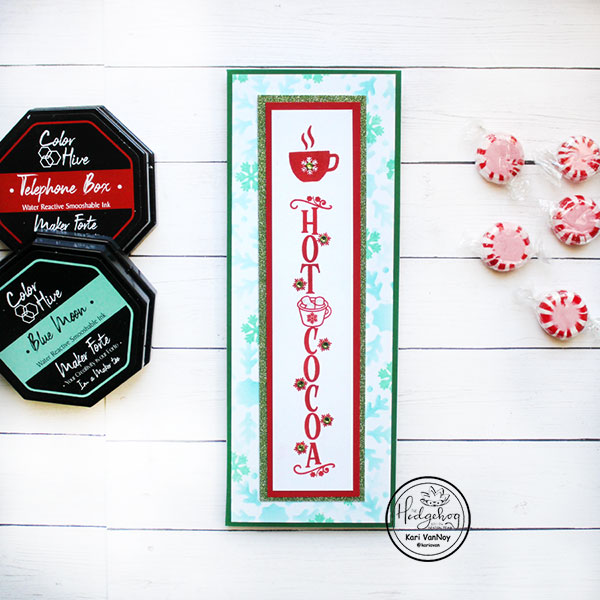
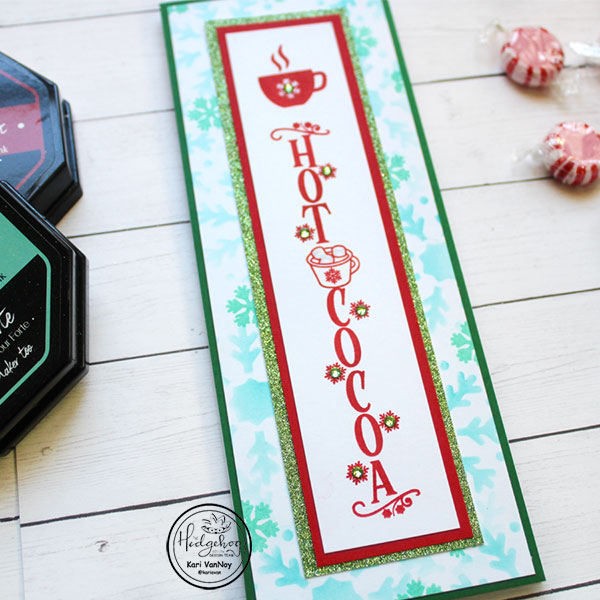
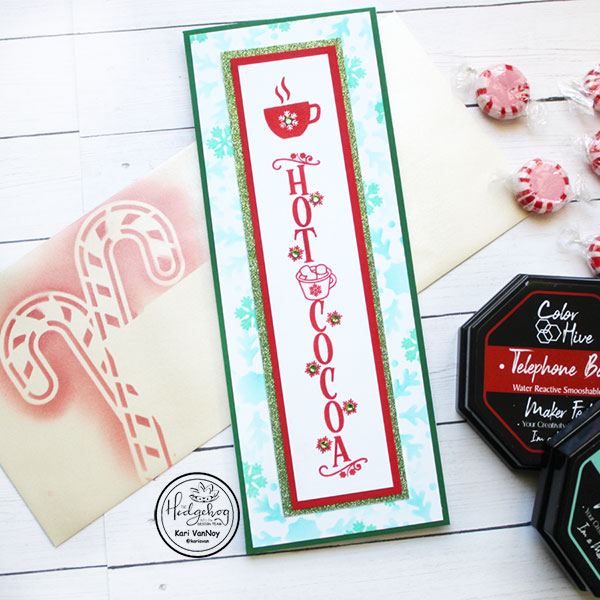
I do think this slimline oven is the cutest as a shaker card, but you certainly don’t have to make it into a shaker. I added some peppermint embellishments to my shaker (they just remind me of the holidays)!
I just had to make a mint green shaker oven…inspired by my new mini fridge at my office! It’s so cute and retro!
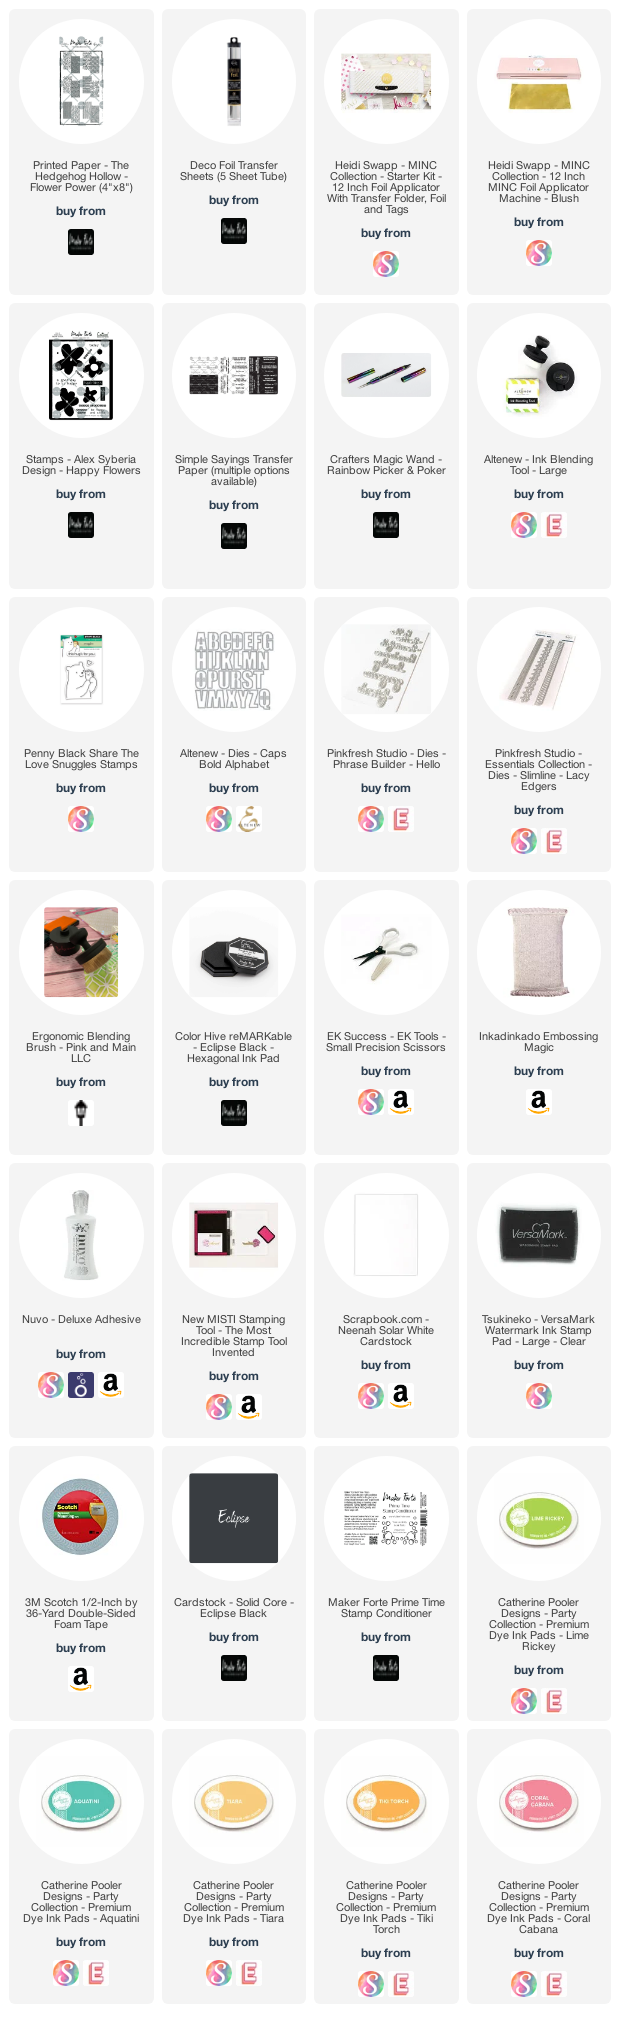
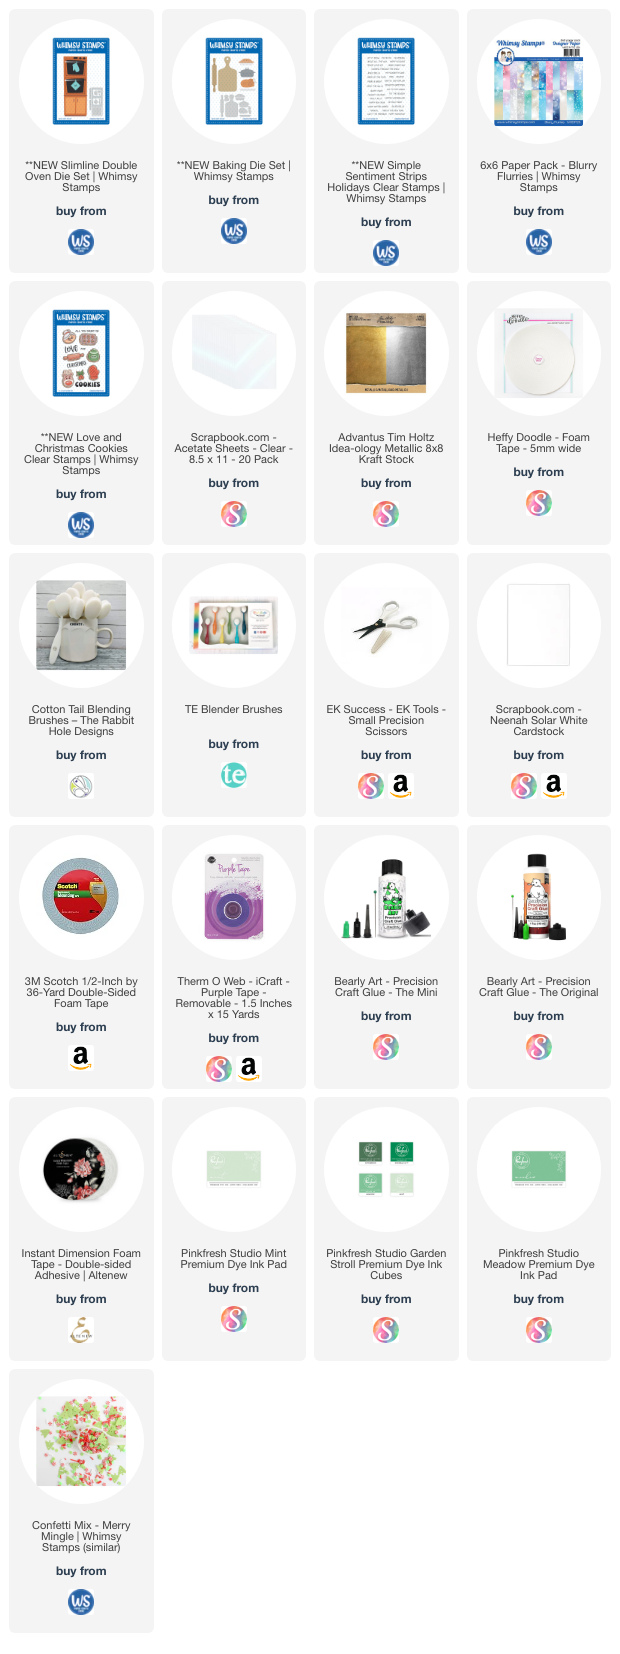
I’m often asked what supplies I use to make my cards and projects, so I’ve put together a list using affiliate links when possible. If you make a purchase with these links I may receive a small commission. These help me to keep up with blog costs and continue bringing you fun projects. Thank you so much for your support!
I hope you enjoyed this project today. I sure had a great time making it. I’d love to hear your favorite holiday baking recipes! Leave me a comment below or on the video and tell me…do you make pies?!