Tag Archives | pretty pink posh
all-3-cherry-projects

Cherries x 3

Hello! Today I have 3 cherries projects to share with you using products from Pretty Pink Posh. I love these cherries and I couldn’t wait to make these cards (and an extra surprise!)

Watch the video below or on YouTube:

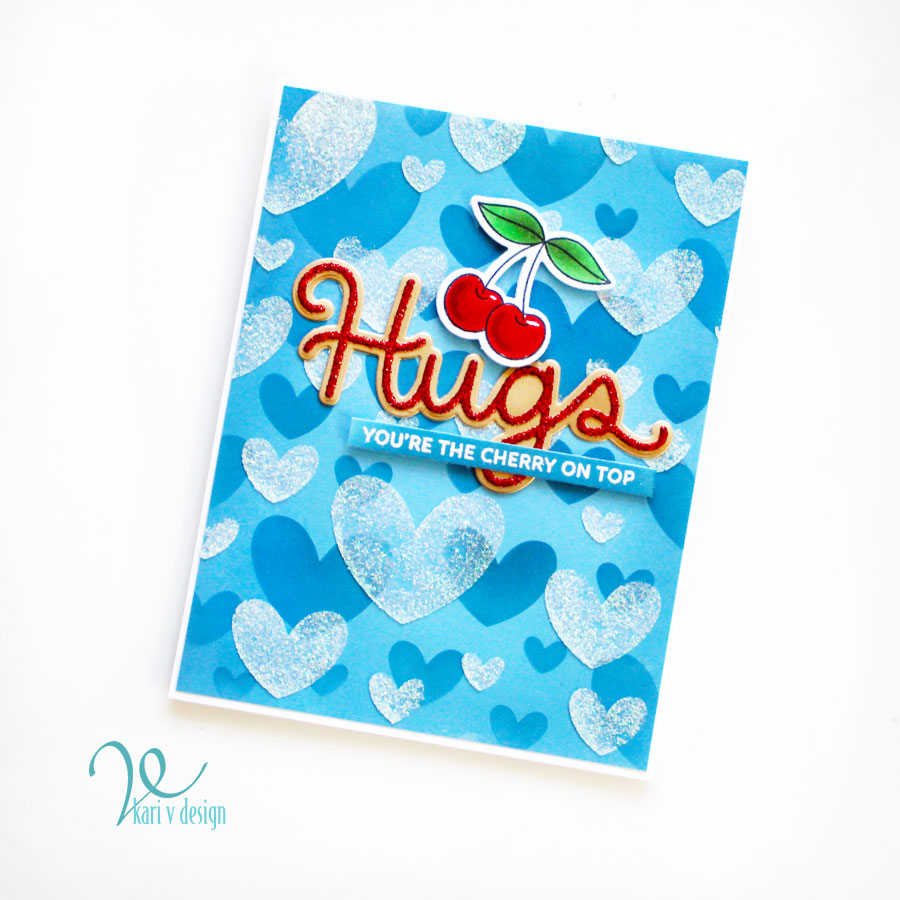
I started with a simple cherry card below:

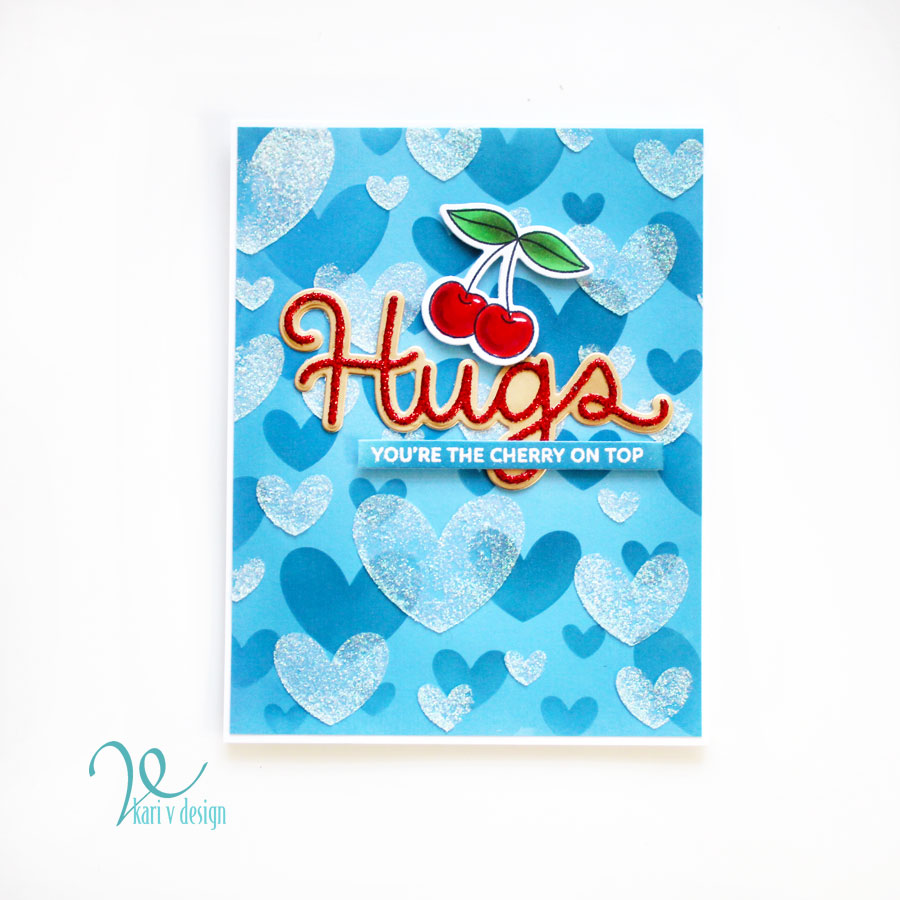
I started out with a Layered Hearts stencil, laying down some Uncharted Mariner Distress ink first, then a layer of Glitz Glitter gel. So pretty!

I set that aside to dry while I colored up the cherries and heat embossed the sentiment.

I knew those cherries would make a BEAUTIFUL full panel, so I started stamping a background of cherries and colored them up with Copics. Then, I turned it into a purse!

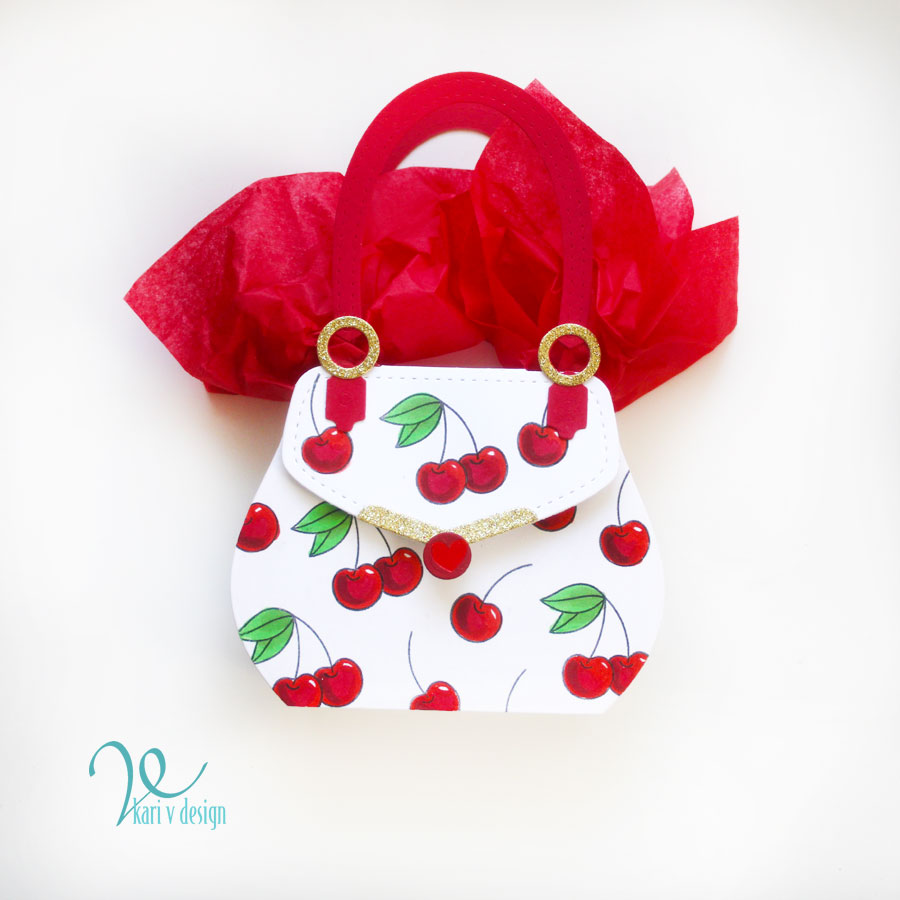
Doesn’t this make an adorable purse?!? I am currently obsessed with making purses, but a CHERRY PURSE??? C’mon! It’s too cute!

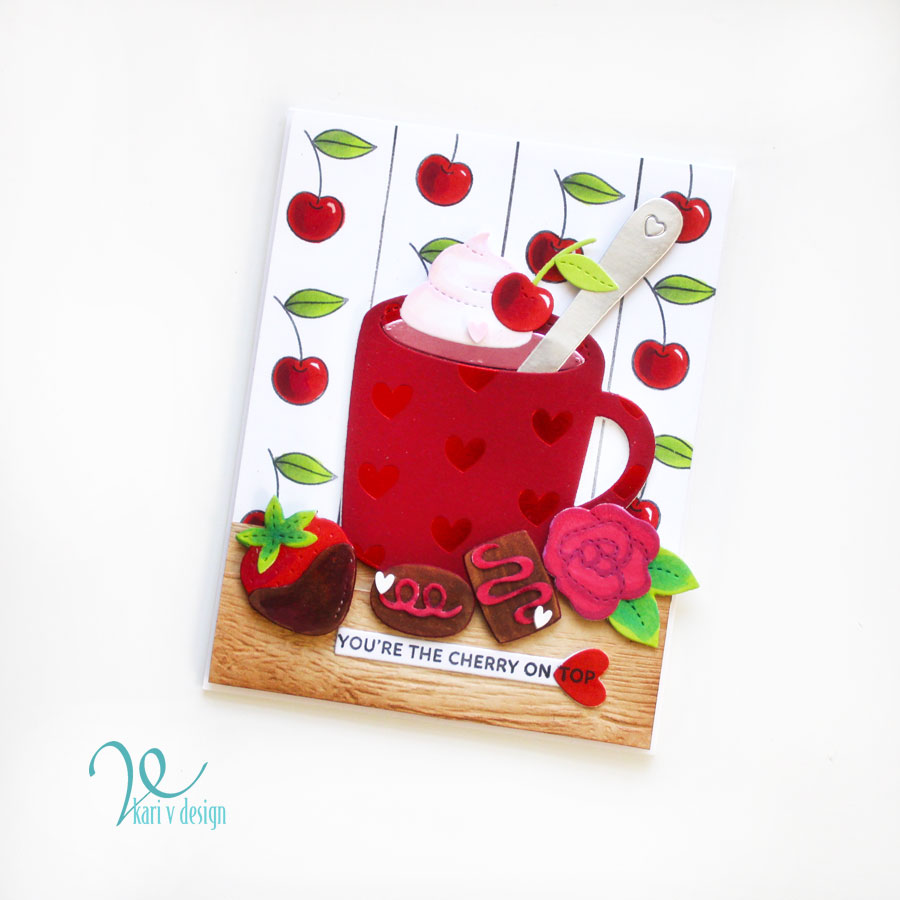
Last I made a cherry wallpaper for this card:

I love a cherry wallpaper, it reminds me of my childhood! Watch the video for the details on putting this card together.

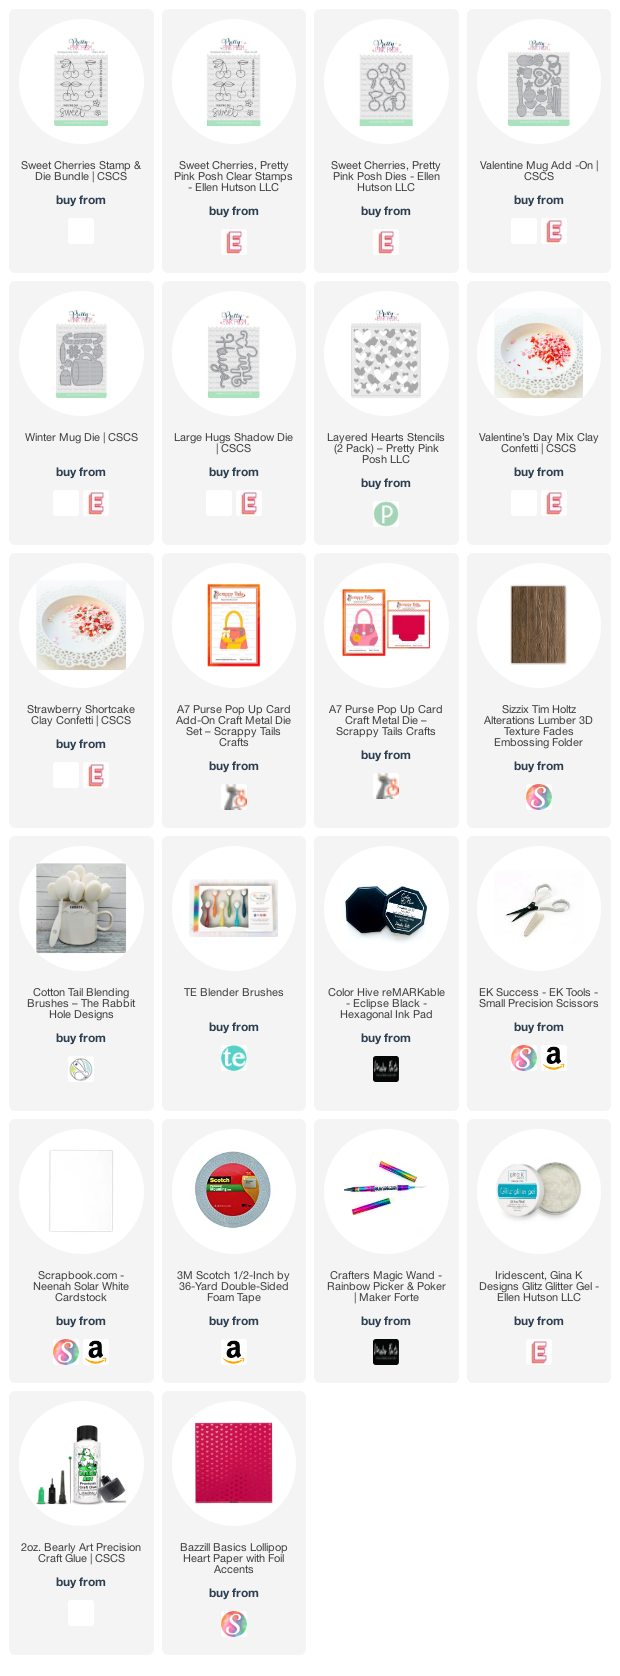
I’m often asked what supplies I use to make my cards and projects, so I’ve put together a list using affiliate links when possible. If you make a purchase with these links I may receive a small commission. These help me to keep up with blog costs and continue bringing you fun projects. Thank you so much for your support!


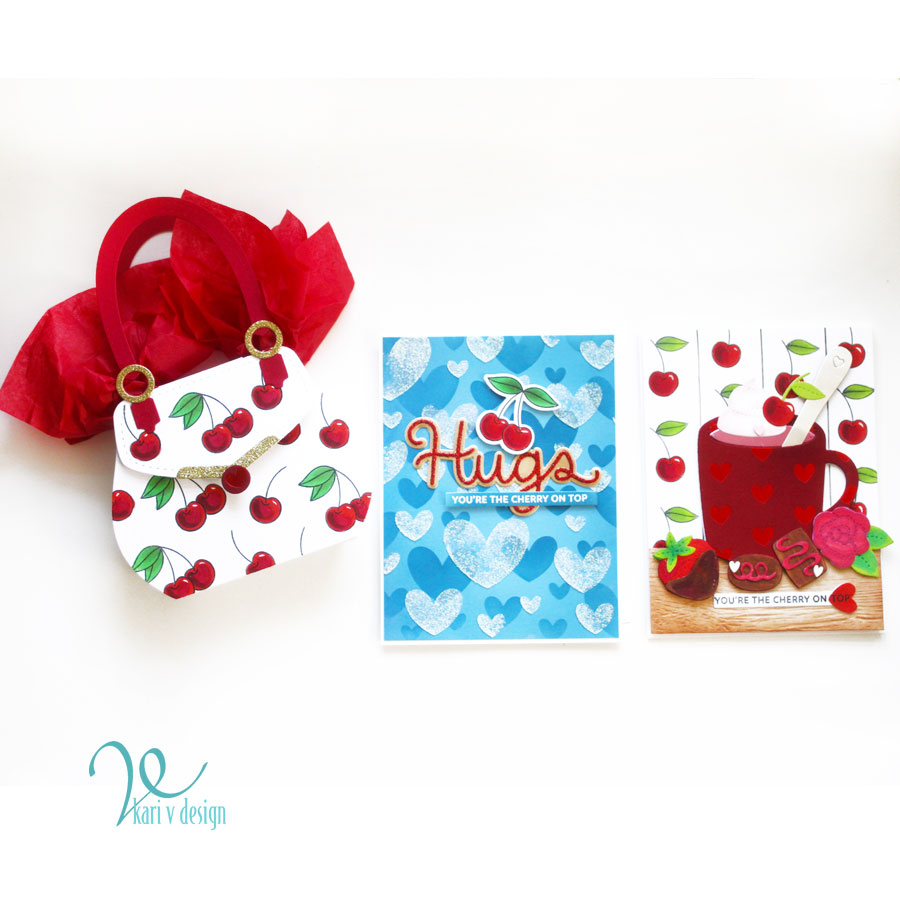
I hope you enjoyed these projects today! Check out my friend, Leslie’s store called Cobblestone Creek Studios. She’s in Oregon, but can also ship! That is where I got all my supplies for these cards. 🙂

See you soon with more projects to share!

Comments { 0 }
foxy-faux-shaker

Happy New Year, Foxy!

Hello again! I hope you had a wonderful Christmas! Now that Christmas is over, it’s time to focus on a few more New Years cards for me…how about you?

Today I’m over on the Hedgehog Hollow blog sharing this fun Faux Shaker card! I used products from the Hedgehog Hollow December box, and added a couple foxes from the Pretty Pink Posh Woodland Critters set.

foxy-faux-shaker

I used embossable plastic for the sentiment because I wanted to see through to the beautiful iridescent fireworks!

faux-shaker-close-up

For all the details on how to make this card, head on over to my Hedgehog Hollow post here.

Thanks for stopping by! Happy New Year!

Comments { 0 }
inside-of-card

Glitter Embossed New Year

Hello! Today I have a New Year card to share that’s full of glitter…but never fear! This is the kind of card that won’t get glitter all over the place. It’s a fun embossing technique and I have a video to show you just how easy it is.

front-of-card

Here’s the front of the card. Those glasses are popped up on an Action Wobble!

Here’s the inside of the card:

inside-of-card

Watch the video below or on YouTube to see just how it’s done.


I hope you enjoyed this project today. Here’s one last look at that beautiful glittery embossed background:

glitter-close-up

Merry Christmas and Happy New Year!

Comments { 0 }
front-and-inside

Celebration on a Card

Hello! Today I’m sharing a fun dimensional celebration card using the Pretty Pink Posh New Year’s products! You can find all these products in the December 2018 Hedgehog Hollow Box. I LOVE it when the matching dies are included in the kit. It makes it so easy to make a dimensional card like this:

front-of-card

I stamped all the images in the stamp set with Gina K Amalgam ink (I’m loving this ink!), Colored them up with Copics, then die cut them all with the matching dies.

Then I popped them all up using foam tape for some fun dimension.

I added some of the sequins included in the kit to complete the celebration! Here’s a close up:

close-up

I hope you can see that dimension. This would be a very fun card to receive!

I originally planned on using the Happy New Year script die on the front, but I decided that it already had enough going on, so I added it to the inside of the card instead with a little noisemaker.

inside-of-card

In case you are curious about the copics I used on this card, here’s my color list:

Black/grey: N0, N1, N3, N5, N7
Yellow: Y35, Y15
Browns/Tan: E51, E53, E55, E57
Light Blue: B000
Purple: BV04, BV08

front-and-inside

I hope you had some inspiration on creating your own dimensional celebration on a card! Happy New Year and I’ll see you next time!

Comments { 1 }
happy-new-year-close-up

Say Hello to the December Kit!

You might already know how much I love my kits from The Hedgehog Hollow…and today I have the December unveiling for you AND a project using items from the kit!

If you haven’t already heard, this month is filled with beautiful products from Pretty Pink Posh! There’s also an exclusive stencil from the Hedgehog Hollow.

Here’s the unveiling video, watch it below or on YouTube:


My first project with this kit uses that exclusive stencil, and I show you how to color your own Glimmer paste! Did you know you can make the clear glitter paste into any color you want? Be sure to watch the video below to see how it’s done.

happy-new-year-fireworks

That glitter paste is just so fun! I hope you can tell that I die cut the Happy New Year sentiment from silver mirror cardstock. Oh how I love that mirror cardstock!

Here’s a close up for you:

happy-new-year-close-up

Watch the video below or on YouTube for more information on how to color glitter paste, and how to put this project together! YES…I have TWO videos today (what?!?)


Thanks for stopping by! Are you still making Christmas cards or are you onto New Years cards?

Comments { 0 }