Tag Archives | poinsettia cards
SUNSHINE-poinsettia-card-1-with-supplies

Quick Watercolor Poinsettia Cards

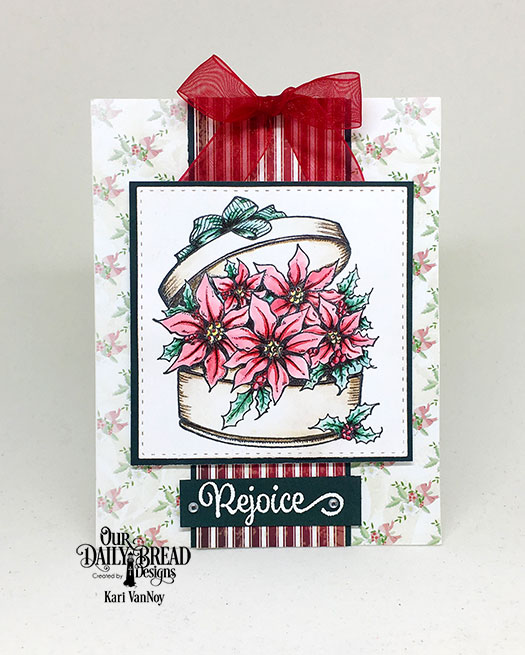
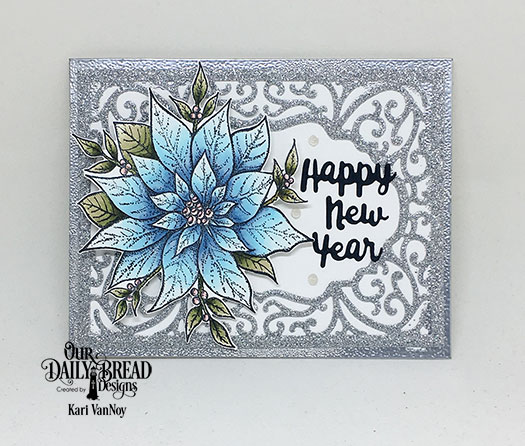
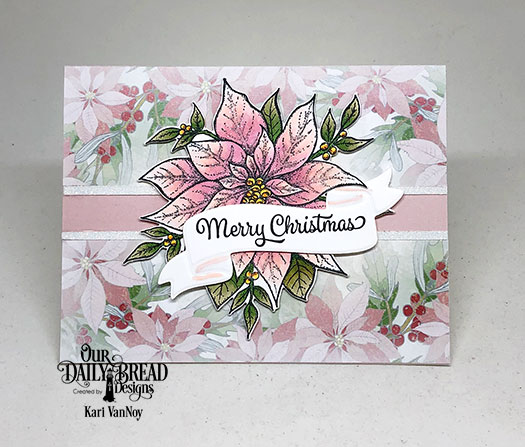
Hello! Do you ever need a quick and easy Holiday card? Today I have two EASY watercolor cards using Kaleidoscope powder! I’m using the Poinsettia stamp set from Maker Forte. This set is beautiful on it’s own, but add a little watercoloring and you get some gorgeous cards!

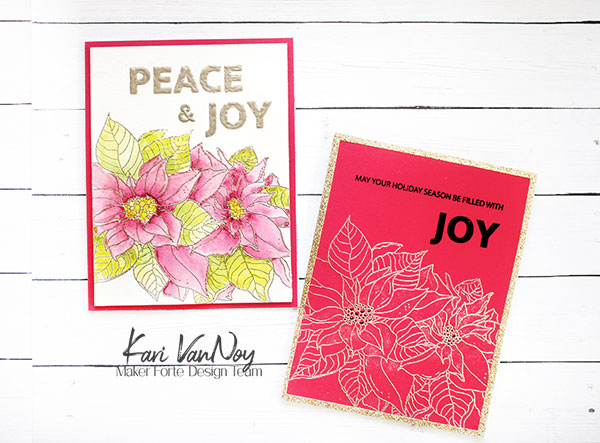
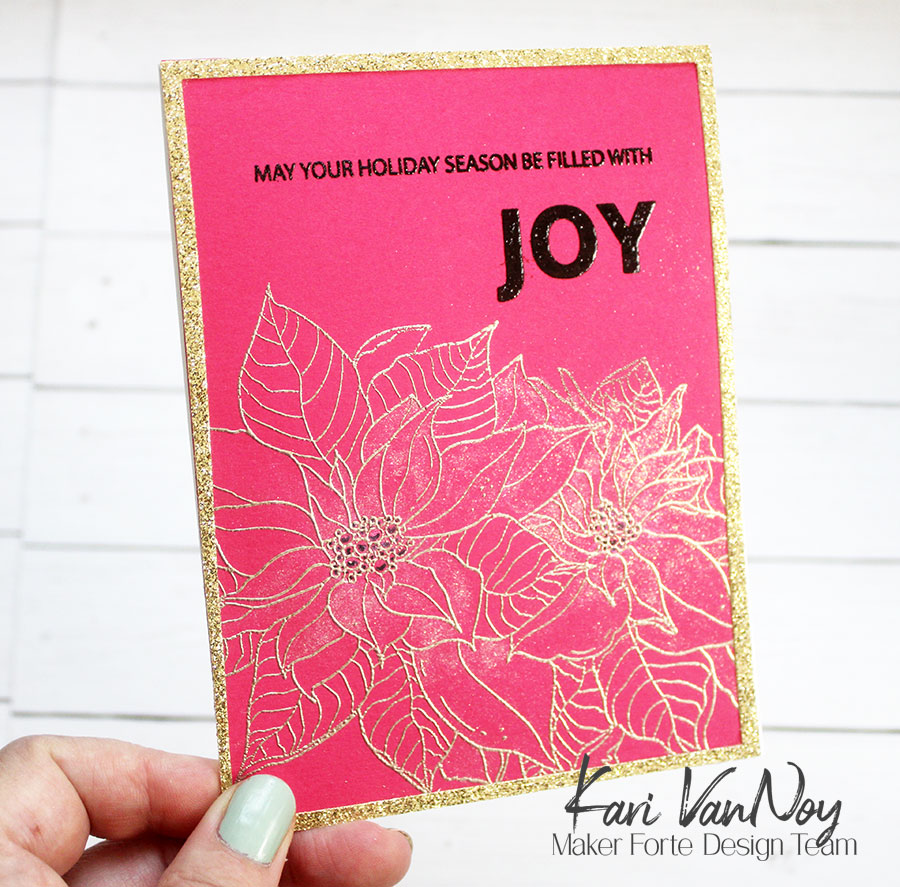
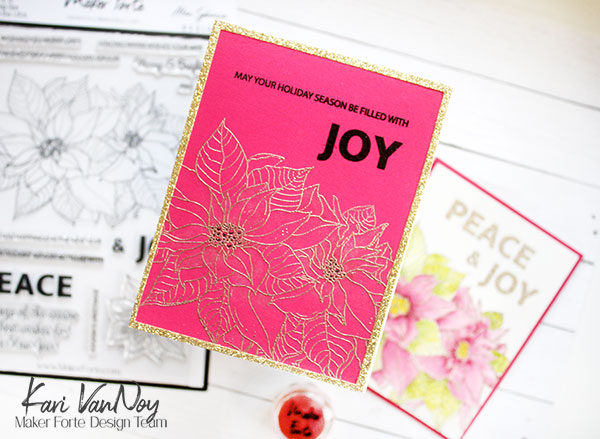
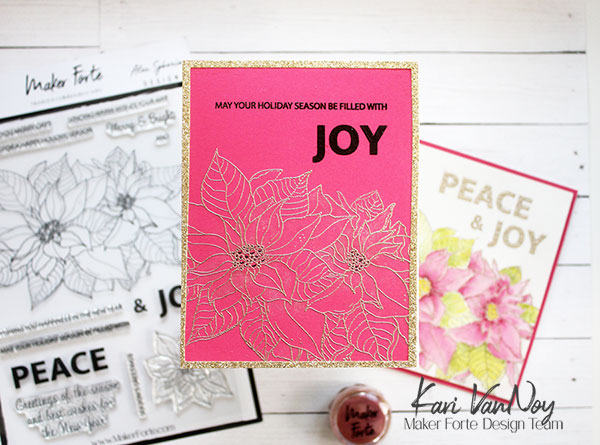
I created a similar card design and stamped the poinsettias in the same spot both on the Tiptree Jam (pink) cardstock, and on watercolor paper. Then I heat embossed using some of my favorite Liquid Platinum embossing powder.

For the pink card, I “painted” on some Kaleidoscope powder in three shades: Aurora, Hubble, and Shooting Star. These are glittery and sparkly and they shine so pretty in the light. Here’s a picture you may be able to see the sparkle a little better:

For the watercolor cardstock, I used the Kaleidoscope powder on the first layer (underpainting) and then added some bright watercolors on top of that.

To see the how-to, watch the short video below or in HD on YouTube:

These cards were so fun to make and so QUICK! I think they took me under 20 minutes for BOTH cards. That’s a bonus in my book, especially for Holiday cards!

I’m often asked what supplies I use to make my cards and projects, so I’ve put together a list using affiliate links when possible. If you make a purchase with these links I may receive a small commission. These help me to keep up with blog costs and continue bringing you fun projects. Thank you so much for your support!

I hope you enjoyed these cards today! I’ll be back soon with more card making inspiration!

Comments { 0 }
poinsettia-card-2

First Holiday card of the Season!

Hello! Today I am sharing my first Christmas card of the season. Also, I have a confession to make. I don’t usually make Christmas cards to mail out. I know, I know…I’m a card maker that doesn’t make my own Christmas cards! Shocking. But I found that it stresses me out too much to make multiples during the busy time of year, so I just don’t.

But today I made a festive poinsettia card that turned out so fun! I was inspired by the Irresistible Inking Techniques class at Altenew Academy and I just had to try it!

Polka dots in the background make me happy!

This is an inking technique I HAVE tried before, but this time I got so much better results. The trick is to ink up your acrylic block, spritz it with water using a light mist spray bottle, then stamp it onto your background.

I tried this a number of times using a variety of paper to see what different results I would get. I tested out the number of times to spray the ink before stamping. I tried different colors and time to leave the acrylic block on the paper. And this is my FAVORITE one of the bunch.

To get this cool spotted look, I used 3 different colors of Altenew ink on my block: Rose Quartz, Puffy Heart, and Purple Wine at the bottom. (This gave me a sort of Ombre look when I stamped it.) I spritzed it with TWO spritzes of water from a light mist spray bottle. (one was not enough, three was too much for my paper). Then I stamped it down onto Neenah Solar White 80# cover cardstock. This surprised me that I preferred the Neenah for this technique over a watercolor cardstock!

I love a speckled poinsettia

I stamped the poinsettia stamp using Versafine Onyx black ink, then I added just a touch of colored pencil. Just enough to give some color, but still see the spots. It reminds me of a speckled poinsettia….I love those!

To finish off the card, I cut it down a bit to add a strip of gold glitter cardstock on the edge. Then I added the JOY die cut out of the glitter card.

I have a list of the supplies I used below, with affiliate links when possible. When you click using these links I may receive a small commission. This helps me keep up with blog costs and continue bringing you fun projects. Thank you so much!

Oh, I forgot to mention that I also added some Mercury Glass Stickles to the center of the poinsettia to give more glittery shine to the card. When it catches the light just right, it looks so pretty.

Thanks for stopping by!

Comments { 1 }
logo-clh

Christmas Joy Hot Cocoa

Hello there! Today I have a quick card to share featuring my new favorite: Poinsettias on Coffee cups (or hot chocolate cups, in my case!)

A week or so ago I shared a quick video, where I masked off the coffee cups so only the middle showed, lightly stamped on some poinsettias using the Poinsettia Box stamp set, and no-lined colored up the poinsettias using Copics.

Well, I finally put them on a card!

christmas-joy-hot-cocoa

I used some corrugated cardboard in the background as a nod to the coffee holders, added some greenery, and popped up those coffee cups using foam tape. (Most of the supplies used are from Our Daily Bread Designs.)

I white heat embossed the sentiment on black cardstock and cut it out using a fishtail end.

Linking up to the Winter 2018 Coffee Lovers Bloghop!

logo-clh

Thanks for stopping by.


Comments { 8 }
sunshine-silver-blue-poinsettia-new-year

Poinsettias for Days

Hello and welcome to my “Poinsettias for Days” post! I just cannot stop with these poinsettias…I’m in love. So today I have a bunch of projects to show you!

This first project features that beautiful poinsettia from this set from Our Daily Bread Designs that I colored “white” using Copic Markers in W3, W1, and Y11. I stamped the same poinsettia on red paper and heat embossed it with gold embossing powder. It adds such a glamour to this card, I think.

sunshine-red-and-white-poinsettia-card

The Merry Christmas sentiment is from the Holiday Words dies, and I die cut it with green paper. Then I used mowed Lawn Distress ink and a finger dauber to ink up the lower portion of the words. I also added Vintage Photo Distress Ink around the outside corners of the red panel.

This next card shows off the Poinsettia Box stamp. This time I colored it up with watercolor markers and added details with colored pencil. I used Kathy Racoosin’s method of paying attention to those “nooks and crannies” with a darker color of pencil. I love how this makes the image really pop!

sunshine-poinsettia-box-card

The background paper is from the new Christmas Collection 2018 paper pad, and the striped paper is from the Christmas Collection 2013 paper pad (one of my favorites)! That sentiment is white heat embossed on the dark green paper. I added some rhinestones for a fancy flair.

I couldn’t forget about my favorite purse dies! I thought they would be perfect with these large poinsettias. Who wouldn’t want a poinsettia purse this time of year!?! 😉

sunshine-green-purse-with-poinsettia

My first one uses a green paper layer for the body of the purse, and then I thought I definitely need a red striped purse, so this one was created:

sunshine-red-purse-with-poinsettia

It’s so fun right?! I love this purse die and the layers dies…it’s one of my favorites of the year! There are so many things you can do with it. Check out my other purse posts here and here.

For my last project, I made a New Years card with a blue poinsettia and lots of glittery silver goodness! I die cut the Vintage Flourish Pattern die in silver glitter paper, then before I adhered it to the card base I heat embossed around the edges with silver embossing powder. Such a sparkly, festive look!

sunshine-silver-blue-poinsettia-new-year

To finish it off I colored up the poinsettia in B00 and B000 Copic blues and the leaves in YG Copic greens. I love this combination of colors. The Happy New Year die cut is also from the Holiday Words dies. Last, I added some clear/gray dots with Nuvo drops.

Poinsettias galore! I hope you enjoyed these projects today. These will be the last poinsettia projects I share for a while, but I had such a great time making them all! Thanks for stopping by.

Comments { 0 }
sunshine-retro-ornaments

November Release for Our Daily Bread Designs

Hello again! I’m sharing some cards using the November 2018 release from Our Daily Bread Designs. This month is filled with poinsettias and ornaments and it is beautiful!

First up is this large poinsettia stamp and die set called “Merry Christmas.” This is my new favorite poinsettia of all time. It is so detailed and large enough to fill an A2 size card!

I love that this set includes the die to cut out that beautiful poinsettia.

sunshine-pink-poinsettia-with-banner

The background paper is a part of the new Christmas Paper Pack 2018. I had to create a pink poinsettia just so I could use this dreamy paper featuring the blush colored florals. The banner die is from a previously released set here.

Next is the fun Poinsettia Box stamp. This one is so different from anything I’ve seen. Here I’ve paired it with some die cut florals and a sentiment “Joy” from the new Merry Messages die set.

sunshine-new-poinsettia-box

I hope it makes you think of overflowing joy, like it does me! I love the look of the flowers falling out of the box 🙂

The last card I’m sharing today features the new Retro Ornaments set. I’ve already made a sneak peek card with this set using Copic markers to color them (find it here); and today I’m using the new Retro Ornaments Paper Pack with these fun ornaments.

sunshine-retro-ornaments

Don’t these just scream RETRO? Lol. I have so many projects I have in mind with these fun dies.

I hope you enjoyed these projects today. For more inspiration using the November Release and to see the other designers projects, be sure to visit the ODBD Blog here.

Thanks for stopping by!

Comments { 2 }