Tag Archives | Peony card
ice-cream-at-midnight-with-stamp-sets

Ice Cream at Midnight

Hello! Do you ever name your cards…or give them a title? Today, I have named my card “Ice Cream at Midnight!” I think you’ll see why:

Three flavors of ice cream…

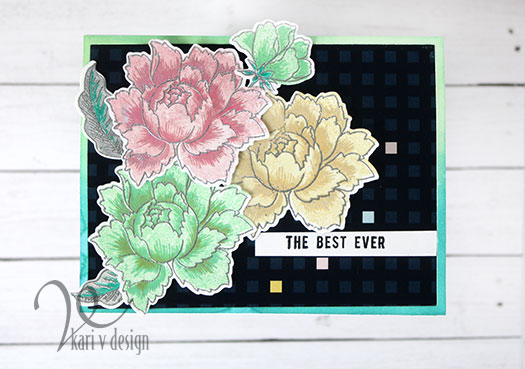
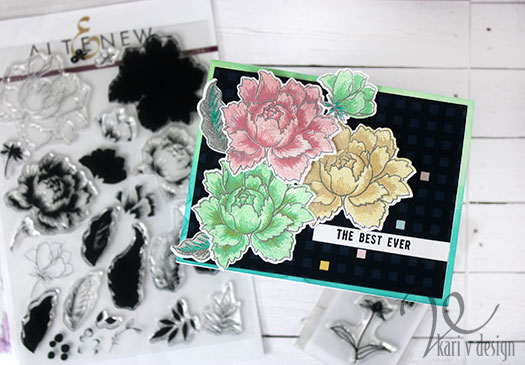
This is an unusual card for me, I rarely use a dark background. But I was inspired by Nicole Picadura in her class at Altenew called All About Layering 2. She suggested using embossing powder as one of the layers. Of course, I was all over that idea! First, I stamped the flowers with a couple colors of Distress Oxide inks (vanilla, strawberry, and mint colors). Then I used SILVER embossing powder for the outline layer of these flowers.

Then, as I was arranging these flowers on my regular white cardstock, the silver embossing powder got kind of lost! So, I broke out my Altenew 6×6 papers and found the perfect dark cardstock to go with these flowers. It even has pastel squares to match.

See the silver embossed outline?

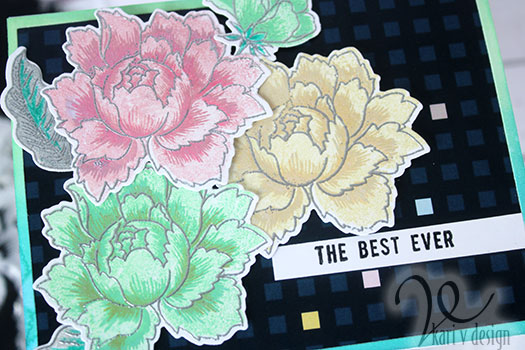
Mint, Vanilla, and Strawberry ice cream at midnight! Lol. I love these colors of flowers…they do look like scoops of ice cream, don’t you think?

I popped some of these florals up with differing levels of foam tape for dimension and added a watercolored frame for more color. I used the sentiment from Meadow Flower (The Best Ever) to complete this card.

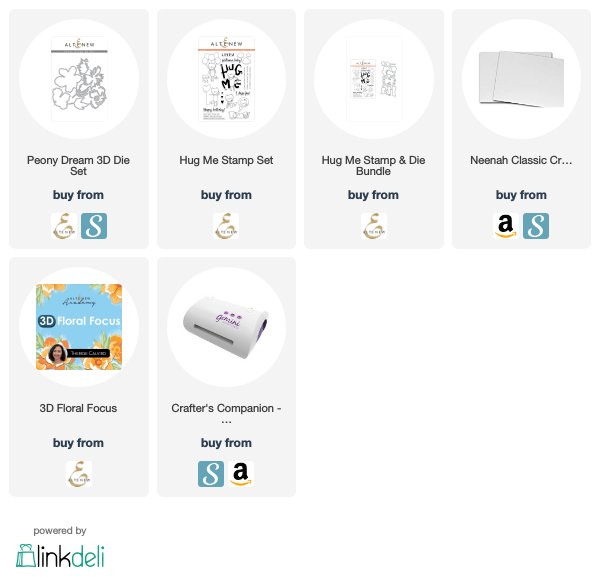
I’m often asked what supplies I used on a project, so I have a list below using affiliate links, when possible. If you purchase using these links I may receive a small commission at no additional cost to you. This helps me to keep up with blog costs and continue bringing you fun projects. Thank you so much!

I hope you enjoyed this ice cream at Midnight! See you next time!

The Best Ever
Comments { 1 }
polka-dot-background

Inlaid Die Cut Peony

Hi there! Today, as a part of my 3D Floral Focus class, I am trying a new technique called Inlaid Die Cutting. I have to admit, inlaid die cutting hurts my head! I rarely include inlaid die cutting on my cards…because it takes too much brain power…Lol!

But today I braved it, and here is my card:

Everything but the center pieces are INLAID!

This card took me about 800 hours to complete. Well, maybe not quite that long, but a really long time! Most of it was thinking about how to cut those pieces to fit into each other.

Now, it is not perfect. And I can’t believe I’m showing you this close up, but in full disclosure I thought you should know that everything didn’t line up PERFECTLY. In retrospect, I wish I listened better to Therese Calvird when she suggested having a colored background that would disguise that. I could’ve done a blue background and you wouldn’t even have noticed! (maybe?! Lol)

I’m not going to even point out all the other things that went wrong with this card. We are our own worst critics, right?

I used a polka dot embossing folder to add some fun to the background, but all in all I kept this card a bit simple. No sequins, No gems, No Nuvo drops. (crazy, right?)

Just a simple heat embossed sentiment on a popped up flag.

Here’s a list of the supplies I used on this one. For the peony, I only used the largest of the flowers this time. I really like that peony.


Thanks for joining me in this fun flowery journey!

And now, for the grand finale photo…I added some fun with a polka dot backdrop! Lol.

Do you like the polka dot backdrop?

Ok, I’m having way too much fun with this class. 🙂 See you next time.

Comments { 6 }