Tag Archives | Our Daily Bread Designs
sunshine-faith-in-god-quilting-squares-bw

Quilting on cards

Hello! Today I’m sharing the new July release from Our Daily Bread Designs….and it’s all about quilting! Are you a quilter? Well, you CAN be a “card quilter” with these new designs!

The first new product I’m sharing is the Quilted Background Die. It is a coverplate die, so it will fill the entire card (size A2). Let me show you a few quilts I designed:

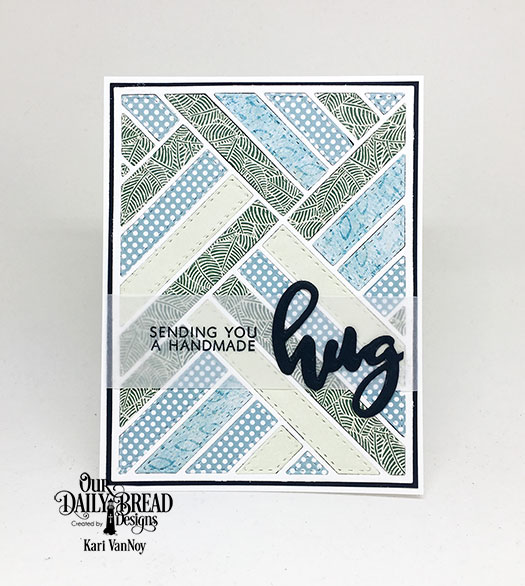
sunshine-sending-you-a-handmade-hug

On this one I also used the new Hugs Stamp & Die Duo. The die is actually the plural word “hugs,” but you can cut off the “s” and create the singular word to go with this sentiment. I really like the idea of sending a handmade hug! (It reminded me of a quilt…that’s like a hug in itself!) By the way, one more thing I LOVE about the new release stamp/die duos: they are CLEAR STAMPS!! Yay! That makes them so easy to line up and use with your stamp positioner, in my humble opinion.

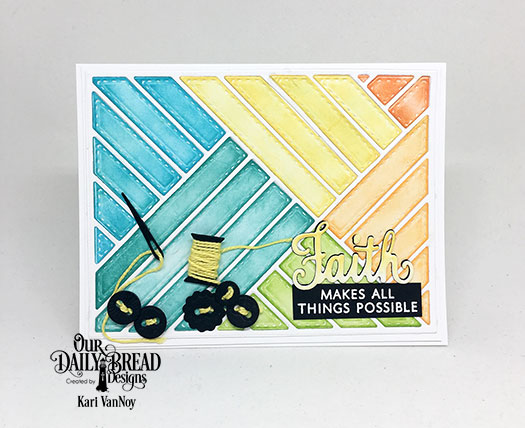
For the next one I used Distress Inks to create a Color Block quilt. The new Walk by Faith Stamp/Die Duo set is also a beautiful set, and I used that for the sentiment.

sunshine-color-block-faith-makes-all-things-possible

Isn’t the needle and thread so cute?! It’s from the new Sewing Set Dies and I love them! They work so well with this theme of quilting.

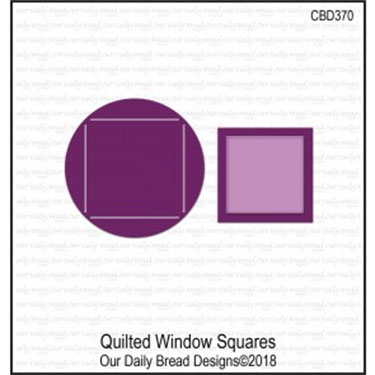
Now, for the last one I have to share with you, I first have to show you the dies I was working with…because you might NOT BELIEVE that they can create such amazingness! Here’s the dies, called Quilted Window Squares:

quilted-window-squares-image

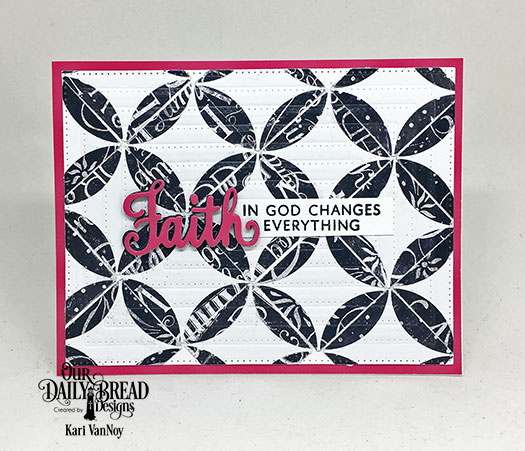
It looks like an unassuming circle die (with some score lines) and a square die. But if you put them together just right, you can create a beautiful quilt like this:

sunshine-faith-in-god-quilting-squares-bw

Isn’t that awesome!?! Such little dies can create such a beautiful quilt. I used the pierced rectangles dies to emboss over the top of the quilt (to look like quilting!)

I hope you enjoyed a look at the new products for July and some fun quilted cards! For more information and inspiration for this month, visit the Our Daily Bread Designs website here.
 

Comments { 0 }
sunshine-anchor-color-page

God’s Beauty Coloring Pages

Hello! Today I have some fun projects to share using the new “God’s Beauty Coloring Pages” from Our Daily Bread Designs. The images are all so fun to color, and very detailed. Which gives you a lot of room for creativity in colors.

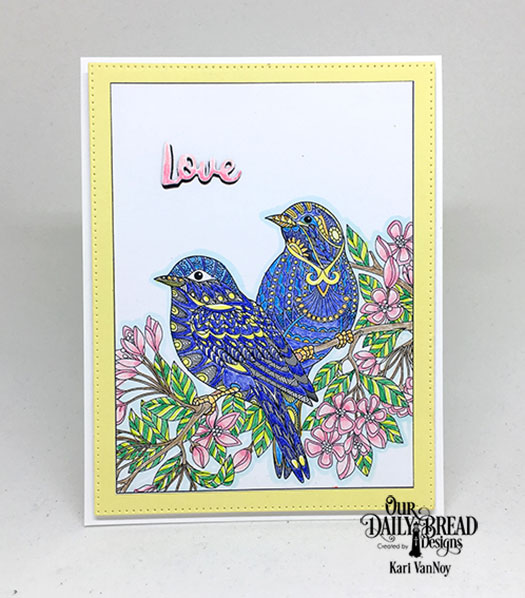
This first image I colored with colored pencils and had such a great time coloring these birds.

sunshine-love-birds-1

Aren’t they so detailed!? Wow, what a fun image. I colored the leaves in two tones of green, but you could certainly color them all the same color and add more shading. The flowers are also so beautiful and you could color these in a variety of colors!

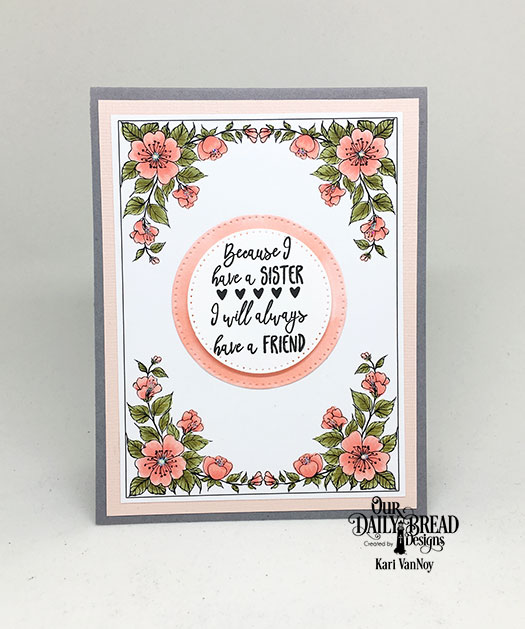
My next coloring page uses Copic markers in only four colors!

sunshine-floral-frame-sister-friend-1

But look at all that variation you can get only using 4 colors. I added some glitter to the center of the flowers. The sentiment is from Sister In Christ stamp set.

And lastly, I wanted to try coloring the background in a darker shade.

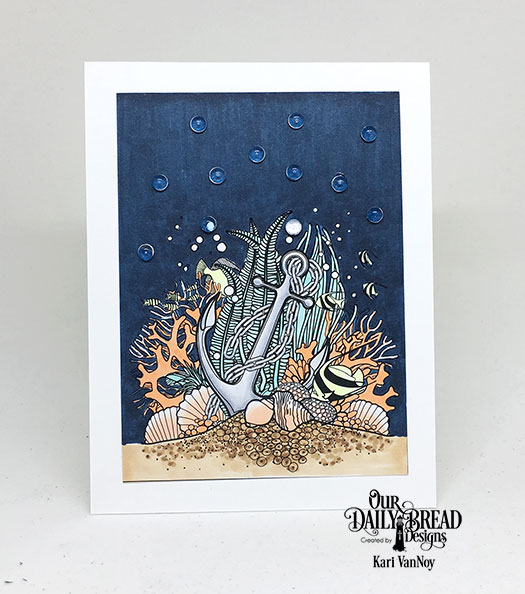
sunshine-anchor-color-page

This one turned out so dramatic and fun!! I also used Copics on this page and still love how it turned out. I added some bubble droplets to add more interest.

These coloring pages are just perfect for the Daily Marker 30 day, and they make beautiful cards, too! I hope you enjoyed these projects…maybe give them a try yourself. If you do, be sure and tag me…I’d love to see what you do with them!

Comments { 0 }
gold-embossing-new

3 Ways to use a Silhouette Stamp – Sister cards

Hello! Today I am excited to share with you 3 Ways to Use a Silhouette Stamp using the set “Sister Time” by Our Daily Bread Designs.

I have my absolute favorite go-to for using silhouette stamps, and that is to Distress Ink the background, then stamp over it in black ink. But today I have THREE ways to show you!

Disclosure: Affililate links used when possible, at no extra cost to you. By clicking on these links you are supporting my blog just a little and I thank you very much!

  1. SISTER ADVICE

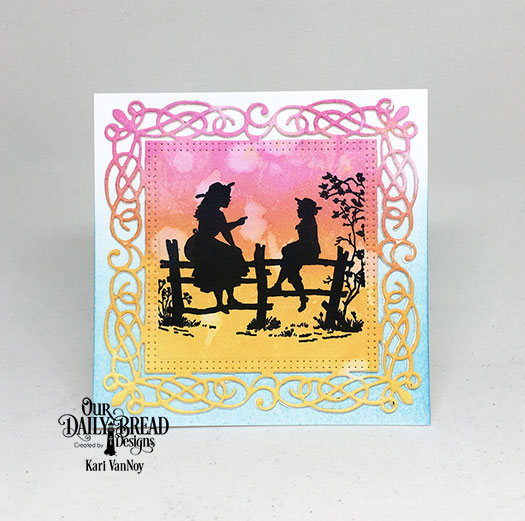
The first way is Distress Inking a panel, and then using a die to cut it out. I used the Flourishy Frame Die and Distress Oxide Inks in Picked Raspberry, Spiced Marmalade, and Fossilized Amber ink here.

sunshine-sister-advice

I did splatter some water over that background, then I allowed it to try before I die cut the frame. I masked off the edges before adding the stamp from Sister Time in my favorite crisp black ink.

Doesn’t this just look like an older sister giving advice to the younger sister? I love that.

2. LAUGH SMILE LOVE GOLDEN ADVICE

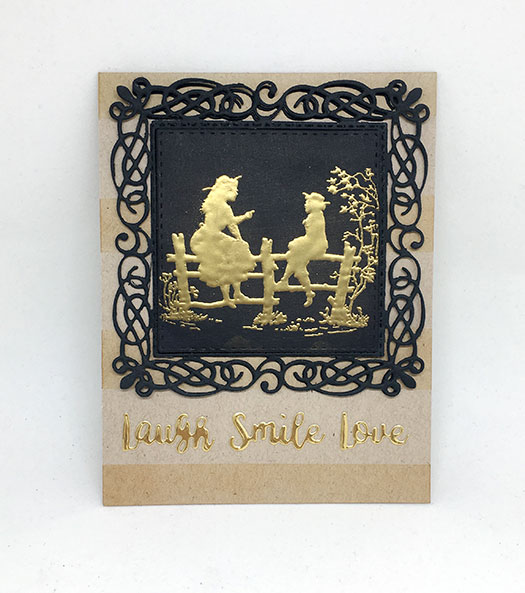
Another way to get more out of your silhouette stamps is to GOLD emboss them. Here I used black paper to gold emboss, then I cut it out using the Double Stitched Square Dies. I added it onto black fun foam before attaching it to the Flourishy Frame Die. I love that die and have used it a lot this month. I used two layers of the frame to give it more dimension and pop!

gold-embossing-new

I cut those words out of gold foil paper. But you could also heat emboss them using the same gold embossing powder to make them completely match. My gold colors were just close enough!

The stripes are made using a clarity brush and Tea Dye Distress Ink…I masked off the stripes using Post It tape!

3. OMBRE INKED SISTERS

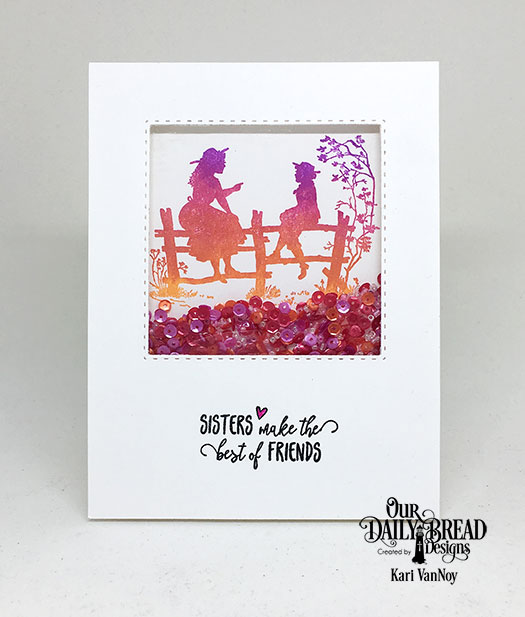
The last way I have to share with you today is to ombre ink the stamp! Here I used different colors and a Misti. I inked up the first color, then stamped. Added the second color further down the stamp, then stamped. And then the third color at the bottom of the stamp, then stamped again. Having a MISTI really helped with this technique!

sunshine-sisters-make-the-best-of-friends

I could’t resist turning this into a shaker card using all the matching colors of sequins. I cut out the top layer with the Double Stitched Square Dies, then added two layers of foam tape. Be sure to add the sequins before you tape the panels together!

I can think of a few more ways to using silhouette stamps, but those will have to wait for another day! (How about a watercolored background or Sponge inking inside a shape?) Lol…I could go on.

If you have any other suggestions for a different way to use your Silhouette stamps, please let me know in the comments below. Thanks for stopping by!

Comments { 0 }
Sunshine-flip-flop-lever-card-inside

Cards for Brother

Hello! Today I am featuring the new “Brother In Christ” stamp set from Our Daily Bread Designs. If you have been following me, you know that I don’t make a lot of masculine cards and so this was a fun challenge for me.

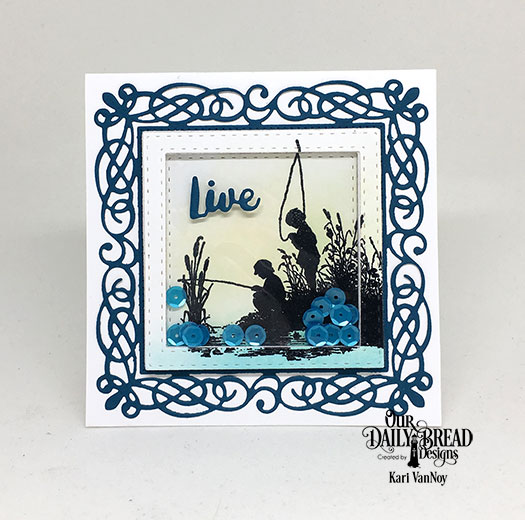
The first card was one I knew I wanted to make just as soon as I saw this new set! It’s a beautiful square card with a shaker element! I wanted the sequins to mimic the look of the water.

LIVE FOR FISHING!

Sunshine-Live-for-fishing

I used the Flourishy Frame Die to create the frame around my scene, but also used the Double Stitched Square Dies for the shaker portion. The stamp of the fishermen fit perfectly inside…and then when I cut the frame with the square dies, added a fun layer of dimension with a portion of the picture outside of the shaker! I’m not sure if I explained that correctly, but I really liked the way it turned out!

The “live” sentiment is from the Inspiration Words Dies.

SUNSET FISHING

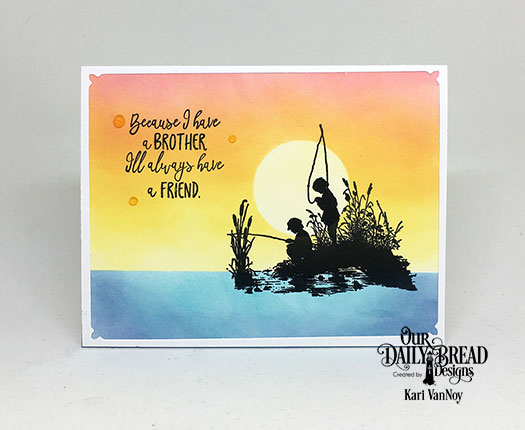
Then, I knew I had to make a sunset fishing card. We used to love to walk around the vacation lake at sunset and I thought sunset fishing would be fun. After he saw this card, my husband said…”no, you need to go fishing in the morning!” Well, what do I know about fishing? Not much. But I know a sunset fishing CARD was a really pretty idea! Lol.

Sunshine-sunset-fishing

I masked off a circle for the “sun” and strategically placed it on the card just where I knew those fellas would be stamped. Then I sponged on Distress Oxide inks in some of my favorite colors: Abandoned Coral, Orange Marmalade, Squeezed Lemonade and Antique Linen for the sky; Faded Jeans and Peacock Feathers for the water. Then I stamped the image in my favorite crisp black ink.

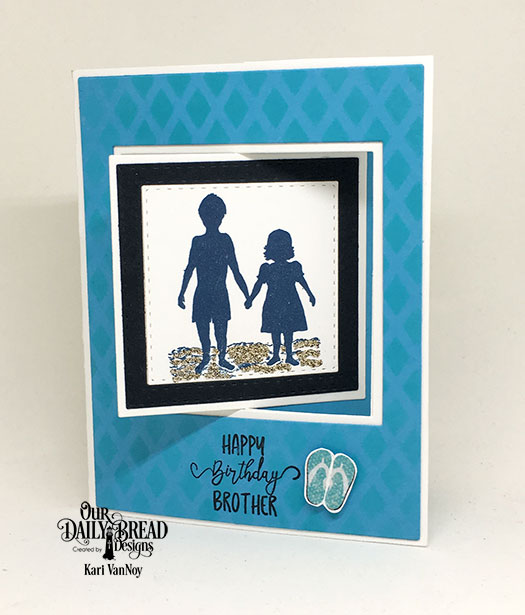
For my last card today using this set, I tried my hand at a Lever Card:

sunshine-flip-flop-lever-card-front-new

Sunshine-flip-flop-lever-card-inside

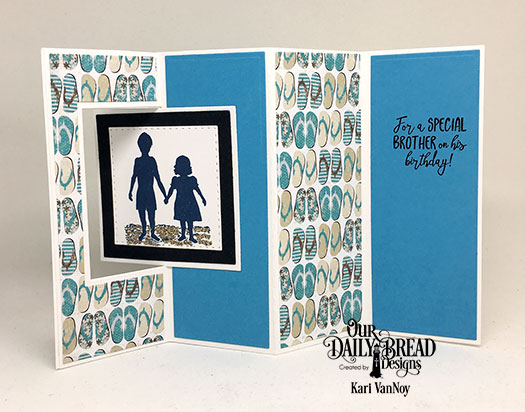
My brother is definitely a beach kinda guy and he almost ALWAYS wears flip flops, so this card was just a natural. I really love the mix of fonts on these sentiments! I used the Lattice Background Die to ink on a interesting pattern on the front, and then used the By The Shore Collection Paper for the fun flip flops!

I hope you enjoyed a look at the new Brother In Christ stamp set. For more information and details, visit the Our Daily Bread Designs website here. Thanks for stopping by!
Comments { 0 }
scone-and-tea-tote

Two Totes, Two Turtles, and a Beach

Hello! How do you like my title for today? I just had to share a few more projects featuring my FAVORITE products from Our Daily Bread Designs for the month of May.

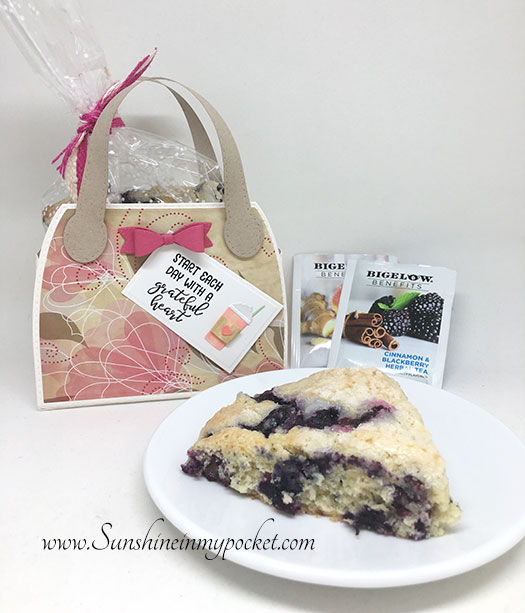
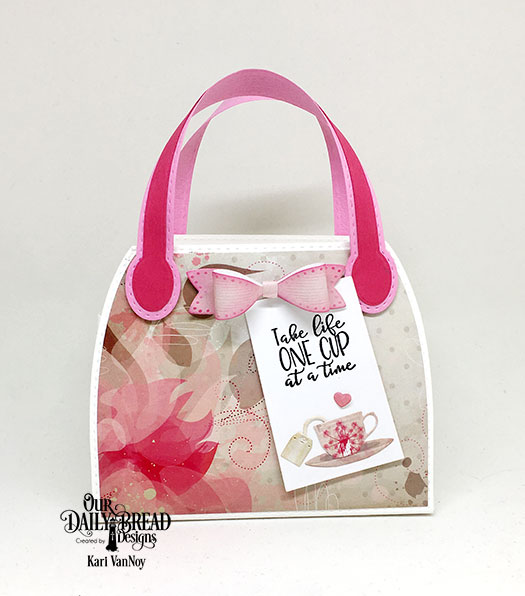
With the Royal Wedding last week, I just had to make some scones and Tea Totes/Purses. Yes!! I really did make scones (see below). The “Tea Totes,” as I like to call them, work so well with the Mini Cups & Mugs dies I used on the tags:

sunshine-tea-purse

That sentiment is from the Hug In A Mug Stamp Set…it’s so perfect! The paper I used is from this paper pack, and I think it’s perfectly girly with that Small Bow Die!

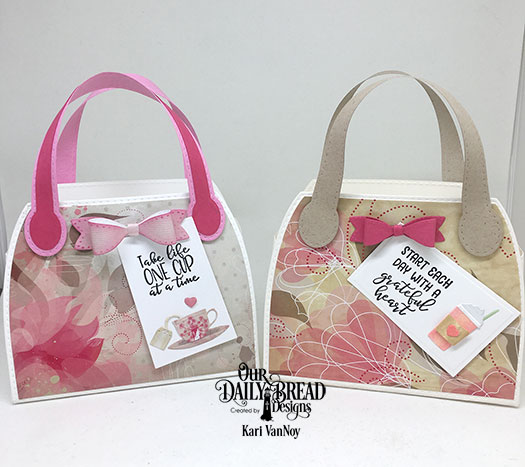
This purse was a bit lonely on it’s own, so of course I had to make another…this time using a fancy whipped cream-topped drink for the tag.

sunshine-two-tea-purses

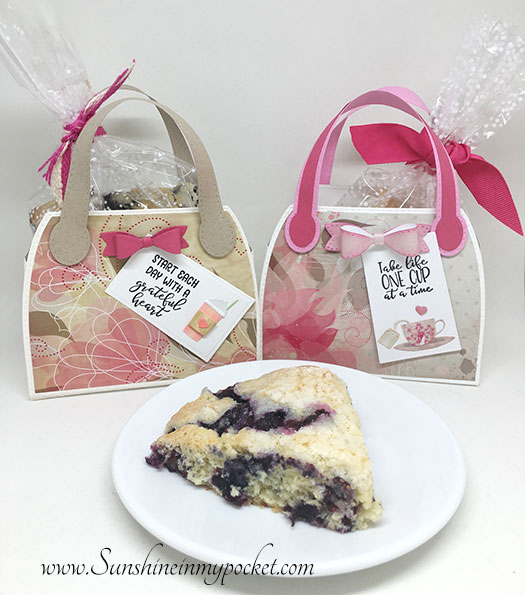
scone-and-two-totes

scone-and-tea-tote

Add a few scones…and some tea bags…and you’ve got a perfect little Tea Tote to give to a friend. Or, if you’re like me, eat all the scones and then replace them with a store bought treat to put inside the tote. Lol.

I have my recipe here to share, if you would like to make them yourself!!

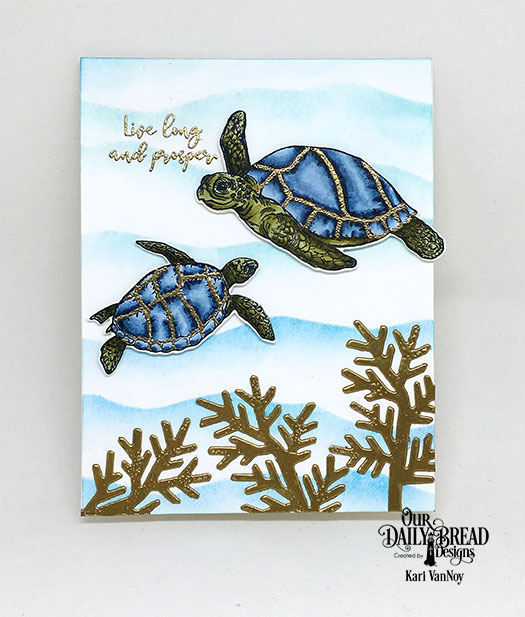
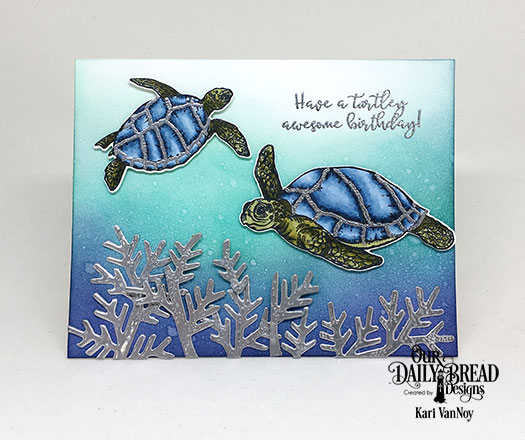
Now for my turtles! I LOVE this set from ODBD and I can’t stop creating with it. I was searching online for some photos of real turtles and I kept seeing some that had golden lines on them…which caused me to think of GOLD embossing on my turtles!

sunshine-gold-turtles

I made a video for you on how to create this background and I share my favorite TRICK for adding just a touch of embossing powder on any image! Watch it here or on YouTube:

And then of course I needed to try it out in silver! Oh…I love the little holes in the embossing on these “coral”…it makes it look so real. When I use only one layer of embossing powder I can get this fantastic result!

sunshine-silver-turtles

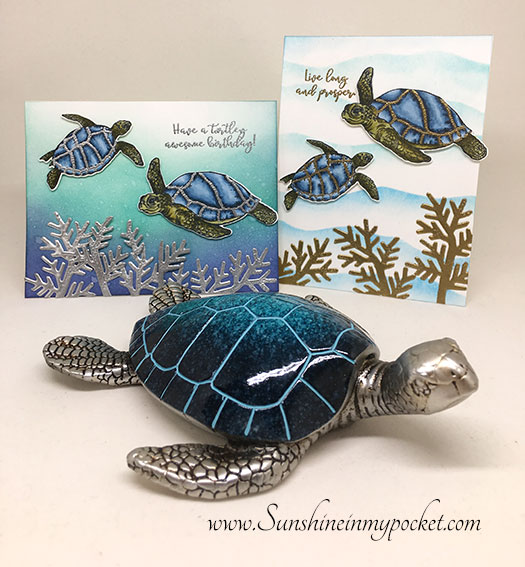
I was not only inspired by photos online for these turtle cards, but also by a little turtle we picked up in Newport Beach…here he is:

sunshine-turtle-inspiration

He’s cute, right? I’ve been playing around with other variations of this turtle and it has been so fun to make cards, tags, you name it!

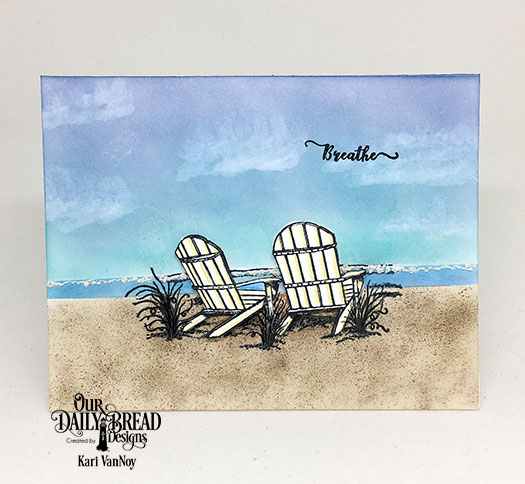
And my last card today is this beautiful beach scene. I cannot tell you how much I love this set with ALL of it’s sentiments.

sunshine-breath-beach-chairs

Breathe. Just Breathe.

Don’t you love those wispy clouds? I used Distress Oxide Inks and then a barely damp chamois to lift off some of the color, leaving these beautiful clouds. For the sand, I inked on some Distress Oxides and then used my favorite SAND TECHNIQUE using the Distress Spritzer. I have a video here if you’d like to see just how I did this.

So there you have it. Weddings. Scones. Totes. Turtles. And Beach Chairs.
A lovely combination, don’t you think?

Check out the entire May release here at Our Daily Bread Designs.

Comments { 0 }