Tag Archives | Nuvo drops
butterfly-card-2

It’s All About the Details

Hello! Today I am excited to share a video about adding fun details to a card. I first colored up my image on bristol paper using Zigs, then I added a bunch of extra details. This detail work is fun and EASY, and it adds quite a bit of interest to an otherwise fairly simple card.
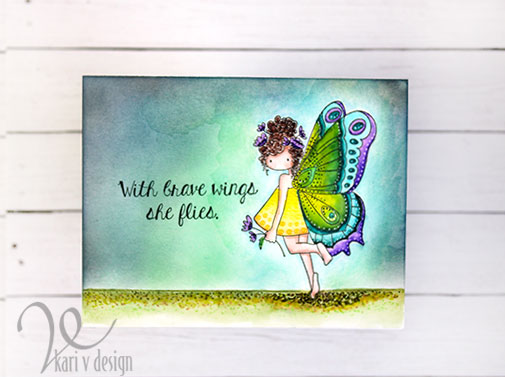
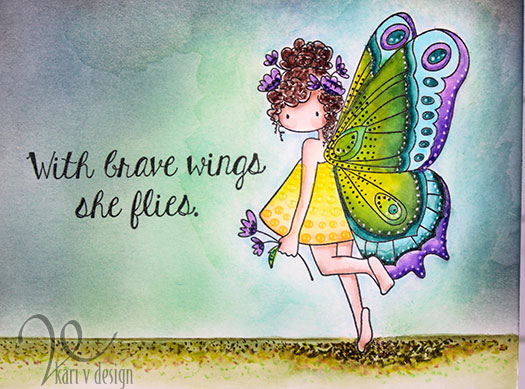
I love this butterfly image…and those sentiments are ALL really good, too. Perfect for a time like this!

See all that fun detail work?! I love it. Watch the video below or in HD on YouTube:

I used four kinds of detail-adding elements: a white gel pen, a Copic multi-liner, Nuvo Jewel drops (translucent), and Zig marker. These are all great ways to add DOTS to your cards. Be sure to watch the video for the details.

Adding this kind of detail is something to try at home and see what you like! I can’t wait to see what you create.

I’m often asked what supplies I use to make my cards and projects, so I’ve put together a list using affiliate links when possible. If you make a purchase with these links I may receive a small commission. These help me to keep up with blog costs and continue bringing you fun projects. Thank you so much for your support!

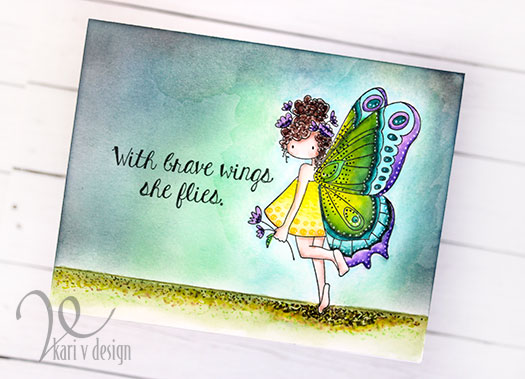
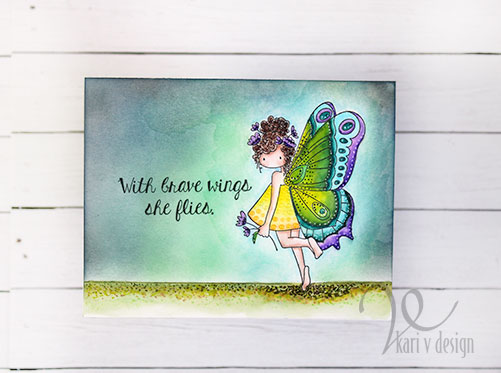
Want to know a secret? That background was not going to be a stormy background. It was going to be a bright, watercolored background. But it morphed into this stormy background, with that angel butterfly staying calm amidst it all! We can all learn from this bright butterfly.
I hope you enjoyed this project today! See you real soon with another card to share.

Comments { 0 }
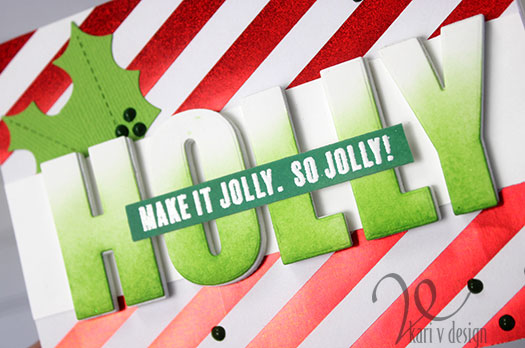
make-it-jolly-close-up-2

Make It Jolly

Hello! Today I have another beautiful holiday card to share with a favorite sentiment of mine this season.

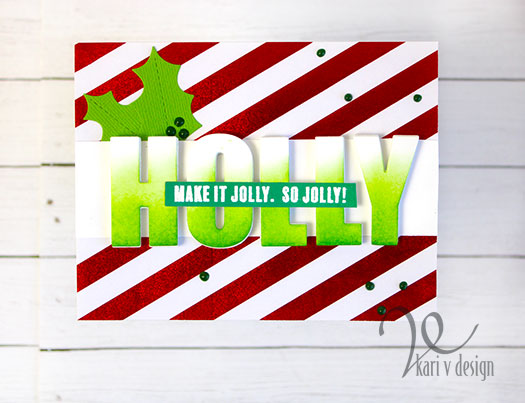
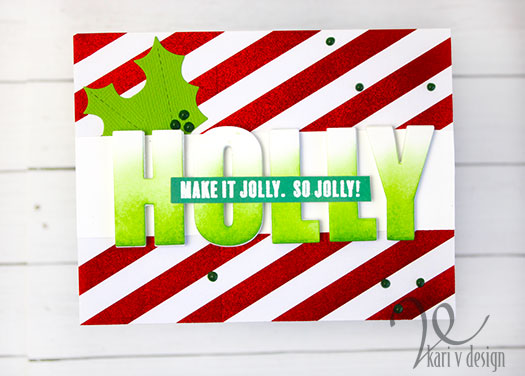
Make It Jolly. So Jolly!

This card came together so quickly with the use of some glittery foil striped paper I found in my stash! Love the extra sparkle.

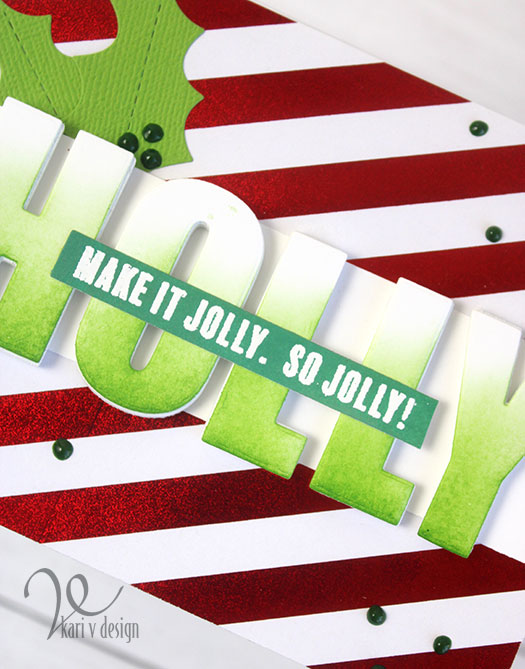
I first die cut the large HOLLY with bold alpha dies and inked them up with green Distress Ink. Then I popped those up on fun foam and added them to the foiled striped paper.

I used the same green ink to make a paper strip and stamped on the sentiment “Make it Jolly. So Jolly!” with embossing ink, then white heat embossed it.

To finish it all off, I added some holly die cuts and some Green Nuvo drops. You might be wondering why I didn’t add red Nuvo drops…well, the red that I had didn’t match the red foiled paper (it was too pink). So green it is!

I added it all to a pre-scored card base (these are a dream for making cards so easily!) and that’s it!

I’m often asked what supplies I use to make my cards and projects, so I’ve put together a list using affiliate links when possible. If you make a purchase with these links I may receive a small commission. These help me to keep up with blog costs and continue bringing you fun projects. Thank you so much for your support!

Thanks for stopping by!

Comments { 0 }
ahoy-owl-sideways-view

How to make a Wood Plank Background

Hello friends! Today I have some fun cards to share AND a video on how to make a wood plank background.

Affiliate Links are used when possible. When you click on these links and make a purchase I receive a small commission, which helps me to continue to bring you projects and blog posts! Thanks for your support.

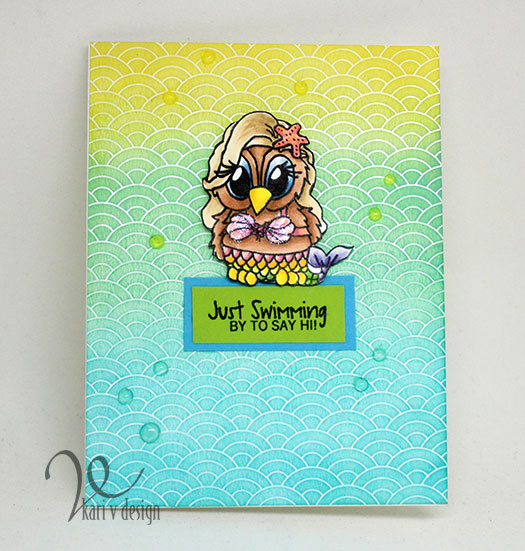
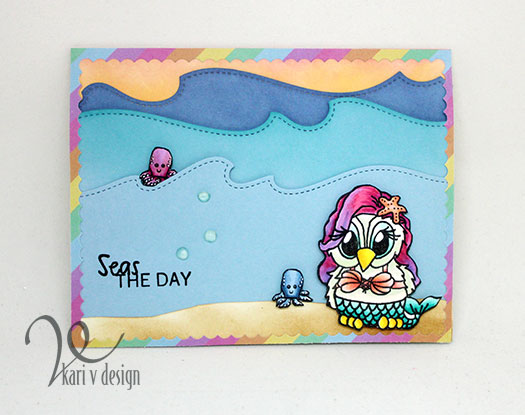
These are some cute images from Jessica Lynn Originals. I just couldn’t resist coloring up those mermaid owls. Here’s my first card:

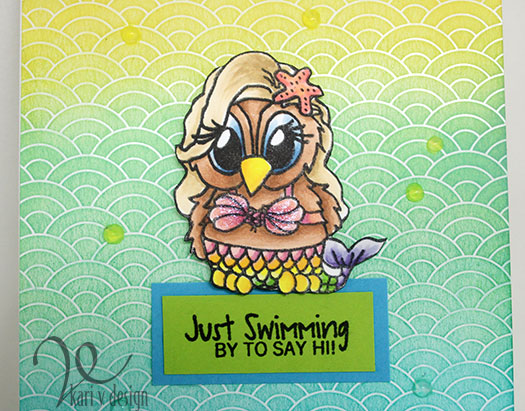
I colored up that cutie mermaid as a blonde bombshell, complete with glittery pink bikini top.

The background is called Everyday Tintables Card Pack from Concord & 9th, these are so great because they have a white design pre-printed that allows for this emboss resist look. I inked up with Distress Inks in three different colors: Peacock Feathers, Cracked Pistachio, and Fossilized Amber.

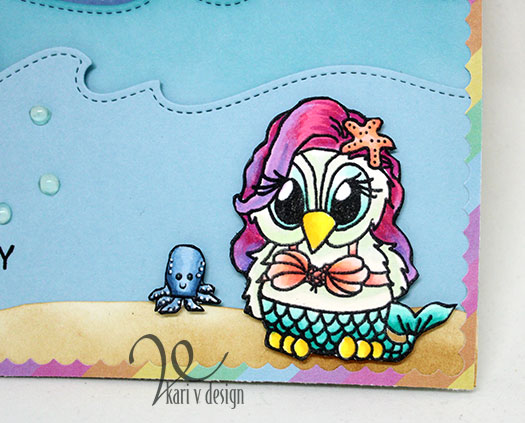
Close up of Mermaid Owl

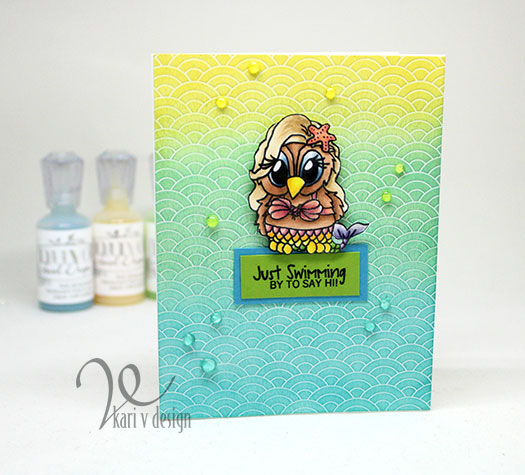
I used some Jewel Nuvo Drops to finish off this card. They are so beautiful because they are semi-transparent with just a little tint of color. These are the three colors I used: Limoncello, Key Lime, Sea Breeze.

My second card shows of that mermaid owl with some hot pink hair:

Look at her cute little octopus friend! I used Copics to color them up and added some white gel pen dots for accents. The ocean waves are a die from this set. I just love the added stitching to the edge.

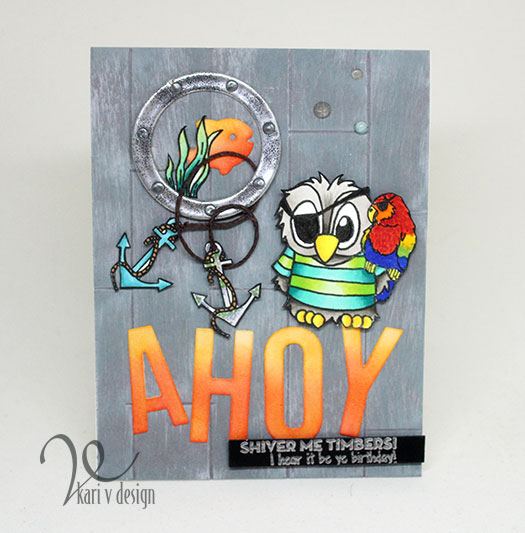
My last card features Brentwood Owl, which is actually the logo of Jessica Lynn Originals. Did you know she’s celebrating 14 years in business in April?! So this little owl is extra meaningful:

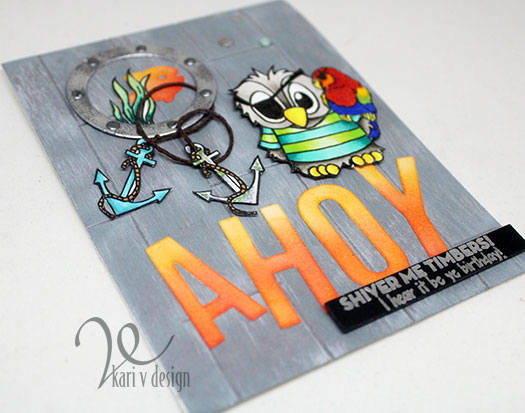
Shiver me Timbers! I hear it be ye birthday!

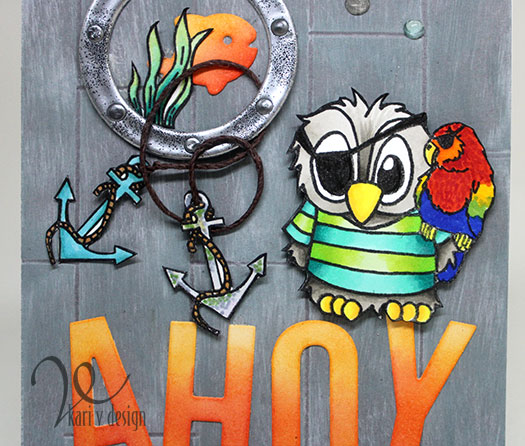
Take a look at his sidekick parrot! I used some extra lines to serve as his feathers and I think he turned out pretty cute! Here’s a close up:

That wooden plank background is made using one of my favorite techniques! I have a video to show you just how to create that wooden plank look, as well as how I put this card together.

[Note: listen for the “guest pirate” in this video! LOL. I had a great time having a guest join in on this voiceover!]

Watch it below or on YouTube:

I love that Porthole die from Lawn Fawn. To finish it off, I used Nuvo drops in Liquid Mercury…I think it adds just the right amount of detail.

I hope you enjoyed these projects today. Check out more of Jessica’s designs at her blog here.

Ahoy!

I’m loving how the wooden plank background turned out!
Until next time…Thanks for stopping by!

Comments { 0 }
get-well-soon-watercolor-pen-card

Watercolor Pens with the Bountiful Blooms set

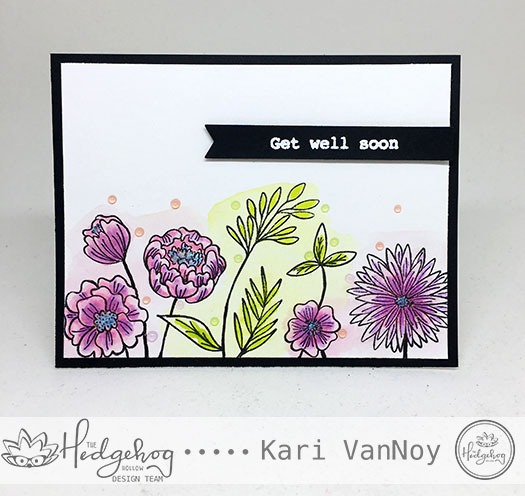
Hello! Today I’m sharing a project on the Hedgehog Hollow blog that is rather unusual for me. I’m creating a messy watercolor look using the Watercolor Pens and the Bountiful Blooms set from the September Hedgehog Hollow Box. Here’s a sneak peek:

get-well-soon-watercolor-pen-card

I used all four colors included in the set and a watercolor brush to move that color around, but you could just as easily use a small paintbrush and a little bit of water.

All the details and the VIDEO tutorial are up on the Hedgehog Hollow blog here. So click now to check out just how easy this card style can be!

Thanks for stopping by!

Comments { 0 }
merry-making-badge

Merry Making Class Day 3

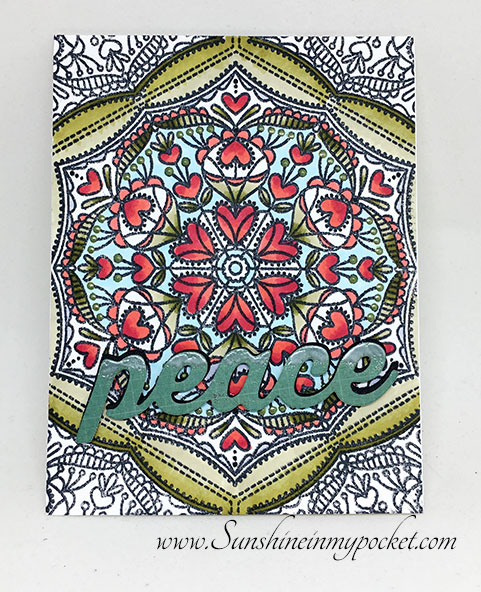
Hello! Today I was inspired again by Kristina Werner in the Merry Making Course. She showed us a method of using non-holiday stamps and coloring them up using holiday colors for a beautiful card. So I used a background stamp by Simon Says Stamp (Cora background). I thought it looked a little like a wreath. It just needs a red bow!

day-3-non-holiday-stamps-on-holiday-cards

I used Copics only on the center part (wreath) and added a popped up sentiment. I also added some Nuvo drops in green, but you may not be able to see them in the picture. In real life, it adds a fun dimension to the project. See you again tomorrow with another card!

merry-making-badge

Comments { 0 }