Tag Archives | Miss Ink Stencils
SUNSHINE-happy-day-rose-card-3

Easy Watercoloring

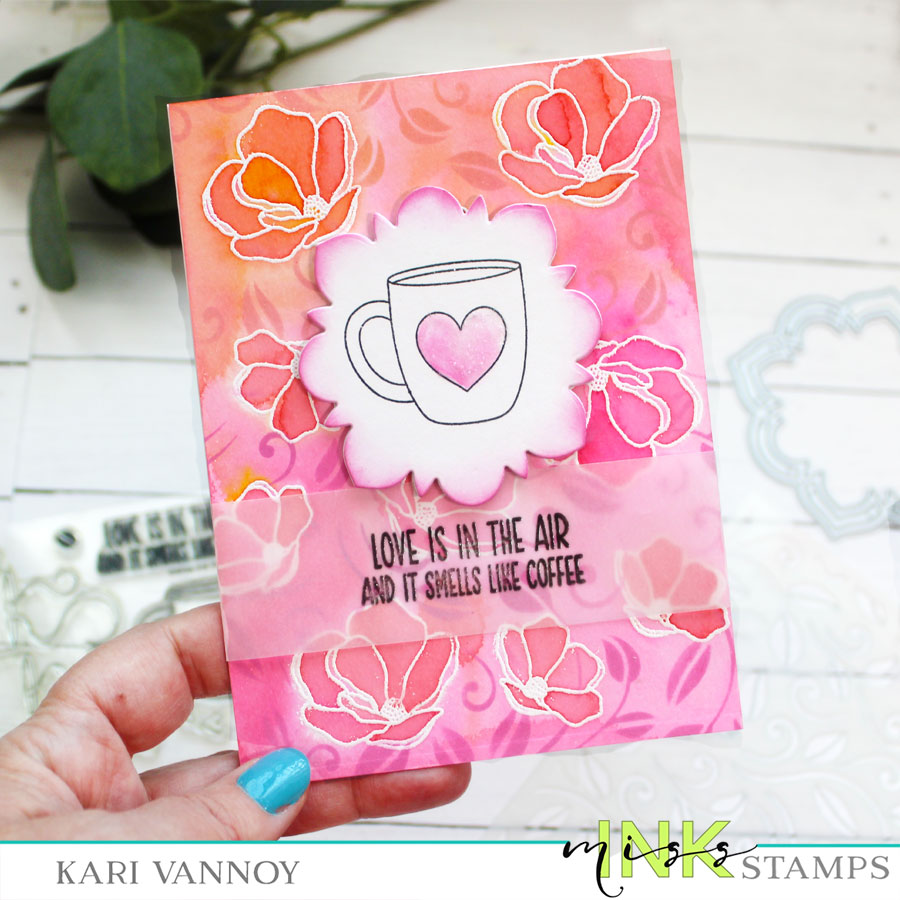
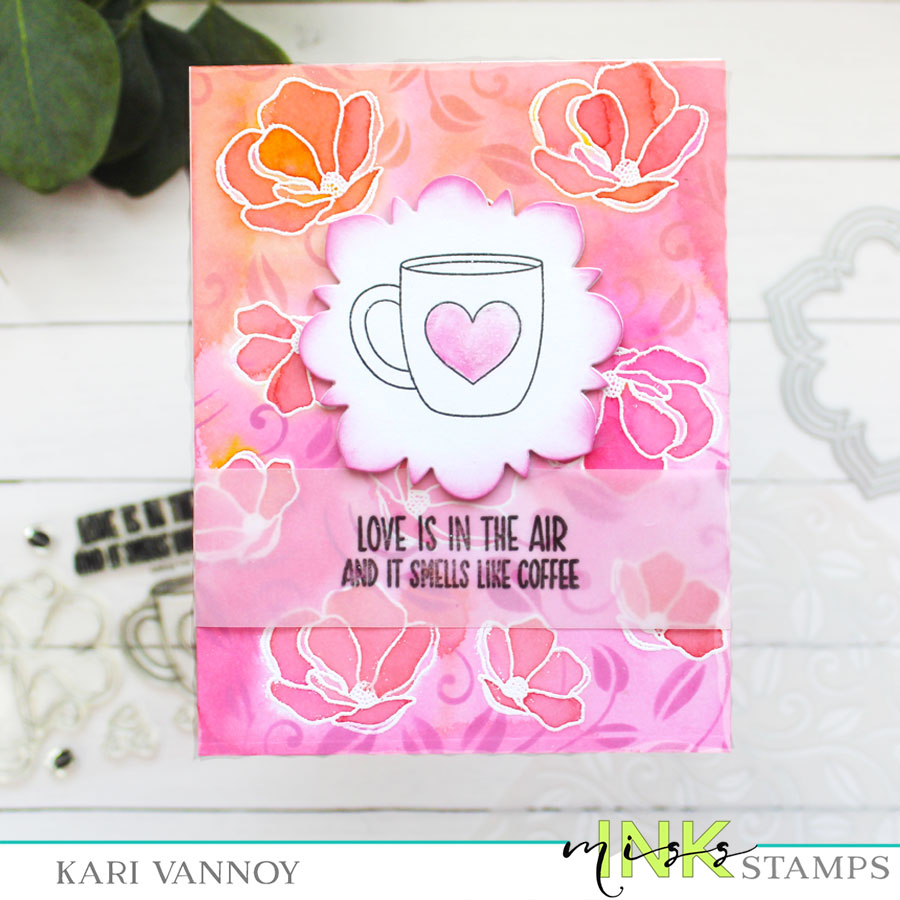
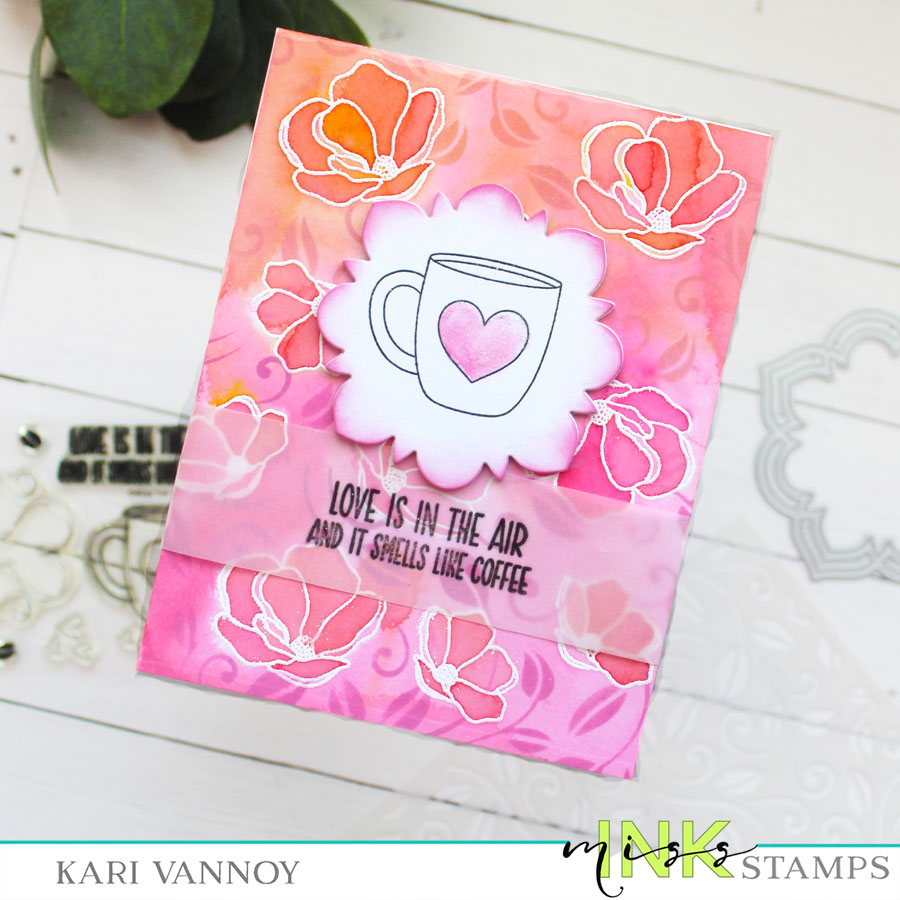
Hello! Today I have a card with Easy Watercoloring. I love to watercolor, and I love it even more when it’s EASY. This technique is so fun to do and you can do this even if you aren’t a professional watercolorist!

Watch the video below or in HD on YouTube:
I have some tips for easy watercoloring, today I am using Zig Clean Color Real Brush markers, so these tips will be for having great success using those watercolor markers.

  1. Choose Bristol Smooth cardstock. This cardstock allows the Zig Clean Color Real Brush markers to blend smoothly with a waterbrush!
  2. Heat emboss your image. Here I stamped using black ink (Versafine Onyx Black) and then used some clear embossing powder over the top. This will keep the watercolor inside these embossed areas!
  3. Choose 2 or three colors to blend and use a waterbrush in the lightest color first to blend into the darker color(s). It makes a beautiful blend

I used a gorgeous stencil (Latte Lace) for the background, using only TWO ink colors. I blended the Tumbled Glass and Squeezed Lemonade Distress inks together and they created a beautiful green.

The frames are from the Oh Happy Day die set. There are so many great options in this set! That’s where the sentiment came from also.

Watch the video above to see how this all came together!

I’m often asked what supplies I use to make my cards and projects, so I’ve put together a list using affiliate links when possible. If you make a purchase with these links I may receive a small commission. These help me to keep up with blog costs and continue bringing you fun projects. Thank you so much for your support!



I really love a calm watercoloring session, especially when it’s THIS EASY! I hope you enjoyed this project today. I’ll be back with more cards to share soon!

Comments { 0 }
SUNSHINE-magnolia-breathe-card-7

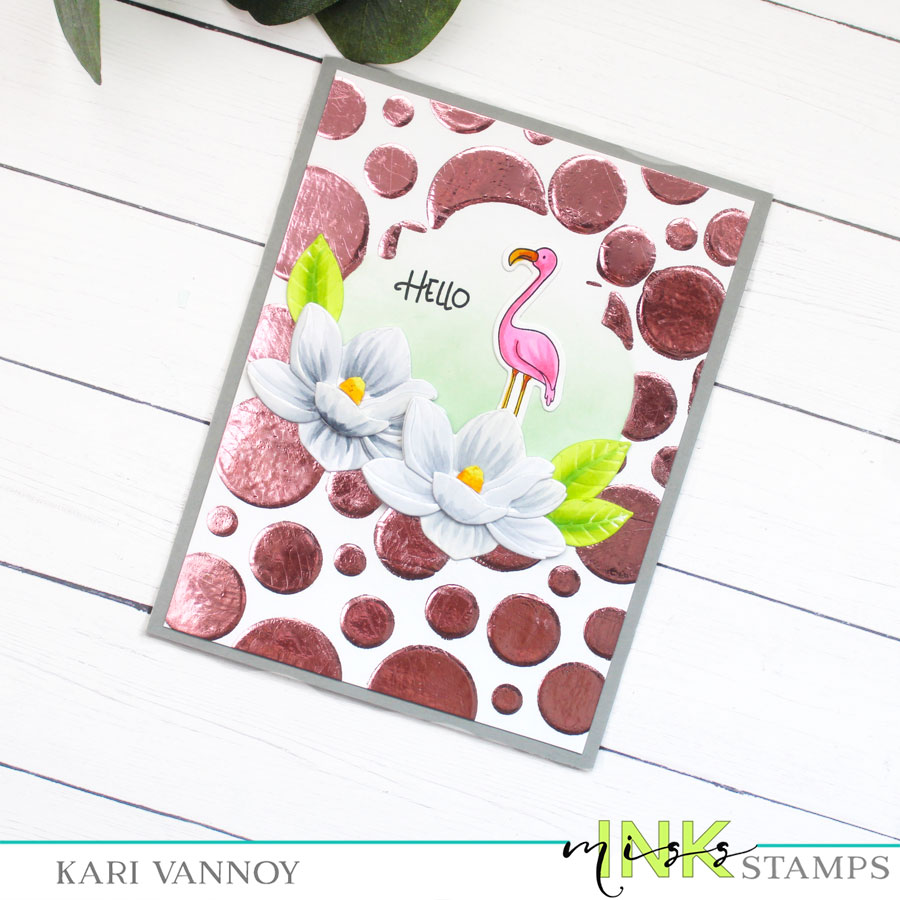
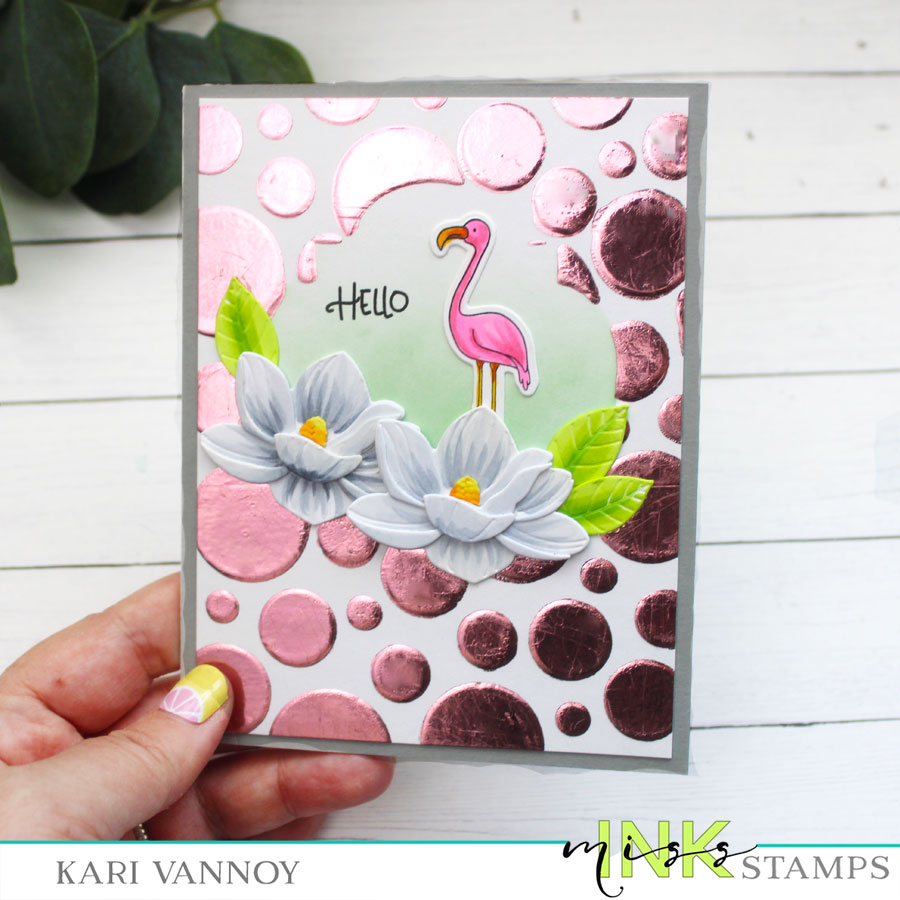
Magnolia Card

Hello! I am so excited to bring you a sneak peek of a new Magnolia Layering die coming soon! This die set comes with a beautiful frame die also and I share it all with you in my video below:

These new sets will be available next week on July 15th! I will link everything as soon as it releases.

I’m often asked what supplies I use to make my cards and projects, so I’ve put together a list using affiliate links when possible. If you make a purchase with these links I may receive a small commission. These help me to keep up with blog costs and continue bringing you fun projects. Thank you so much for your support!


Thanks for stopping by today! I’ll be back soon with more cards to share.

Comments { 0 }
SUNSHINE-both-highland-cow-cards-2

Two Cards for the Price of One!

Hello! Today I’m excited to share some techniques to get two cards for the price of one! I’m using some new products from Miss Ink Stamps, including the adorable Highland Cows stamp set.

Watch the video below or in HD on YouTube:

Just how cute are those Highland cows!!? I just love them.

To start, I used a fun stencil technique, where you ink on a light color, then move the stencil a bit and ink on a darker color. For the first card I used a light green then moved the stencil and used a darker green over the top. On the darker cardstock (Desert Storm cardstock) I used WHITE PIGMENT INK first, then inked on Pine Needles Distress Oxide over the top after shifting the stencil a little. This creates a real POP in the color! Try this with any dark cardstock and white pigment ink…then a darker shade of Oxide over the top.

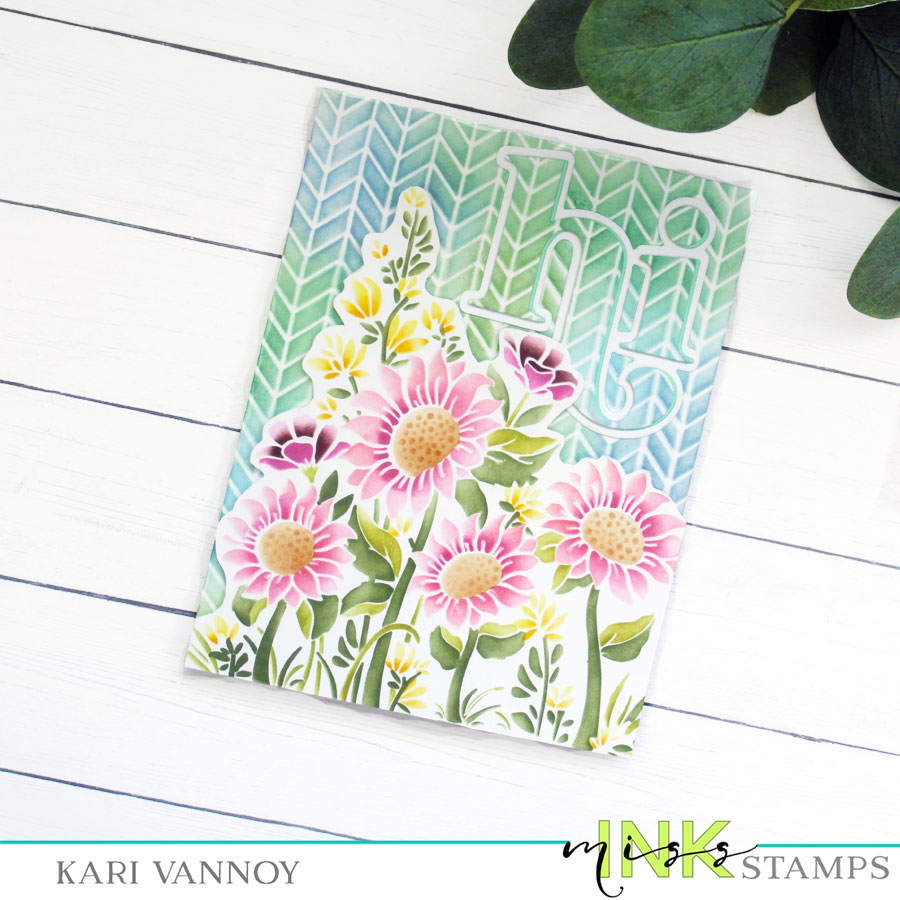
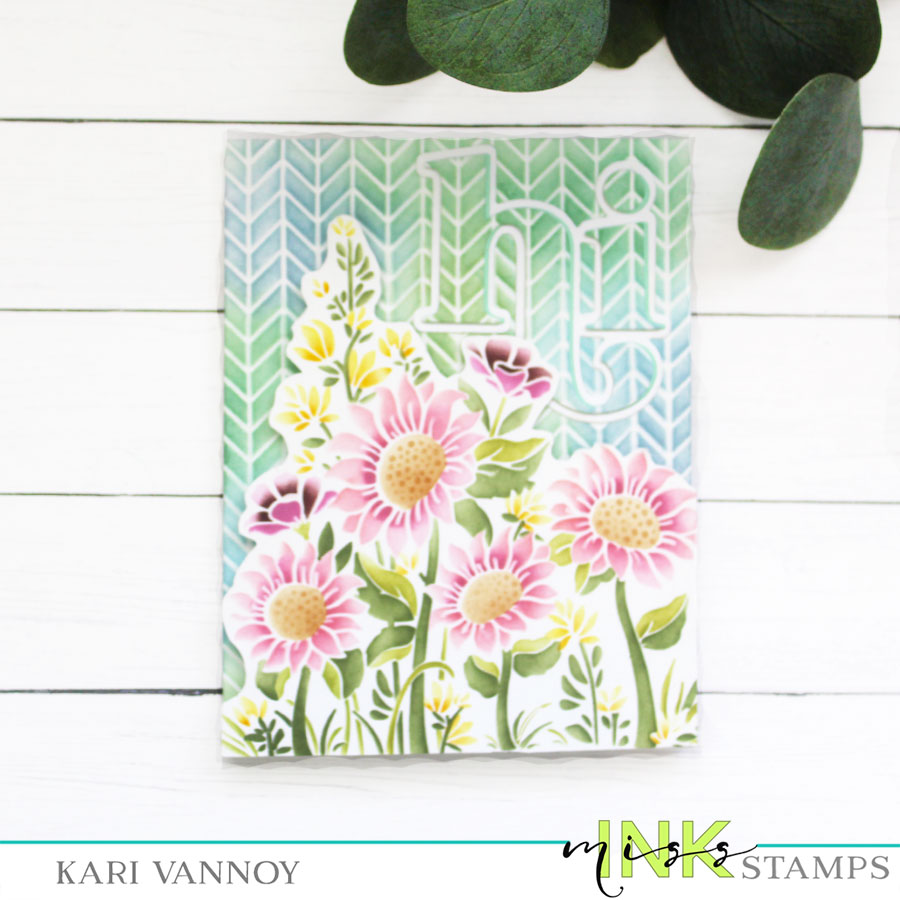
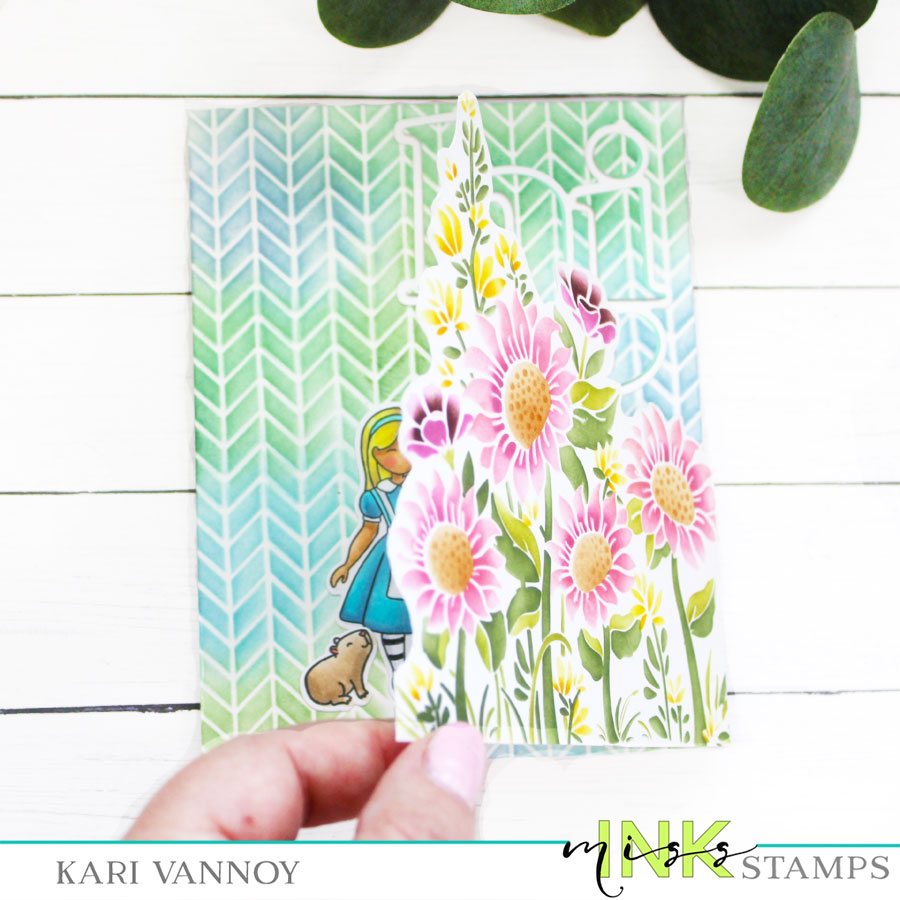
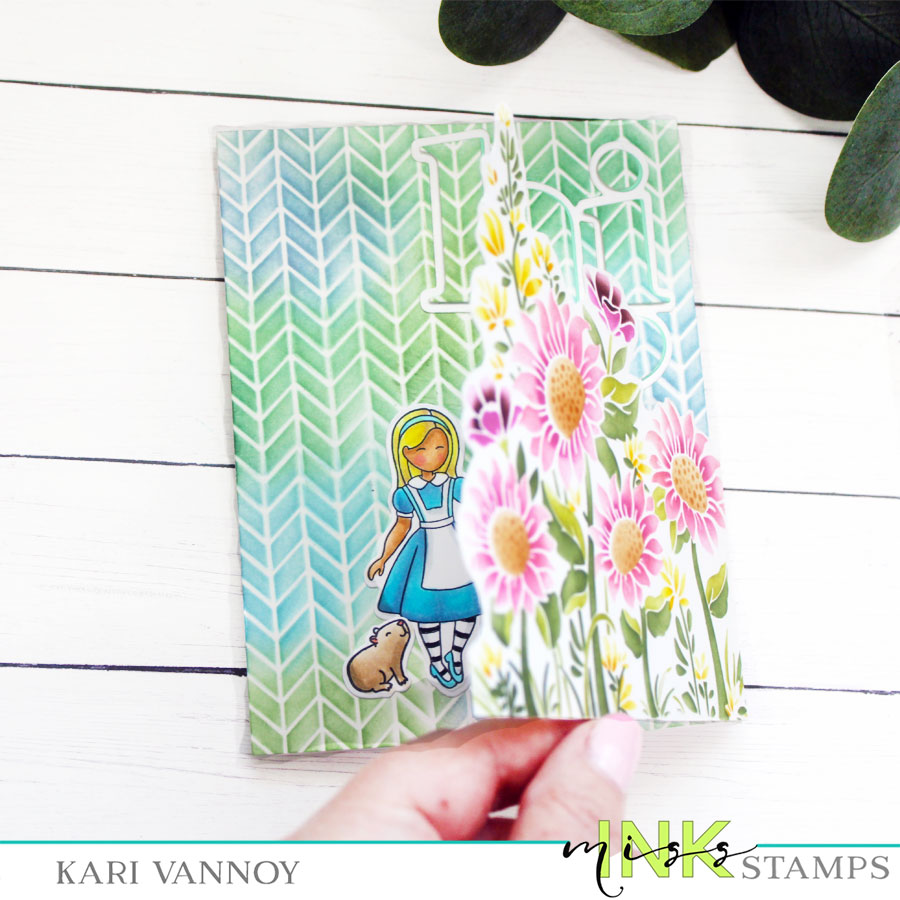
Once the stenciling was done and the ink was completely dry, I die cut the “HI” sentiment out of both cardstock pieces in approximately the same place. Then, you can switch the sentiments, add the shadow die and glue them back on top of where you cut that HI out of the panel! Such a fun technique and allows you to create 2 cards so fast!

That Hi Swirl Frame die set also includes all these beautiful flowers and leaves. I layered some up and created a spray of flowers for one card, and a small splash of flowers on the other card.

I’m often asked what supplies I use to make my cards and projects, so I’ve put together a list using affiliate links when possible. If you make a purchase with these links I may receive a small commission. These help me to keep up with blog costs and continue bringing you fun projects. Thank you so much for your support!


I hope you enjoyed this double project today! Thanks for stopping by.

Comments { 0 }
SUNSHINE-girl-with-horse-card-3

Coloring an Appaloosa

Hello, today I’m excited to share a video and how I Copic colored an Appaloosa. I was so happy to see this new stamp set from Miss Ink Stamps, and I chose 3 of my favorite images to create this card today.

Watch the video below or in HD on YouTube:

I loved creating this ink blended sunset background for this card. I show you just how I did it using Masking Magic paper in my video.

I used the new EIEIO placement guide stencil for lining up those alpha dies, and boy is it cool!! You have to check out their new placement guides!

I’m often asked what supplies I use to make my cards and projects, so I’ve put together a list using affiliate links when possible. If you make a purchase with these links I may receive a small commission. These help me to keep up with blog costs and continue bringing you fun projects. Thank you so much for your support!


I hope you enjoyed this vibrant project today! See you soon with more cards!

Comments { 0 }
SUNSHINE-independence-bear-card-3

Independence Bear (fuzzy coloring)!

Hello! Today I’m excited to share some fuzzy coloring with the new Independence Bear stamp set.

Watch the video below or in HD on YouTube:

Isn’t this duo of critters just so cute?!? I hope you enjoy the video.

I’m often asked what supplies I use to make my cards and projects, so I’ve put together a list using affiliate links when possible. If you make a purchase with these links I may receive a small commission. These help me to keep up with blog costs and continue bringing you fun projects. Thank you so much for your support!


Enjoy! See you soon!

Comments { 0 }