Tag Archives | maker forte
SUNSHINE-joy-deer-card-1

4 Ways to use Alpha Sets

Hello! Today I’m excited to share 4 more ideas on using Alphabet stamp sets. I have found the BIGGEST alpha stamp set I have ever seen…and my projects today are all using this set.

Watch my video below or in HD on YouTube:

1. Spell It Out

Of course, the first and most obvious use of Alphabet stamps is to spell out a word or a name. But have you ever replaced one of the letters with an image?! This is fun and adds some whimsy to the page.
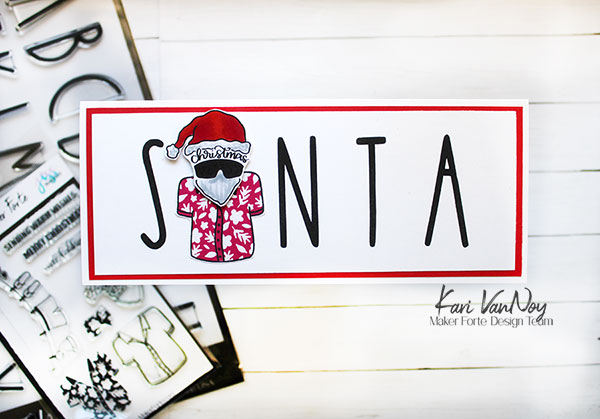
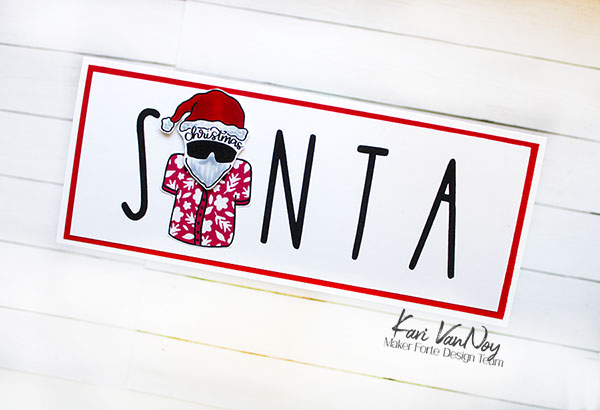
Also, try stacking your letters for a different look!
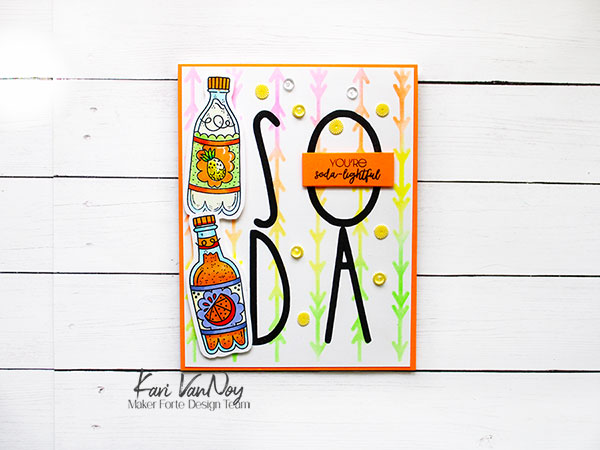
2. Monograms and Initial Cards

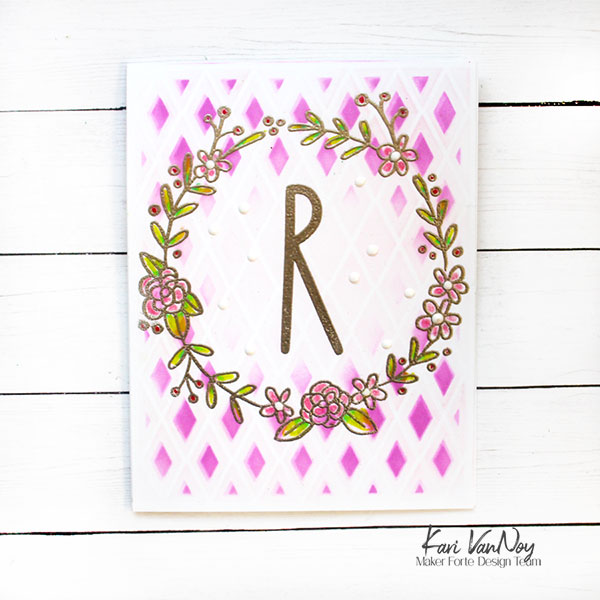
The letters on this set are so large and that makes them PERFECT for a monogram or Initial Card! These are great for cards AND tags.

Today I made a very non-Christmas initial card for my Daughter-in-Law. Her birthday is this week and often gets mixed up with Christmas. So this is just for her to show that we are celebrating HER on her birthday.
3. As a Background

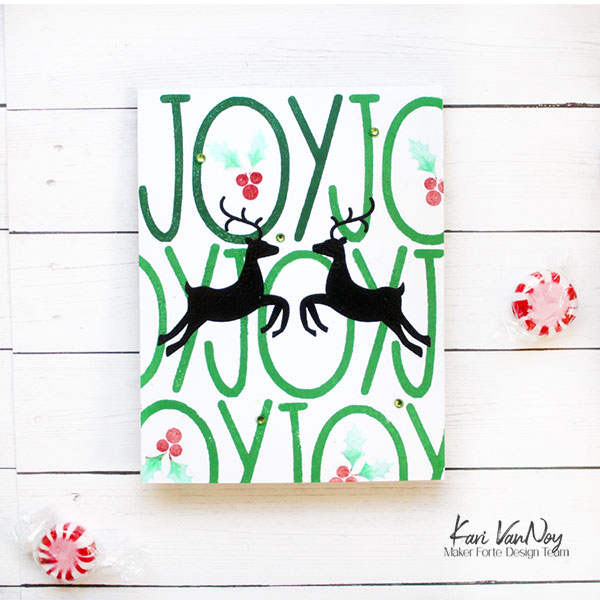
Letters make a fun background and these large letters really add a pop! Here I repeatedly stamped the word JOY in green ink and then black heat embossed the deer over the top using THIS stamp set.
4. Home Decor

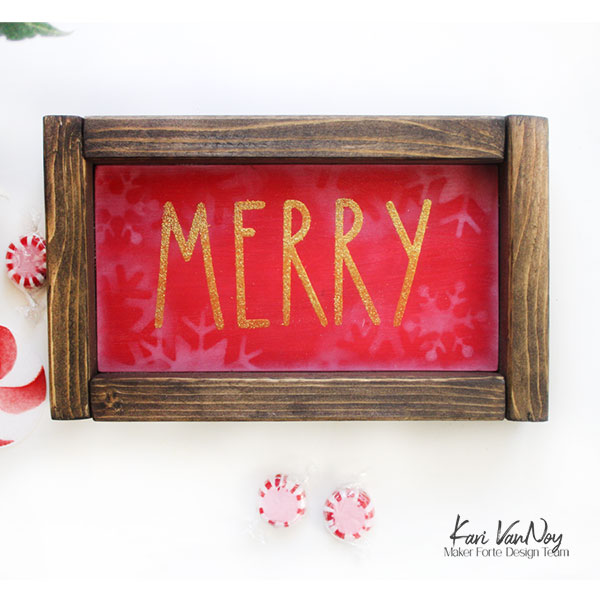
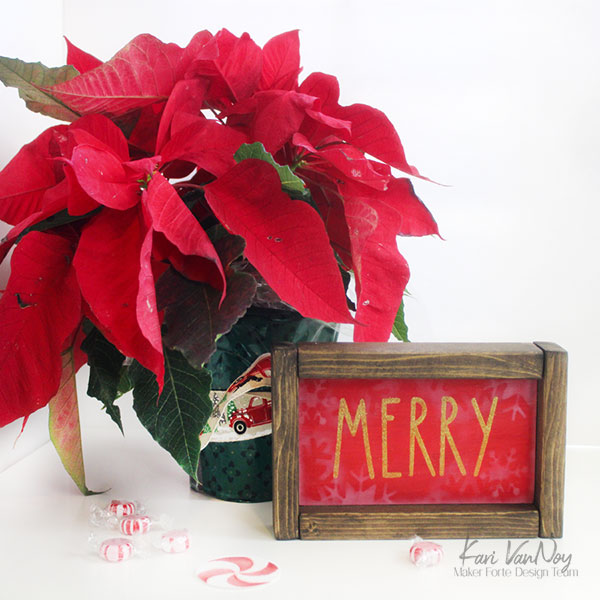
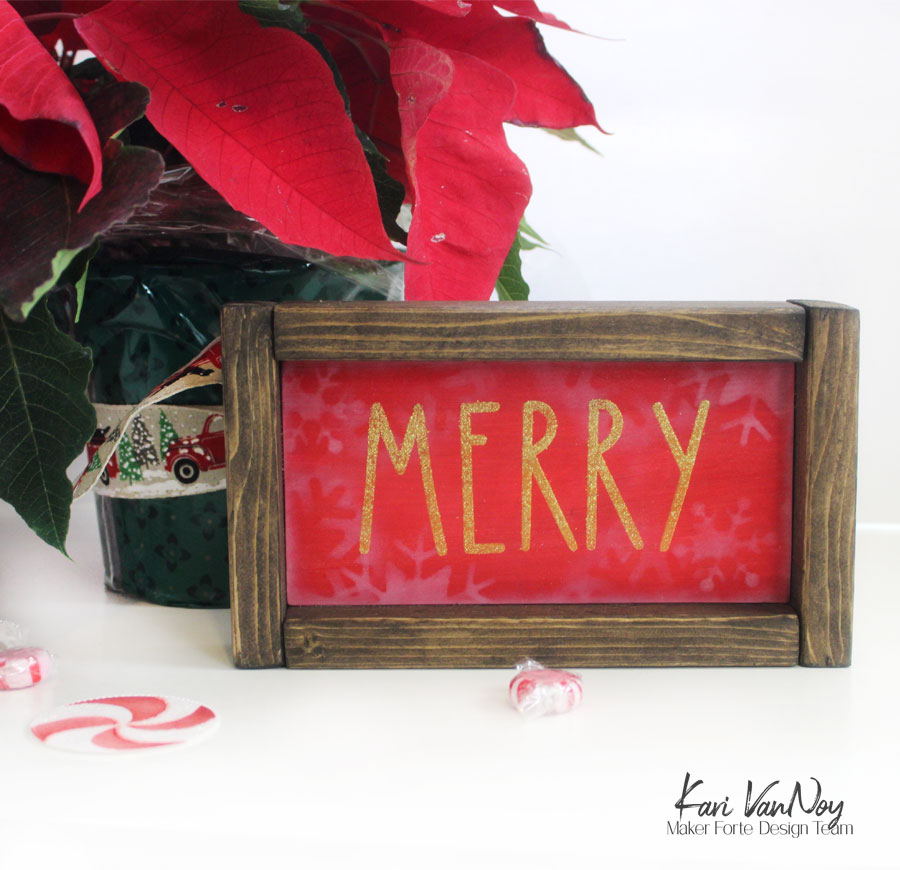
Another really positive aspect of such a large stamp set, is that you can make home decor pieces and signs. Here I made a Merry little sign by heat embossing in gold over a red painted wood block. I added an easy rustic frame and Voila!
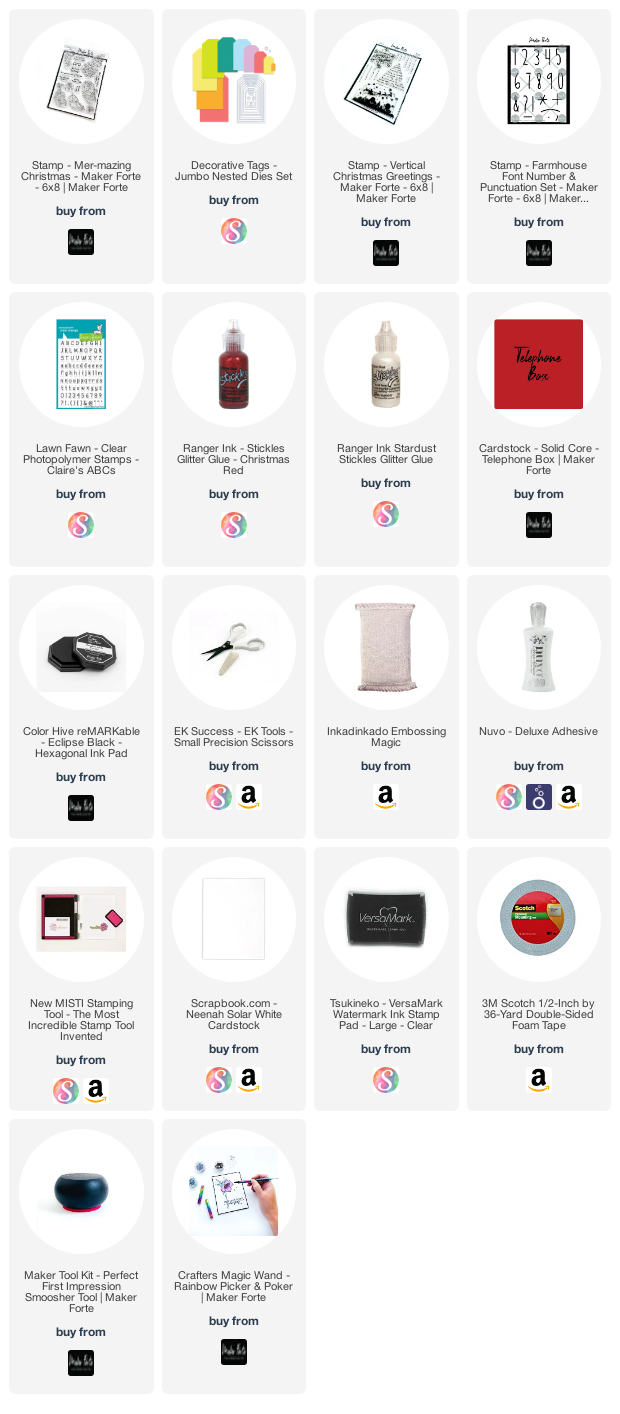
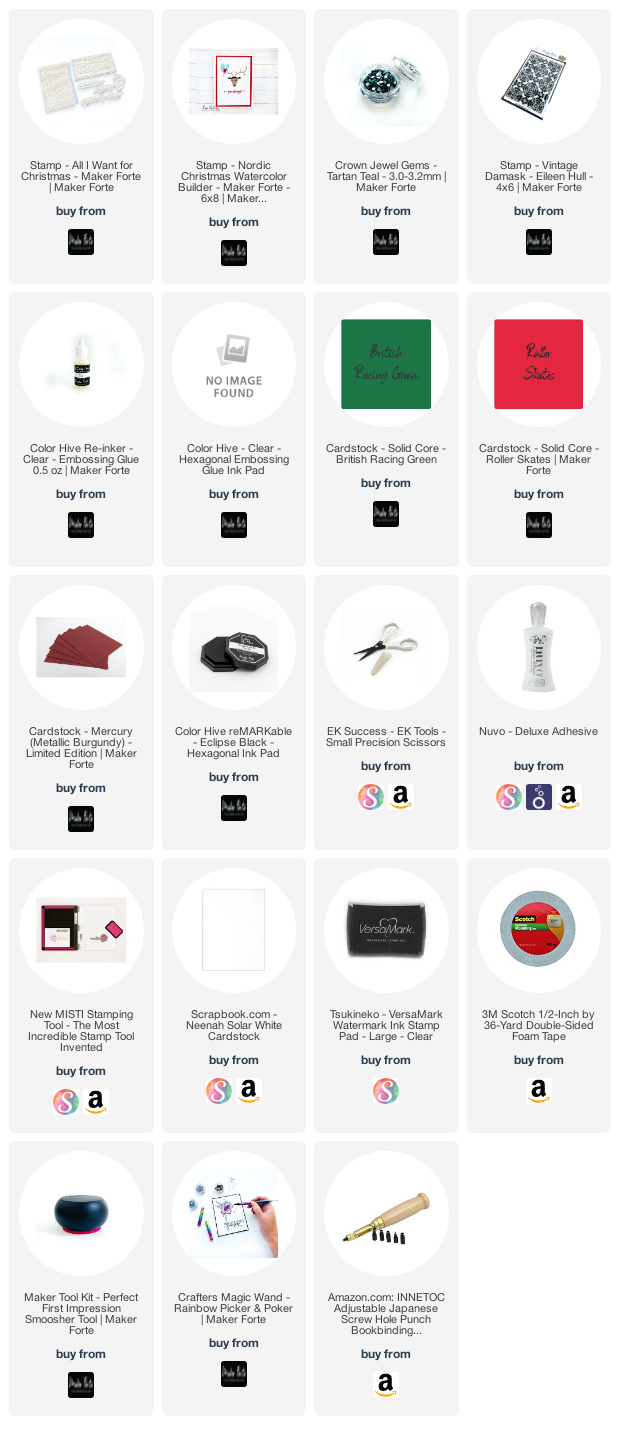
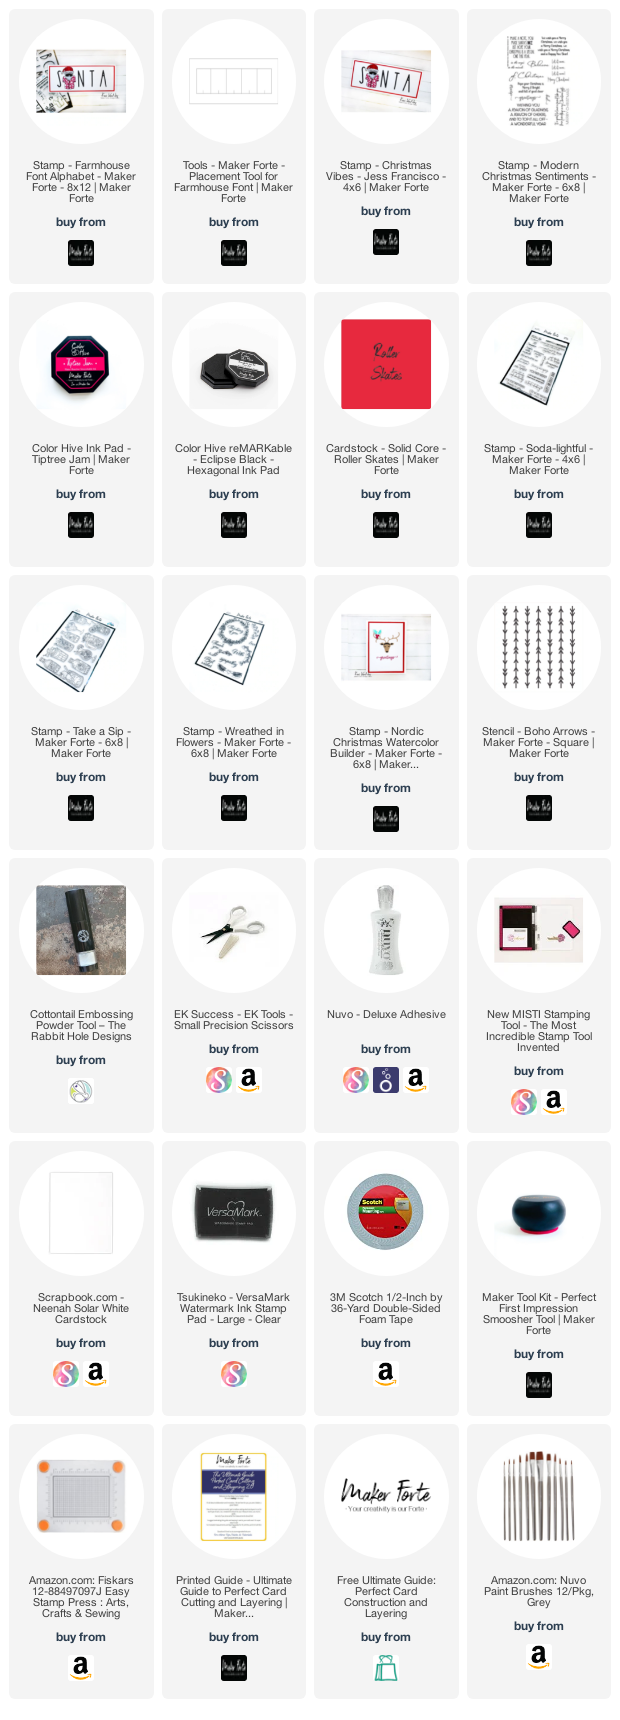
I’m often asked what supplies I use to make my cards and projects, so I’ve put together a list using affiliate links when possible. If you make a purchase with these links I may receive a small commission. These help me to keep up with blog costs and continue bringing you fun projects. Thank you so much for your support!


I hope you have a very happy holiday season!
Comments { 0 }
SUNSHINE-tags-on-presents

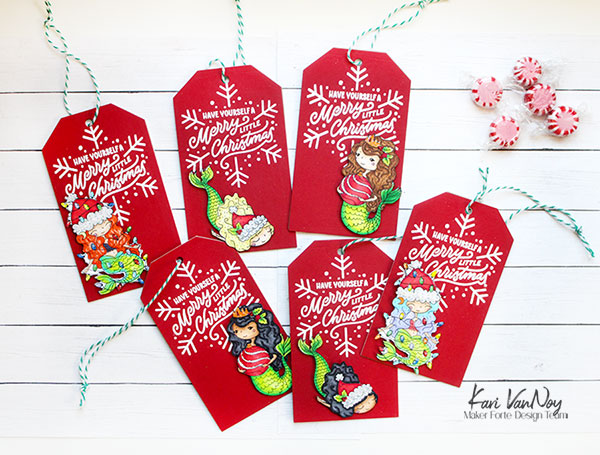
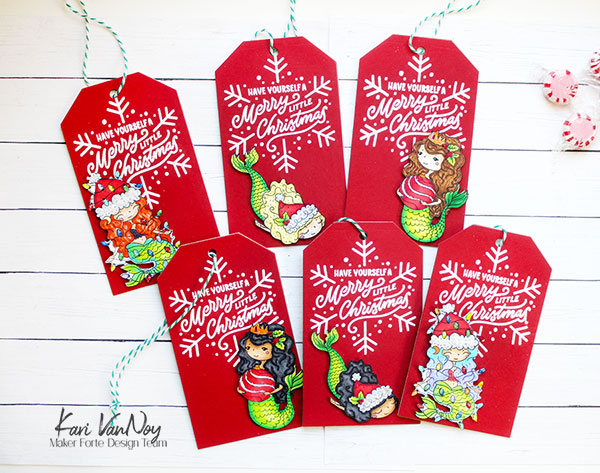
Christmas Mermaids: Tags & Ornaments

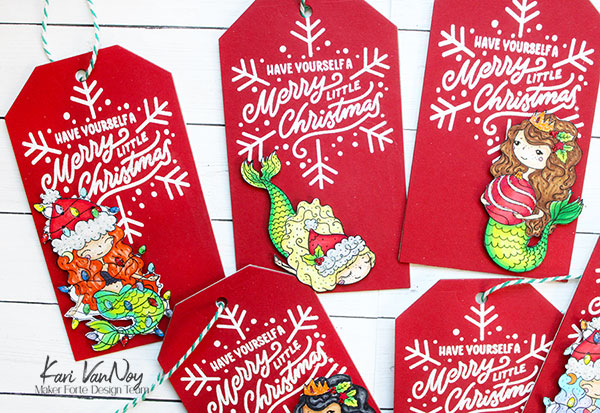
Hello! Today I have some mermaid tags to share that double as ornaments! These Christmas Mermaids are so cute and perfect for the holidays.

I have a quick video to share how these are put together and how to make them sturdy for hanging on the tree. Watch the video below or in HD on YouTube:

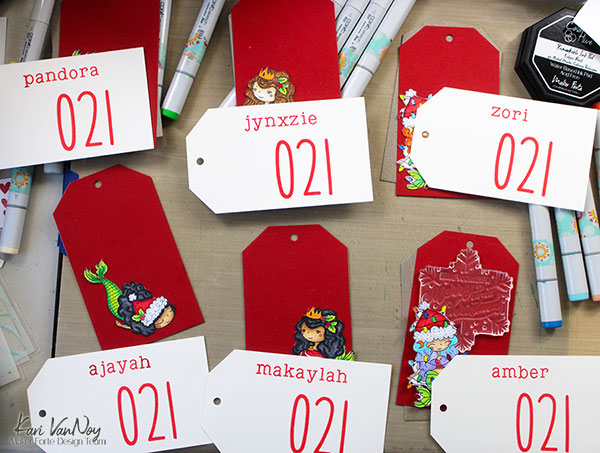
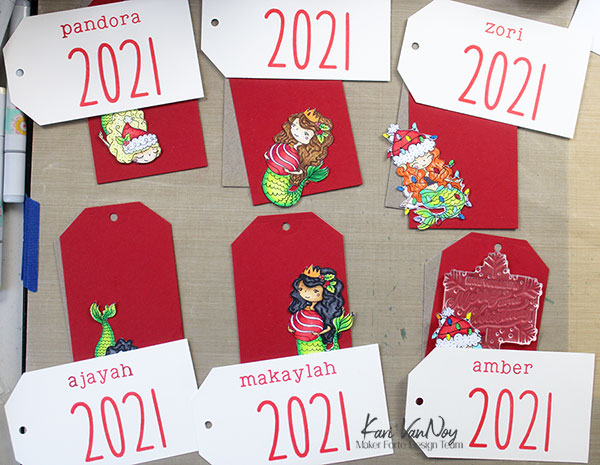
On the back of the tags, I stamped the year and the names of the recipients. I used the large number stamp from Maker Forte…and began by stamping “021” on all of them. Then I removed the 2 and stamped it in the front to create “2021.”

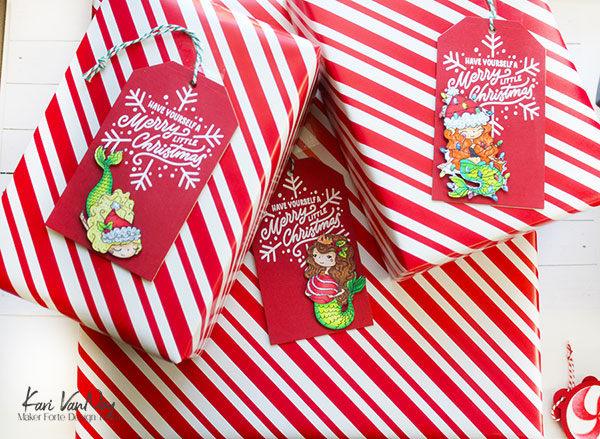
I cut 3 tags for each ornament: one out of red cardstock, one out of white cardstock, and one out of chipboard to sandwich in the middle. This chipboard makes the whole tag very sturdy and ready for hanging on the tree!

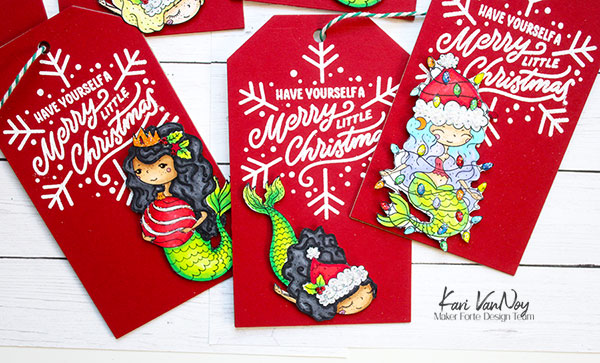
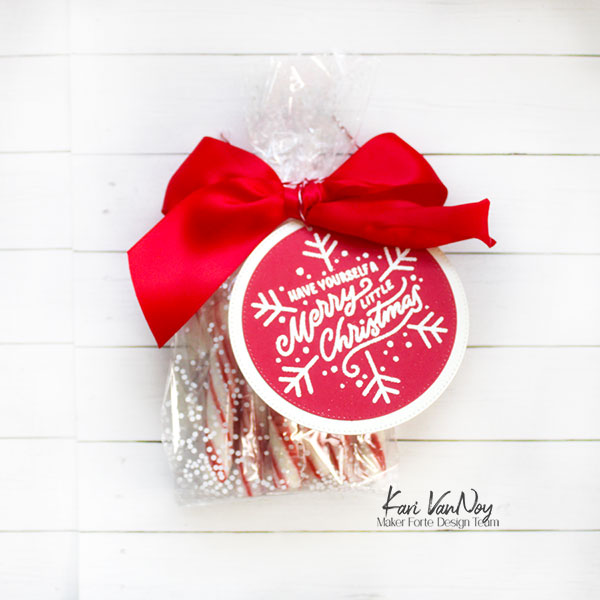
I stamped the snowflake greeting with clear, sticky ink on the red cardstock. Then I heat embossed with white embossing powder.

Once I had colored and cut out all the mermaids, I attached them with foam tape for extra dimension.

I think they look pretty great on some packages!

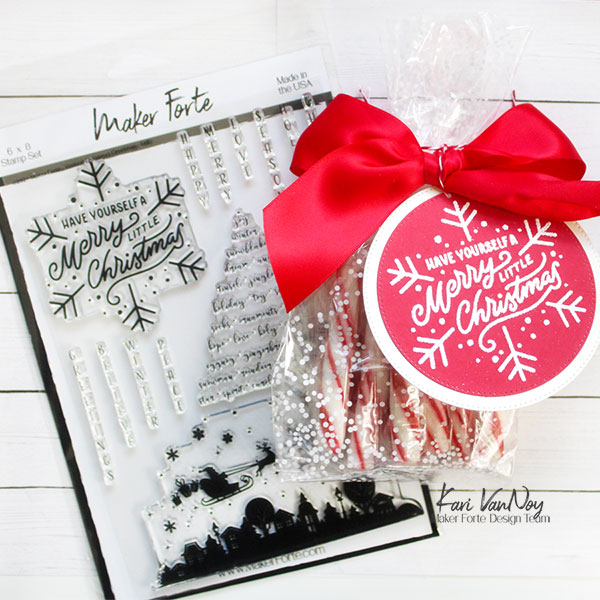
I wanted to mention, this snowflake sentiment is also cute on it’s own as a tag…if you don’t want to add the mermaids.

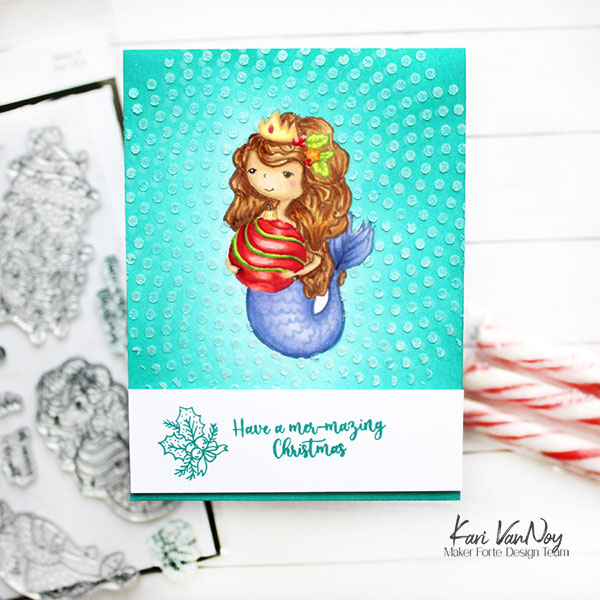
And these mermaids also make a pretty sweet little card, too….here is one I stamped in a light ink and did some “no-line coloring.”

Have a mermazing Christmas!

I’m often asked what supplies I use to make my cards and projects, so I’ve put together a list using affiliate links when possible. If you make a purchase with these links I may receive a small commission. These help me to keep up with blog costs and continue bringing you fun projects. Thank you so much for your support!


Hope you enjoyed these projects! Have a mermazing Christmas!

Comments { 1 }
rudolph-stencil-Kari-V

Handmade Candy Book

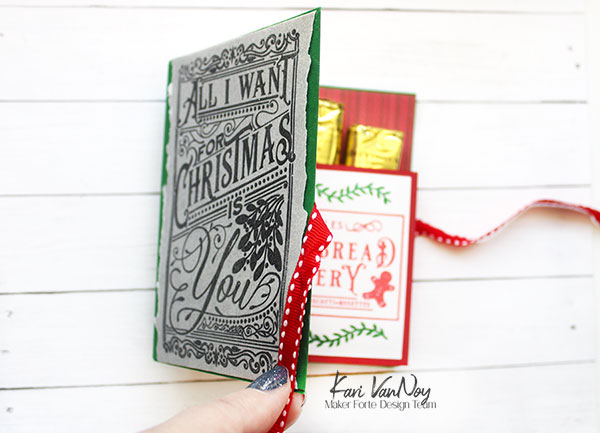
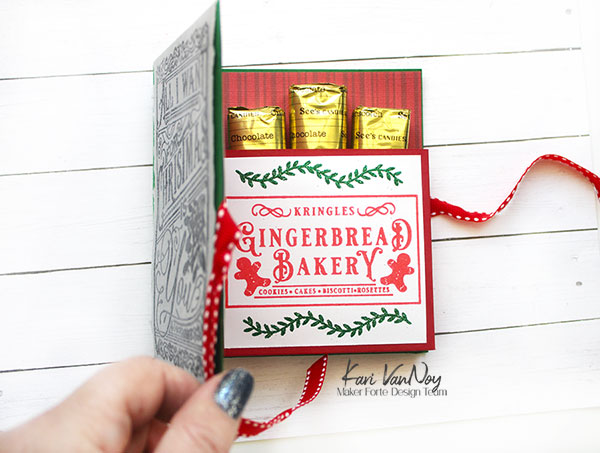
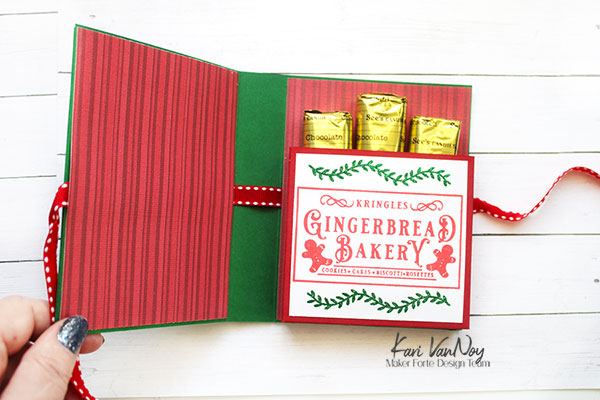
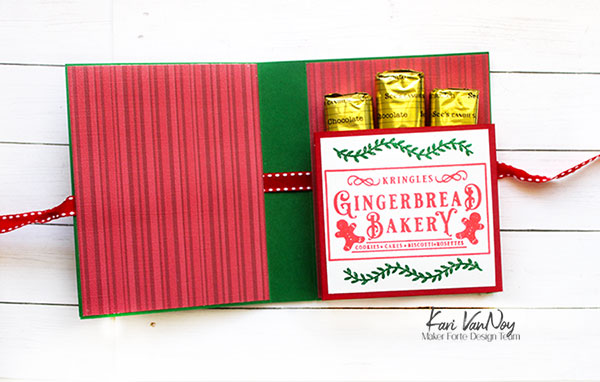
Hello! I am excited to share this project with you today….we are making Candy Books from cardstock! Remember those lifesaver books that made an appearance this time of year? Well, that’s kinda the idea with this project.

I have a video with ALL the details of how to make this, watch it here or in HD on YouTube:

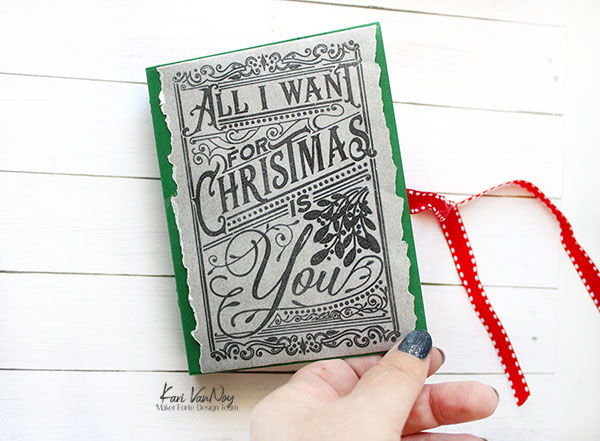
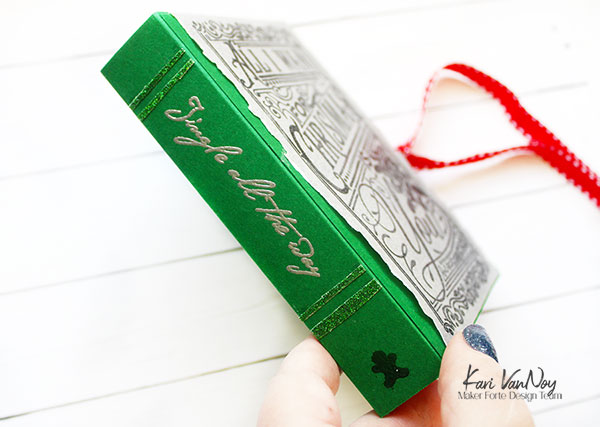
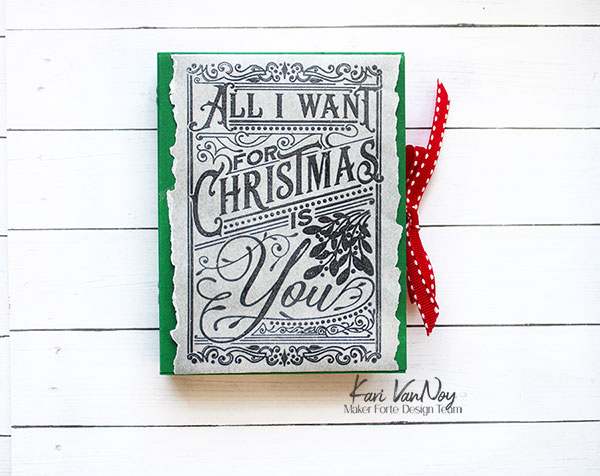
For the front cover I created a book jacket with silver vellum (I love this stuff!). I heat embossed the stamp from “All I Want for Christmas” on the vellum and I really love how it turned out.

For the inside, I stamped in red and green using the Tough Nut to Crack stamp set.

On the spine, I added some details with stamps and glitter tape. I love the font of the scripty “Jingle all the way.”

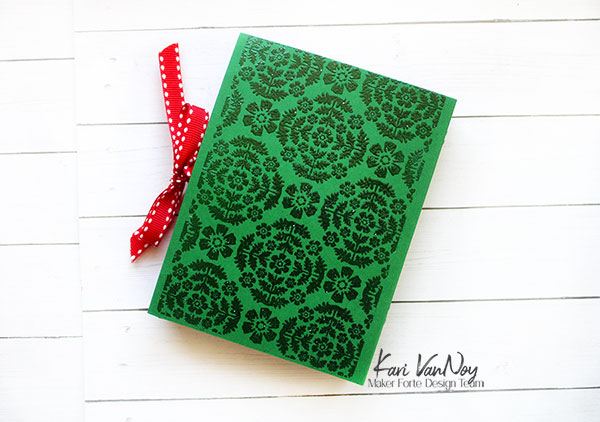
For the back of the book, I wanted some interesting texture, so I used the Damask stamp to clear heat emboss a design.

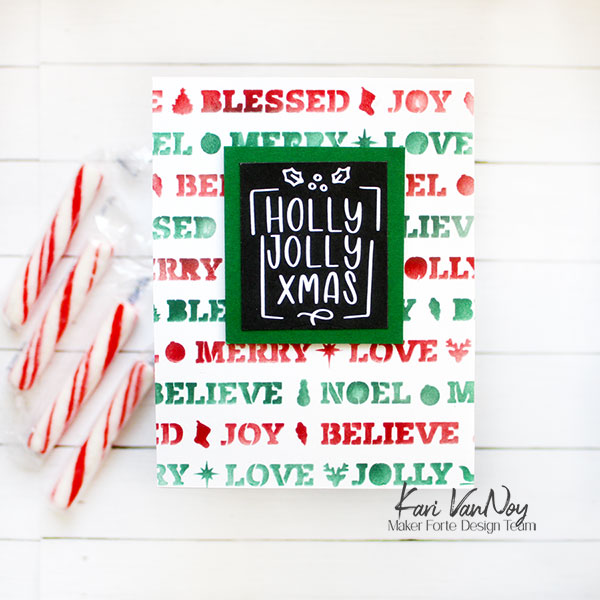
I have a few other ideas for the book front cover, too. You could easily change out this book jacket cover for a stenciled front cover. Here’s my favorites from the newest Maker Forte release:

Stencil this one up in reds and greens for a festive look!
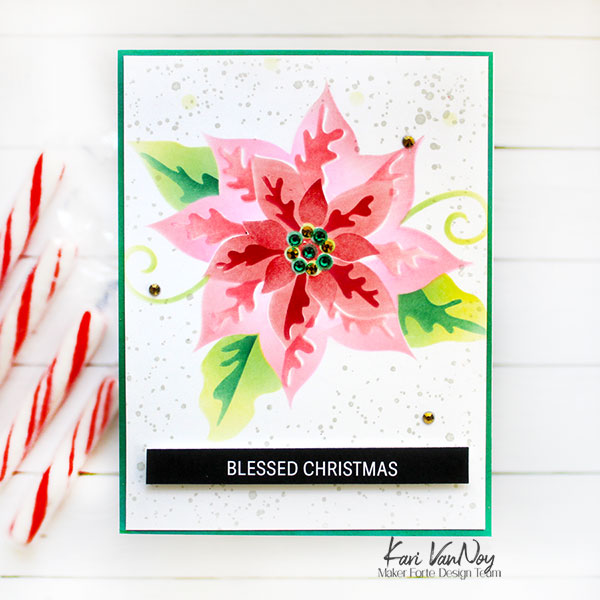
A pretty Poinsettia!
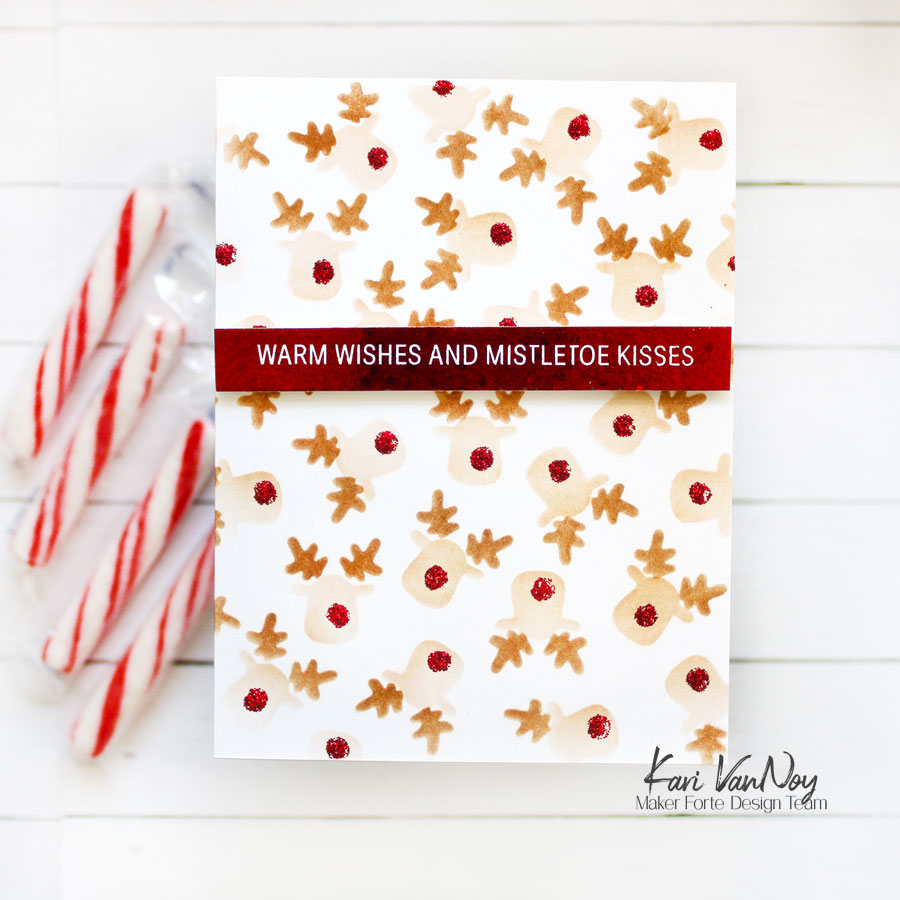
Make them all have red glittery noses…or just one!

I hope you enjoyed these projects today…these are definitely favorites of mine!

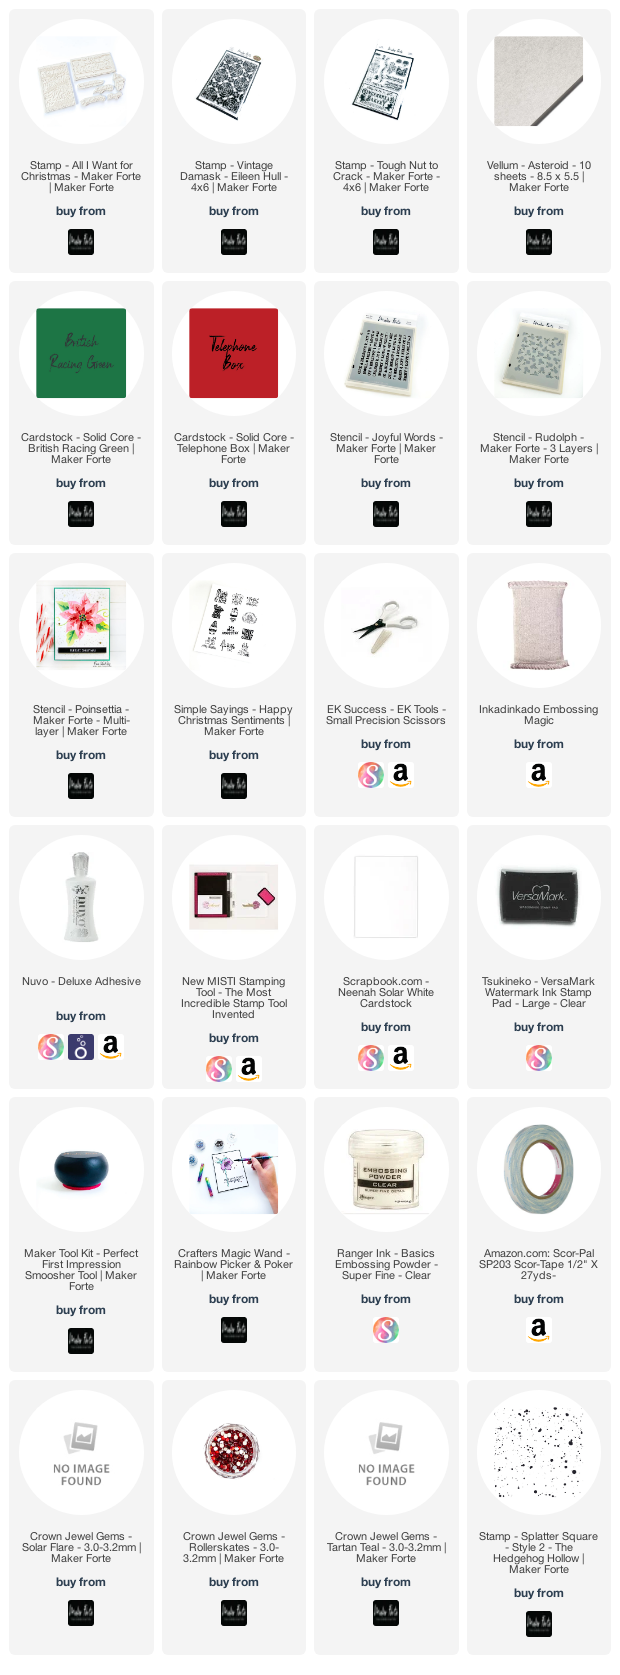
I’m often asked what supplies I use to make my cards and projects, so I’ve put together a list using affiliate links when possible. If you make a purchase with these links I may receive a small commission. These help me to keep up with blog costs and continue bringing you fun projects. Thank you so much for your support!


I’ll be back soon with more projects and cards!

Comments { 0 }
SUNSHINE-All-I-want-for-Christmas-RED-BAG-with-supplies-Kari-V

Stamping on Fabric

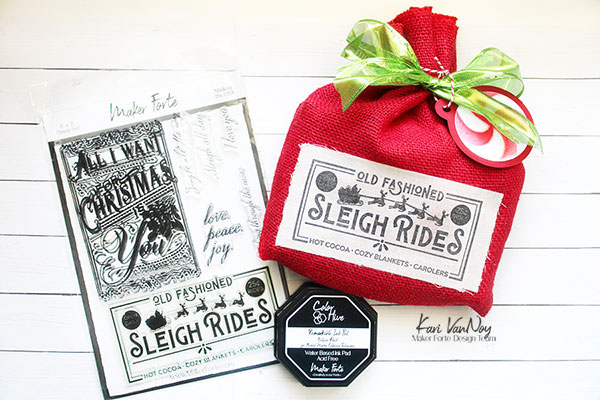
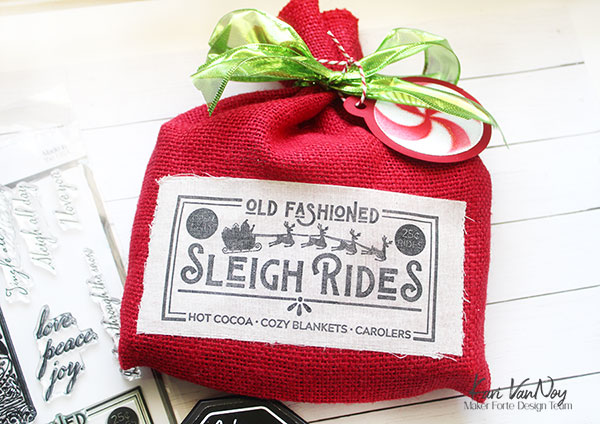
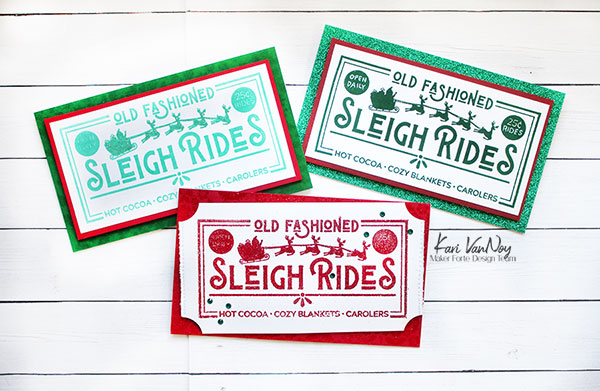
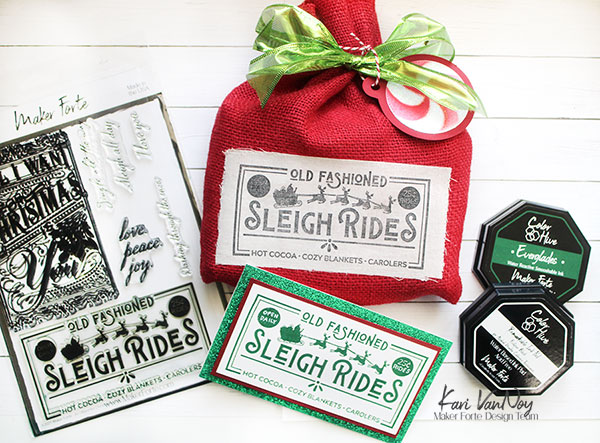
Hello! Today I’m sharing a favorite project of mine…stamping on Fabric! This is a set from Maker Forte, and I’m up on their blog with all the details…so check it out HERE.

But I will share photos and the video here on my blog so you can see just how fun this stamp set is. I’m making a no-sew project and THREE cards. Watch the video below or in HD on YouTube:

I was so pleasantly surprised to find that my FAVORITE BLACK ink, (the one that works with Copic Coloring, Watercoloring, and stamping images & crisp sentiments) also works for STAMPING ON FABRIC!! Yay!

I show you in my video just how to do this for the best result.

I love the extra threads on the edge of this muslin..you can even pull more out if you wanted!

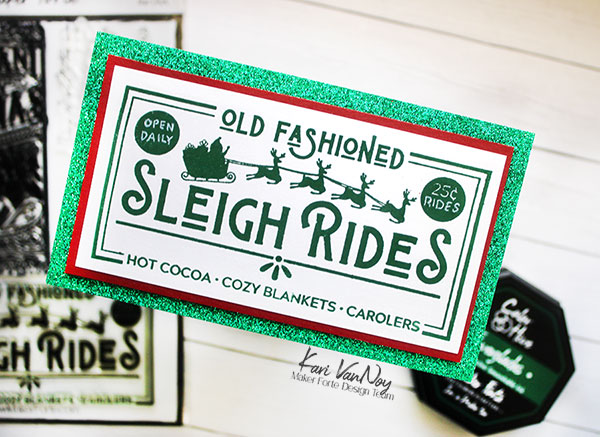
You can also easily make cards with this set, and of course I did that, too!


I hope you loved these projects today! I had so much fun creating these and can’t wait to make more of these holiday bags. 🙂

Comments { 3 }
SUNSHINE-Hey-boo-stencil-Hey-Ghoulfriend-stencil-Kari-V

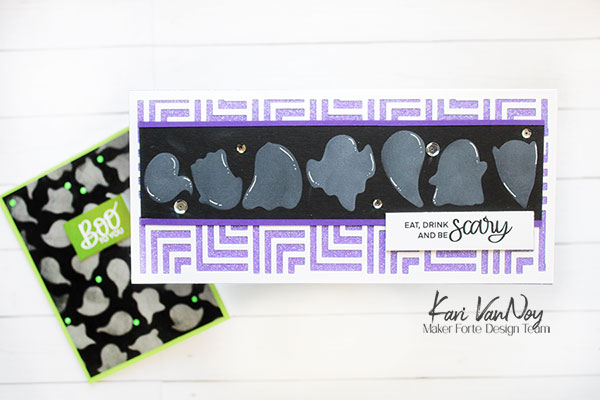
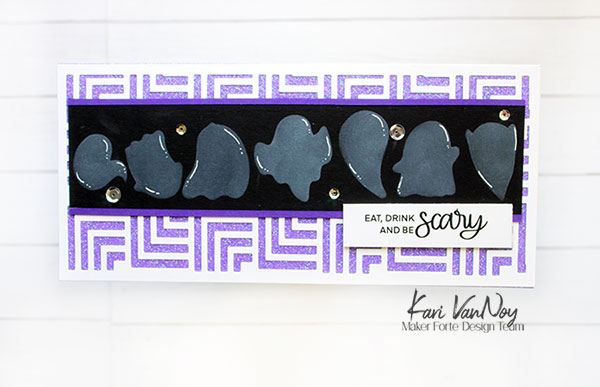
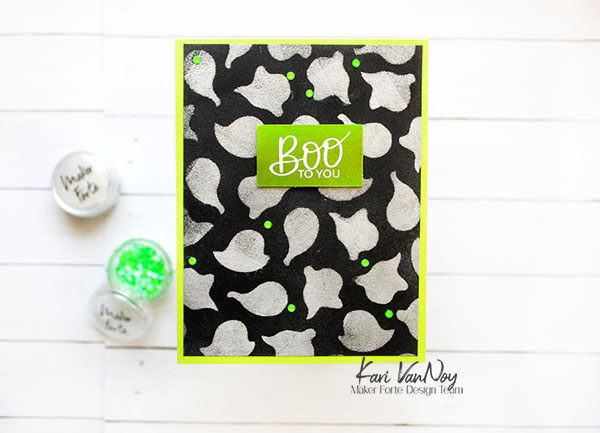
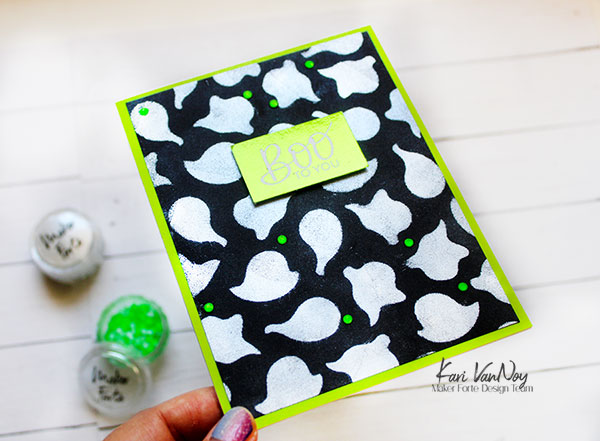
Ghostly Greetings

Hello! I’m back with some Halloween cards using some of my new favorite GHOST stencils! I’m sharing all the details over at the Maker Forte Blog HERE.

I also made a short video (one of my shortest ever!) You can watch it below or in HD on YouTube:

I’m often asked what supplies I use to make my cards and projects, so I’ve put together a list using affiliate links when possible. If you make a purchase with these links I may receive a small commission. These help me to keep up with blog costs and continue bringing you fun projects. Thank you so much for your support!


Hope you enjoyed these ghost cards today! Thanks for stopping by.

Comments { 0 }