Tag Archives | maker forte
SUNSHINE-Pretty-Princesses-card-close-up-Kari-V

For Your Princess…and Gamer

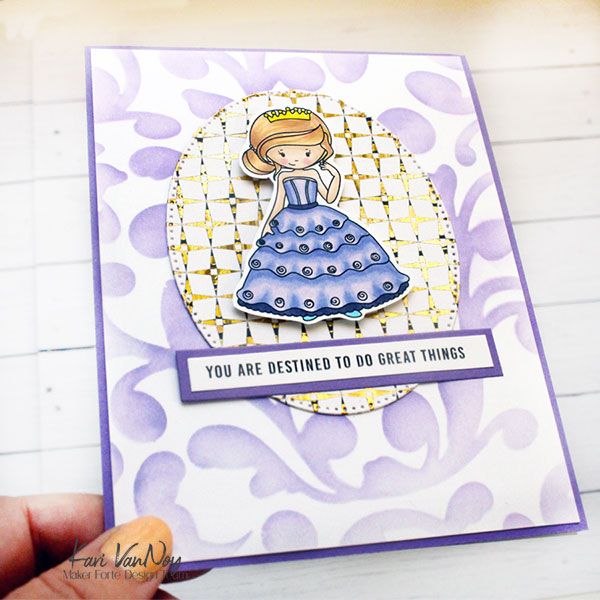
Hello! Today I’m sharing some Princess and Gaming cards. These are from the new Young At Heart Collection from Maker Forte and they are so fun.
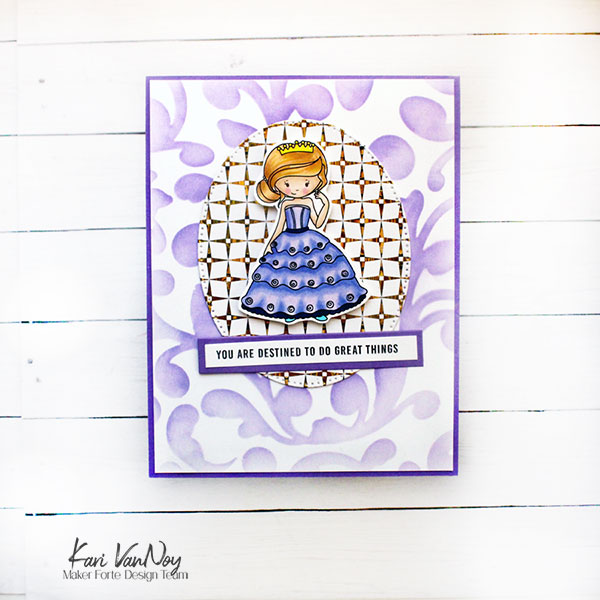
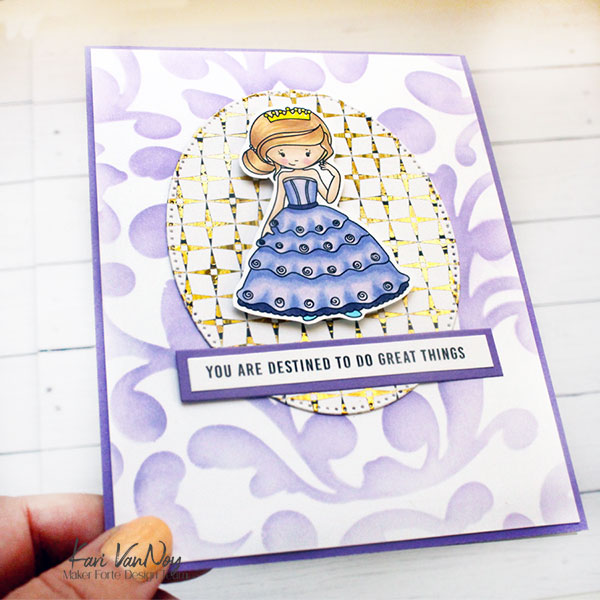
This princess is among my favorites and I simply stenciled the background and foiled an oval spotlight for her. I colored the image with Copic Markers and picked my FAVORITE sentiment!

Speaking of favorite princesses, there is a brand new set called Once Upon a Time that I ADORE! I have actually colored them up to look like certain famous princesses, but I’ve only had time to turn one of them into a card:
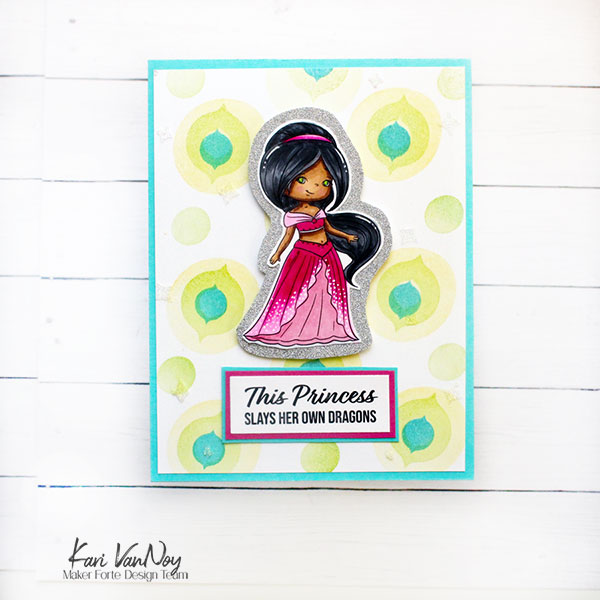
She looks pretty in pink, don’t you think? I added some white gel pen detail to her outfit to make it “sparkle.” That background is made with some shapes from the Boho Watercolor stamp set (it’s so great for creating patterns!) I added some chameleon sparkle paper behind this princess to make her pop.
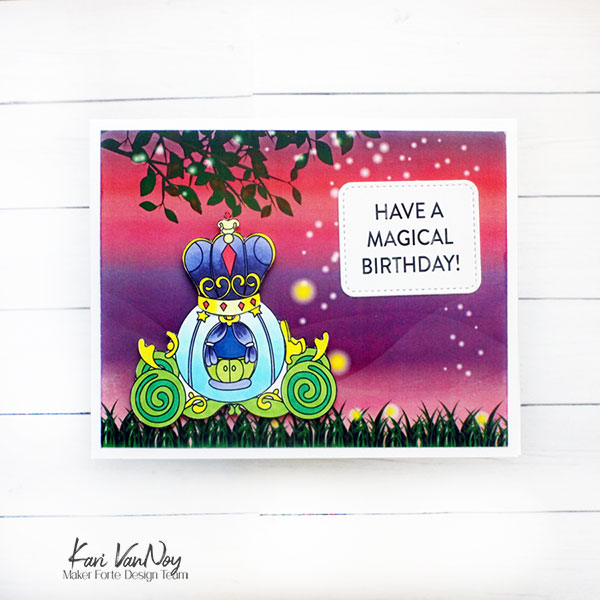
This card was a breeze to make because that background is a printed paper!! I just colored up and added that carriage with a crown on top, then added a sentiment! So magical.
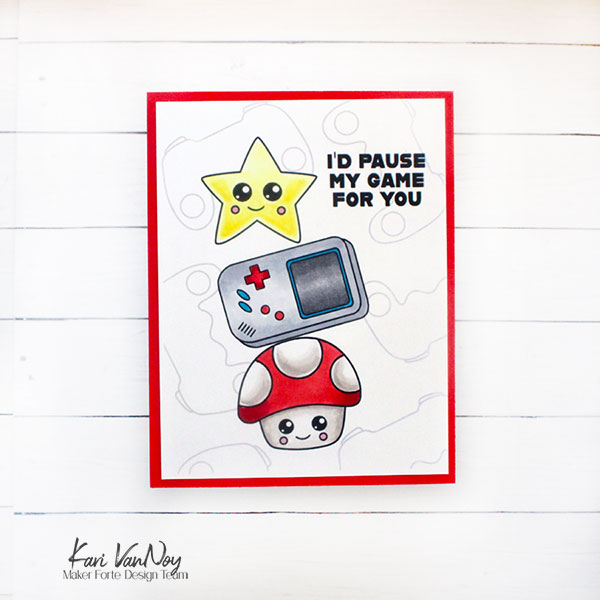
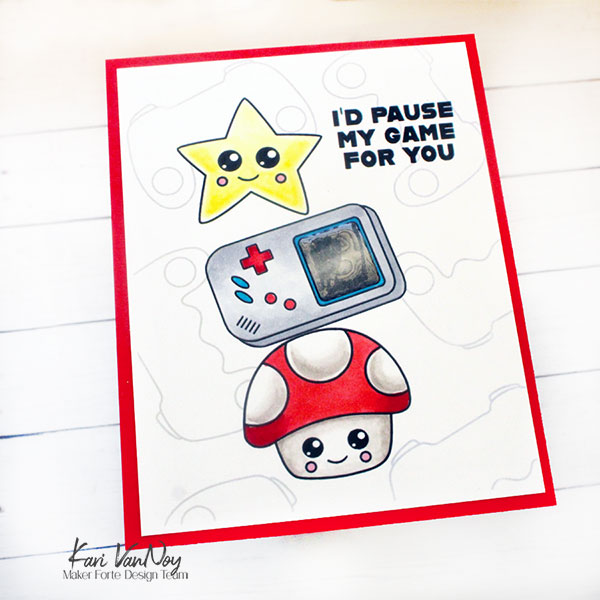
This last card is for the gamer in your life! Do you remember those hand-held gaming devices? Loved those!

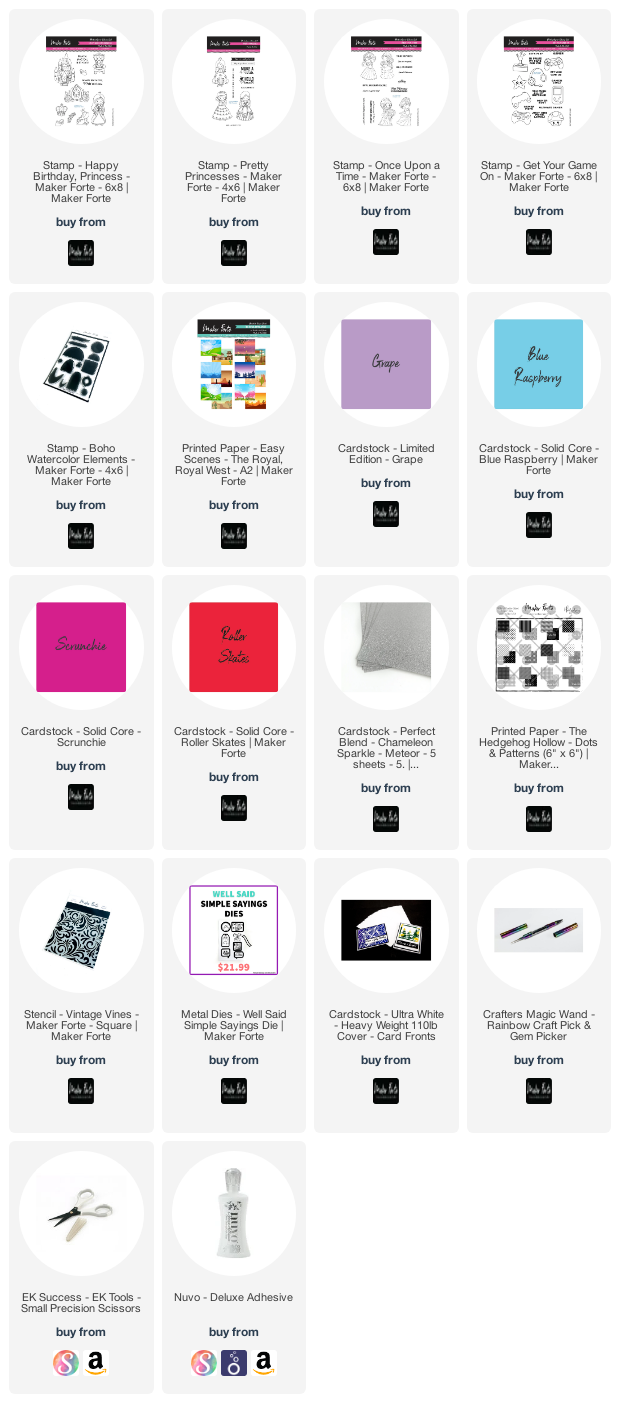
I’m often asked what supplies I use to make my cards and projects, so I’ve put together a list using affiliate links when possible. If you make a purchase with these links I may receive a small commission. These help me to keep up with blog costs and continue bringing you fun projects. Thank you so much for your support!


Thanks for stopping by today!
Comments { 0 }
SUNSHINE-For-my-Cowboy-with-Farmhouse-Font-card-w-supplies-Kari-V

Howdy! Fancy Boots

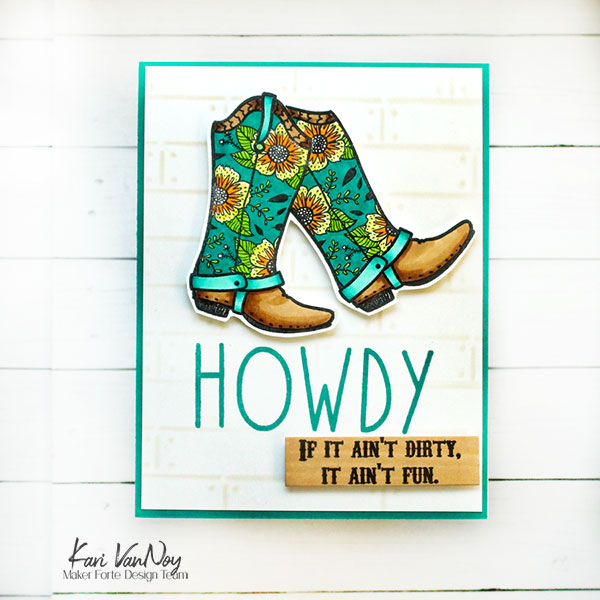
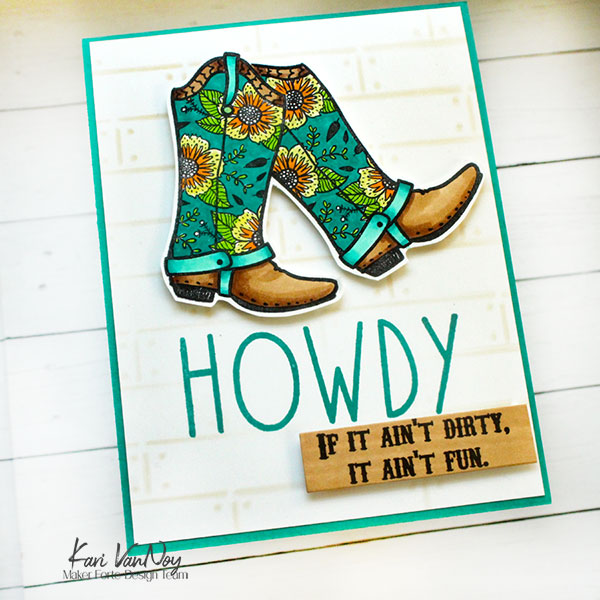
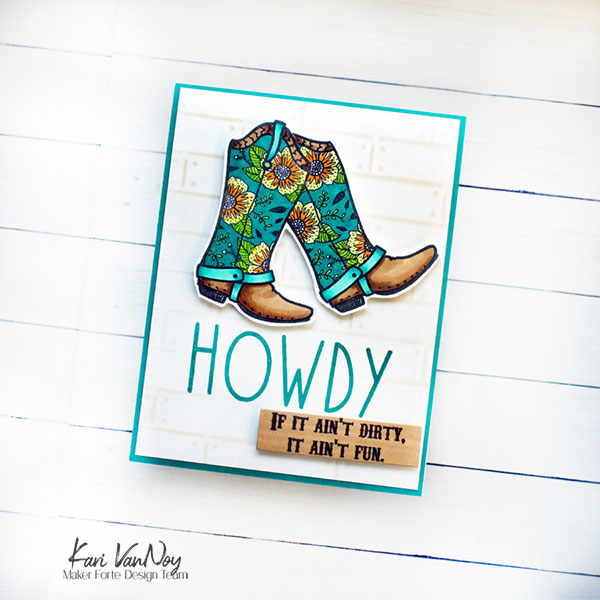
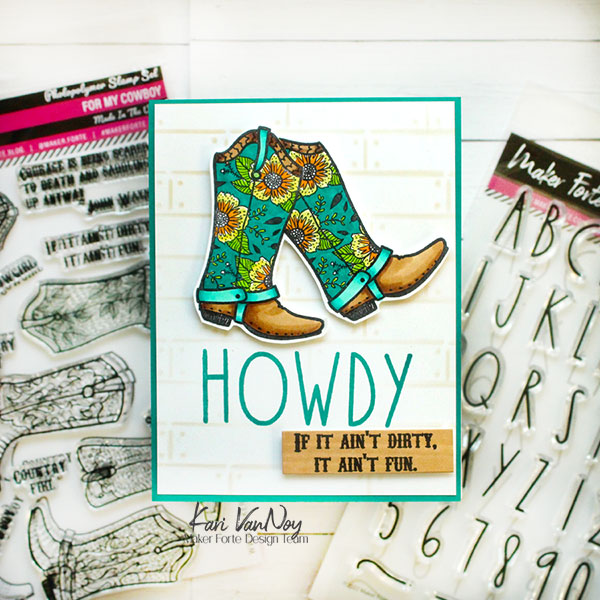
Hello! I’m excited to share a cowboy boot card with you today…it’s a FANCY boots card! Let’s face it, if I were to own cowboy boots, they would probably be fancy. Lol.

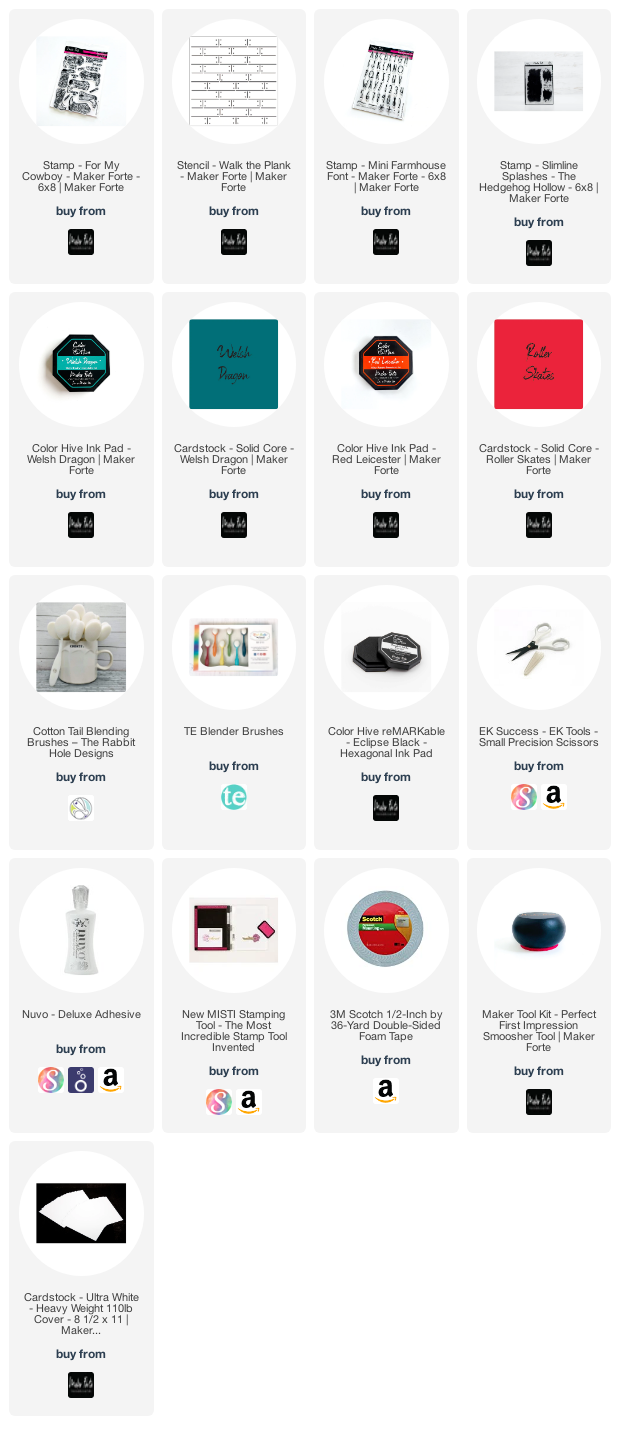
For this card, I first inked on the background with the “Walk the Plank” stencil and some tan ink (Flat White). Then I created the word “Howdy” from the new Mini Farmhouse Font stamp set from Maker Forte. I love this set, and it has already sold out a few times! But if you want it, keep checking back because they are always restocking.

I stamped one of the floral boots on a separate piece of cardstock and I also stamped a mask of that boot from masking paper. Then, I covered that boot with the mask and stamped it again to look like it was kicked up a little.

Now it’s time to color! I used my favorite colors of Copic markers for this boot. Then I fussy cut out the whole image.

For the sub-sentiment, I stamped that onto cardstock and colored it with a tan Copic marker, leaving in some lines to look like wood. I popped up both the sub-sentiment and the boots with foam tape.

I used Welsh Dragon cardstock for the mat layer, to match the Howdy stamped sentiment.

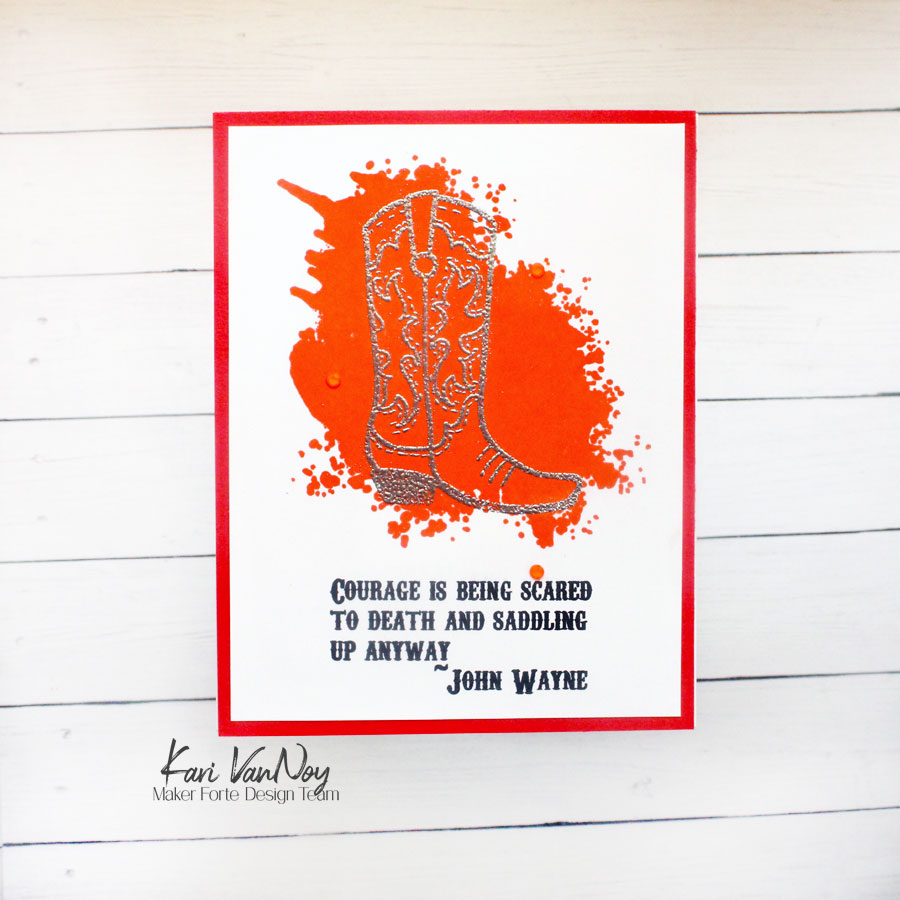
If you don’t like to color: here’s another option stamping out the background in a bright color and then heat embossing the boot over the top!

I’m often asked what supplies I use to make my cards and projects, so I’ve put together a list using affiliate links when possible. If you make a purchase with these links I may receive a small commission. These help me to keep up with blog costs and continue bringing you fun projects. Thank you so much for your support!


I hope you enjoyed this project today! See you soon!

Comments { 0 }
SUNSHINE-Layering-Pansies-with-bow-Kari-V

Pretty Pansies

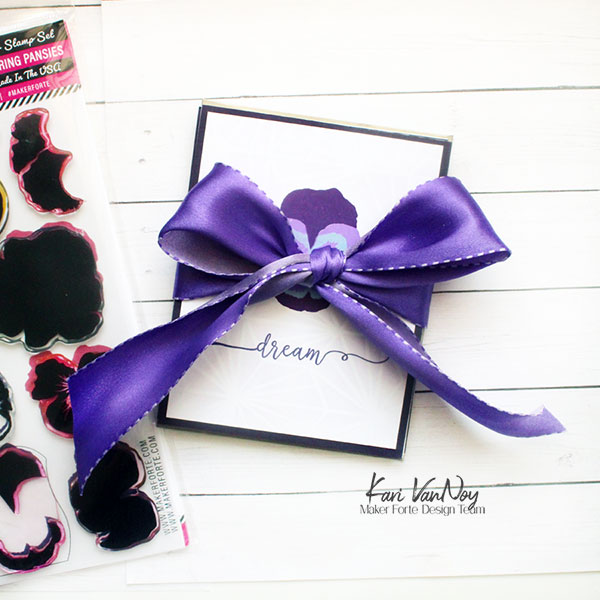
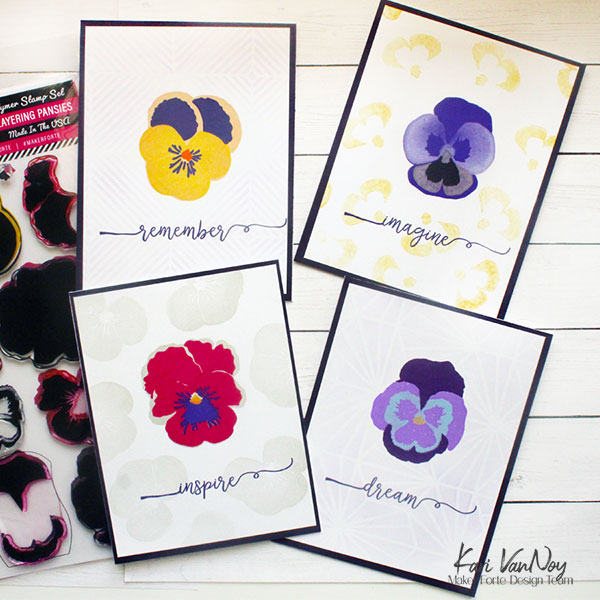
Hello! Today I’m excited to be up on the Maker Forte blog to share a set of cards with Pretty Pansies! I am using their new Layering Pansies stamp set to build up these flowers…and they turn out amazing. Check out the blog post HERE.

I also have a video showing you just how easy these flowers are to layer up with this set. Watch it below or in HD on YouTube:

I packaged these up as a gift set for my mom, who nearly cried with joy at opening them. You might remember that when my Dad died, we made a Pansy garden memorial for him (he LOVED pansies, which he learned from his mom…my grandma).

I’m often asked what supplies I use to make my cards and projects, so I’ve put together a list using affiliate links when possible. If you make a purchase with these links I may receive a small commission. These help me to keep up with blog costs and continue bringing you fun projects. Thank you so much for your support!


Thanks for stopping by!

Comments { 0 }
Layering-Gingko-stamp-set-with-supplies-Kari-V

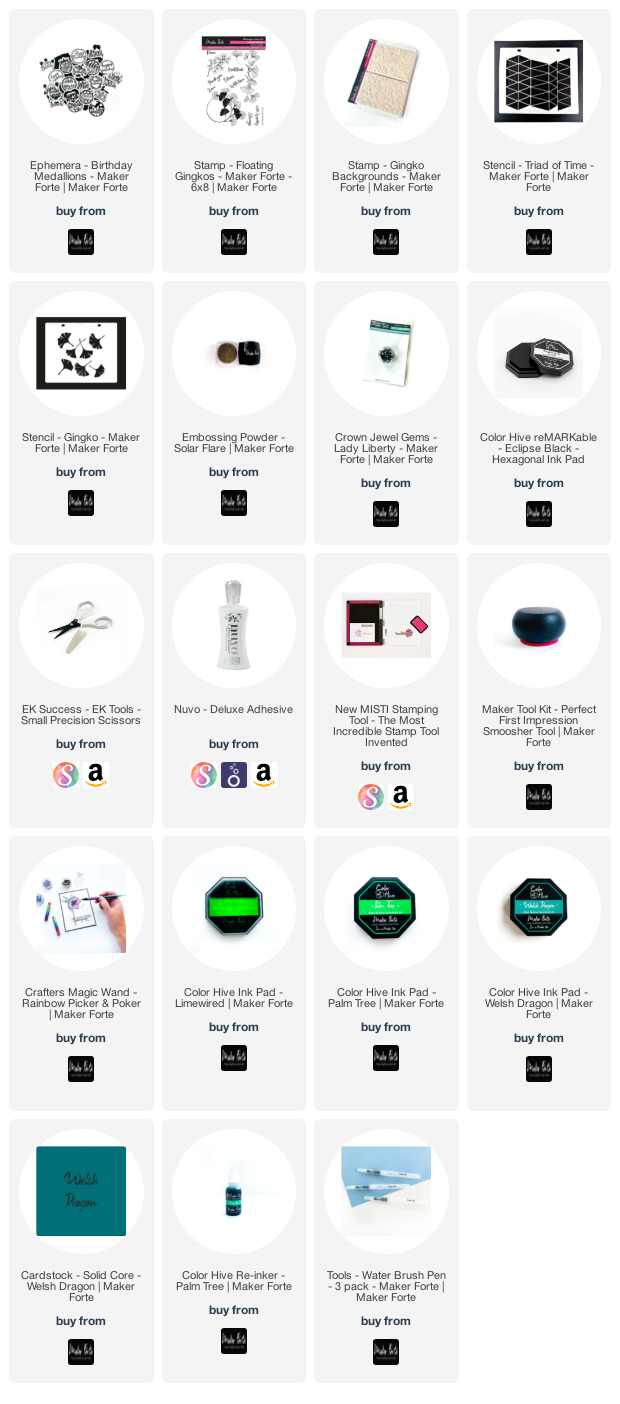
Lots of Gingkos

Hello! Today I have a bunch of Gingko cards to share using the brand new release from Maker Forte! This release is called “Everything’s Coming Up Roses,” but there are also some beautiful wildflowers, daisies, and gingkos!

Card 1: Gingko Background

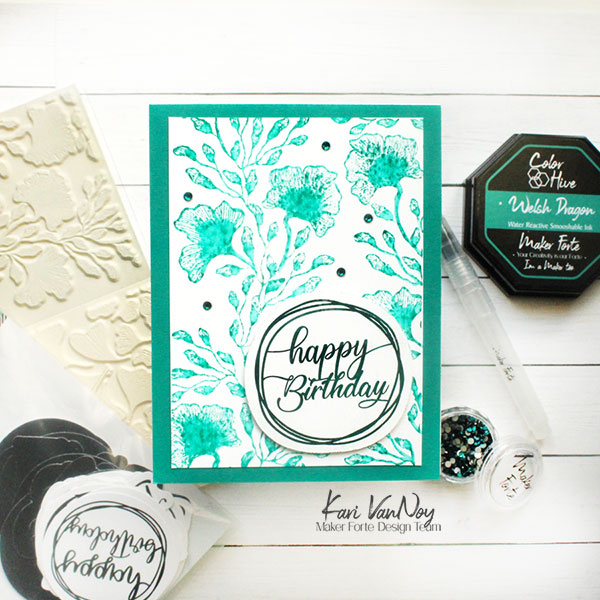
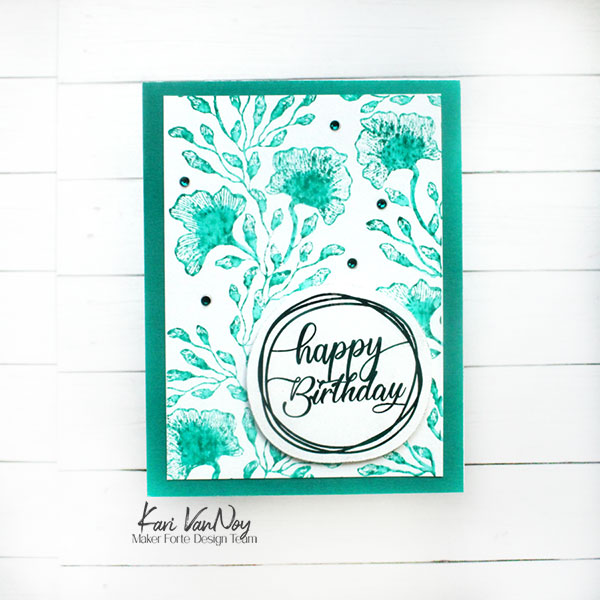
This new white rubber stamp set actually has TWO Gingko backgrounds you can choose from! I inked up one of the backgrounds with Welsh Dragon ink, spritzed it with water, and pressed it down onto watercolor cardstock.

I used a water brush to move more of the ink on the bottom of each of the ginkgo leaves.

Then, I matted it on matching cardstock and added some of the brand new Lady Liberty gems. I also added a birthday sentiment that I foiled from the birthday ephemera set.

Card 2: Floating Gingkos

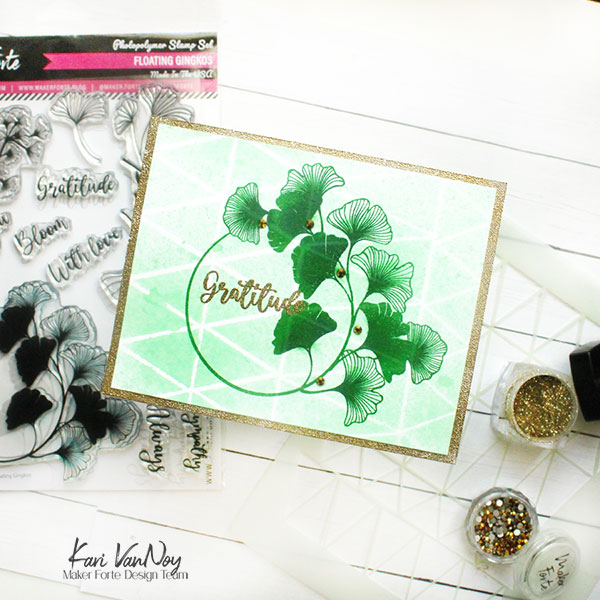
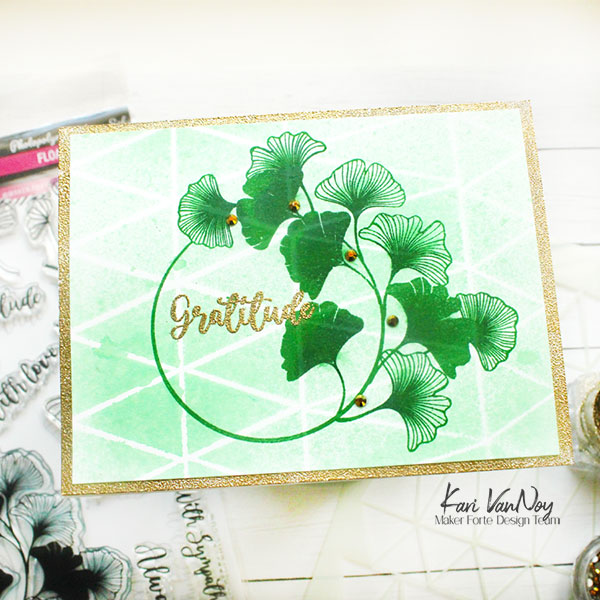
This card was so fun to create! I sprayed some Palm Tree reinker through a stencil to get a soft background. Then I stamped on the wreath gingko image in green inks…creating it darker in the center of the leaves.

I heat embossed the “gratitude” sentiment with new Solar Flare embossing powder. I love this powder: it’s gold and glittery!

Card 3: Layering Gingko

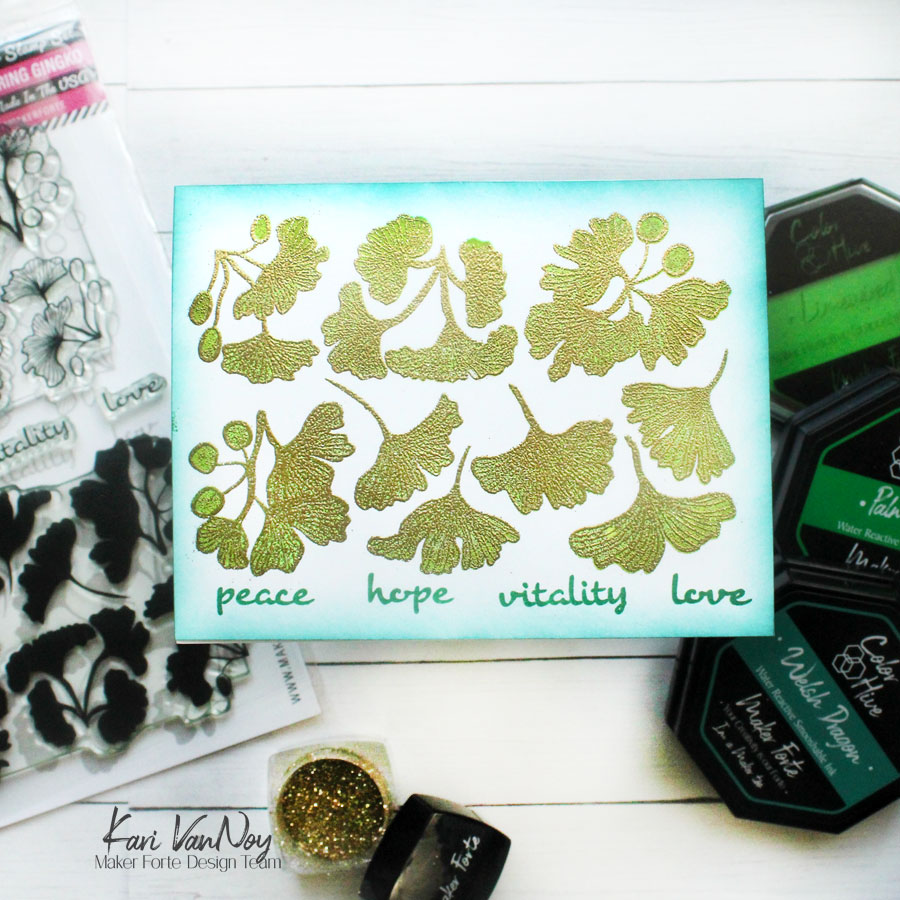
This set is so awesome because it has a solid layer, and then a more intricate layer that matches to stamp on top! Here I stamped using a variety of greens for the first layer. Then I stamped and heat embossed the top layer using the gold glittery embossing powder! (LOVE!)

I’m often asked what supplies I use to make my cards and projects, so I’ve put together a list using affiliate links when possible. If you make a purchase with these links I may receive a small commission. These help me to keep up with blog costs and continue bringing you fun projects. Thank you so much for your support!


I hope you enjoyed these projects today! I just have to tell you that I have MORE gingko stencils coming my way and I can’t wait to share those projects with you, too! See you soon.

Comments { 3 }
SUNSHINE-stencil-Line-'em-up-and-sunflower-Kari-V

Sunflowers for Hope

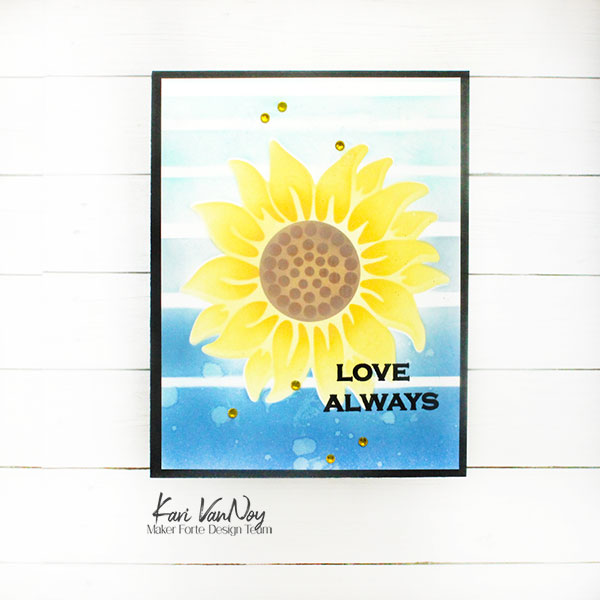
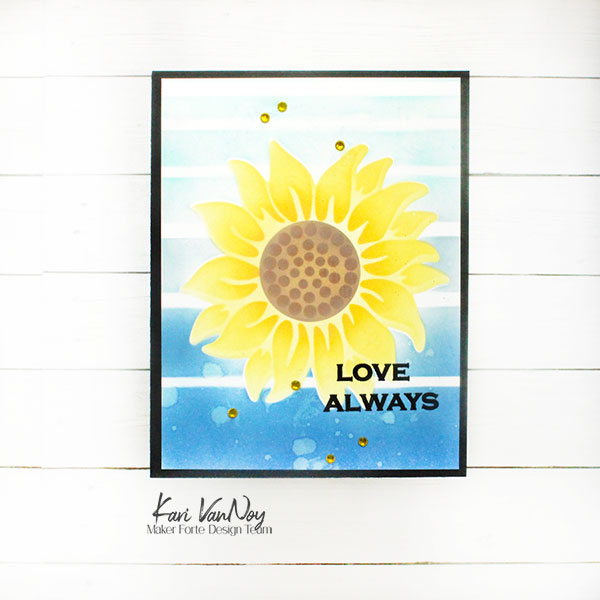
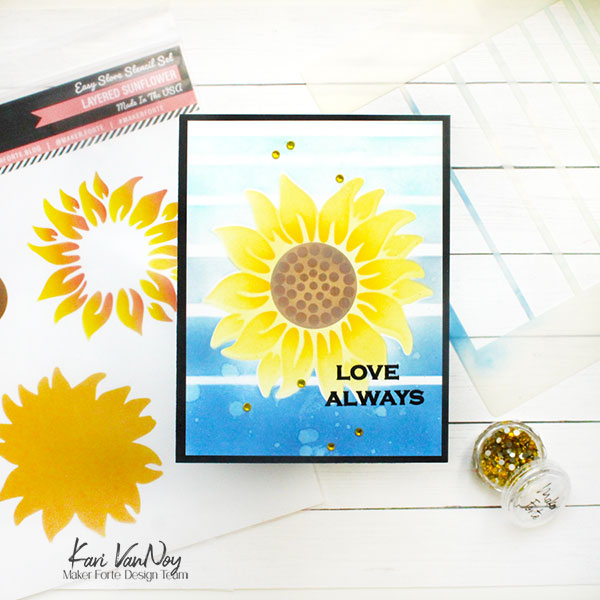
Hello! Today I’m excited to share with you the new Sunflowers for Hope bundle from Maker Forte to aid in help for Ukrainian Families. (read more about their efforts HERE). I love this bundle and I hope you do, too. The bundle also includes a beautiful Zentangled Sunflower stamp!

Today I got a chance to play with the sunflower layering stencil and oh my gosh!! I LOVE IT. It is so easy to layer up the flower and make a beautiful card.

I first created a soft yellow layer, then added the second layer of the petals and inked on a darker yellow and a bit of orange. Then I stenciled in the center with a light brown and shifted the stencil to add the darker brown spots. SO EASY!

I love that this stencil also comes with a MASK for the whole flower. I used this with repositionable adhesive over the flower, then I added the striped background with various shades of blue!

A few water splashes and yellow gems finished off this card!

The striped stencil I used is from the NEW RELEASE that was just revealed on Saturday. There’s roses and Ginkgos galore! Be sure to check out all the new goodies HERE.

I’m often asked what supplies I use to make my cards and projects, so I’ve put together a list using affiliate links when possible. If you make a purchase with these links I may receive a small commission. These help me to keep up with blog costs and continue bringing you fun projects. Thank you so much for your support!


Thanks for stopping by!

Comments { 0 }