Tag Archives | maker forte
SUNSHINE-True-North-card-2-Kari-V

Seashore Cards featuring Maker Forte

Hello! Today I’m using some of the new stamp sets from the Under the Seashore release from Maker Forte. I have 2 seashore cards to share!

Card 1: Mermaid with the Blues

This card features the Ocean Borders stamp set, which has a beautiful seashell border, some great sentiments and this amazing mermaid stamp:
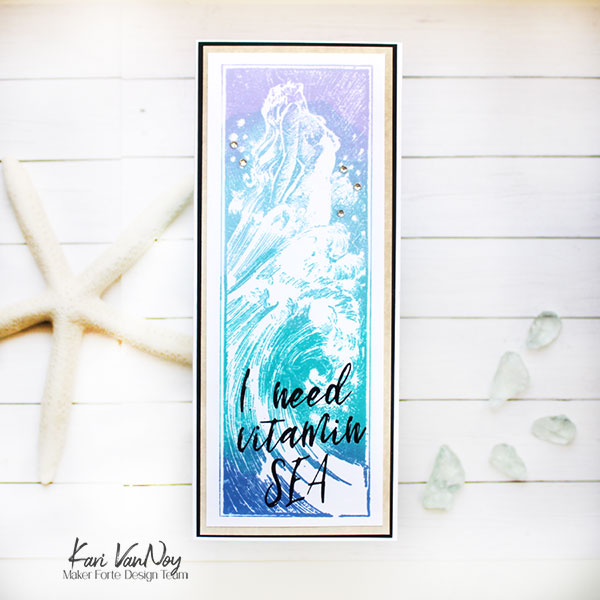
I stamped this with multiple colors of ink, first stamping the top section with Blueberry Cheesecake ink. Then, I inked on the next section with Icy Mist ink and I dabbed off some ink where the two inks would meet so I wouldn’t get a harsh line. I stamped that layer of the stamp.

Next, I inked on Blue Raspberry and finally Vegas Strip inks. (always using my microfiber cloth to dab off between the colors)
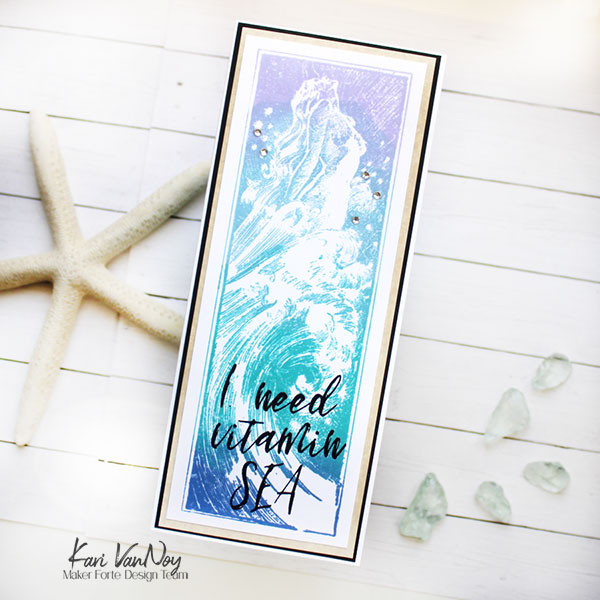
That sentiment is so true: I need Vitamin SEA!

I matted this with multiple layers: using Aged Antique vellum for one layer, and Eclipse Black cardstock for the next layer. The final layer of white is the 110# white cardstock card base.

Card 2: True North

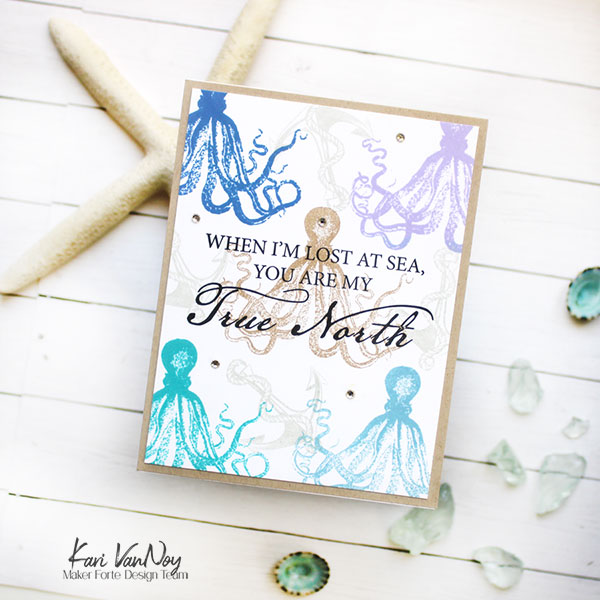
This next card features the True North stamp set. I love all these images and the overall vibe they give. There are many shells and this really awesome octopus. I couldn’t resist stamping that octopus in multiple colors for the background!
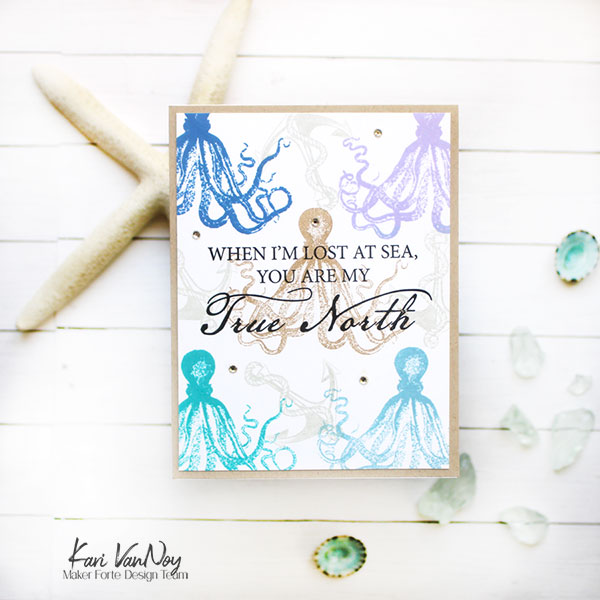
The ink colors I used for the Octopus are: Vegas Strip, Blueberry Cheesecake, Flat White, Blue Raspberry and Icy Mist! Are you noticing a trend in my color choices for these cards?!

I stamped the anchor image in between each of the octopus with Fog ink. I used some Neenah Desert Storm cardstock to mat the entire panel and added a few gems to finish it all off.
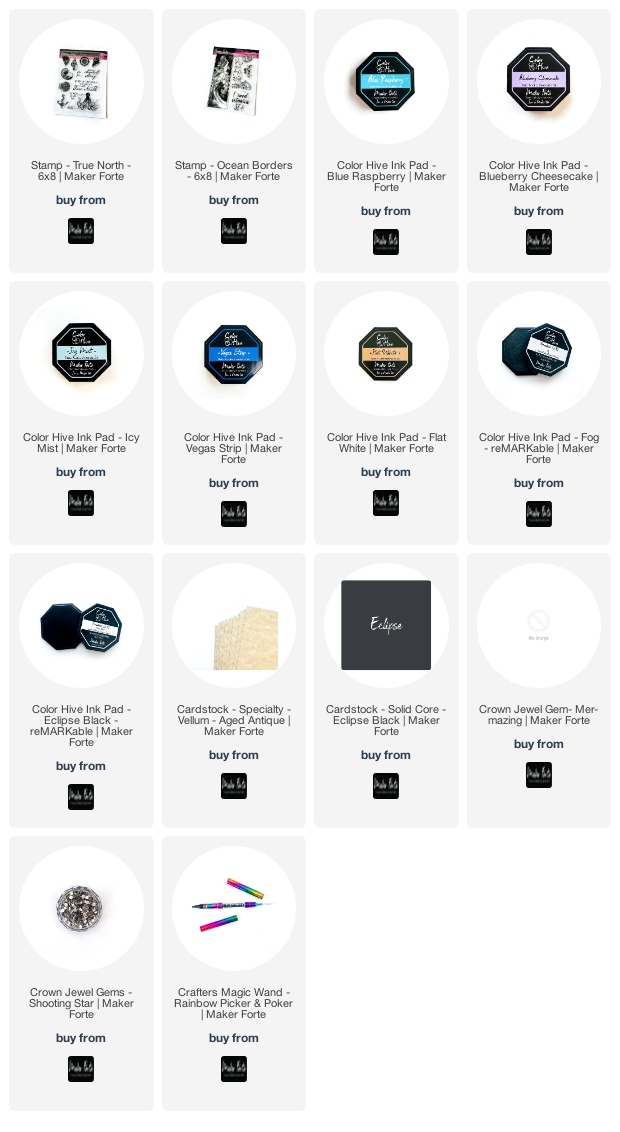
I’m often asked what supplies I use to make my cards and projects, so I’ve put together a list using affiliate links when possible. If you make a purchase with these links I may receive a small commission. These help me to keep up with blog costs and continue bringing you fun projects. Thank you so much for your support!


I hope you loved these ocean cards like I do! Thanks for stopping by today!
Comments { 0 }
SUNSHINE-Christmas-at-the-Cabin-card-3-Kari-V

Foiled Background

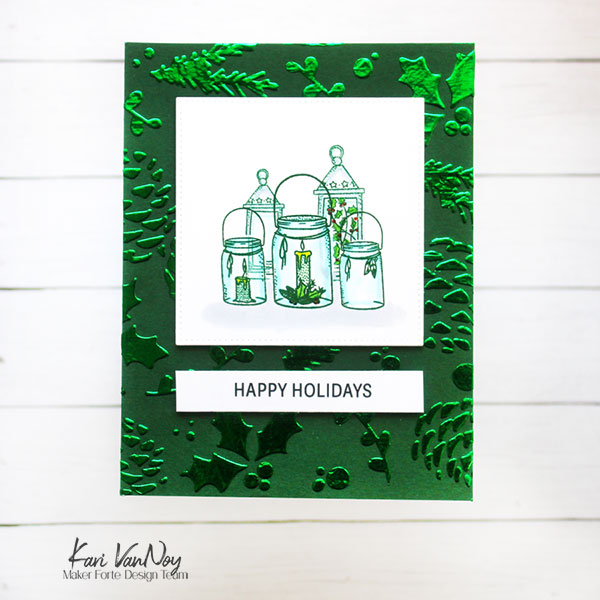
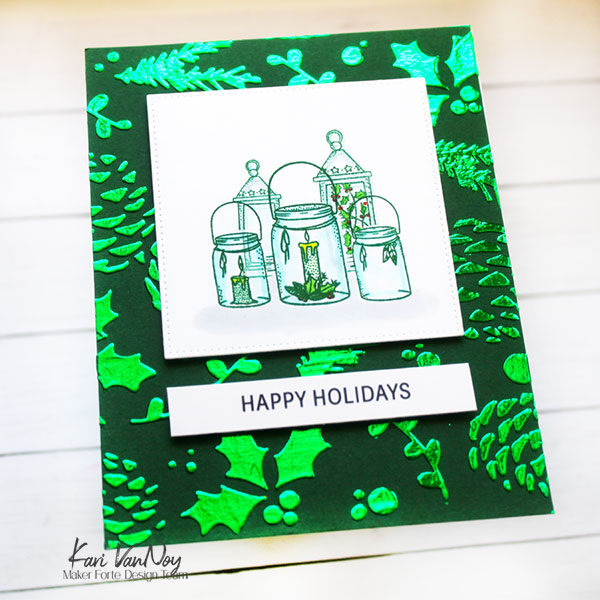
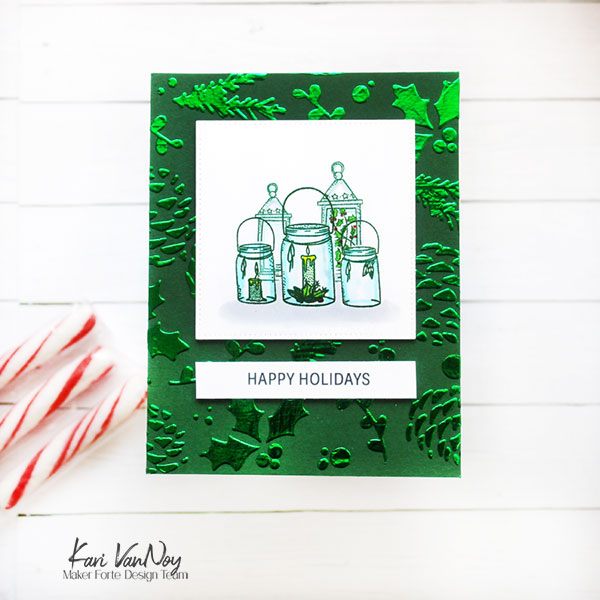
I love a good foiled background! Today I have a tone-on-tone card to share with you using a favorite stamp set from the last Maker Forte Release.

[Note: I’m sharing all the details HERE at the Maker Forte blog if you want more detailed information on creating this card.]

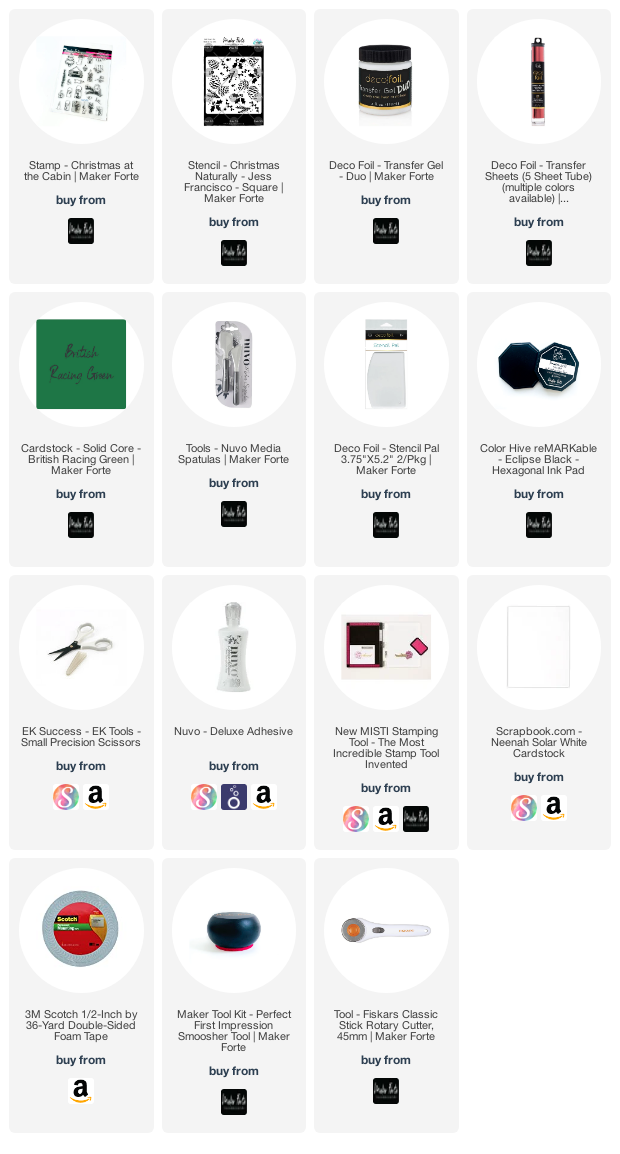
Those lantern images come from the Christmas at the Cabin stamp set…this set has so many cute images to put together! I paired it with the Christmas naturally stencil to create that foiled background. (LOVE this stencil!)

I’m often asked what supplies I use to make my cards and projects, so I’ve put together a list using affiliate links when possible. If you make a purchase with these links I may receive a small commission. These help me to keep up with blog costs and continue bringing you fun projects. Thank you so much for your support!


Thanks for stopping by today!
Comments { 0 }
SUNSHINE-Mug-Full-of-Fun-card-3-Kari-V

The Happiest Gingerbread Man

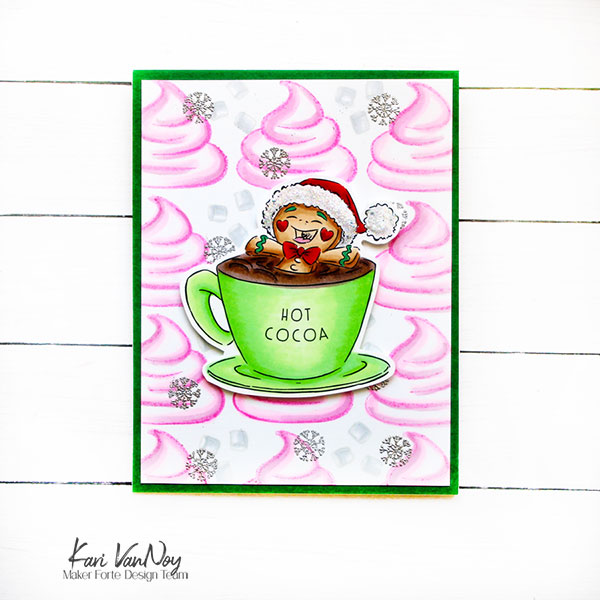
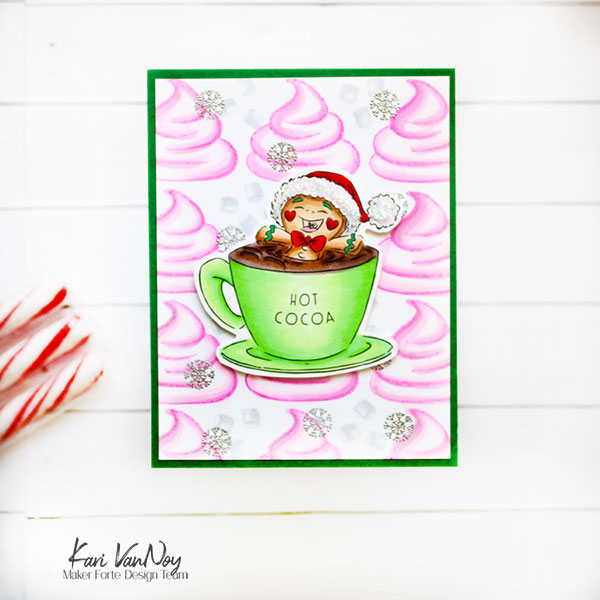
Hello! Today I have the cutest, happiest Gingerbread Man card to share with you! I am using a new stamp set from Maker Forte for this one, and it is one that is so versatile. You can make cute cards (like this one) or even more elegant cards depending on the images you choose. I just love sets like that.

I have a video for you on how this card came together, watch it below or in HD on YouTube:

This card was such a delight to make, I might have been smiling the entire time!

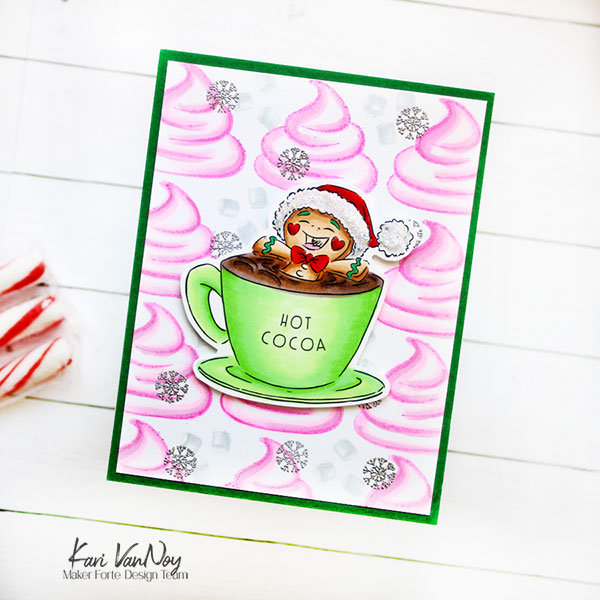
I used the whipped cream from the set as my background, stamped in PINK! I think this could be peppermint whipped cream. YUM!

I also stamped some mini marshmallows in the background and some silver heat embossed snowflakes.

For the focal point, I stamped the mug with one of the sentiments (of course I had to choose “Hot Cocoa!”) Then I stamped that happy gingerbread man. I colored this up with Copic markers and popped it up with foam tape on the whipped cream panel.

Isn’t he so happy?!

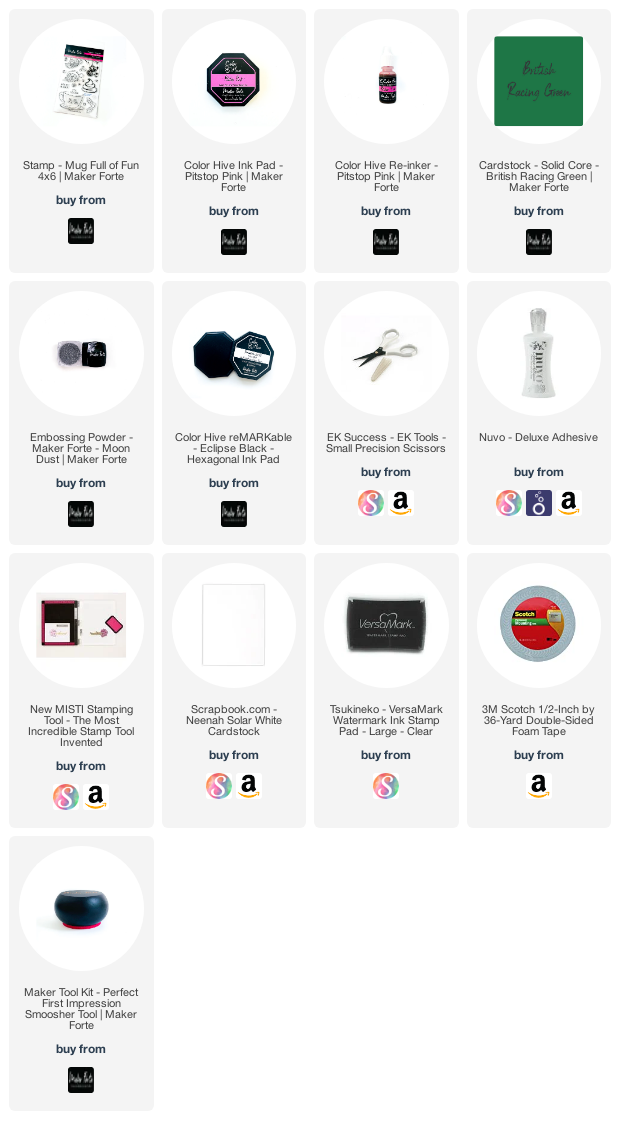
I’m often asked what supplies I use to make my cards and projects, so I’ve put together a list using affiliate links when possible. If you make a purchase with these links I may receive a small commission. These help me to keep up with blog costs and continue bringing you fun projects. Thank you so much for your support!


Thanks for stopping by today! If you haven’t already checked out the entire Christmas in July release, check it out HERE. So many great sets released!
Happy Crafting!

Comments { 0 }
SUNSHINE-Gidde-Up-Cowboy-card-1-with-paper-Kari-V

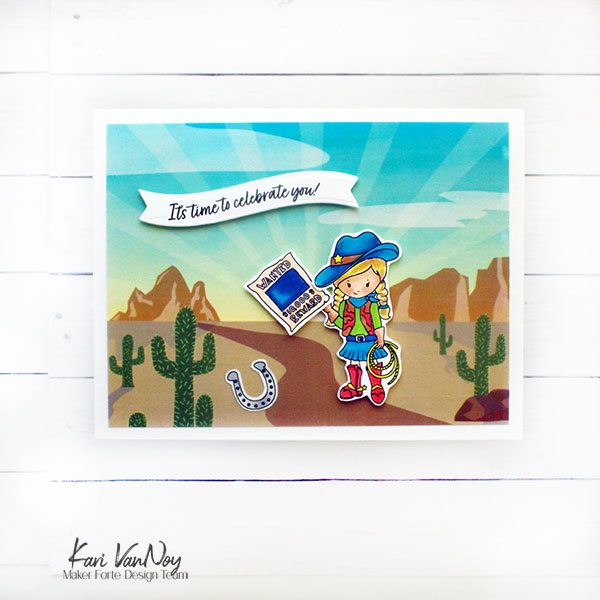
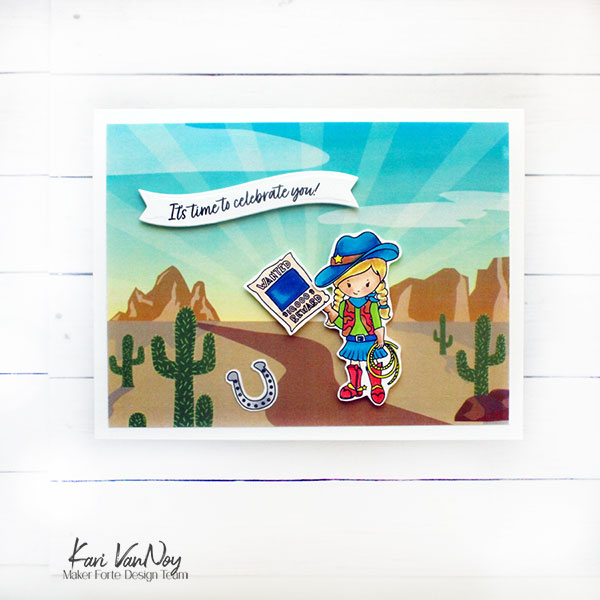
Reward: Time to Celebrate You

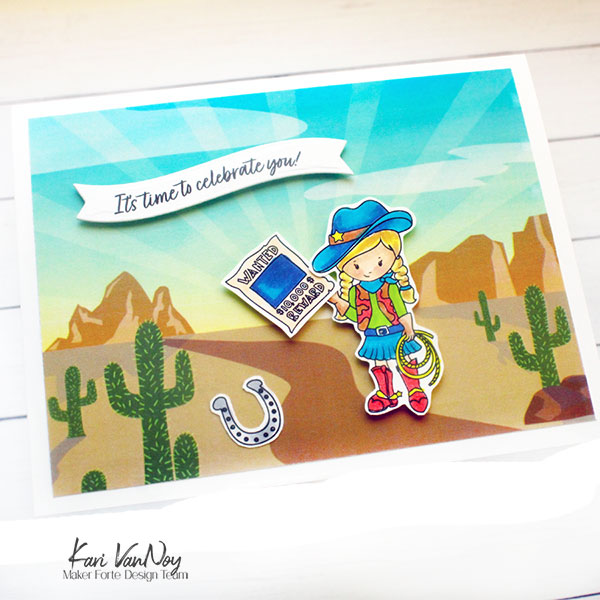
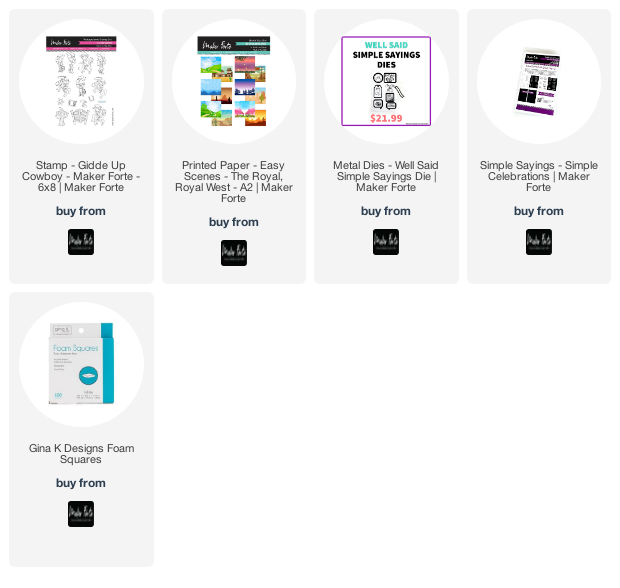
Hello! Today I have the easiest card that’s oh-so-cute! I am using the new set from Maker Forte called Giddy Up Cowboy. Here’s the best part: I used some pre-printed paper for the background! That’s right: the background was done for me!!

I love a great background, especially when it’s already done! And just look how cute it is. I cut the panel down so I would have a white frame around the background.

For this card, I stamped and colored a few of the images from the stamp set. I colored them up very simply with Copic markers (in keeping with the quick theme).

For the sentiment, I picked one from a simple sayings set and die cut it with the Simply Stated dies! Then I popped the sentiment and the images up with foam tape. VOILA! A completed card that was so so simple.

I’m often asked what supplies I use to make my cards and projects, so I’ve put together a list using affiliate links when possible. If you make a purchase with these links I may receive a small commission. These help me to keep up with blog costs and continue bringing you fun projects. Thank you so much for your support!


I hope you enjoyed this project today! Thanks for stopping by!

Comments { 0 }
SUNSHINE-Nesting-Dolls-card-2-fancy-fold-photo-1-Kari-V

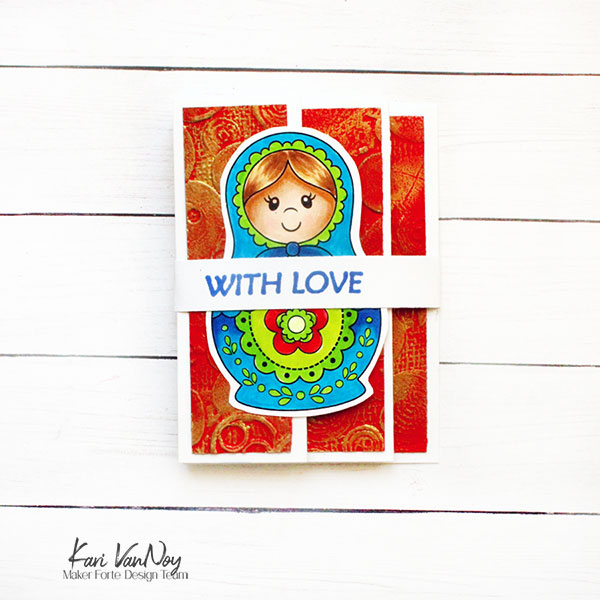
Fun Fold Card with Nesting Dolls

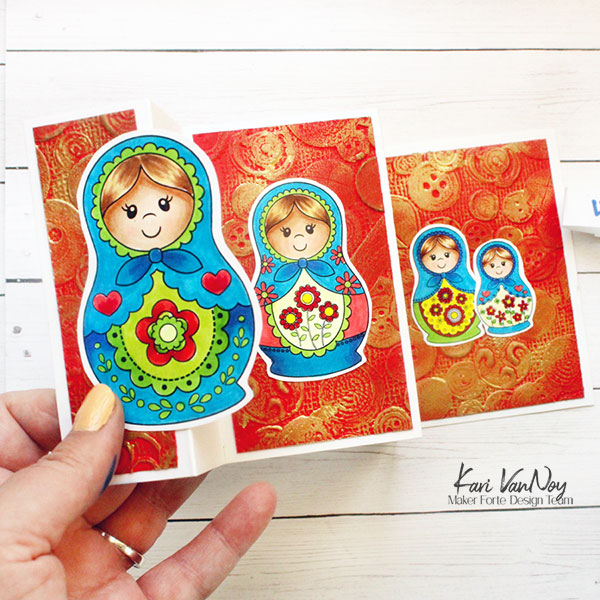
Hello! Today I’m featuring the new Nesting Dolls stamp set from Maker Forte. I made 2 cards to share, the first one is an A2 card and the second card is a fun fold card that opens in an accordian style.

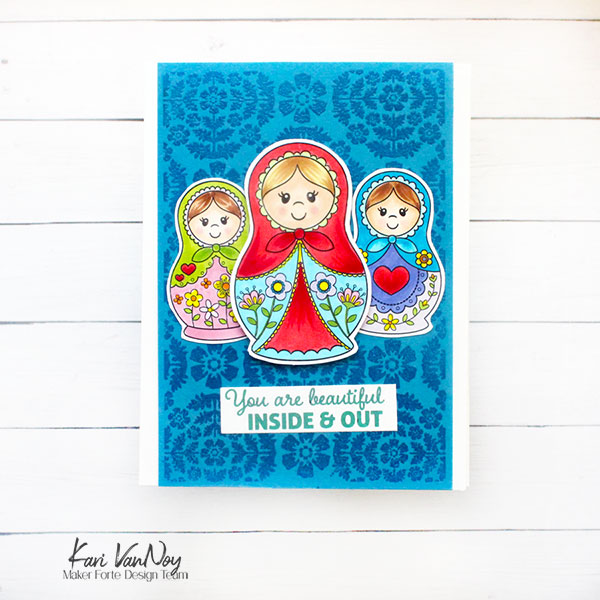
Here’s my first card:

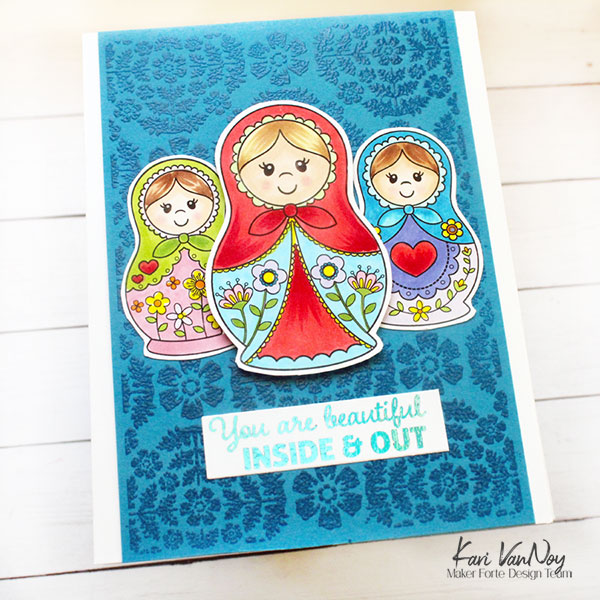
Just look at that floral detail on those nesting dolls! For the background I simply clear heat embossed Vintage Damask over the blue cardstock.

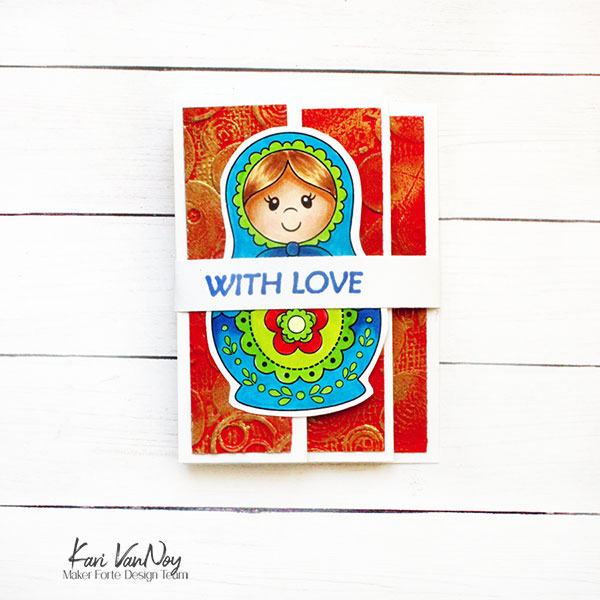
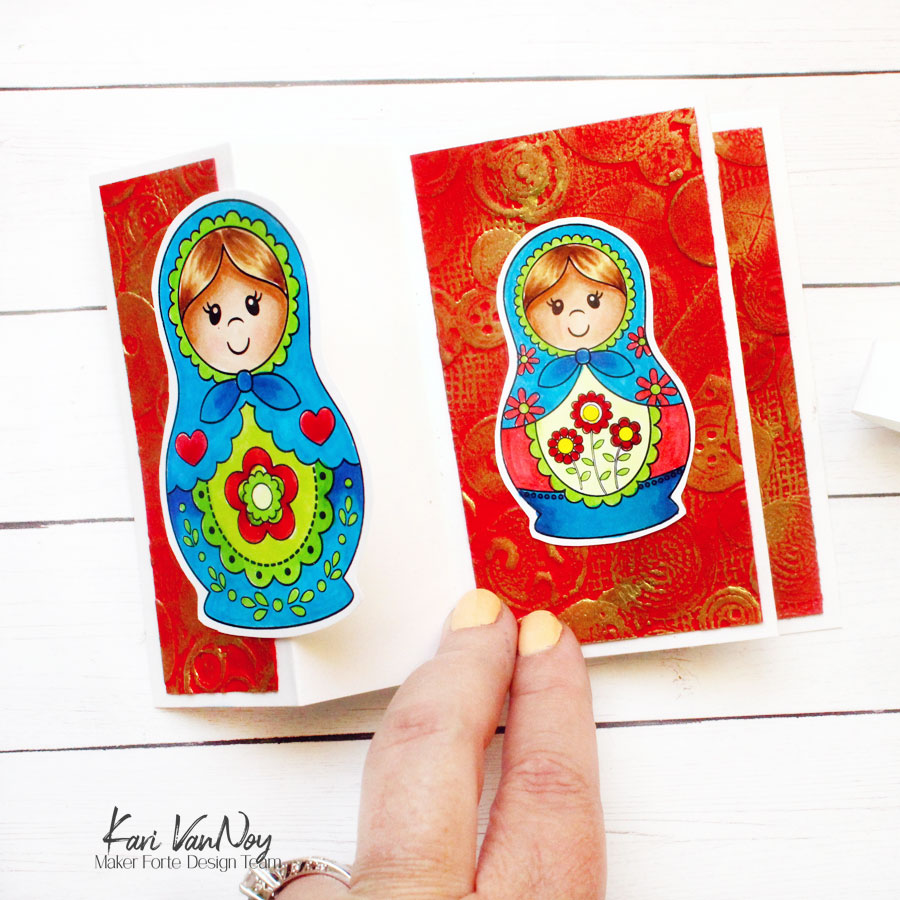
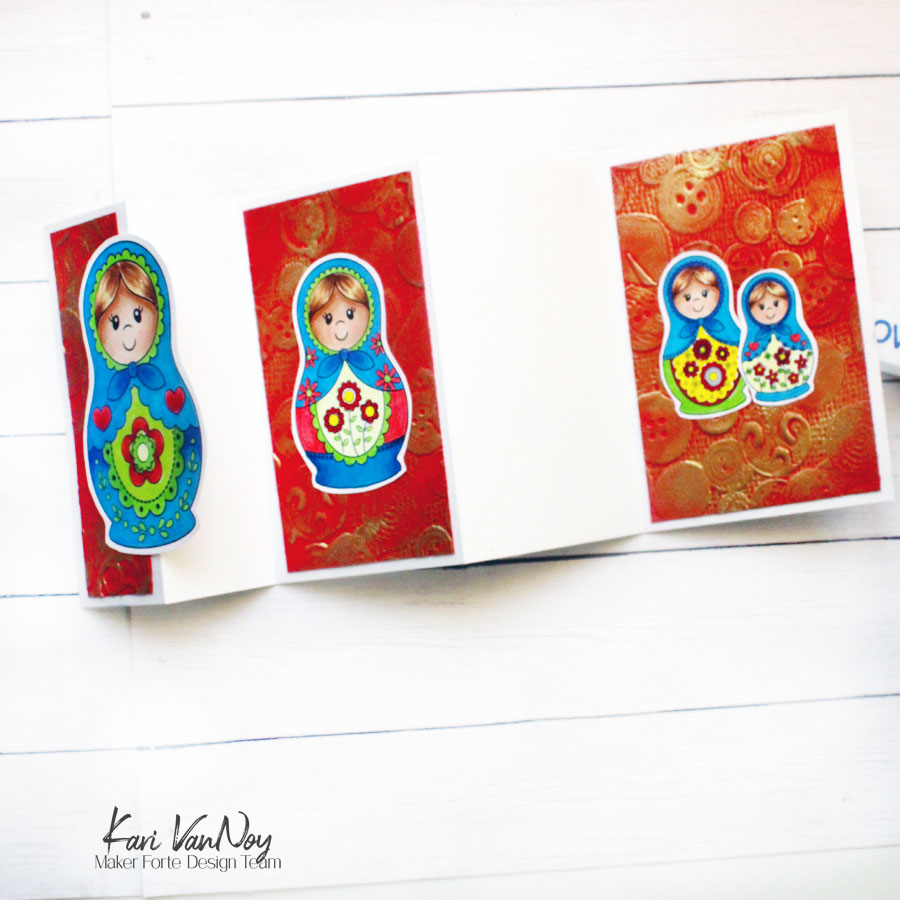
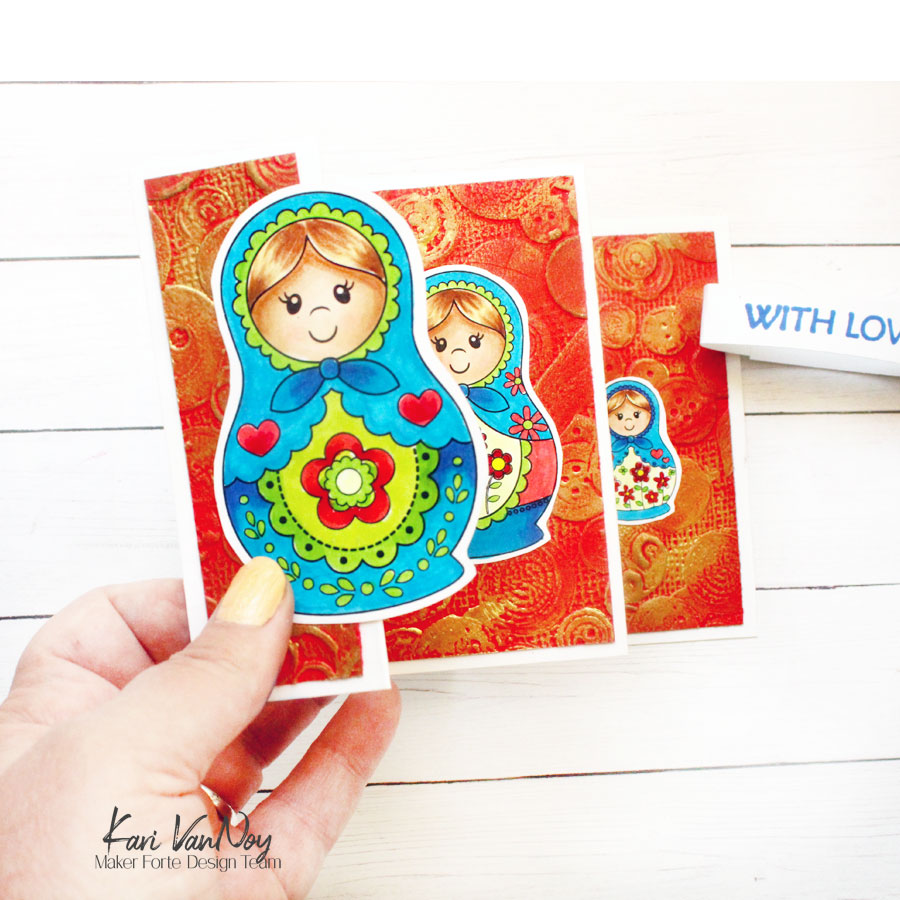
For the fun fold card, I first used a button embossing folder and spread on some foundry wax with my finger. Then I heat set that and cut down the panels to fit perfectly on each section. I also used a belly band that says “With Love” to keep this card together for gifting.

I love how this turned out! I put the largest nesting doll on the front, with a medium sized one in the center, and the smallest one in the back.

If you want to recreate this card fold, start with 1/2 of a sheet of cardstock long-wise (4 1/4″ x 11″).

Then, score the long panel at: 1.5″, 3″, 5.5″, and 8″

Here are the measurements for the 3 red panels:
Panel 1: 1 1/4″ x 4″
Panel 2: 2 1/4″ x 4″
Panel 3: 2 3/4″ x 4″

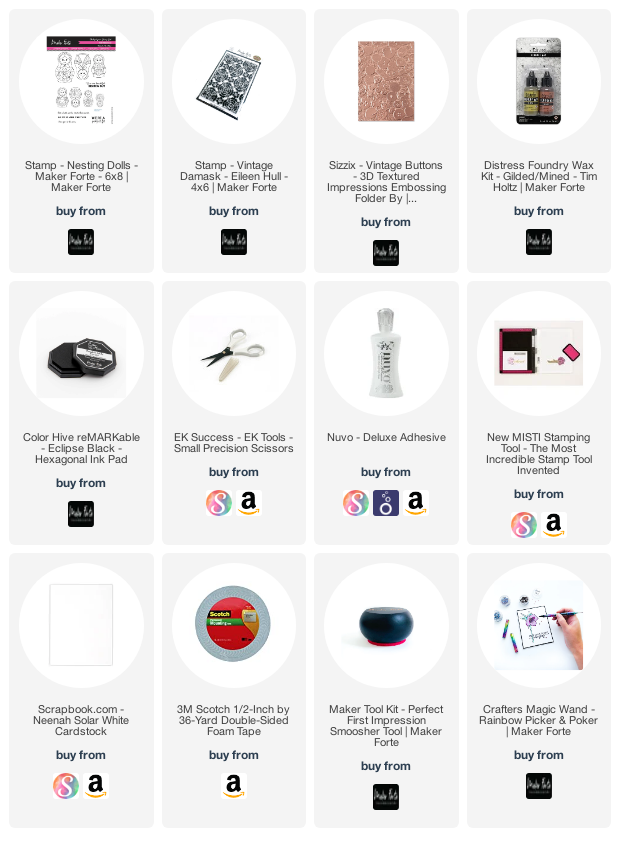
I’m often asked what supplies I use to make my cards and projects, so I’ve put together a list using affiliate links when possible. If you make a purchase with these links I may receive a small commission. These help me to keep up with blog costs and continue bringing you fun projects. Thank you so much for your support!


I hope you enjoyed these projects! Thanks for stopping by!

Comments { 0 }