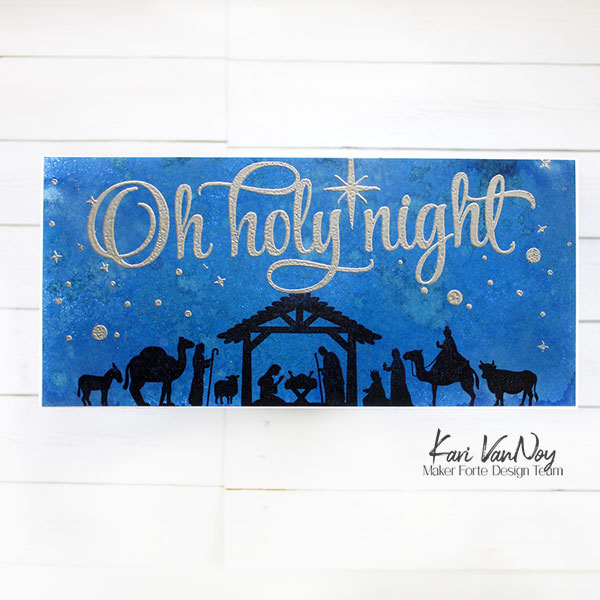
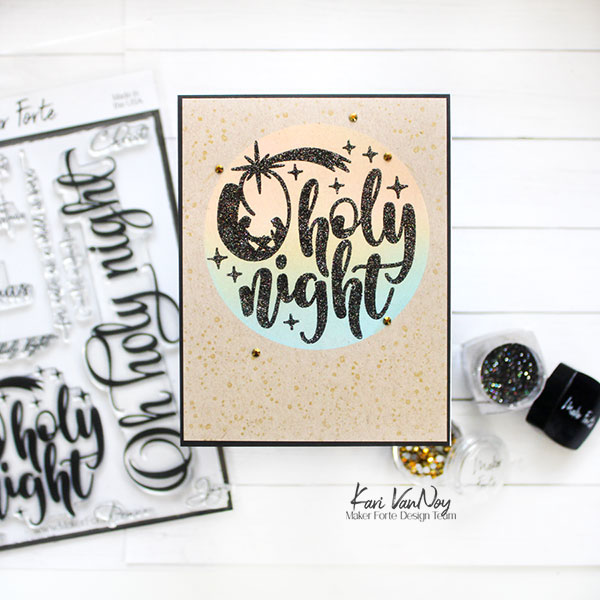
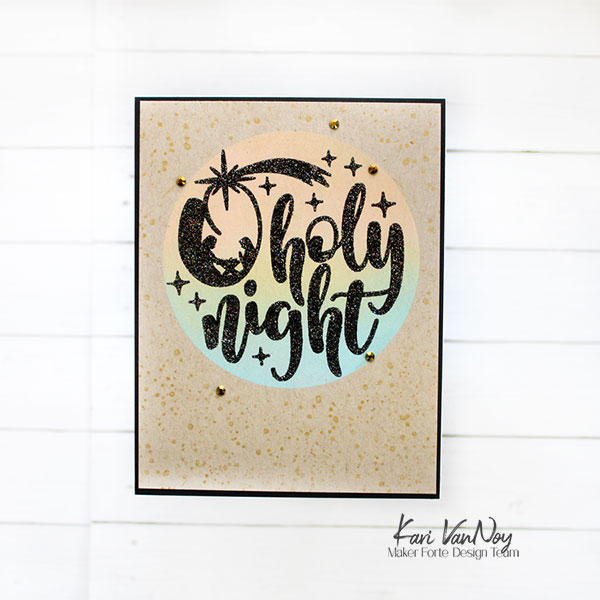
Hello! Today I am sharing a favorite couple of Holy Night sets from Maker Forte. I have created 2 cards to share today, with more details and information over on the Maker Forte blog HERE.
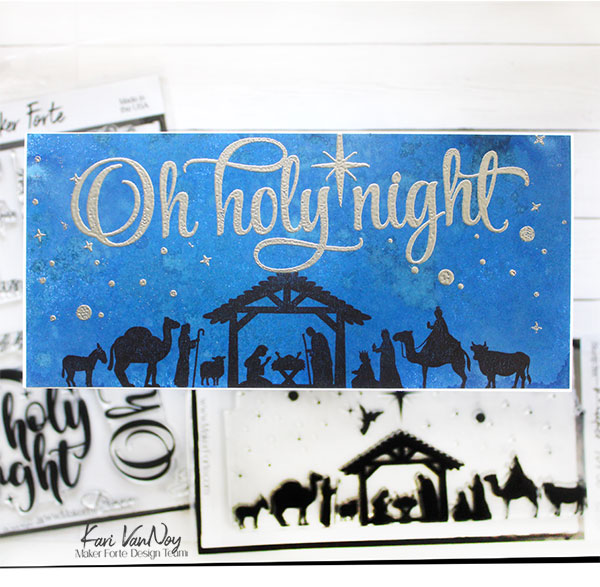
I absolutely adore the beautiful sets from Maker Forte, especially their Christmas sets!
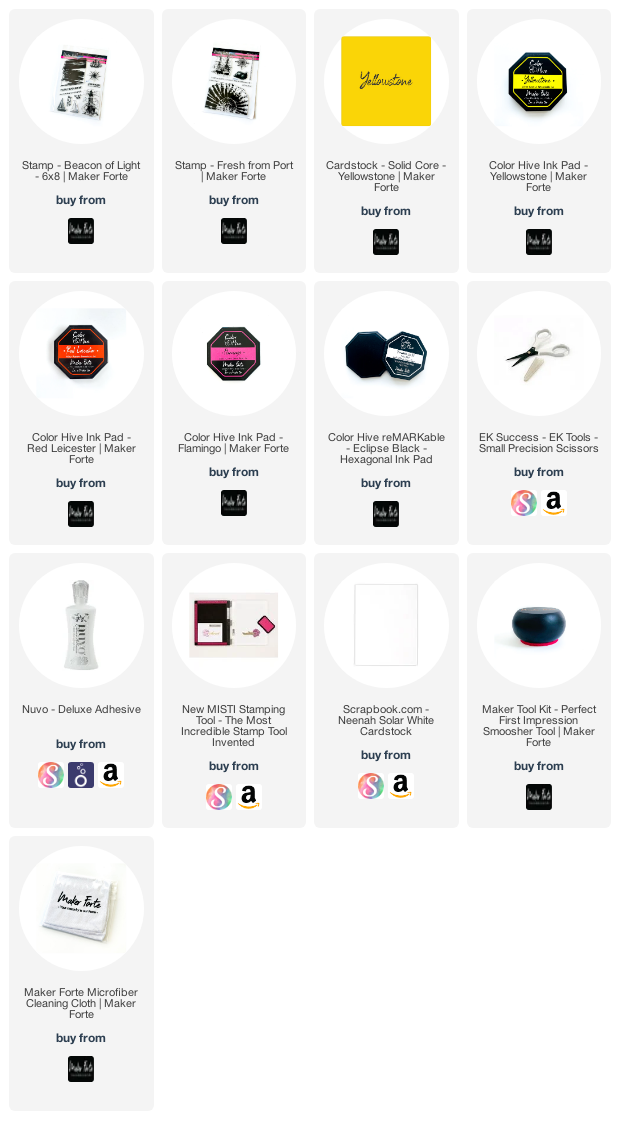
I’m often asked what supplies I use to make my cards and projects, so I’ve put together a list using affiliate links when possible. If you make a purchase with these links I may receive a small commission. These help me to keep up with blog costs and continue bringing you fun projects. Thank you so much for your support!
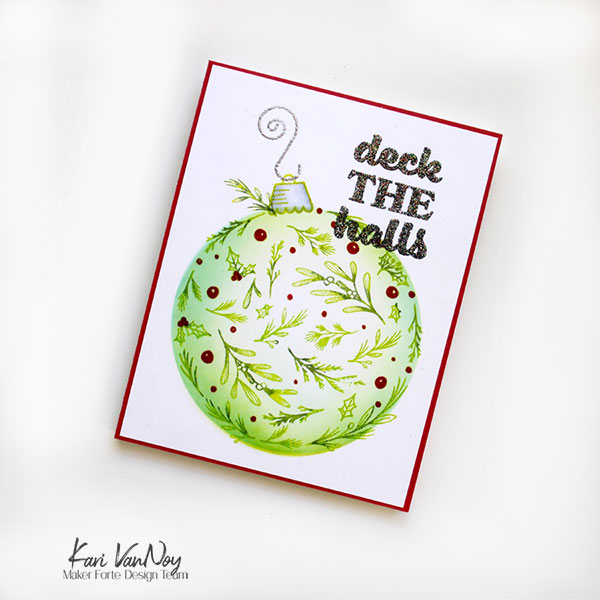
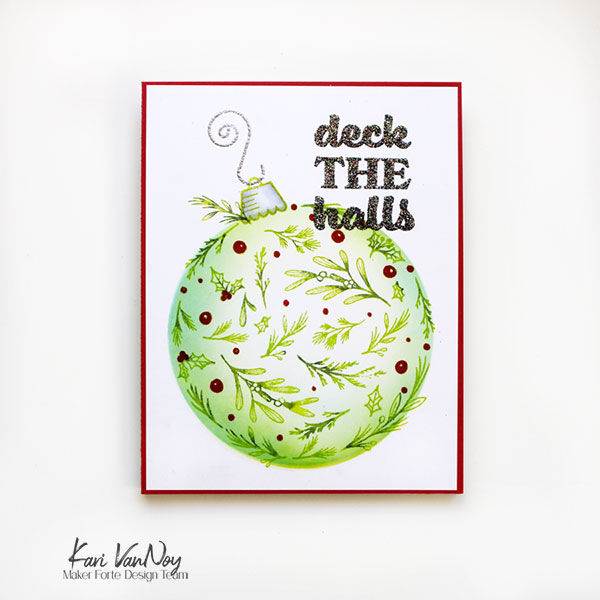
Hello! Today I have a fun ornament card to share using a new Maker Forte stamp set. I love how large this ornament is, it really creates a full card just by itself.
For this stamp, I used some watercolor markers to color up the stamp itself. First I colored the leaves with a green marker and added some darker greens to just portions of the leaves. I spritzed that with water and stamped it down. Then I used a red marker to color the berries, spritzed the stamp with water and stamped it down.
To color the ornament, I used the A2 Circle Spotlight stencil to mask around the ornament and slowly ink blended on a couple green inks. I made portions darker to give it more dimension (so it looks more round).
Next, I added the ornament topper with a light grey ink and colored it with grey Copic markers. I added an extra sprig of greenery by the topper for more festive look!
I heat embossed both the sentiment and the topper with embossing powders. I used my favorite Rainbow Sparkler embossing powder for that “Deck the Halls.”
I matted the whole panel with red cardstock and added it all to the card base. That’s it!
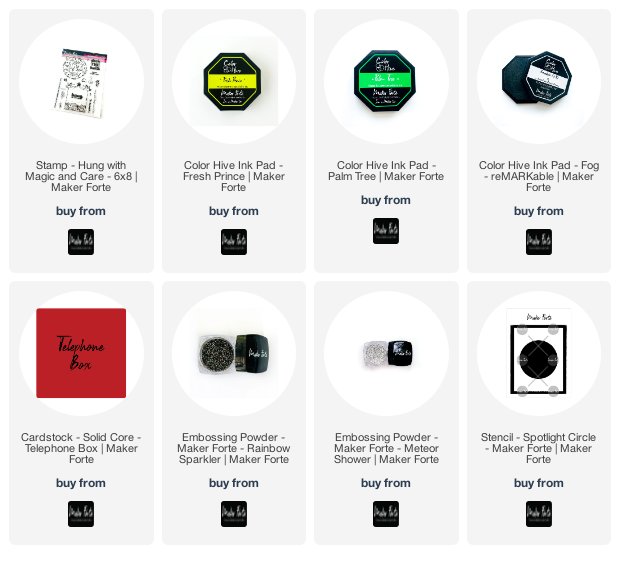
I’m often asked what supplies I use to make my cards and projects, so I’ve put together a list using affiliate links when possible. If you make a purchase with these links I may receive a small commission. These help me to keep up with blog costs and continue bringing you fun projects. Thank you so much for your support!
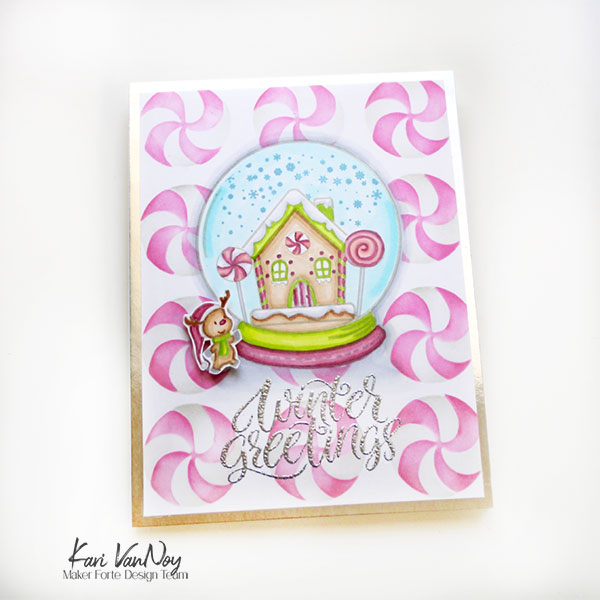
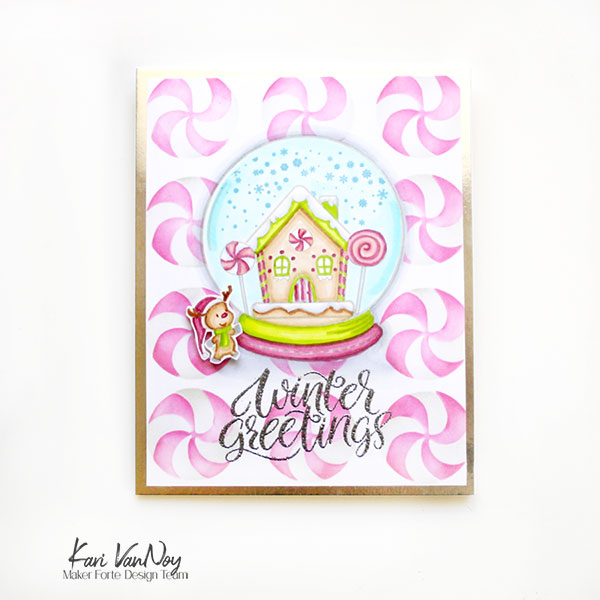
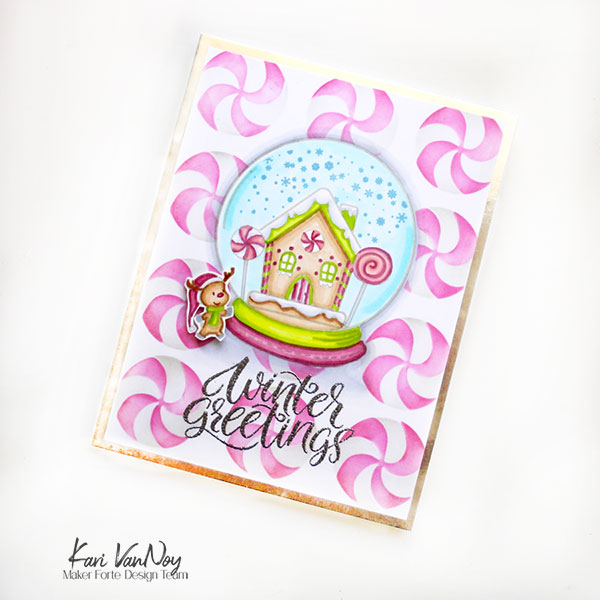
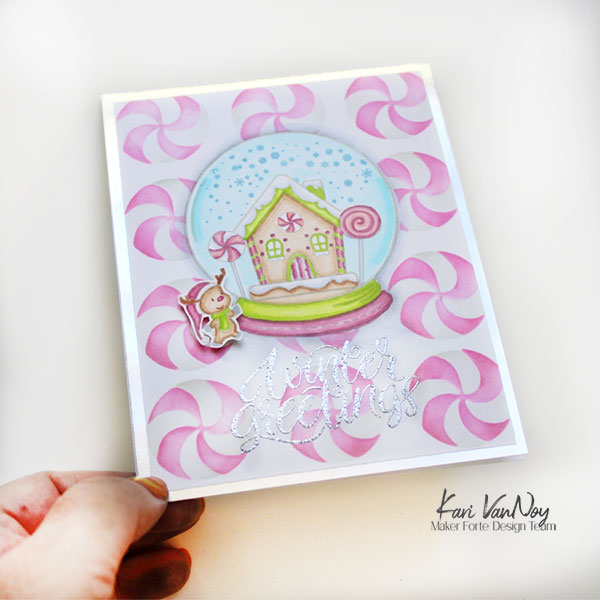
Hello! Today I have a Sweet gingerbread House in a snow globe! I just love this sweet image and I couldn’t resist coloring it up in pinks and light greens in a no-line colored look.
I used quite a bit of masking for this project…stamping one image at a time then masking off to stamp the next. I first stamped the lollipops, then masked them off. Next I stamped the gingerbread house and masked that off. Then I stamped the snowflakes.
After the scene was completely finished, I masked off the ENTIRE snow globe so I could add those starlight mints!
I love the A2 Starlight Mints stencil! I used pink and light grey ink here, but you could ink in a traditional red color OR try a light green for a wintergreen mint!
Next I heat embossed the sentiment with metallic embossing powder. I couldn’t resist adding a little deer from the What’s Up, Deer stamp set. He’s so cute!
I matted the entire panel onto some metallic silver cardstock and I love how it plays nicely with that embossing powder!
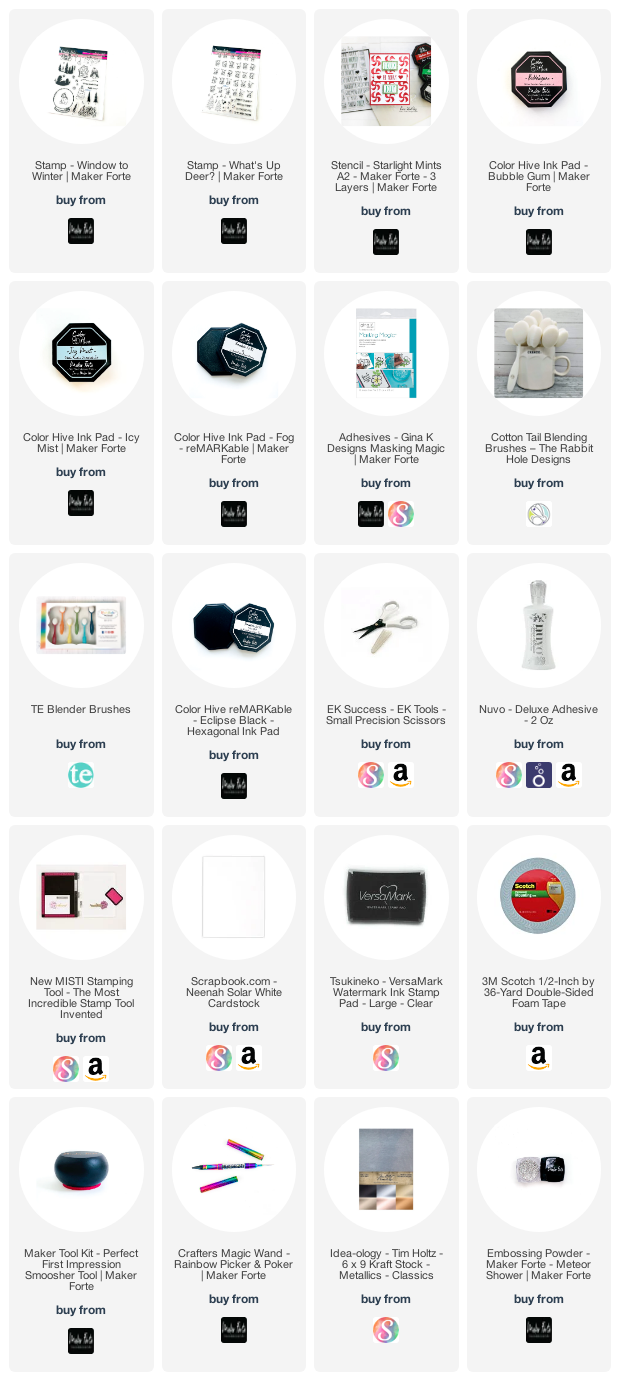
I’m often asked what supplies I use to make my cards and projects, so I’ve put together a list using affiliate links when possible. If you make a purchase with these links I may receive a small commission. These help me to keep up with blog costs and continue bringing you fun projects. Thank you so much for your support!
I hope you enjoyed this sweet project today! Thanks for stopping by.
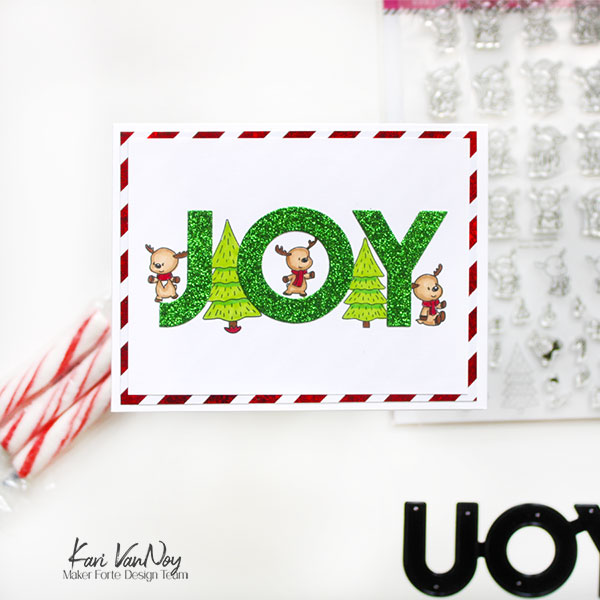
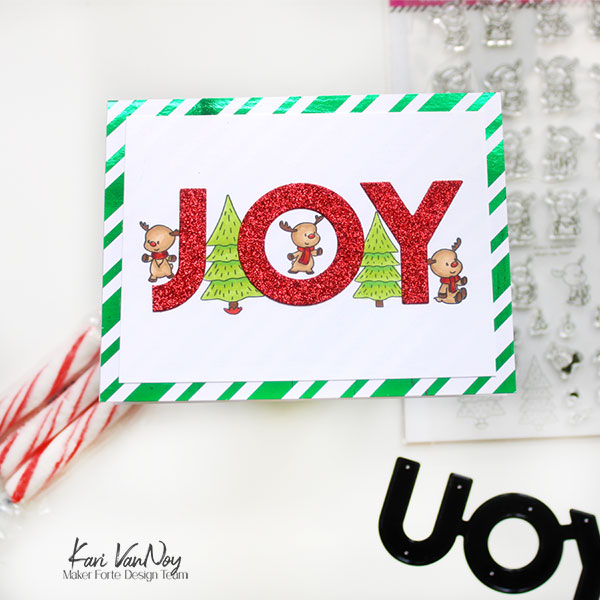
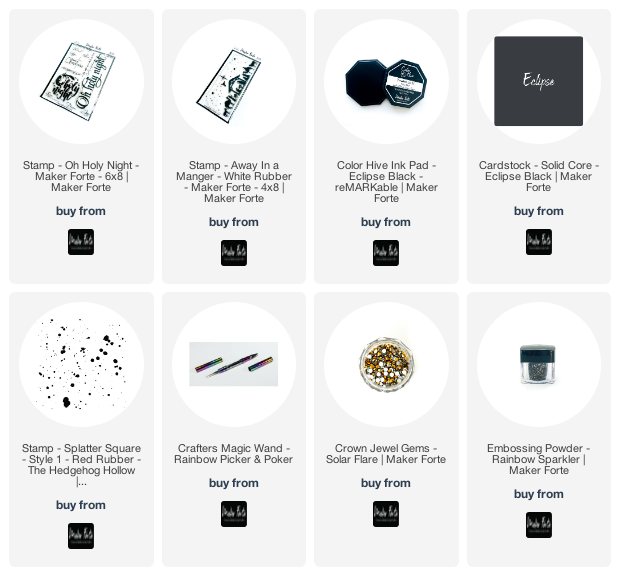
Hello, today I am up at the Maker Forte blog HERE with some sweet little reindeer cards!
If you want more details, be sure to visit their blog. But I will share the video and some photos here!
How cute are these? There’s absolutely NO fussy cutting or masking involved! I think that’s an absolute plus when you’re working with small images like these.
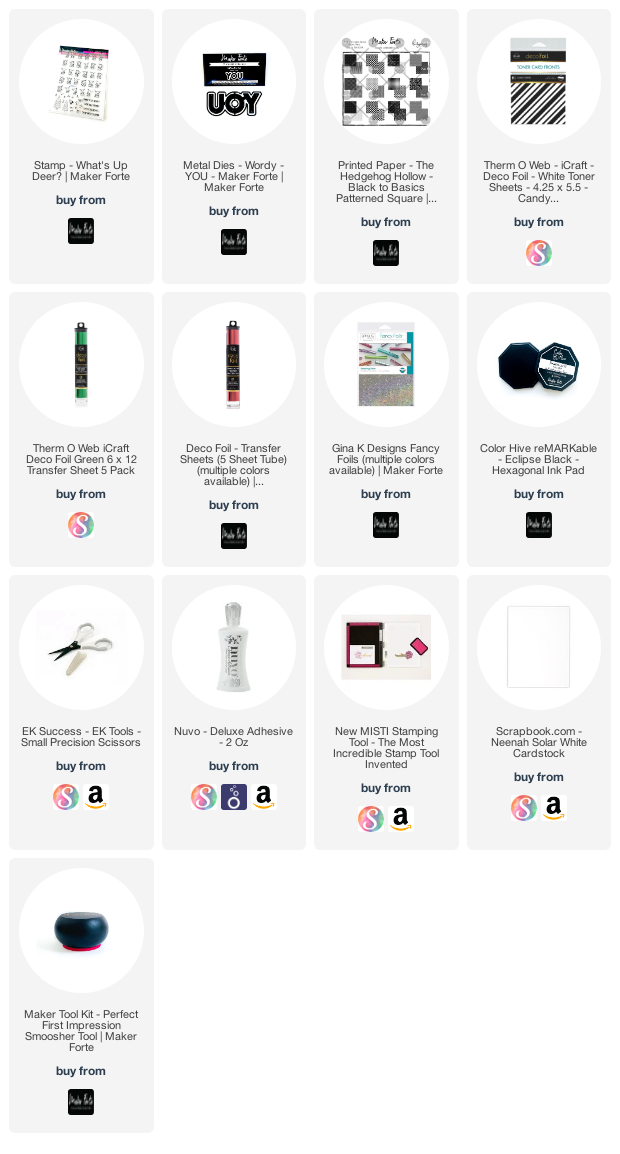
I’m often asked what supplies I use to make my cards and projects, so I’ve put together a list using affiliate links when possible. If you make a purchase with these links I may receive a small commission. These help me to keep up with blog costs and continue bringing you fun projects. Thank you so much for your support!
I hope you enjoyed these tricks (like turning the word YOU into the word JOY!) Thanks for stopping by today!
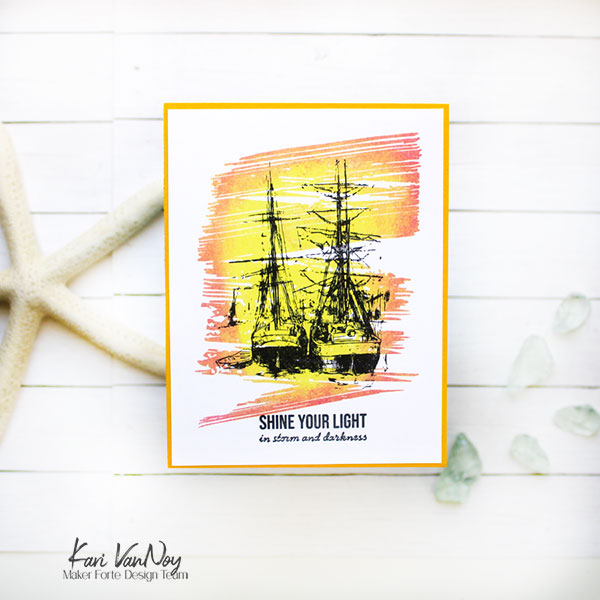
Hello! Today I have a simple card with a sunset feel…I love cards like these that have such an impact, but are so easy to make!
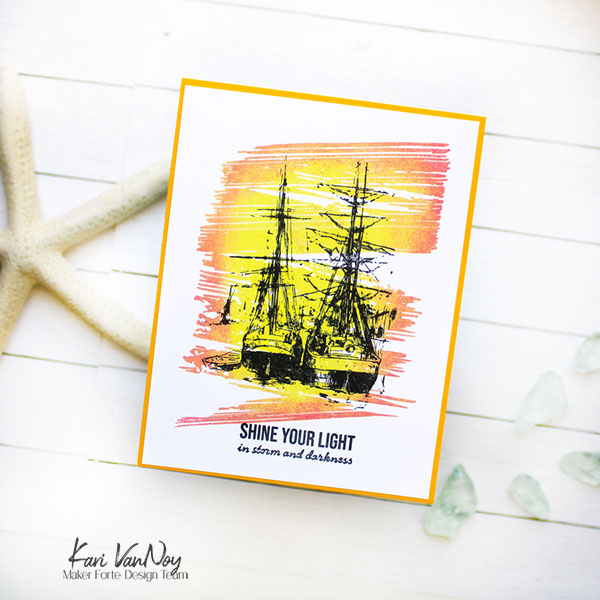
I first stamped the brushstroke background stamp in yellow ink. Then I added some Red Leicester and Pink Flamingo inks just around the edges. I blotted the ink before stamping so as not to get harsh lines.
I then stamped the ship images over the top, with the sentiment in Eclipse Black ink.
To complete this card, I used some yellow cardstock as a mat. VOILA! A simple and stunning card!
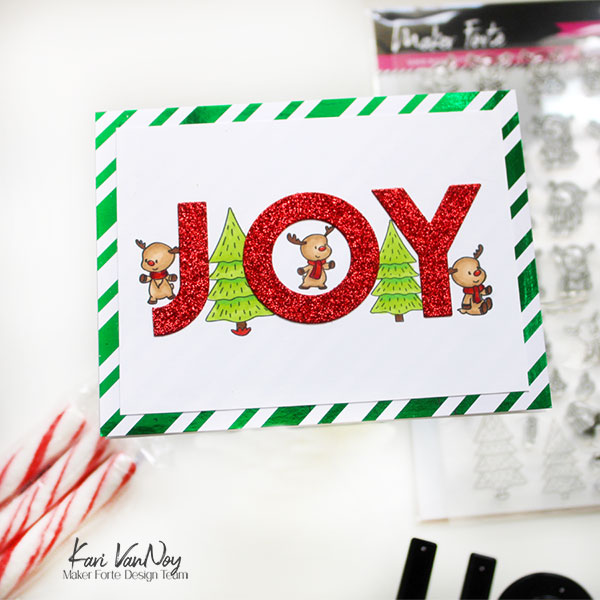
I’m often asked what supplies I use to make my cards and projects, so I’ve put together a list using affiliate links when possible. If you make a purchase with these links I may receive a small commission. These help me to keep up with blog costs and continue bringing you fun projects. Thank you so much for your support!
Hi I'm Kari. I'm a creator, a card maker, and a day maker! I am Lucky in love to a supportive husband, blessed to raise 3 kids (all moved away now!), and happy to be watched over by 2 dogs.
I originally started this blog to remind me to be happy amid adversity, and I hope it inspires you, too!