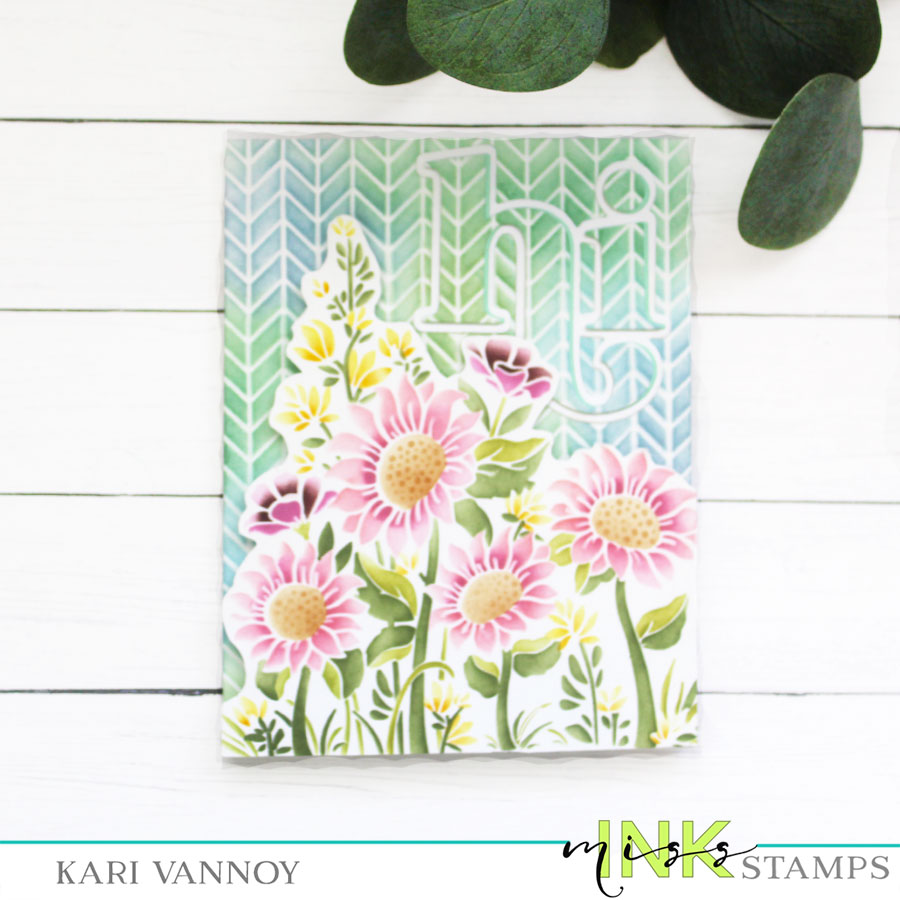
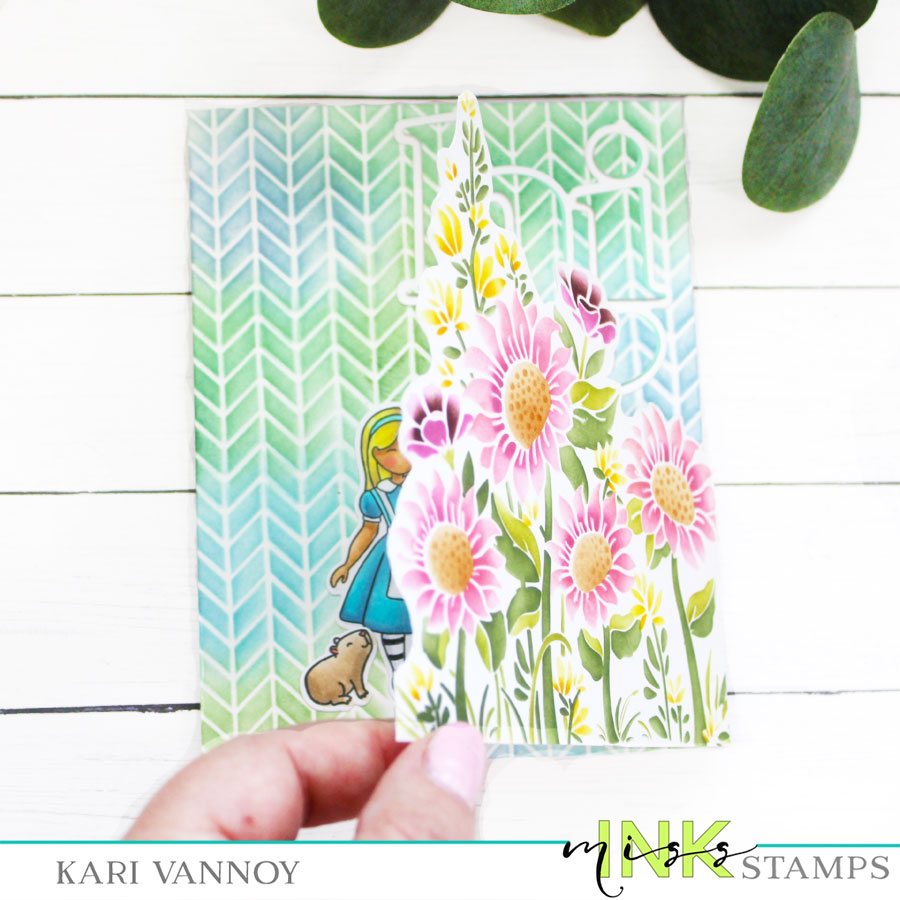
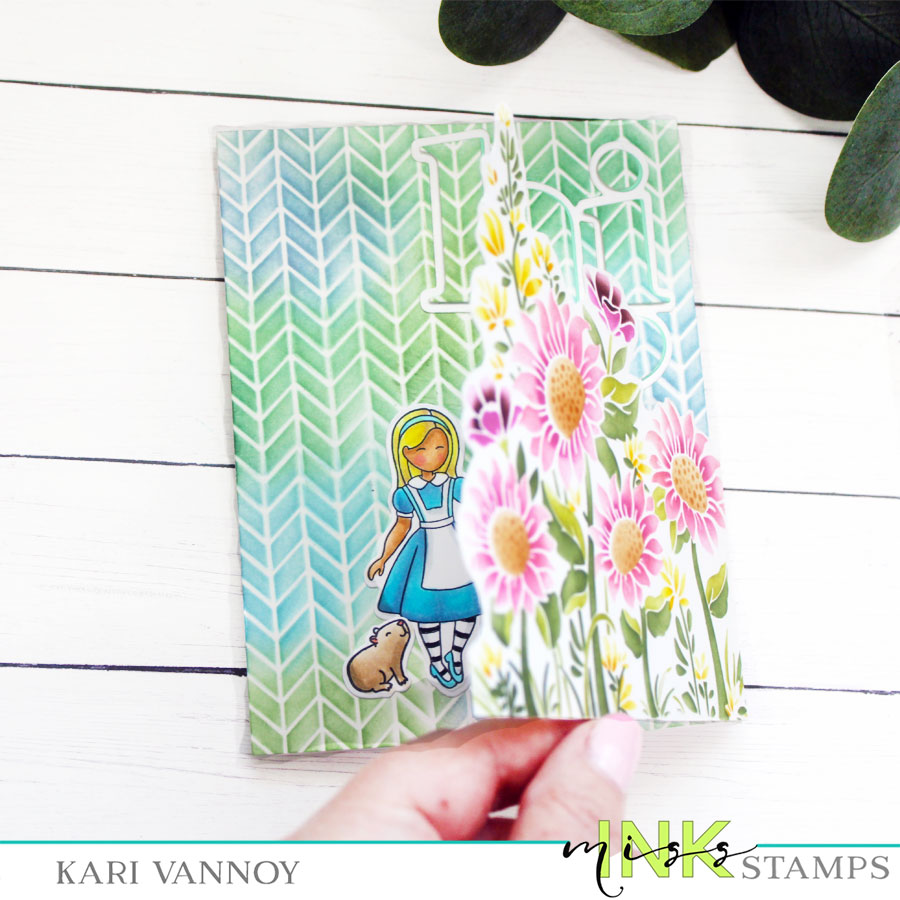
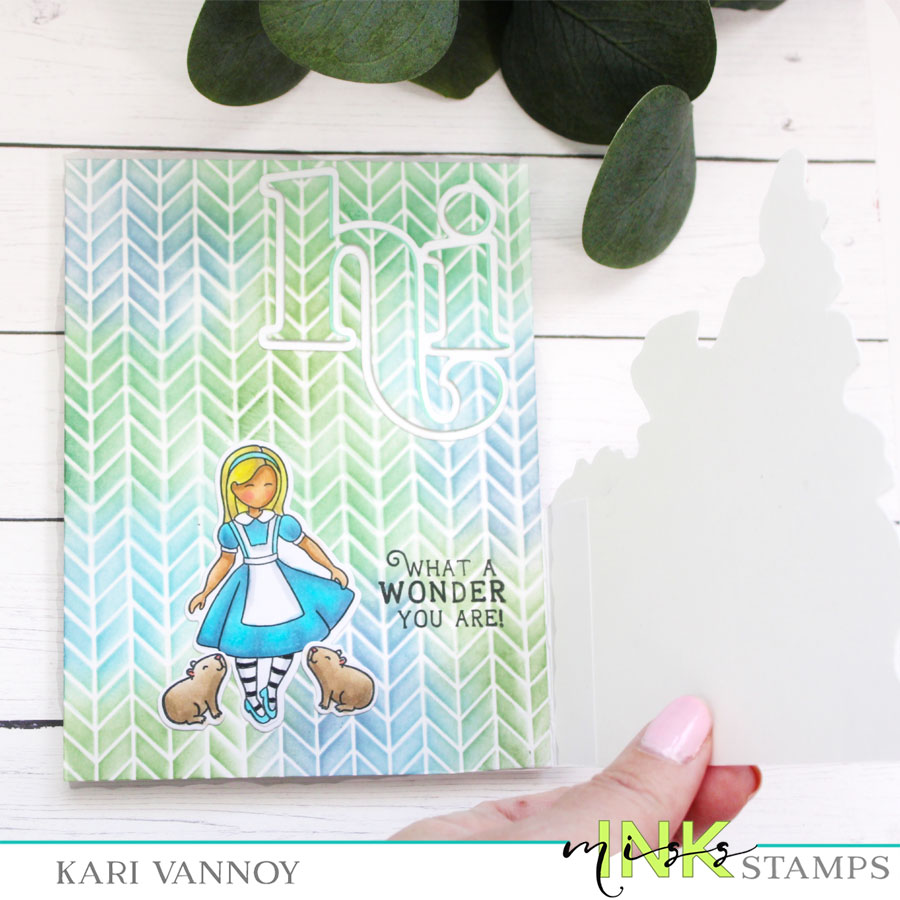
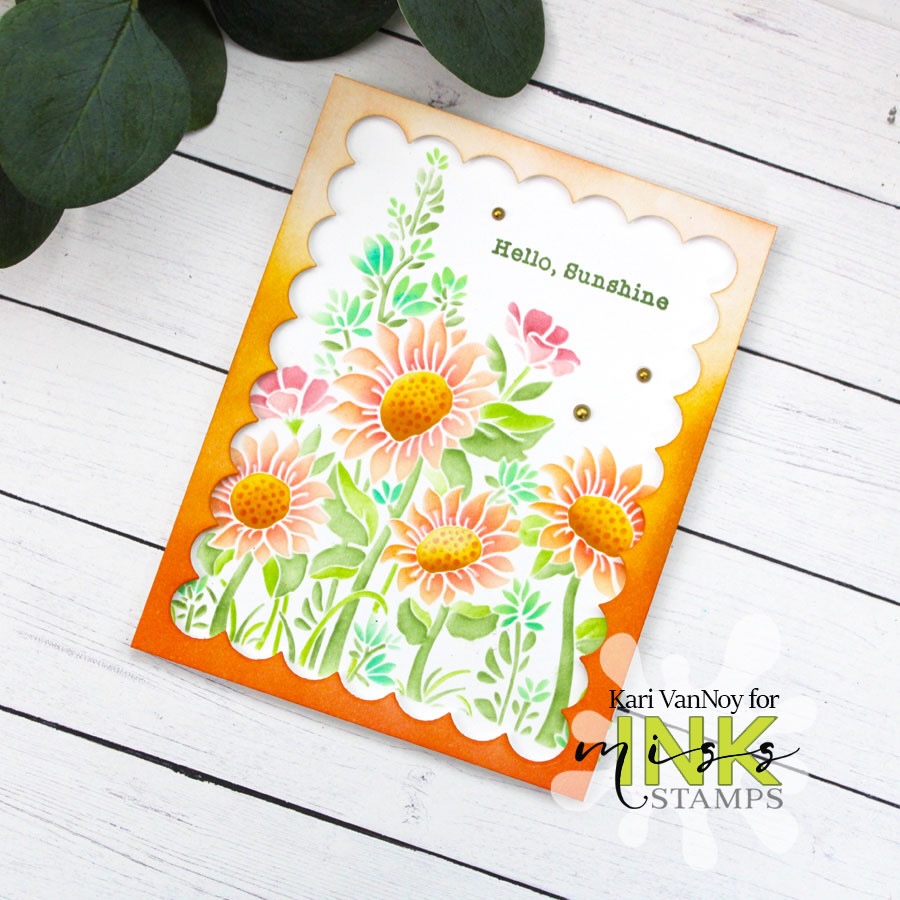
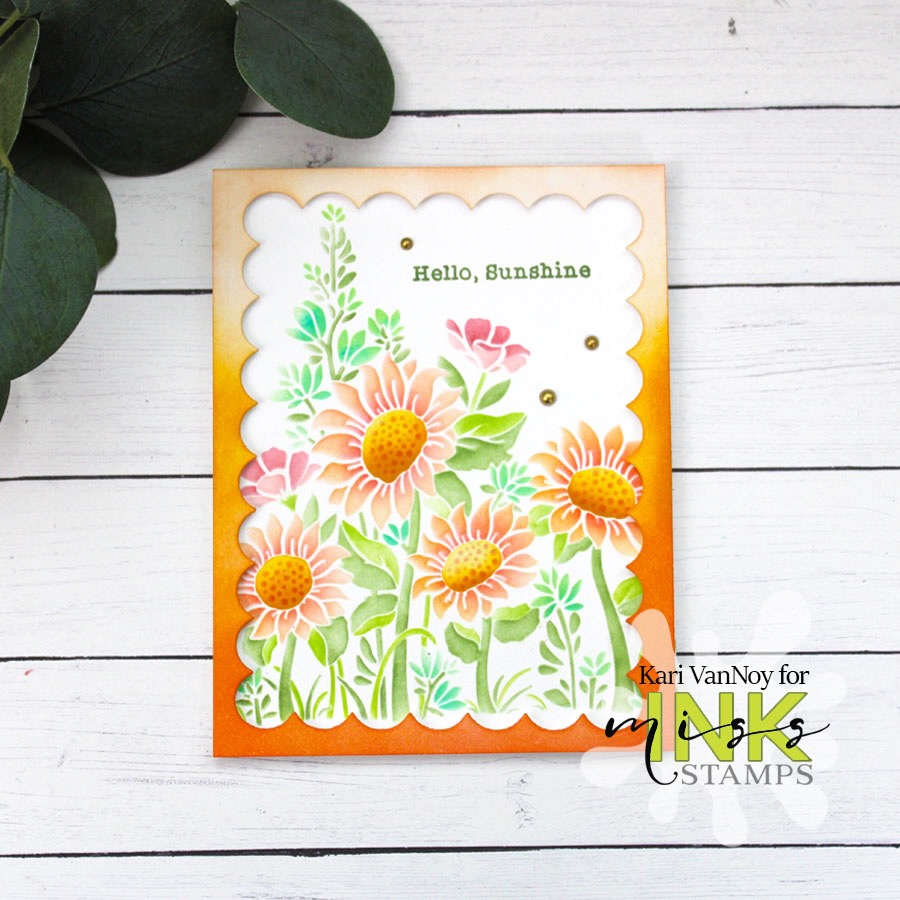
Hello! Today I’m excited to share a Spring Wildflowers Faux Shaker. This card is so simple to make and yet has such an impact! I share the video how to below or on YouTube:
I just adore this Layering Stencil because you can get a really stunning result with very little effort. Today I chose a color palette by searching for “Spring colors” online. Then I chose some inks to match. I challenged myself to use only these inks (now, granted, I picked a lot of inks! LOL…see my video!)
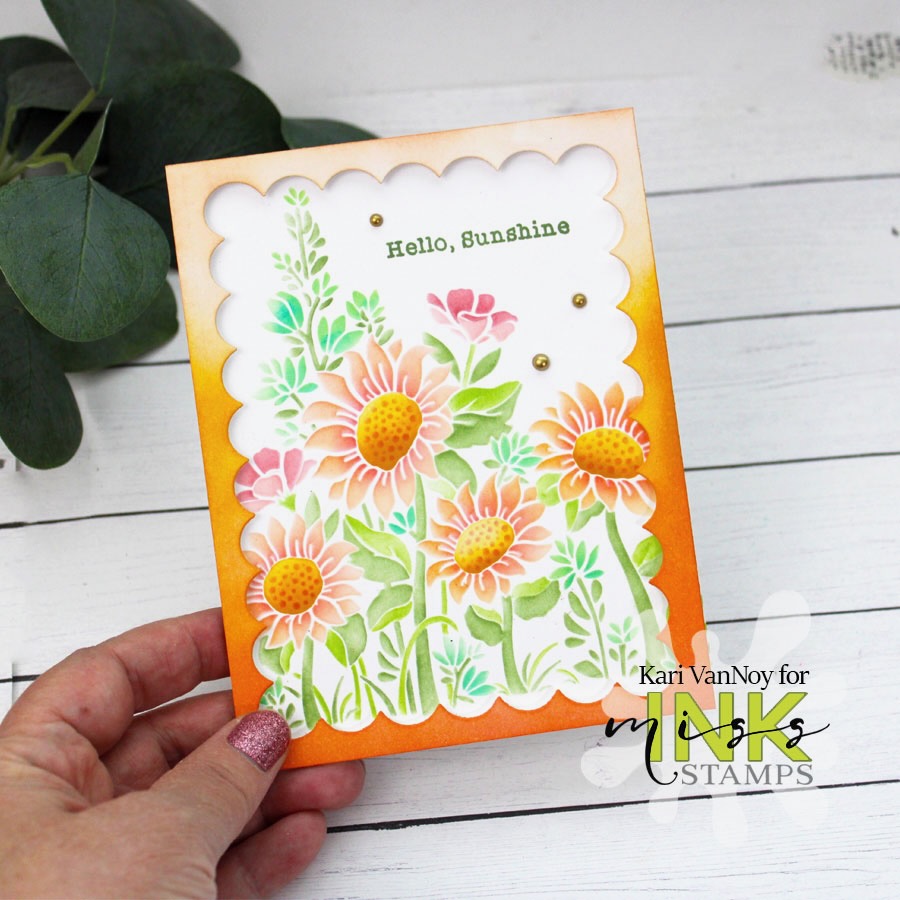
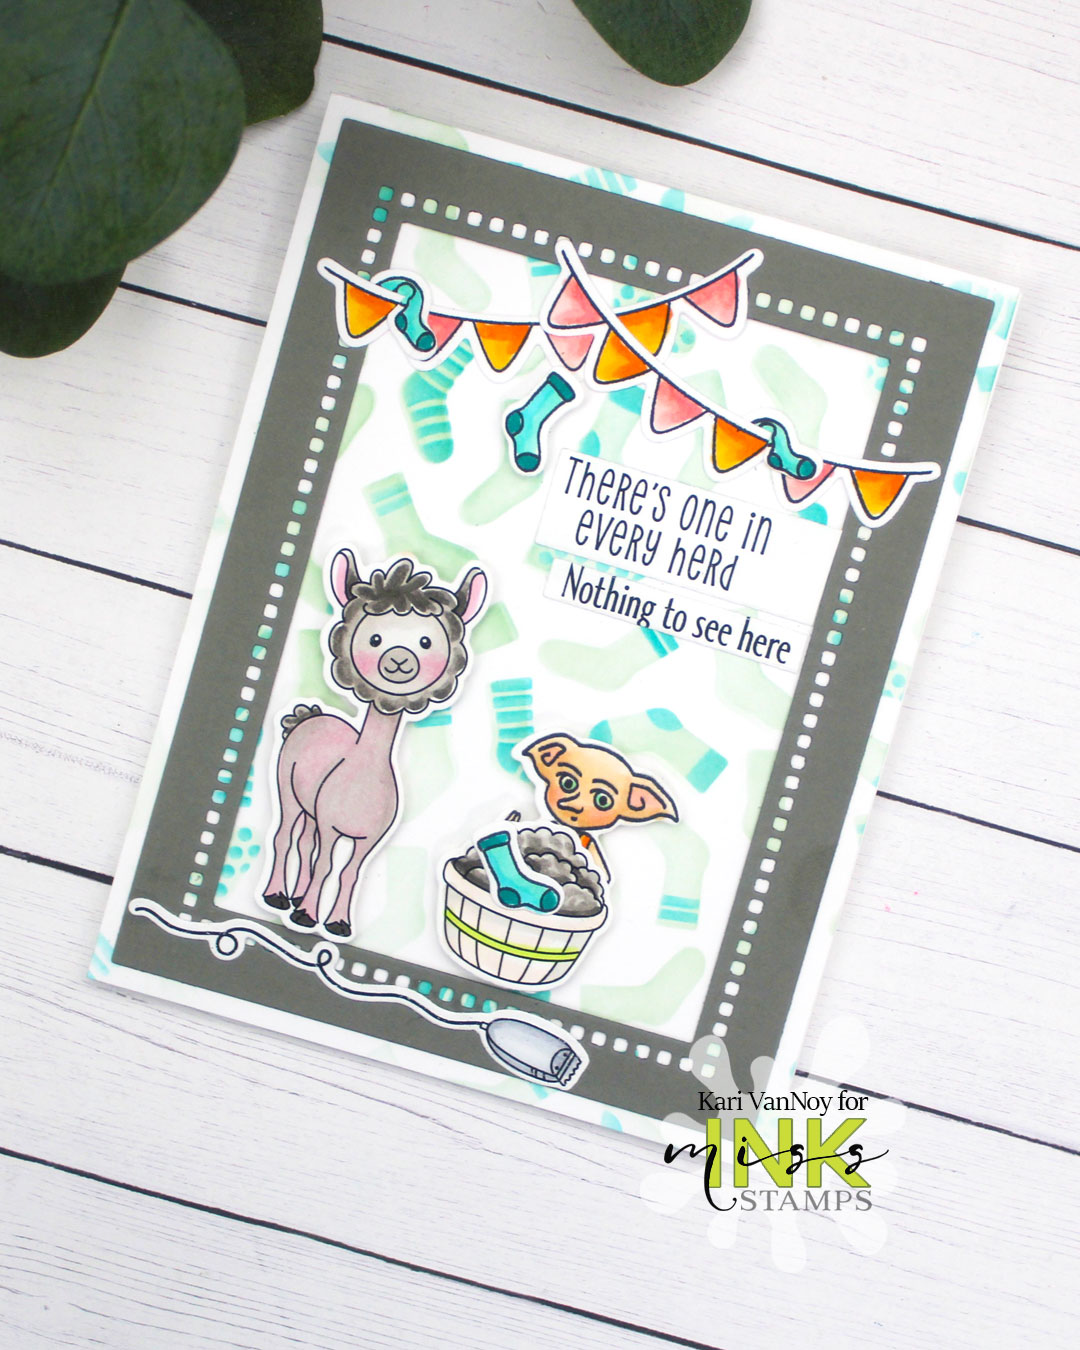
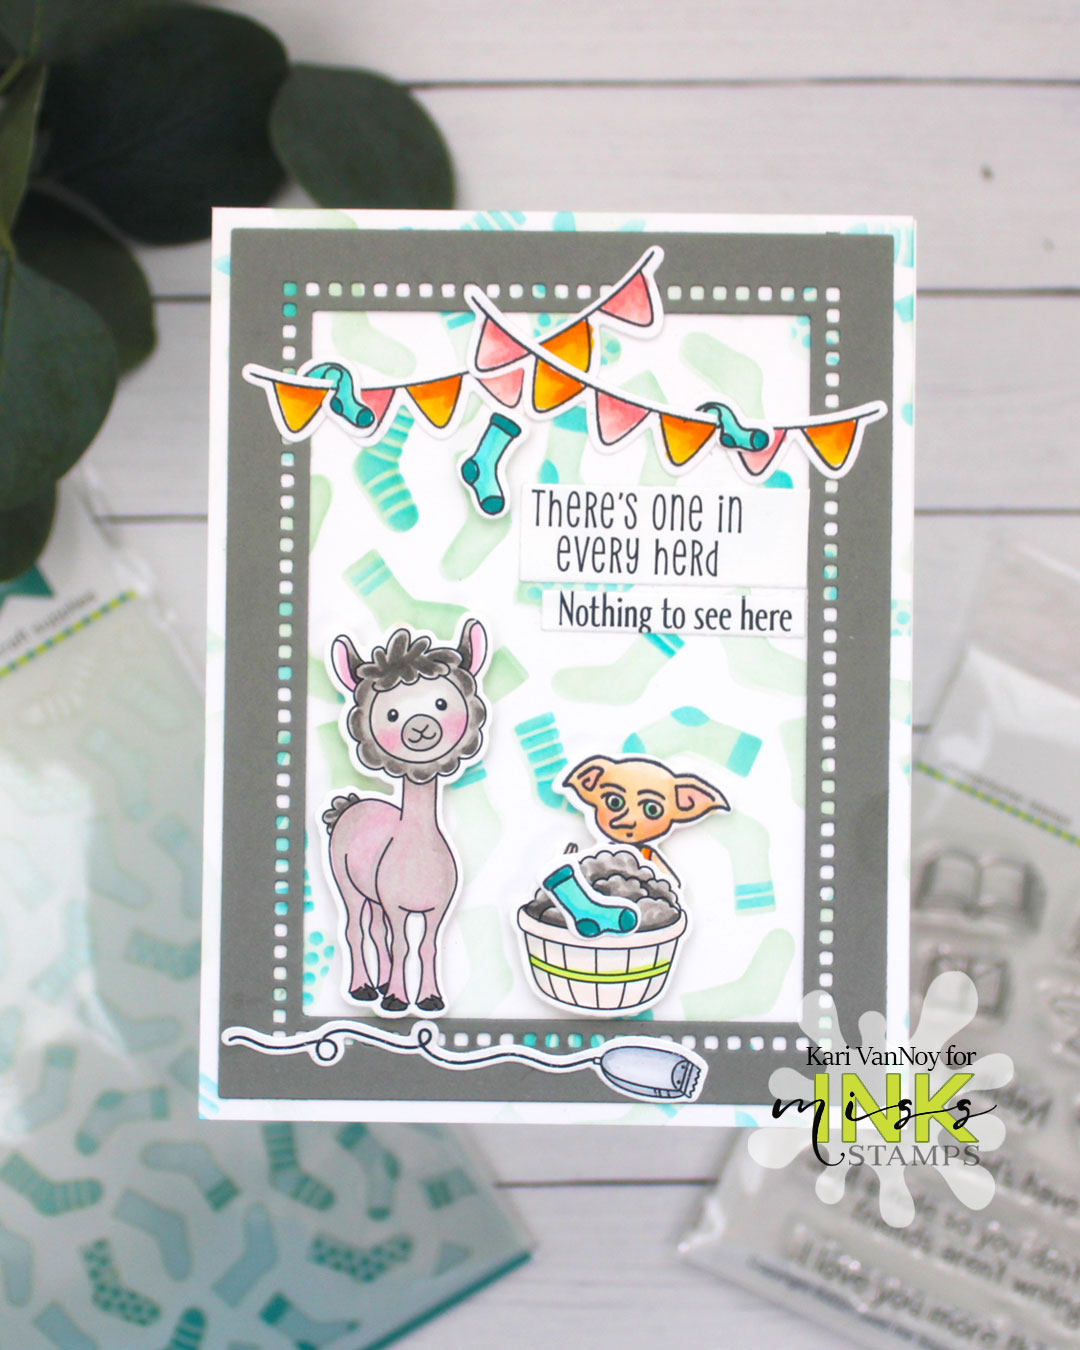
I cut out a frame using the Punny Farms Frame die from Miss Ink Stamps, but instead of using the inside panel, I used the outer piece of the die cut to frame my wildflower panel. I added some Spring colored inks to the frame. I could have easily make this into a shaker card by adding acetate behind that frame. But today I decided to make a FAUX shaker and added a few matte gold pearl embellishments and a sentiment to finish it off.
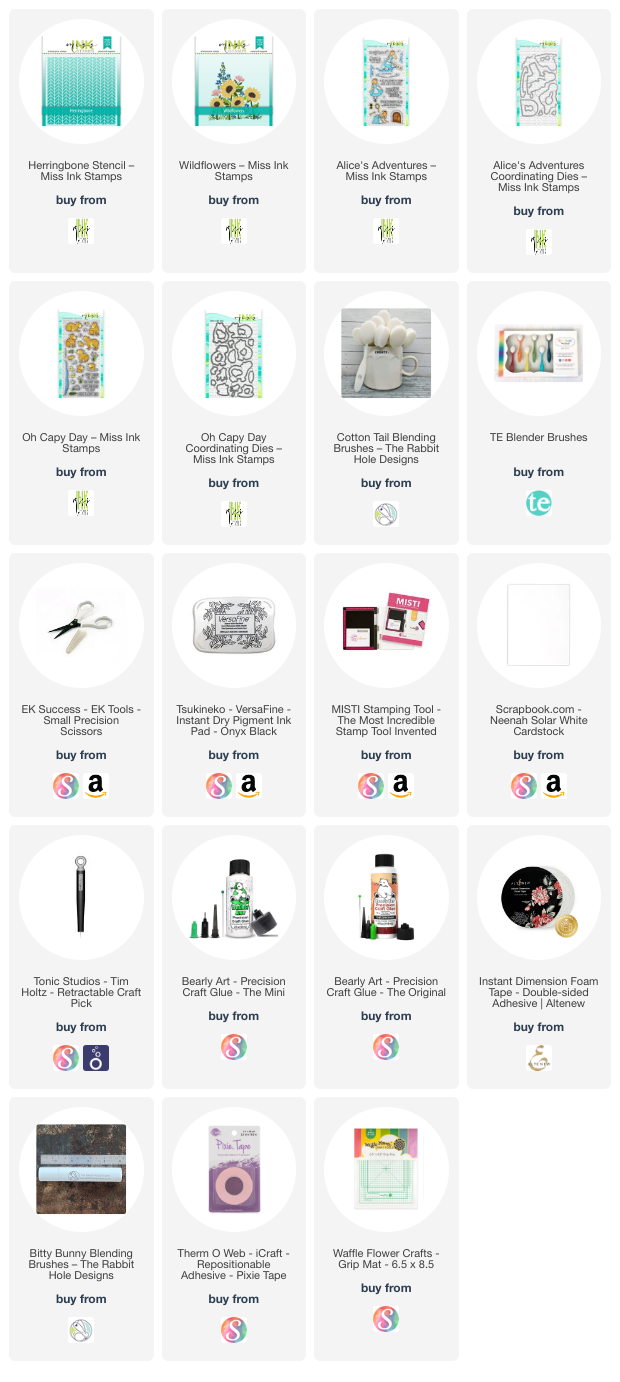
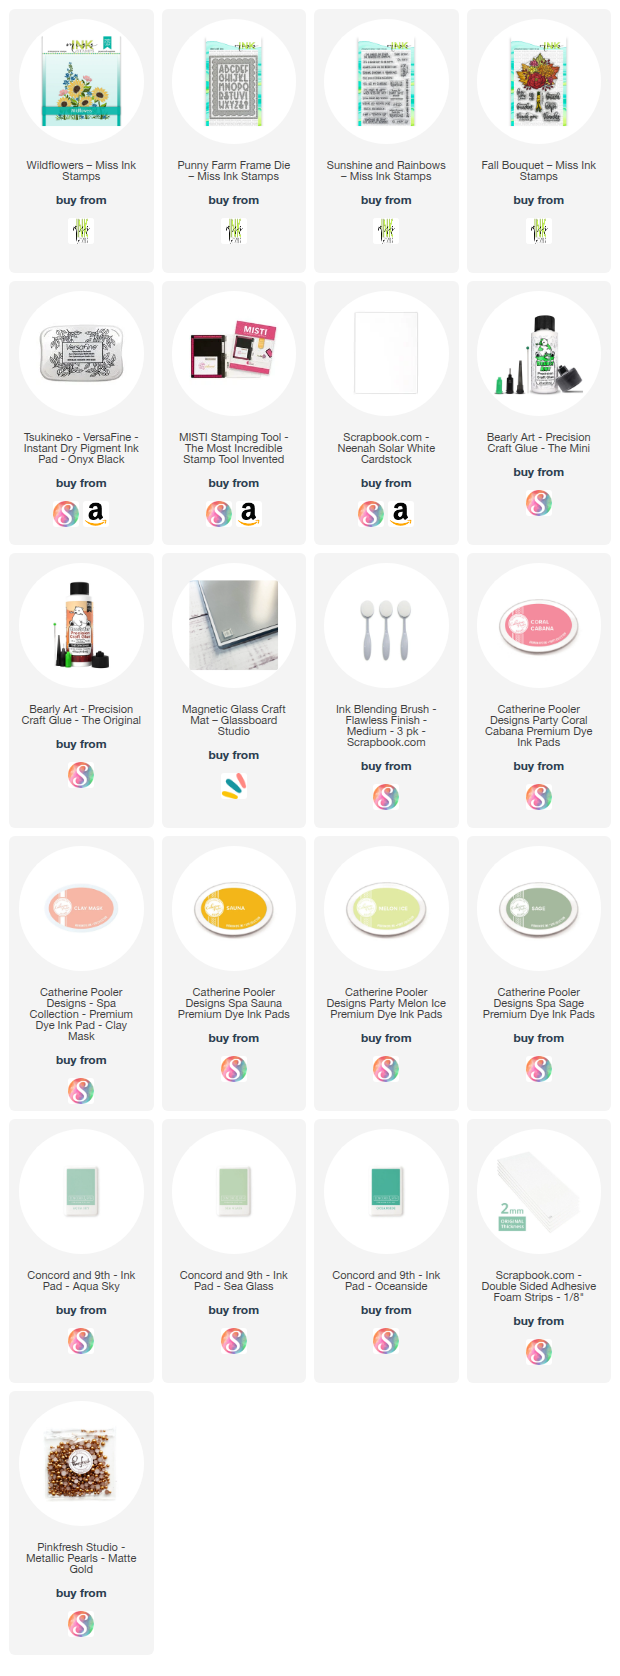
I’m often asked what supplies I use to make my cards and projects, so I’ve put together a list using affiliate links when possible. If you make a purchase with these links I may receive a small commission. These help me to keep up with blog costs and continue bringing you fun projects. Thank you so much for your support!
I hope you enjoyed this project and video today! Happy Spring,
Kari