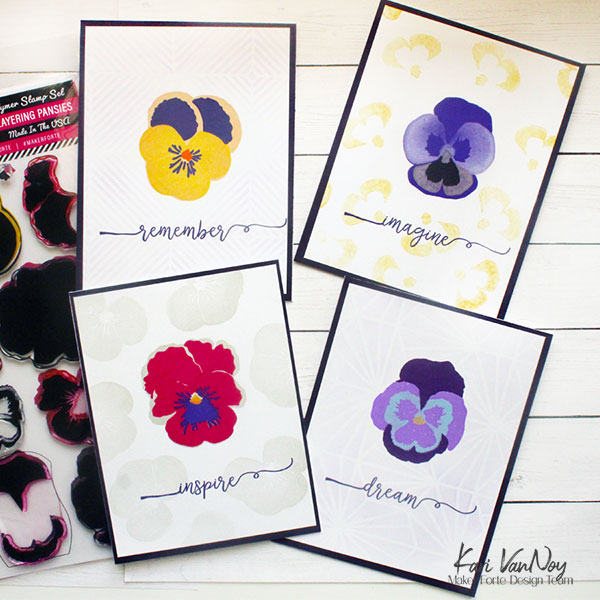
Hello! Today I’m excited to be up on the Maker Forte blog to share a set of cards with Pretty Pansies! I am using their new Layering Pansies stamp set to build up these flowers…and they turn out amazing. Check out the blog post HERE.
I also have a video showing you just how easy these flowers are to layer up with this set. Watch it below or in HD on YouTube:
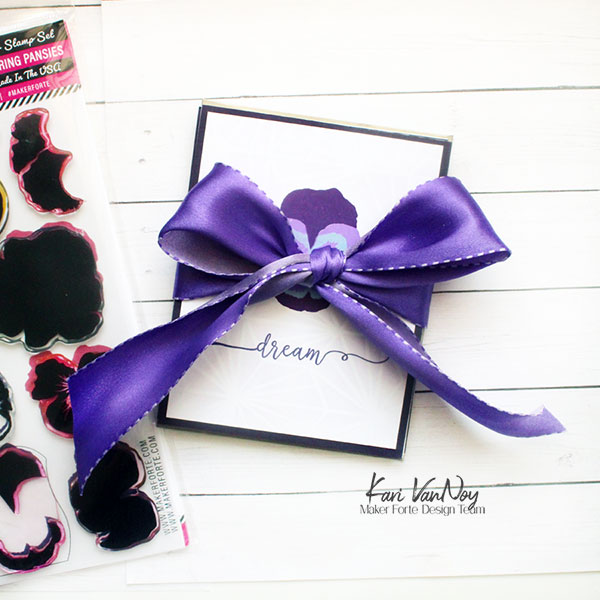
I packaged these up as a gift set for my mom, who nearly cried with joy at opening them. You might remember that when my Dad died, we made a Pansy garden memorial for him (he LOVED pansies, which he learned from his mom…my grandma).
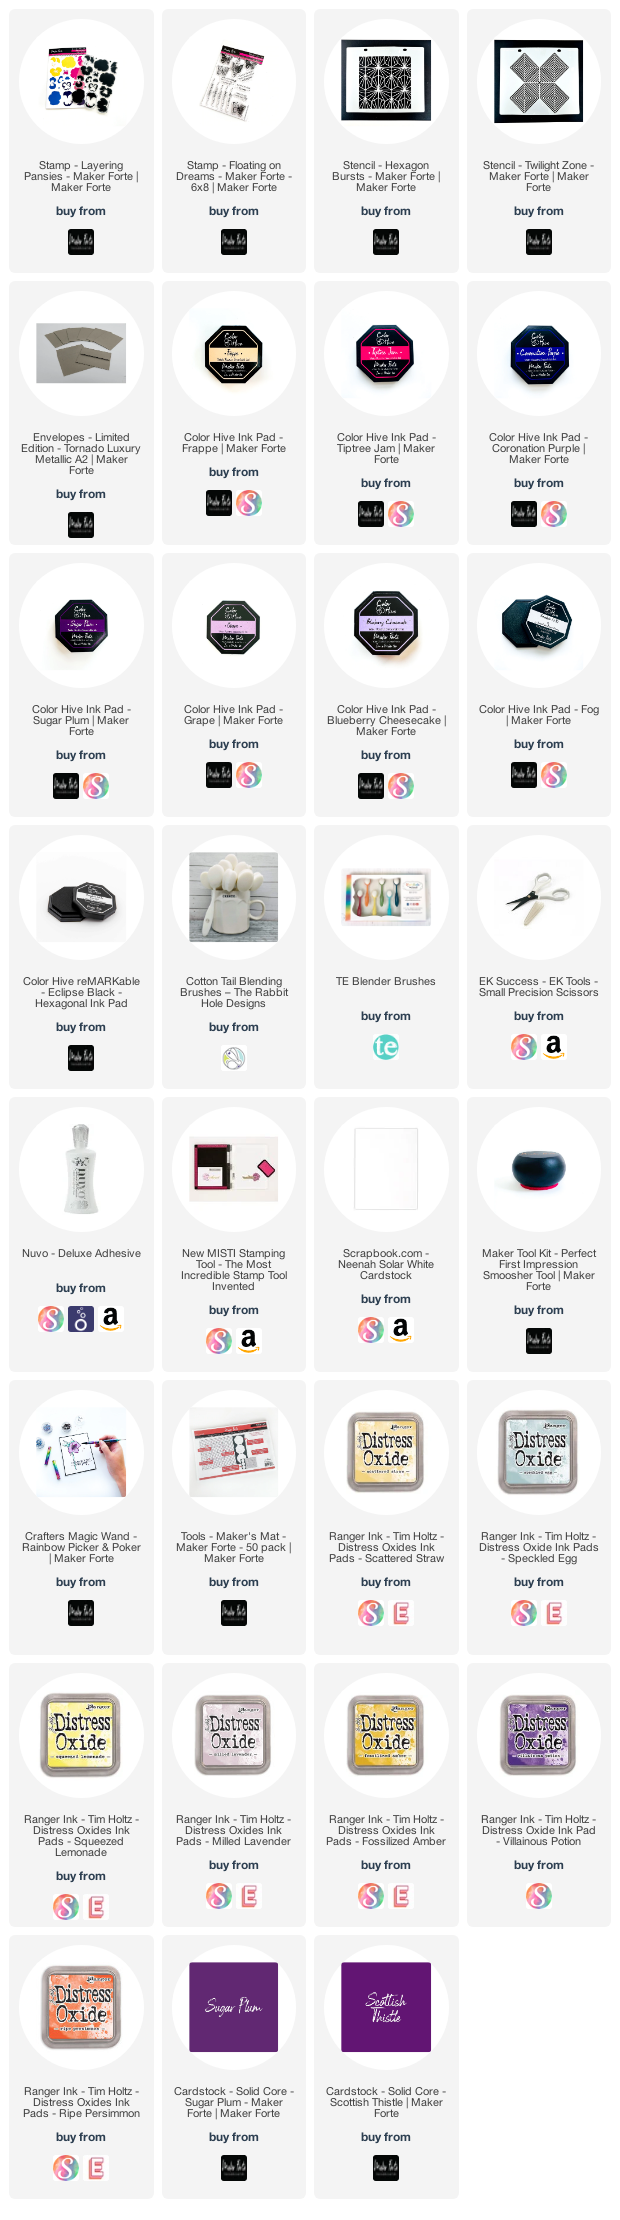
I’m often asked what supplies I use to make my cards and projects, so I’ve put together a list using affiliate links when possible. If you make a purchase with these links I may receive a small commission. These help me to keep up with blog costs and continue bringing you fun projects. Thank you so much for your support!
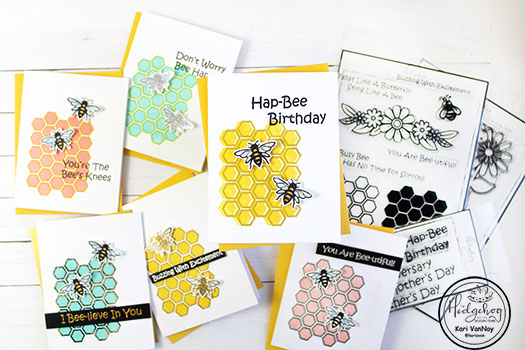
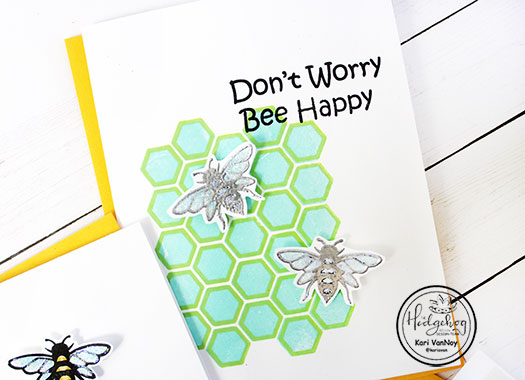
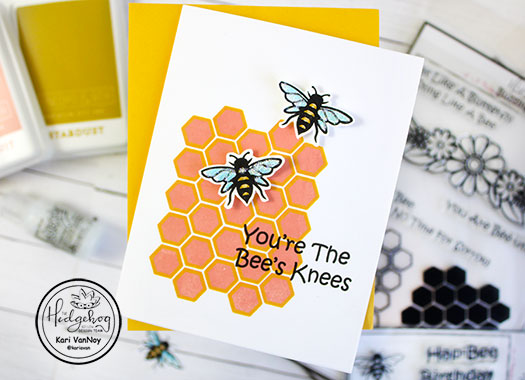
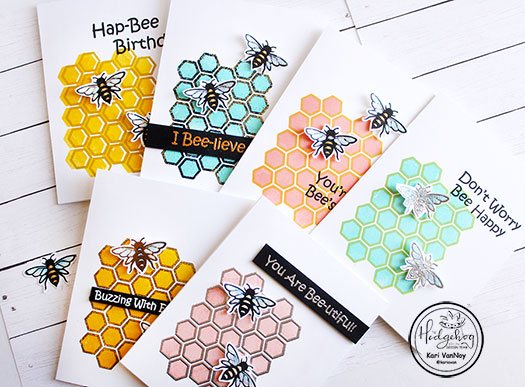
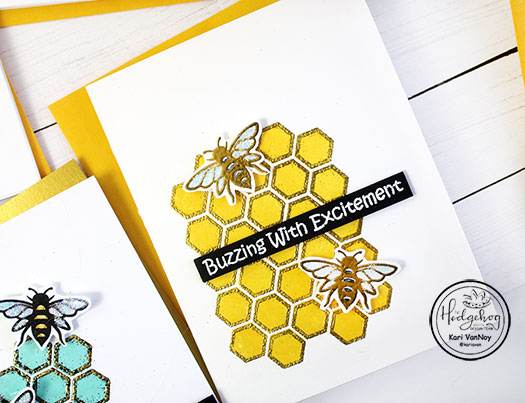
Hello! Today I’m back with FIVE Ways to Uplevel the Honeycomb Layering Stamp from The Hedgehog Hollow August Kit. This kit is so full of sweetness: honey and Bees, Flowers and sentiments….I love it all!
I have this short video showing you the five ways, watch it below or on YouTube:
If you can’t watch the video, I’ll also share these tips quickly here.
Choose unexpected colors to stamp with.
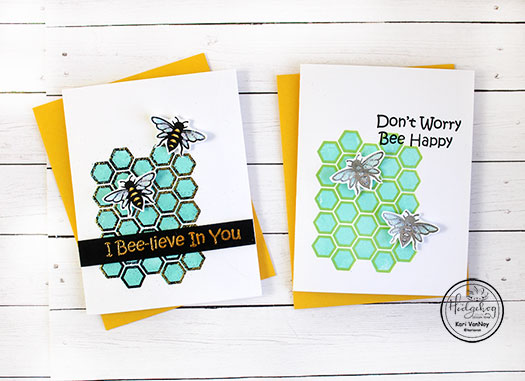
Stamp Layer 1 with one color, and Layer 2 with a completely different color
Try embossing Layer 2 for a different look
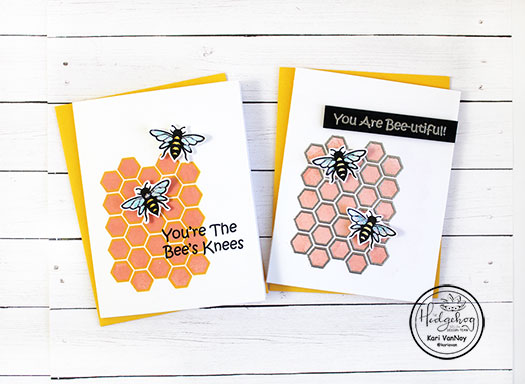
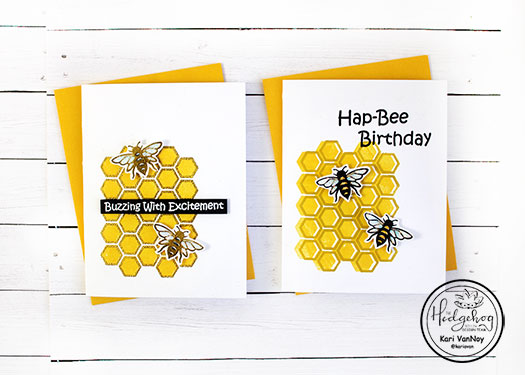
Offset Stamping – Layer 2 doesn’t have to completely match up
Stamp sentiments directly on card panel OR use sentiment strips popped up with foam tape
blue with black & gold heat embossed Layer 2 | blue with green Layer 2 Grapefruit with yellow stamped Layer 2 | Grapefruit ink with silver embossed Layer 2 Yellow with gold heat embossed Layer 2 | Yellow with offset Stardust ink Layer 2
I’m often asked what supplies I use to make my cards and projects, so I’ve put together a list using affiliate links when possible. If you make a purchase with these links I may receive a small commission. These help me to keep up with blog costs and continue bringing you fun projects. Thank you so much for your support!
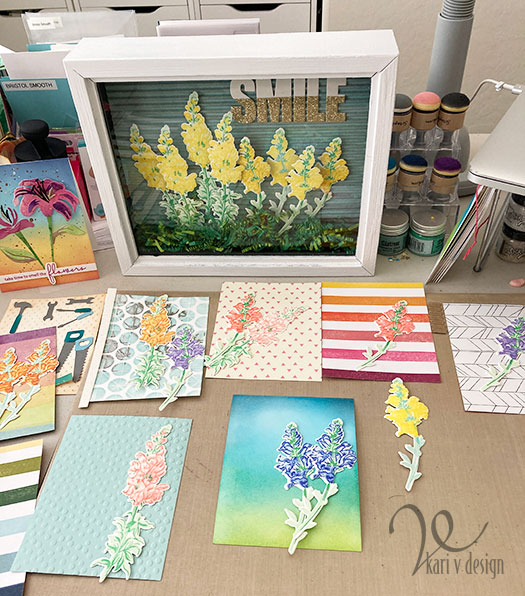
Hello! Today I am a part of a blog hop for Papercrafters Unite Against Racism. My projects today are some of my favorite flower layering stamps, with the idea that I could maybe make you smile. I’d love to send flowers to those of you who are angry, sad, upset, or discouraged during this time.
Sometimes, as crafters, we don’t know exactly the right thing to say or do. My heart hurts and I’m so sensitive to this topic, but I also don’t want to say the wrong thing. So, these flowers are hopefully doing the job making you smile today.
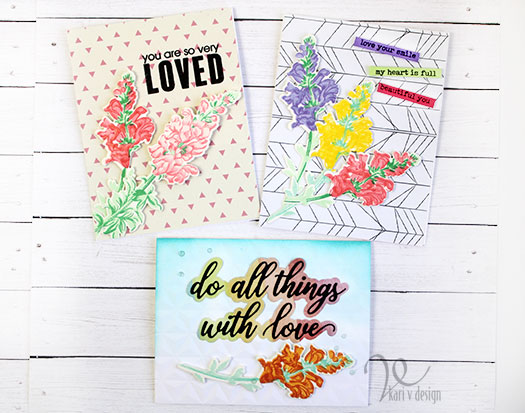
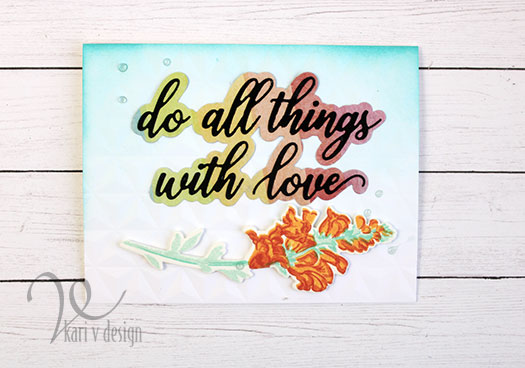
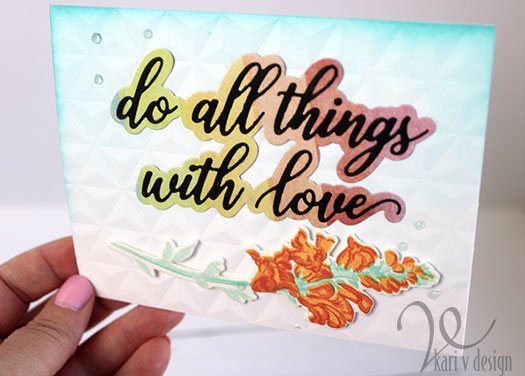
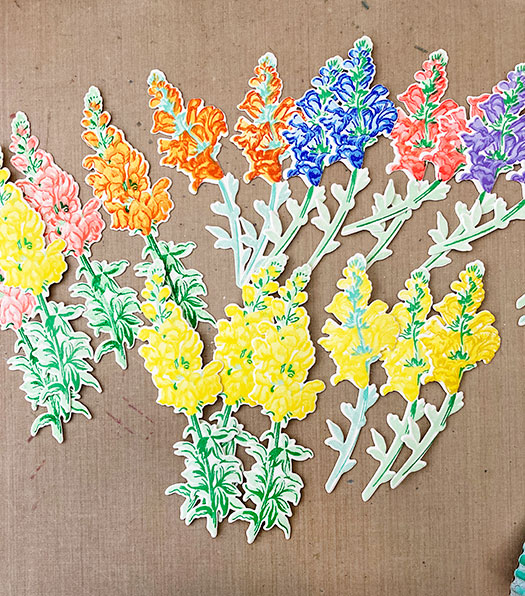
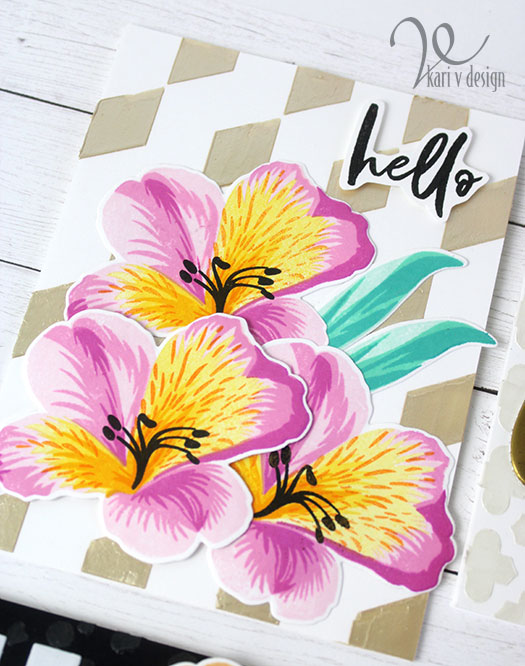
While I financially cannot send flowers to everyone, at least I can create some floral cards to share! So I have some layered snapdragon cards (some of my favorite flowers!) using patterned paper.
I love these patterned paper ideas! I have a quick video on how to make these cards, with three ideas for using patterned paper! And I share how to easily layer these snapdragons for mass production. Watch the video below, or in HD on YouTube:
Love is the best answerusing patterned paper as the shadow layer
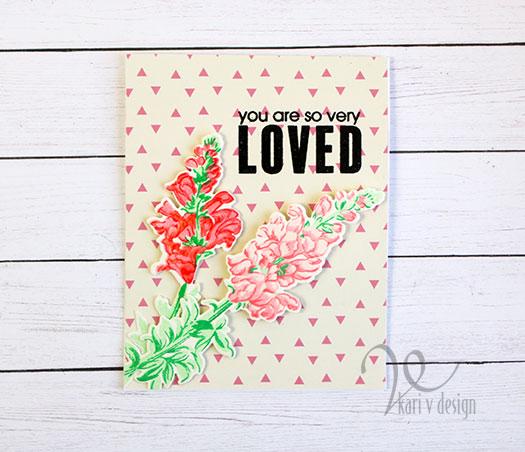
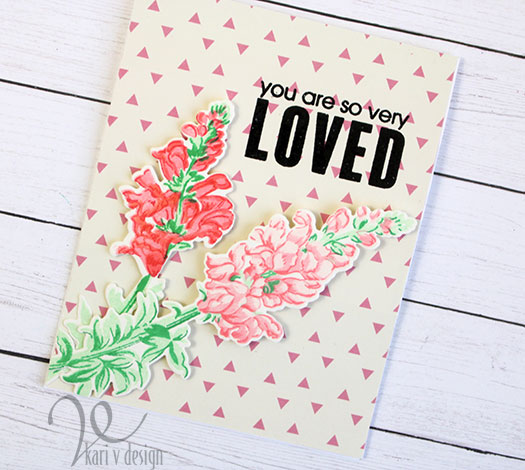
For this first card I used patterned paper as the shadow layer on this die from PinkFresh Studio. I love the variation in color. I made a simple background using ink blending and an embossing folder to get an interesting look.
Lots and Lots of flowers!
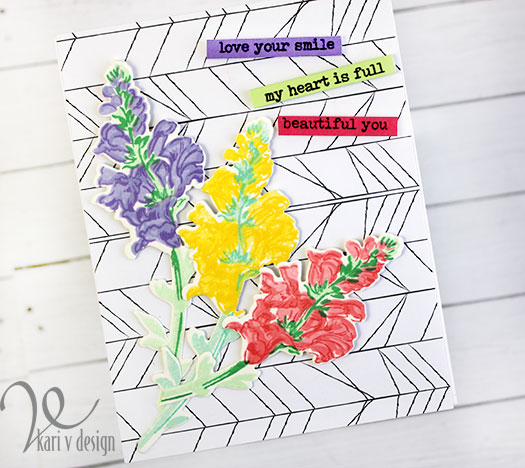
For the second card, I simply used a black and white background paper as the base to showcase a beautiful, colorful bouquet!
love your smile, my heart is full, beautiful you!
And the last card uses some heat embossing directly on patterned paper to create a pink delicious card.
Since I love yellow snapdragons, I also made a project for my craft studio with these (pictured below..the shadow box frame)! AND I have plenty of flowers to still use on cards!! Be sure to check out the video for my tips on mass producing these flowers.
So many flowers…ready to make even more cards!
I’m often asked what supplies I use to make my cards and projects, so I’ve put together a list using affiliate links when possible. If you make a purchase with these links I may receive a small commission. These help me to keep up with blog costs and continue bringing you fun projects. Thank you so much for your support!
Which card is your favorite? Leave me a message below.
Continue on the hop, your next stop is the talented Kathya Kalinine here. If you get lost, check out the complete list and more information at Justine’s blog here.
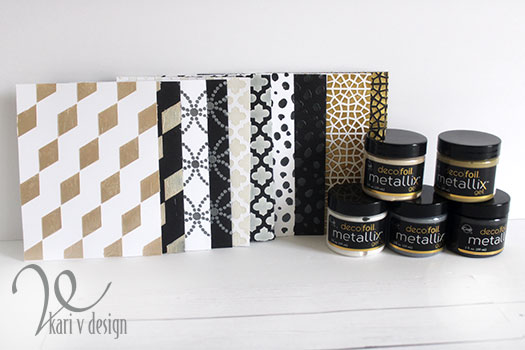
Hello! Today I’m excited to bring you a variety of cards using Metallix Gel in five colors. I got these a while ago and finally found the perfect time to use them…as a part of my AECP Certification. I was inspired by Carissa Wiley in her “Let It Shine” class.
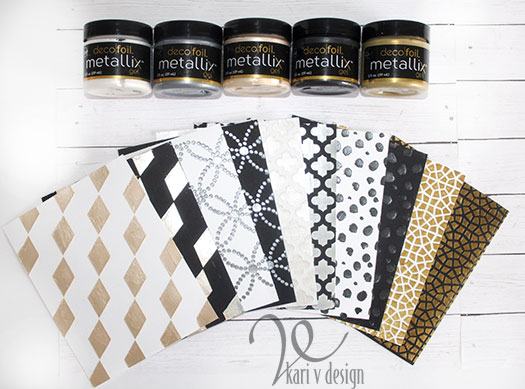
This Metallix Gel is the perfect product to shine on your cards! I tested out the colors on both black and white cardstock to see the differences the backgrounds make on the colors.
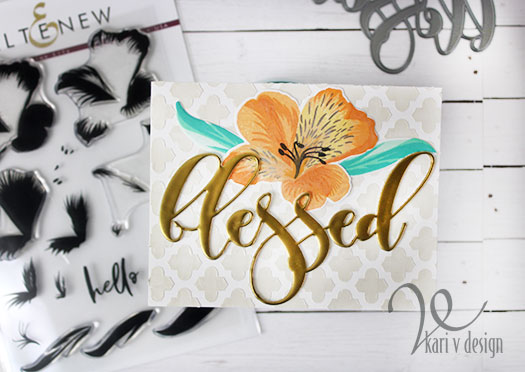
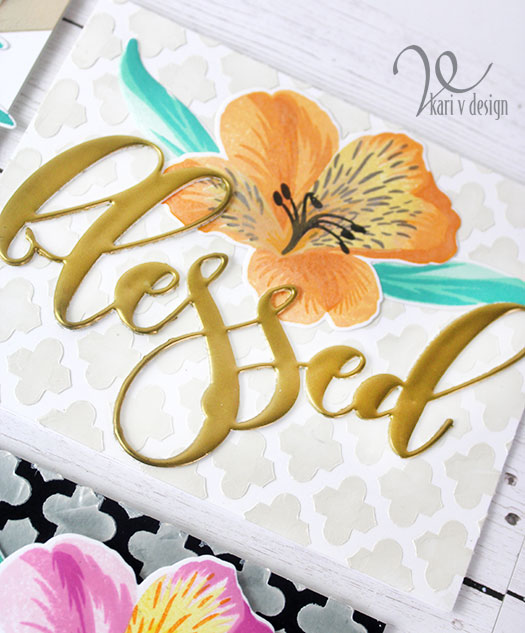
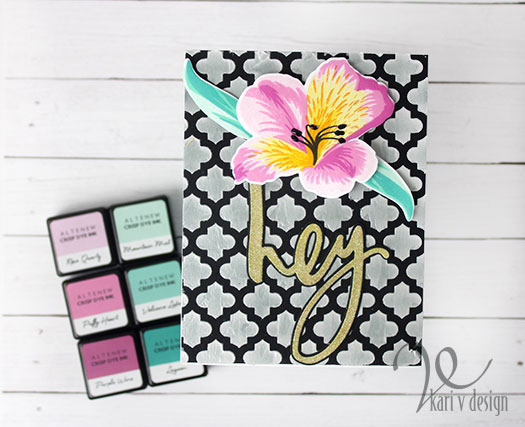
I combined these beautiful backgrounds with one of my new favorite Altenew Layering flowers to make some colorful cards! This first card is perfect for this time of year. I used the Mega Blessed die and heat embossed it multiple times in gold to get a metallic embellishment!
This was also a first time using some Altenew inks and I fell in LOVE!!
Look at those vibrant ink colors! (Love)
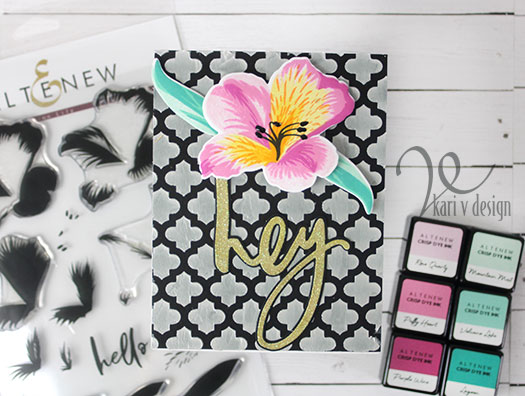
I really enjoyed making all these backgrounds and putting the cards together, and I made a video to show you some tricks I learned along the way. Watch it below, or on YouTube:
This Layering Flower set is just wow!
I’m often asked what supplies I use to make my cards and projects, so I’ve put together a list using affiliate links when possible. If you make a purchase with these links I may receive a small commission. These help me to keep up with blog costs and continue bringing you fun projects. Thank you so much for your support!
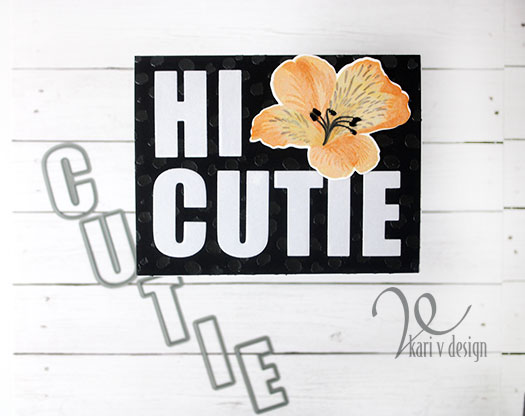
Did I mention I took lots of pictures? Lol. The next card I used the Uppercase Alphabet dies to cut out some PEARLIZED paper for the sentiment. The pearl paper looks so cool with the black on black…check out the close up picture below to see it a little better.
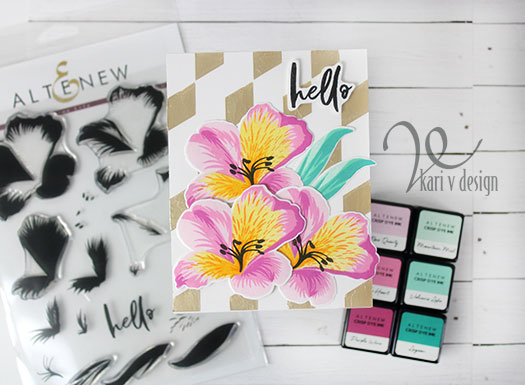
Here’s all four cards I put together…they all shine in their own way. For the orange flowers I used Distress Oxides and I have to say, for this project I loved the vibrant inks from Altenew. I need to get myself some more of their inks!
A big thank you for stopping by today! I am excited to announce that this is my last course in Level 1 for AECP. I have my final exam and then on to Level 2!! Yay!
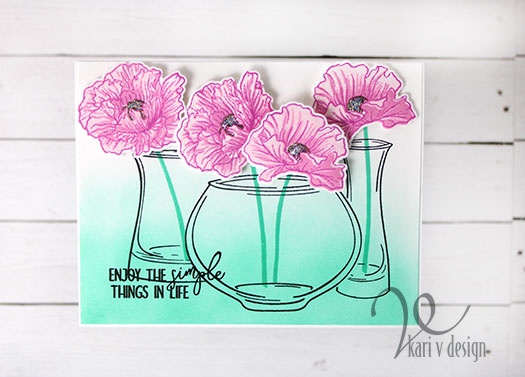
Hello! Today I’m sharing a card that was inspired by the AECP class “Seasonal Scene Building.” This was a fun class and I especially loved building a scene using masking.
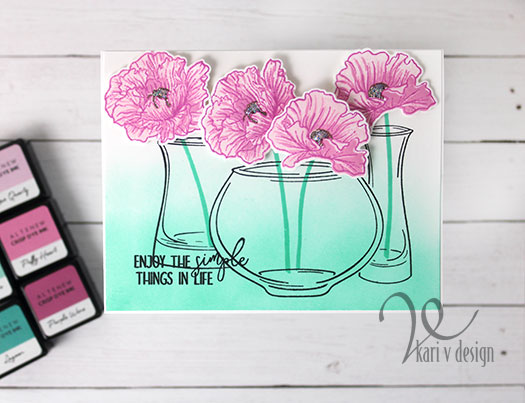
I have had this Versatile Vases stamp set for quite some time and this gave me the push I needed to create a card with 3 vases.
I first created a soft ink blended ombre background using the mountain mist ink from Altenew. Then I stamped the large round vase using a mini misti and Memento Rich Cocoa ink. After I cut a mask for that vase, I attached the mask before stamping the two smaller vases that appear like they are behind that round vase.
Then I stamped the stems of the flowers with the same mountain mist ink. I did not stamp the entire stem, as it would have been too long, so I only inked up a portion of each stem.
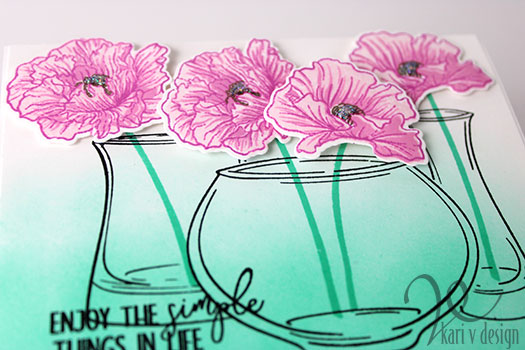
I stamped the Poppies with the Rose Quartz, Puffy Heart, and Purple Skies ink. This poppy stamp set was a collaboration with Ellen Hutson and it is beautiful!! The centers are stamped with Rich Cocoa ink. Then I die cut the poppies with the coordinating dies and added them to the card with 3M foam tape.
I added some Stardust Stickles glitter to the center of each flower. Then I stamped the sentiment with the Rich cocoa ink.
I’m often asked what products I used, so I have a list of supplies below using affiliate links when possible. If you purchase with these links, I may receive a small commission. This helps me keep up with blog costs and continue to bring you fun projects. Thank you very much!
Hope you enjoyed this “Simple Things” card. Enjoy the simple things.
Hi I'm Kari. I'm a creator, a card maker, and a day maker! I am Lucky in love to a supportive husband, blessed to raise 3 kids (all moved away now!), and happy to be watched over by 2 dogs.
I originally started this blog to remind me to be happy amid adversity, and I hope it inspires you, too!

![NEW-Square-[Participant]-01](https://sunshineinmypocket.com/wp-content/uploads/2020/06/NEW-Square-Participant-01.jpg "NEW-Square-[Participant]-01")