Tag Archives | Ink Blending
SUNSHINE-beautiful-you-straight-1

Combining Stamps to Create a Geometric Background

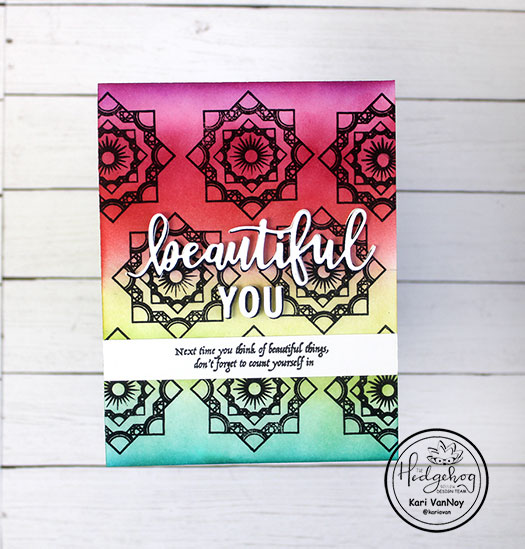
Hello, friends! I am excited to bring you this card today, using a few stamps from the Hedgehog Hollow January Kit. This kit is full of stars, moons, and sunbursts and I was so inspired by it!

So today, I am taking 3 of the stamps from the “Given Direction” set (the one with all the stars) and stamping them inside of each other to get this fabulous geometric look! (you can see a bit of the stamp set I chose in the photo below)
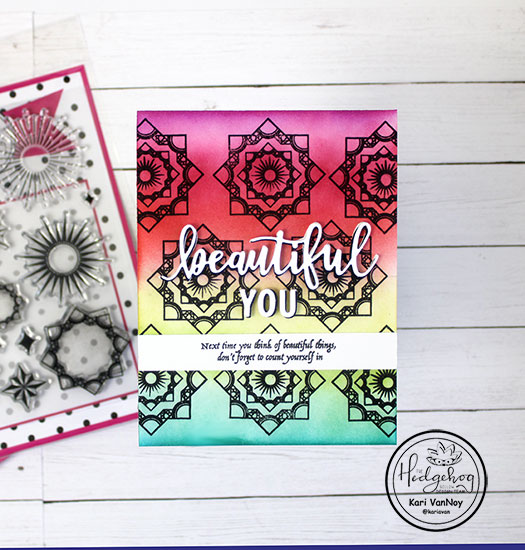
I had a lot of fun stamping this background, and I began using my MISTI for the largest stamp. Then when I went to stamp the smaller stamp, I quickly changed to an acrylic block to get it done faster! I used the acrylic block to stamp the smallest stamp in the middle as well.

I have a video to show you how this card came together, watch it below or on YouTube:

After I finished all the stamping, I let this panel dry for quite a while because I used black pigment ink and I didn’t want it to smear when I inked on the color.
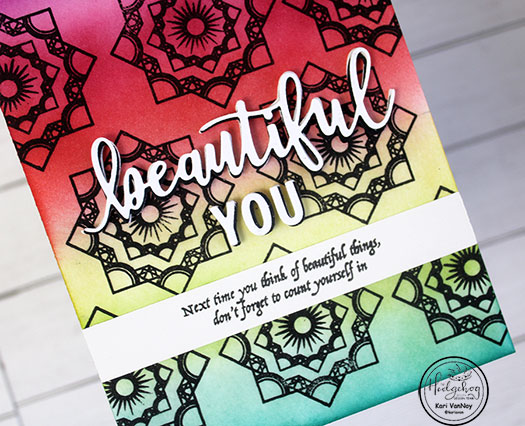
I chose the beautiful Catherine Pooler inks for the colors, and I used a makeup brush to blend. Well, I also used one stencil brush (LOL)…and you will see why if you watch the video!

These inks blended so well! I loved the sentiment from the kit that says “Next time you think of beautiful things, don’t forget to count yourself in”…so I stamped that on a sentiment strip as wide as the card panel itself. Then I added the die cut “beautiful YOU” (from my stash). I cut it out from white cardstock, added a black shadow, and then mounted it all onto fun foam before adhering it to the card.

I’m often asked what supplies I use to make my cards and projects, so I’ve put together a list using affiliate links when possible. If you make a purchase with these links I may receive a small commission. These help me to keep up with blog costs and continue bringing you fun projects. Thank you so much for your support!
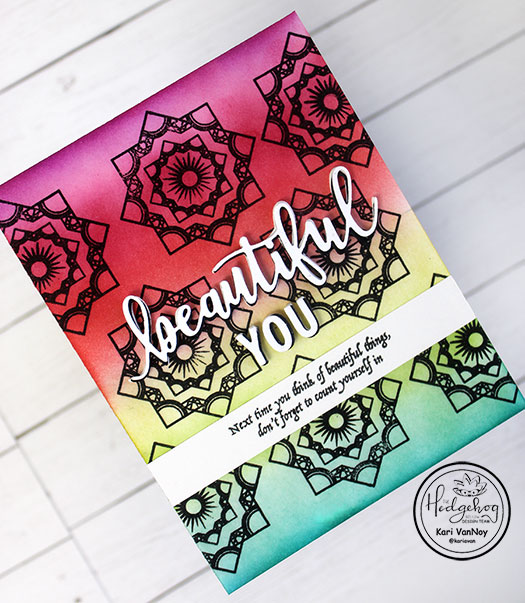
I hope you enjoyed this colorful project today! I know I loved creating it. If you haven’t picked up a January 2020 Kit, what are you waiting for? It might be my favorite of all!

I’ll see you soon with more card inspiration!
Comments { 0 }
SUNSHINE-im-yours-bird-card-2

Bird in a Nest

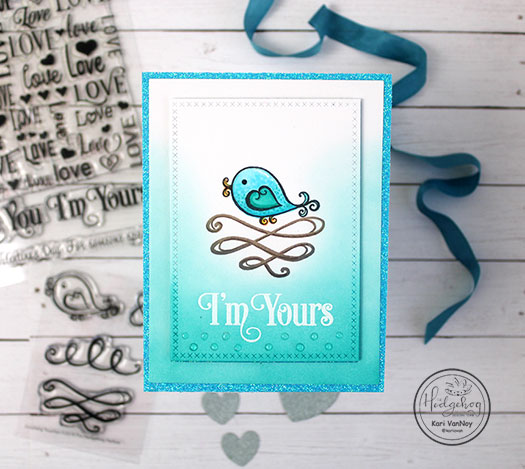
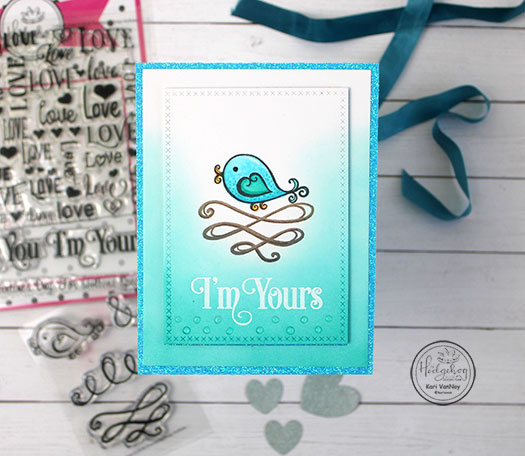
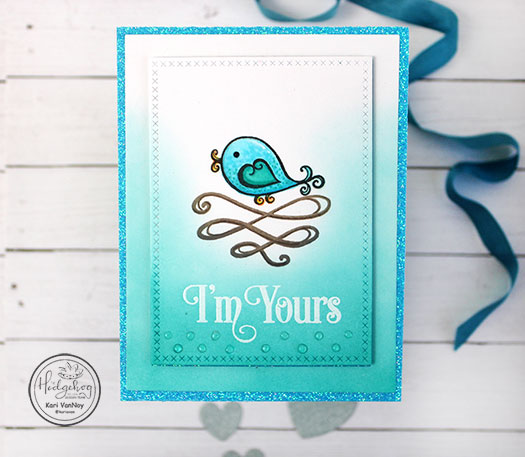
Hello again! Today I’m using the new December 2019 Hedgehog Hollow Kit to create a cute bird in a nest card. I’m sharing this on the Hedgehog Hollow blog today, too!

This card came together pretty quickly. I started with a card panel of Neenah Solar White 80# paper and stamped the little bird with Copic friendly ink. Then I stamped the “nest” I created with the swirl stamp in two shades of brown ink.

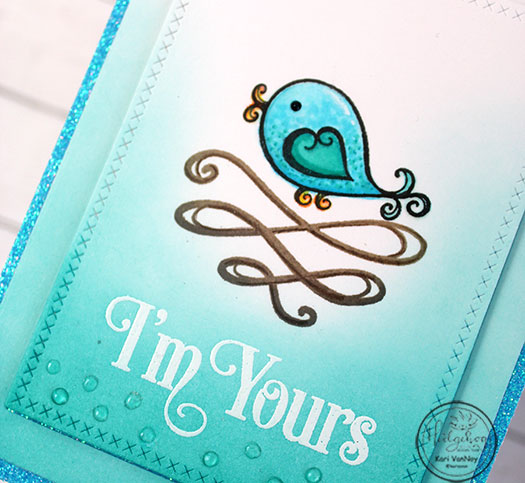
I colored up the bird with copic markers and added some dots with copics and colored pencils. Then I white heat embossed the sentiment.

At this point, it was difficult to read the sentiment because it was white embossing on white paper. So I used make up brushes to brush on some Distress Ink.

I only inked it up around the “nest” and left it softer color toward the top. Then I die cut the cross-stitched rectangle, and cut down the outer rectangle as well so I could add some sparkly paper peeking from the background!

For the final touch, I added some Nuvo Jewel drops under the sentiment. Isn’t this birdie so cute?

I’m often asked what supplies I use to make my cards and projects, so I’ve put together a list using affiliate links when possible. If you make a purchase with these links I may receive a small commission. These help me to keep up with blog costs and continue bringing you fun projects. Thank you so much for your support!

Thanks for stopping by! I hope you enjoyed this project. See you soon with another card!

Comments { 0 }
sweater-weather-with-stamps-and-ink-tool

Sweater Weather

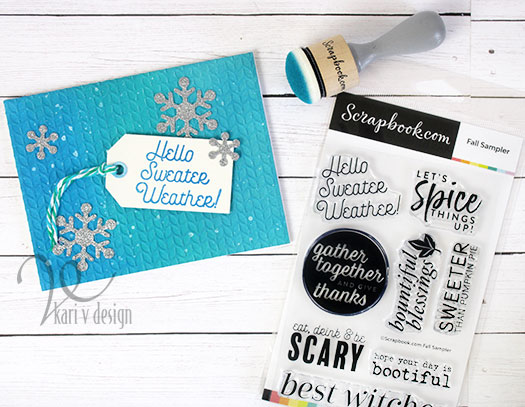
Hello! Well, it was almost sweater weather here in Arizona, and then….it warmed right up again! Lol. But I was inspired to make a few cards when I was still wearing a sweater! So I’m going to share them with you today.

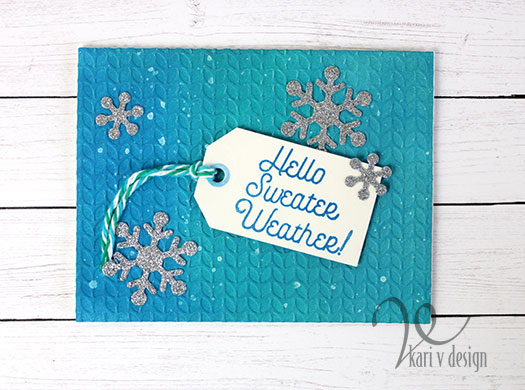
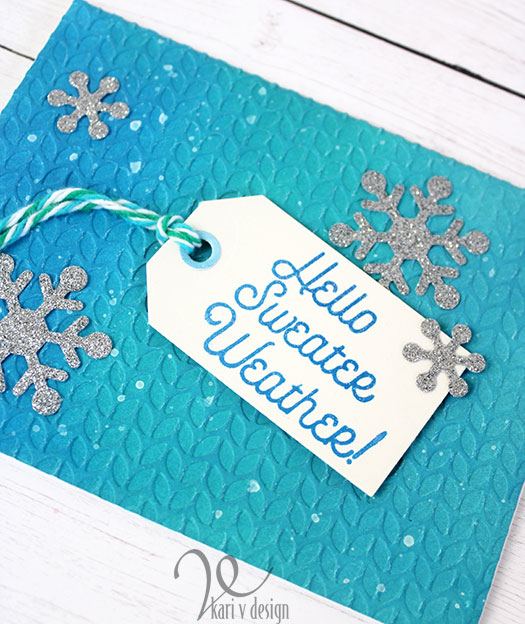
This first one features a sweater embossing folder that I love! I first inked up the background with my favorite domed ink blending tools. After it was dry, I ran it through the embossing folder and then splattered on some white paint for a bit of a snowflake effect.

Glitter embossing on the sentiment

I love a silver glitter snowflake, so I added some of those, too! I stamped the sentiment onto the tag, added some yarn and that’s the card. Does it look cold to you…as in cold weather?

I also used some glitter embossing powder on the sentiment (you can never have too much glitter, right?!) I have a video on this card, watch it below or on YouTube:

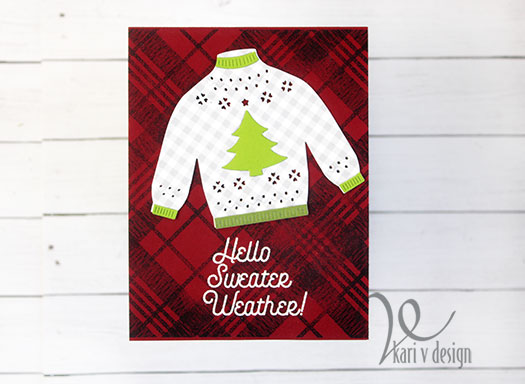
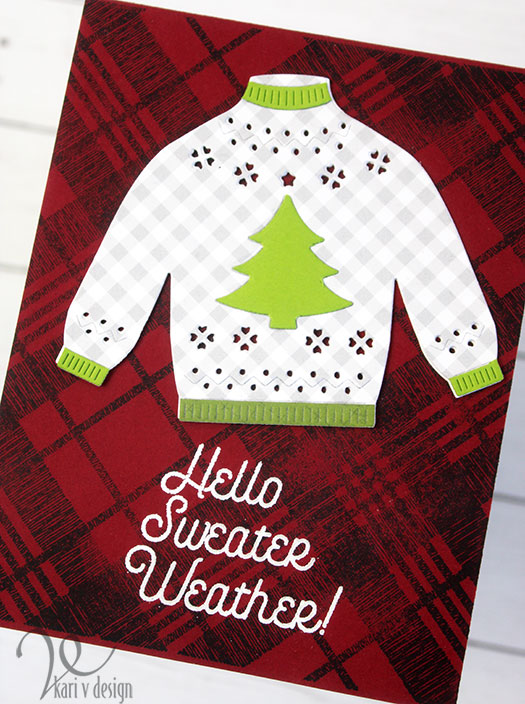
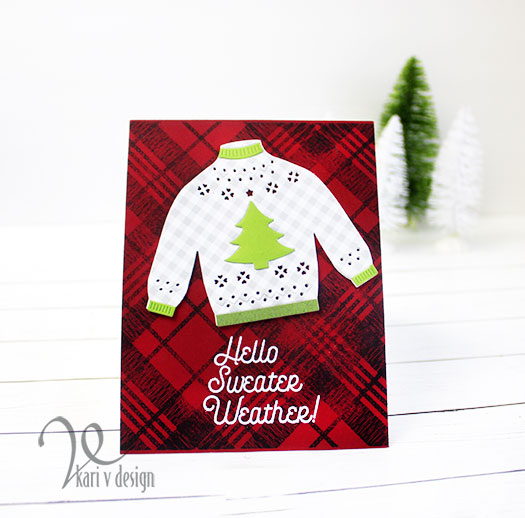
I couldn’t resist making another card with this fun sentiment. And, after all I had this cute sweater die that was begging to be on a card!

I had some plaid backgrounds I inked up earlier, and this cute sweater I put together earlier, too! So all I had to do was add the white embossed sentiment and this card was so quick!

I stacked 3 die cut sweaters on top of each other to get this raised sweater look. I think some Nuvo drops would be fun on that Christmas tree!

I’m often asked what supplies I use to make my cards and projects, so I’ve put together a list using affiliate links when possible. If you make a purchase with these links I may receive a small commission. These help me to keep up with blog costs and continue bringing you fun projects. Thank you so much for your support!

I love this Fall Sampler set!

I hope you enjoyed this project. If you have been following me for a while, you might have noticed that I’ve used this Fall Sampler set on many other projects (I’m really getting some good use out of it!!) I love a set that gives so much inspiration! Check out my other posts with this set here and here!

Thanks for stopping by!

Comments { 0 }
christmas-perfect-reason-crooked

Christmas is the Perfect Reason

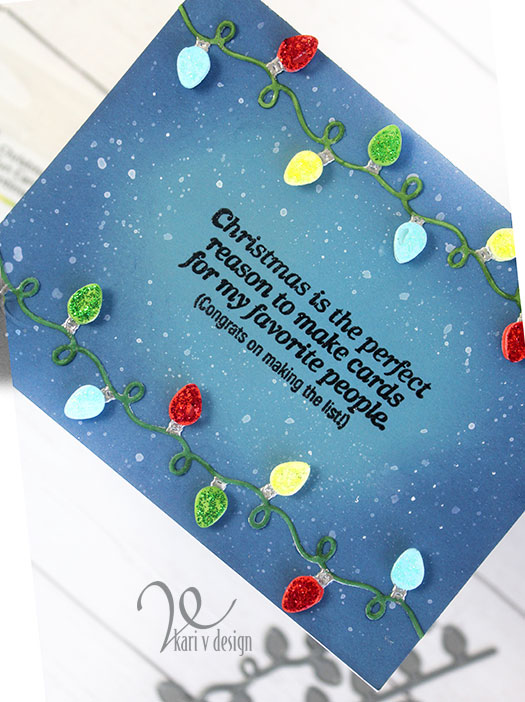
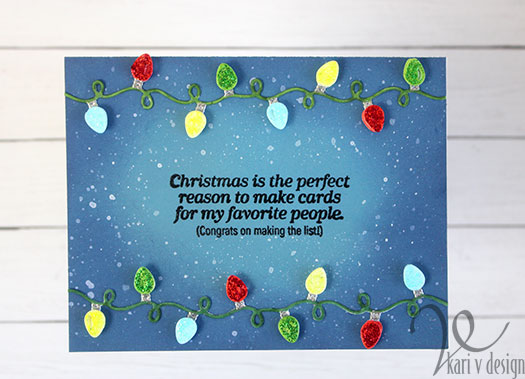
Hello! Christmas is the perfect reason to send cards! Yes! And today I have a fun project with a sentiment that says just that.

This sentiment is fun to remind those people in your life that they are HANDMADE CARD worthy!! Lol. I know you know what I’m talking about…if you make handmade cards that is. Only the best people get a handmade card!

For this card I did some ink blending with my new favorite domed ink blending tools. Then I splattered on some white Gansai Tambi paint. Those cute little Christmas lights were colored using Copic markers. I added silver embossing powder to the part that screws into the strand, and some glitter glue to all the lightbulbs for a bit of sparkle. You know I love my sparkle!

I popped up each individual light onto the strand using foam tape.

This is a simple enough card to make, but I don’t think it would be good for mass production with all those little lights. Maybe if you left them flat and didn’t pop them up it would be much faster.

I’m often asked what supplies I use to make my cards and projects, so I’ve put together a list using affiliate links when possible. If you make a purchase with these links I may receive a small commission. These help me to keep up with blog costs and continue bringing you fun projects. Thank you so much for your support!

Thanks for stopping by!

Comments { 0 }
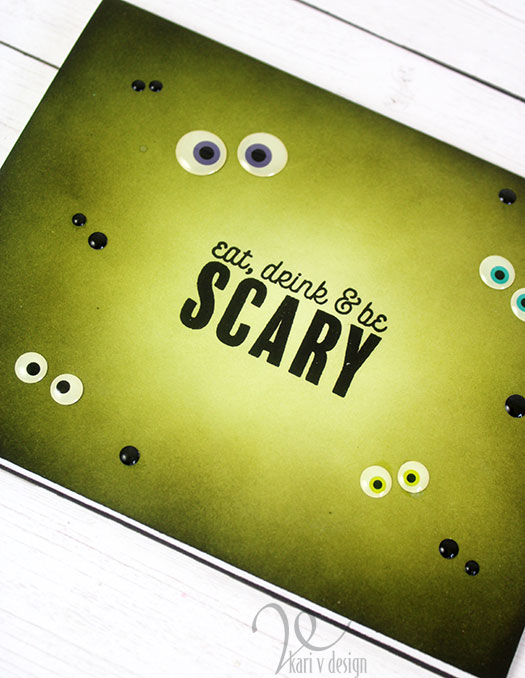
eat-drink-and-be-scary-close-up

Quick Halloween Cards

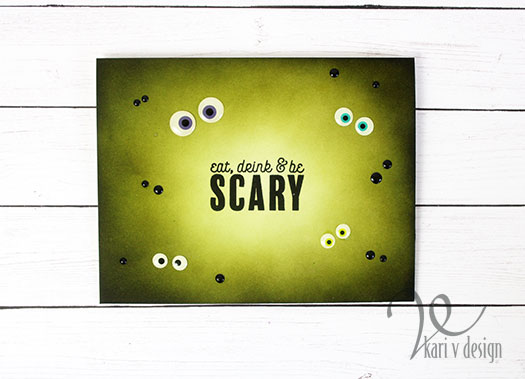
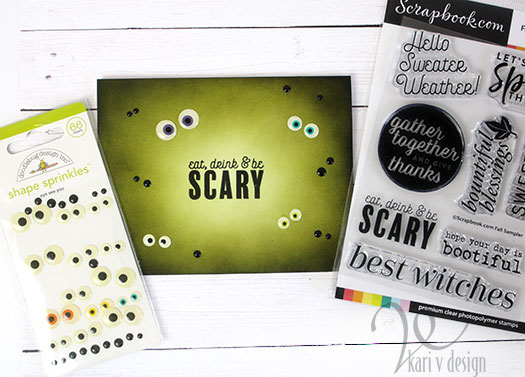
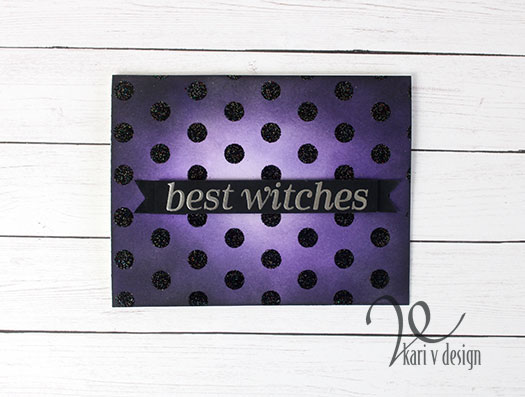
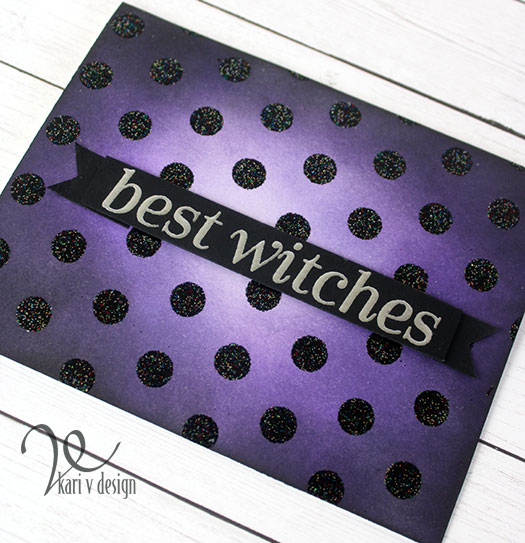
Hello! Sometimes I need a quick card, so today I’m showing you some easy Halloween cards with only minimal supplies! I’m using the same Fall Sampler stamp set to make two very different Halloween Cards.

Here’s the first one:

Eat Drink and Be Scary

I love this stamp set, there are so many sentiments perfect for Fall, Thanksgiving, Halloween, AND Winter. I love a stamp set with lots of uses…it is great on the budget, too! 🙂

Best Witches!

Here’s a video to show you the process and how quick it is, watch it below or on YouTube:

These cards are so fun, and there’s no coloring involved (which is sometimes a plus when you are in a hurry)!

I’m often asked what supplies I use to make my cards and projects, so I’ve put together a list using affiliate links when possible. If you make a purchase with these links I may receive a small commission. These help me to keep up with blog costs and continue bringing you fun projects. Thank you so much for your support!

So what do you think? Are you going to give this technique a try? Thanks so much for stopping by!

Comments { 0 }