Tag Archives | How to make a shaker card
Kari-V-Yay-card-1

Yay Shaker Card

Hello! Today I have a fun YAY Shaker card to share with the cutest Back-to-School Hedgehog stamp set. I just adore this set and you will see why…check out my video below or in HD on YouTube:

If you know me, you know I love making Hedgehog cards and (dare I say this?) THIS hedgehog might be the cutest one yet!
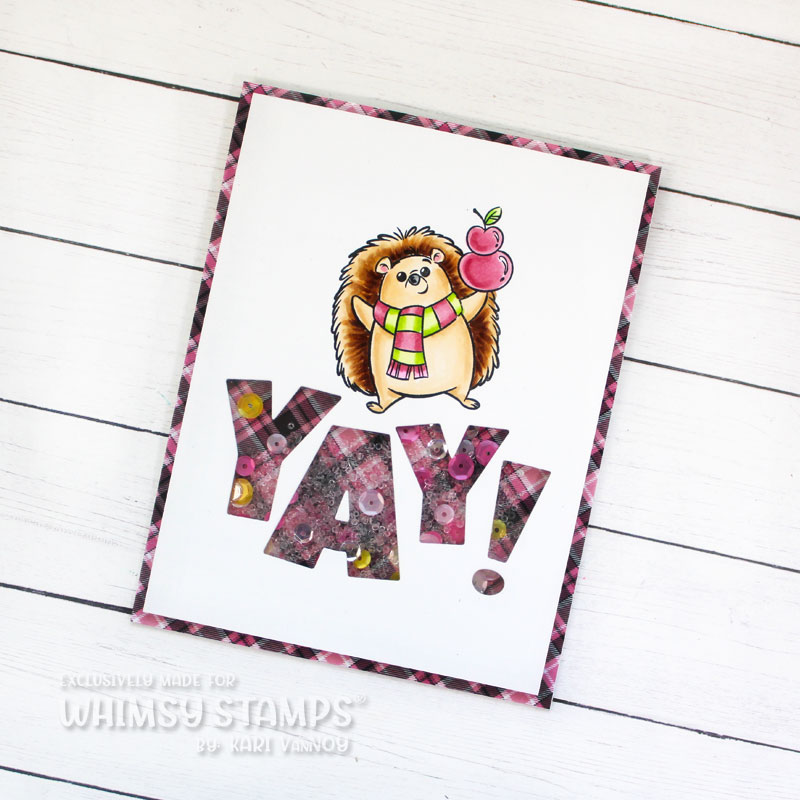
I mean, look how cute he is!!

I love to make a good shaker card…this new YAY Word die is perfect for a shaker! It feels so happy, like you just want to shake it…so why not add some beads and sequins?
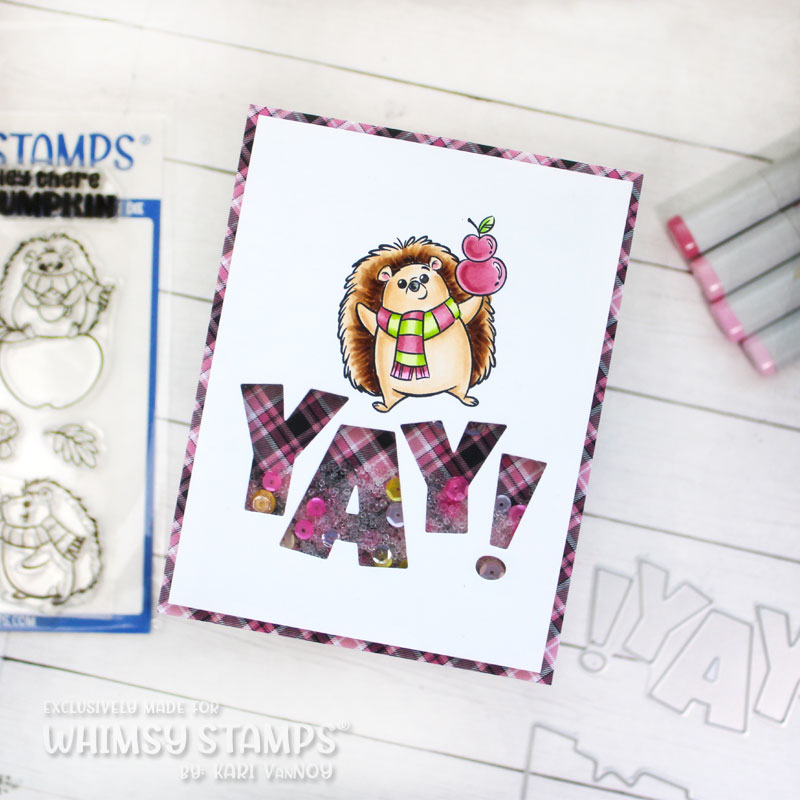
I started out with choosing my PINK PLAID paper from the new 6×6 pack (I will link it below). Then I stamped the Hedgehog image and cut the YAY word die from the same panel. Before putting the shaker together, I colored up that little hedgehog with Copic markers.

I created a shaker using acetate and double-thick foam tape. This makes it SO EASY! You don’t have to double up your foam tape, and that’s a big time saver and a WIN in my book.
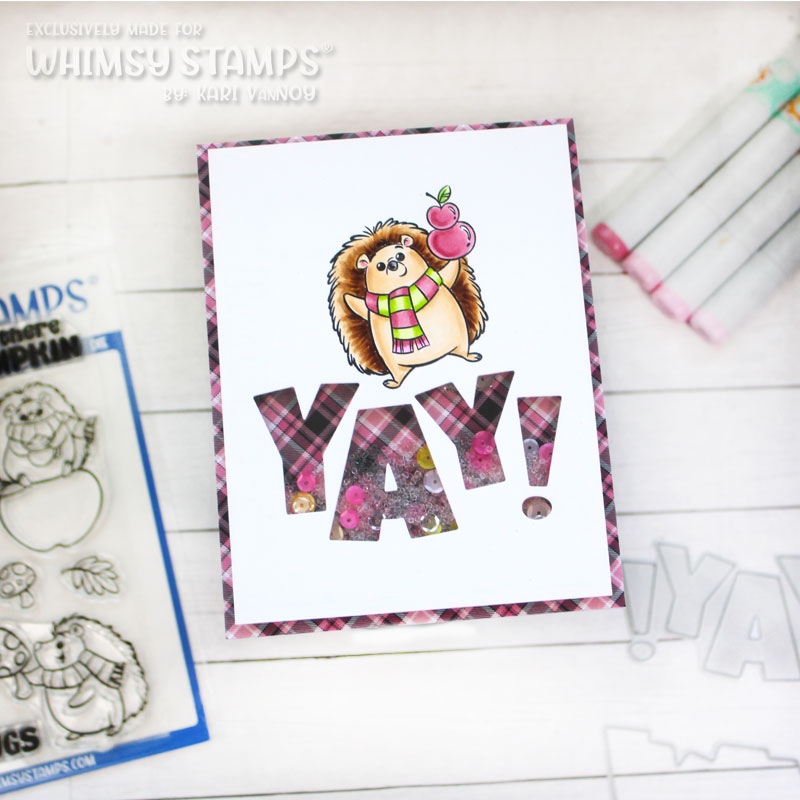
Watch the video for my easy technique to make this shaker, and get that pink plaid border lined up all the way around!

Be sure to check out the entire new release over at Whimsy Stamps…the new narwhal stamp set is also so adorable!

I’m often asked what supplies I use to make my cards and projects, so I’ve put together a list using affiliate links when possible. If you make a purchase with these links I may receive a small commission. These help me to keep up with blog costs and continue bringing you fun projects. Thank you so much for your support!


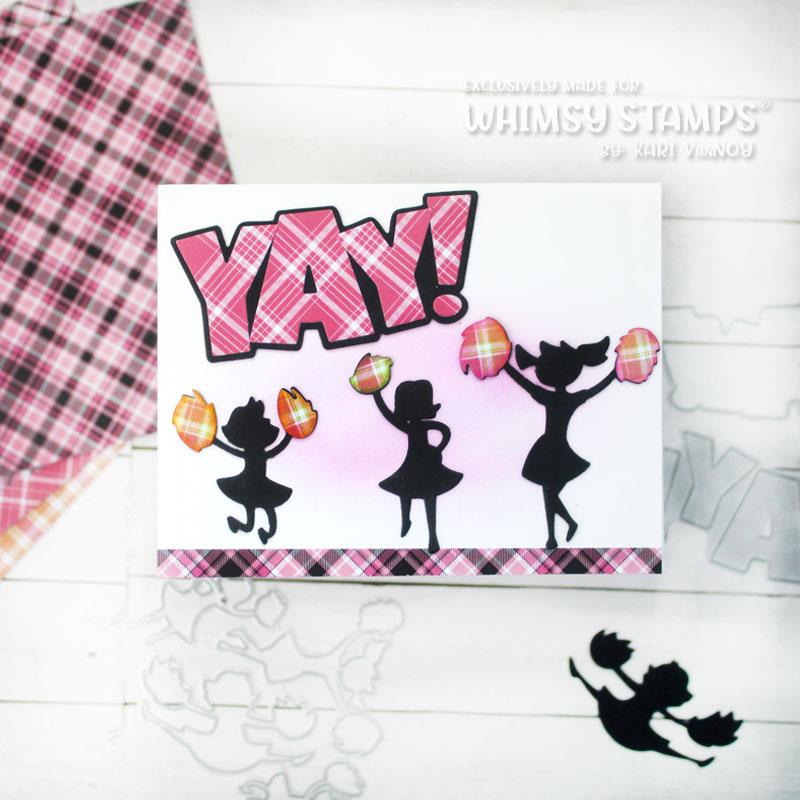


The Cheerleader die set is another one of my favorites! I hope you enjoyed these projects today! I’ll see you real soon with more cards to share.
Comments { 0 }
SUNSHINE-bonus-card-with-supplies

Queen of Hearts Shaker with Flock

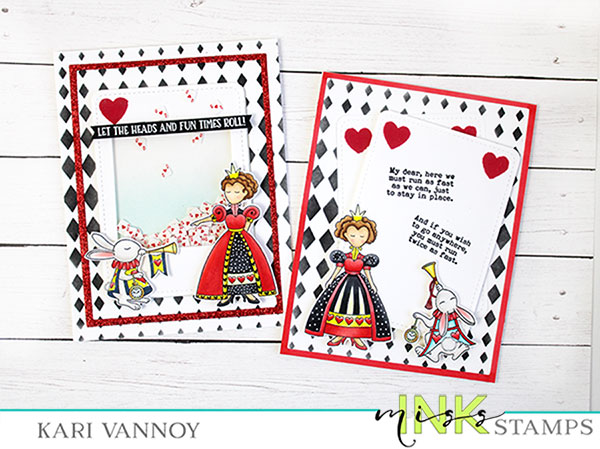
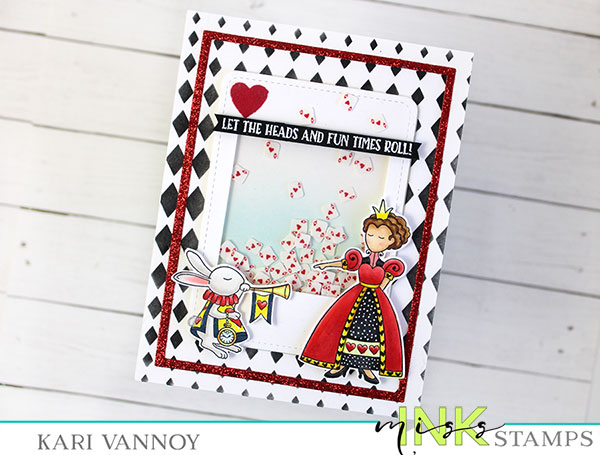
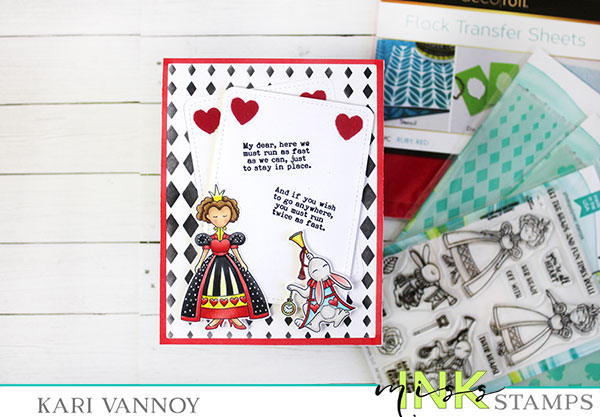
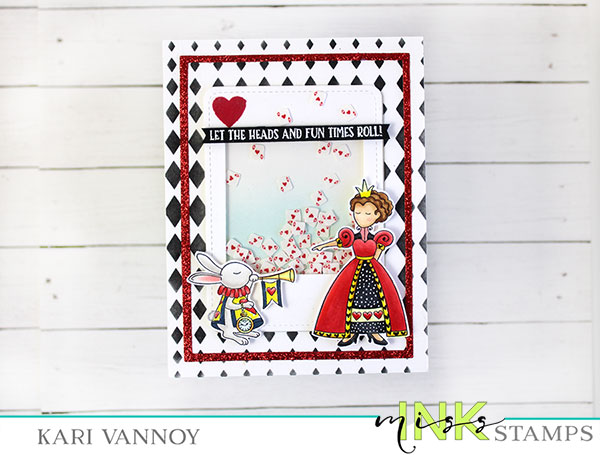
Hello! Today I have a Queen of Hearts Shaker card with Flock to share! This card has been in my head for a really long time and now it’s finally coming to life.

See that heart on the top? It’s made with Flock Transfer Sheets and Deco Transfer Gel…so it has a fuzzy feeling to it. Such a fun, tactile addition to add to your cards.

I show you how to do this and even show you a BONUS card in my video. Watch it below or in HD on YouTube:

I colored up more images than I needed this time, which is why I made an extra card. I love making more than one at a time when I have extras!

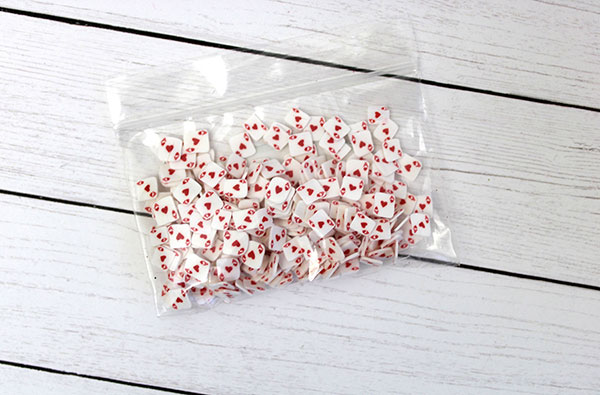
These Queen’s Guard small Embellishments from Miss Ink Stamps inspired the entire card:

I love that they look like mini playing cards!! Too cute.

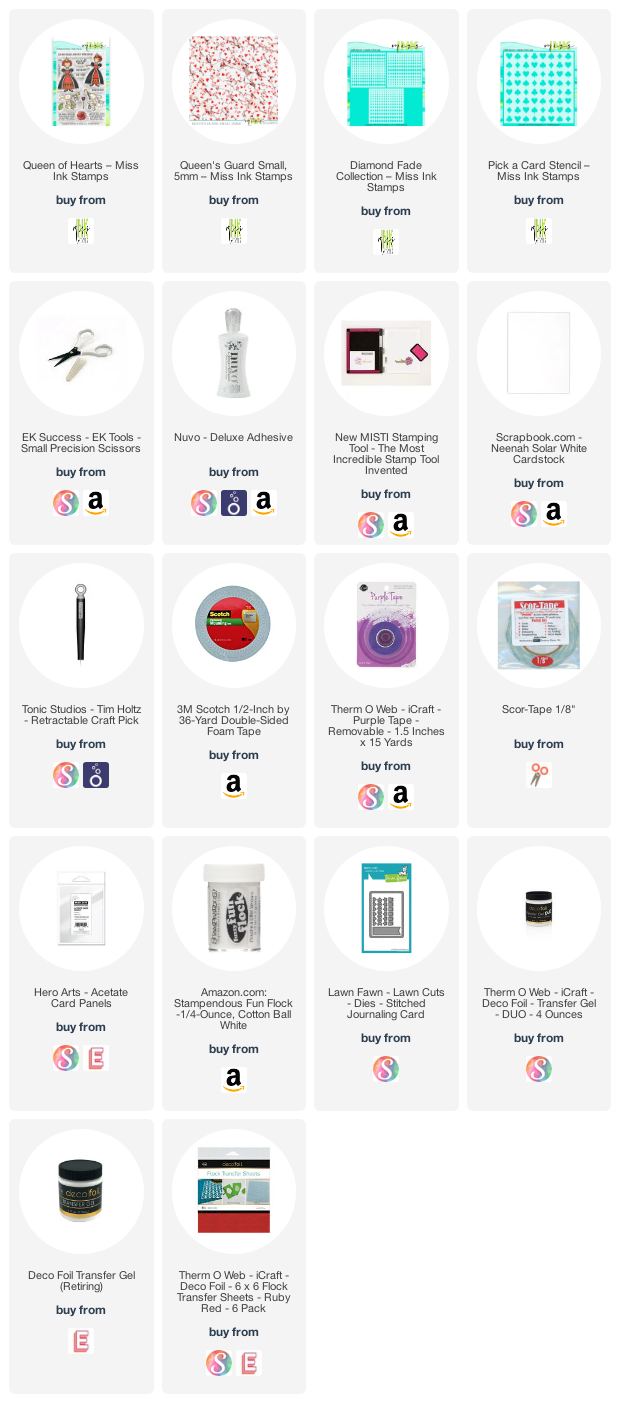
I’m often asked what supplies I use to make my cards and projects, so I’ve put together a list using affiliate links when possible. If you make a purchase with these links I may receive a small commission. These help me to keep up with blog costs and continue bringing you fun projects. Thank you so much for your support!

I hope you enjoyed these cards today! I really LOVED creating them. See you soon!

Comments { 0 }
pink-card-with-supplies

Your Existence Makes the World Better

Yes it does! Hello again. Today I have the sweetest cards to share using a stamp set I’m completely in love with! I had the opportunity to meet the artist of this particular stamp and she is the greatest, too. You know how when you meet someone and you can just tell they are going to be a friend? Well, that’s how I feel about her.

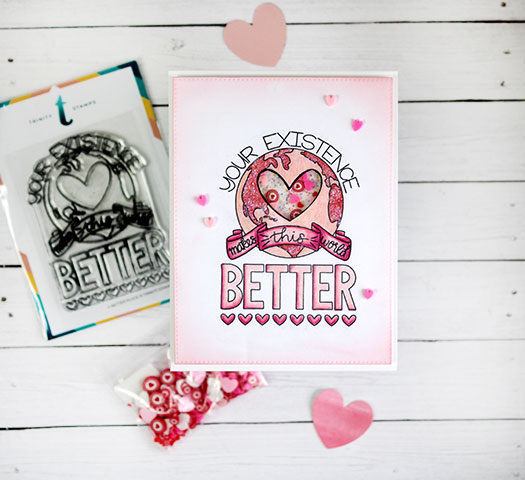
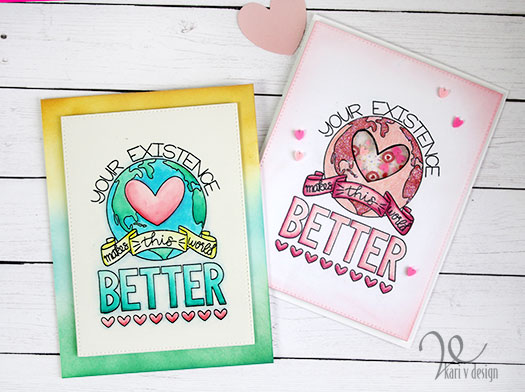
When I saw this stamp I knew immediately what I wanted to create. First, a watercolor card. Then, a red/pink shaker card! So here’s what I made:

One watercolor, and one shaker card!

I’m loving these cards! I can already think of many, many people who I can send one of these to. Guess I need to make a few more cards with this one, right?!

I created a video to show you some tricks for pulling these cards together. Watch it below or on YouTube:

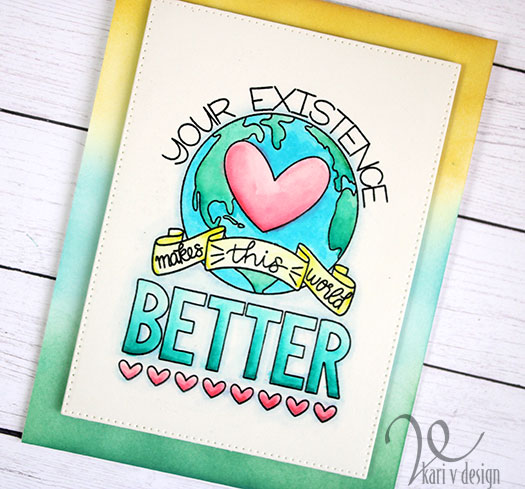
The first card is created using Zig clean color real brush markers. I used Bristol paper for this one because it seems to allow the watercolor to blend a little better. I can keep adding color and blending to add some darker areas, too. For some areas I used a waterbrush along with the Zigs, and for some I colored the Zigs on straight.

For the background on this one, I did some ink blending with Distress Oxides in matching colors. It really makes the panel pop, doesn’t it?!

I think these colors are so happy. I used a rectangle pierced die to cut out the panel before adding it to the background with fun foam.

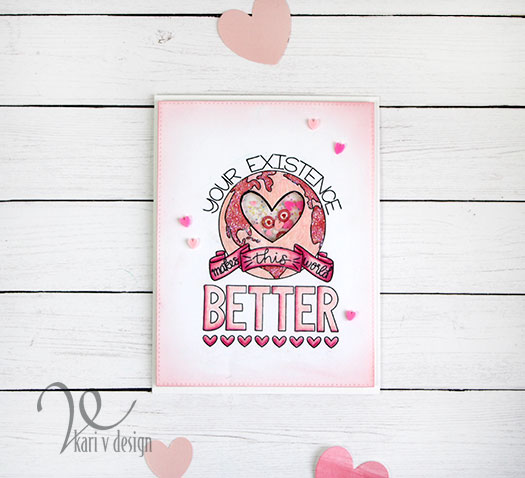
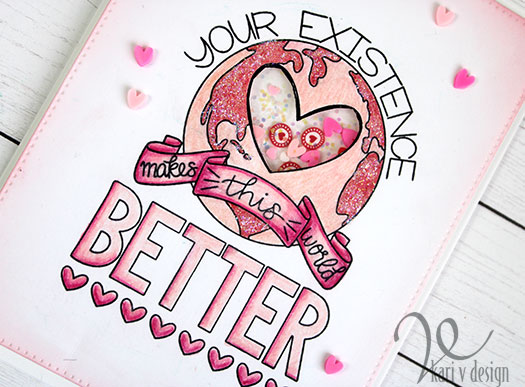
The second card is colored with only pink and red Prismacolor pencils. I’m pretty sure I was inspired by Valentine’s day!

I cut the heart out on the center heart to create a shaker element to this card. And of course I had to add some glittery Stickles to all the lands in this world. That’s probably how my world would be, lol.

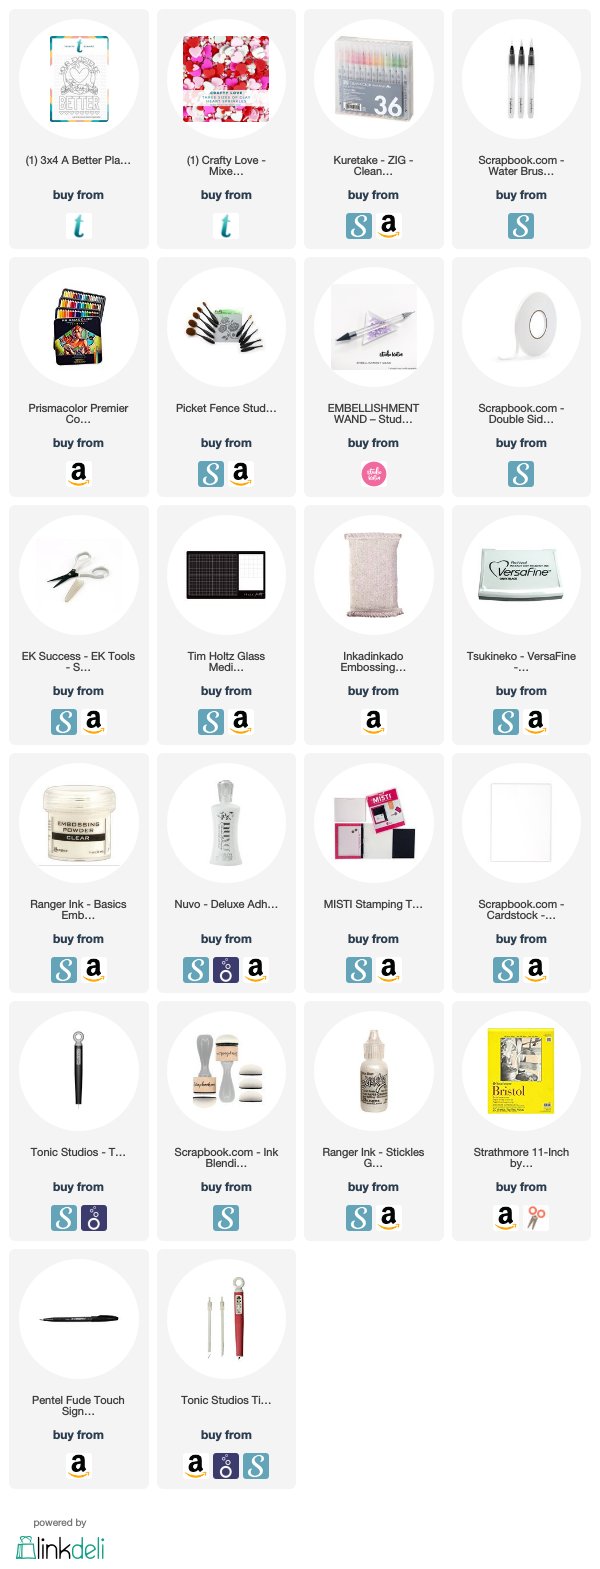
I’m often asked what supplies I use to make my cards and projects, so I’ve put together a list using affiliate links when possible. If you make a purchase with these links I may receive a small commission. These help me to keep up with blog costs and continue bringing you fun projects. Thank you so much for your support!

I hope you enjoyed these projects today! This stamp set is brand new from Trinity stamps, so be sure to head over to get one for yourself before they are all gone!

Thanks for stopping by! Your Existence Makes this World Better! (and a big thanks to Dani for creating this perfect stamp…I love it). See you soon!

Comments { 0 }