Tag Archives | Honeybee stamps
all-3-vw-van-light-up-cards-Kari-V

Light up VW Van Cards

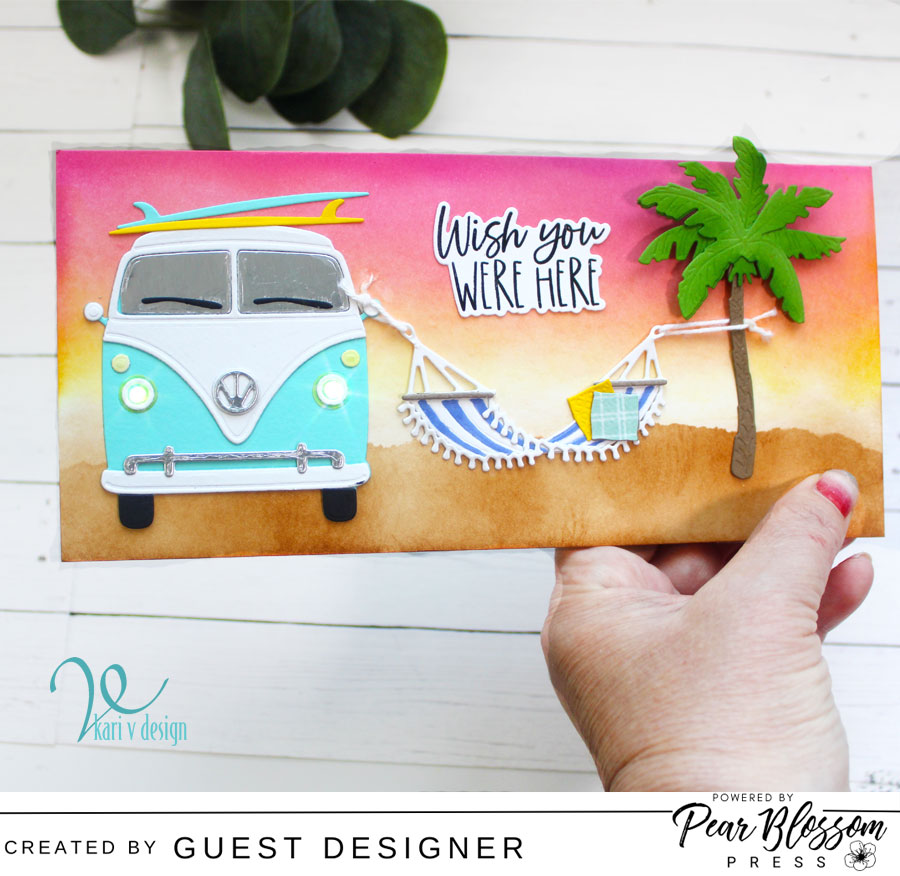
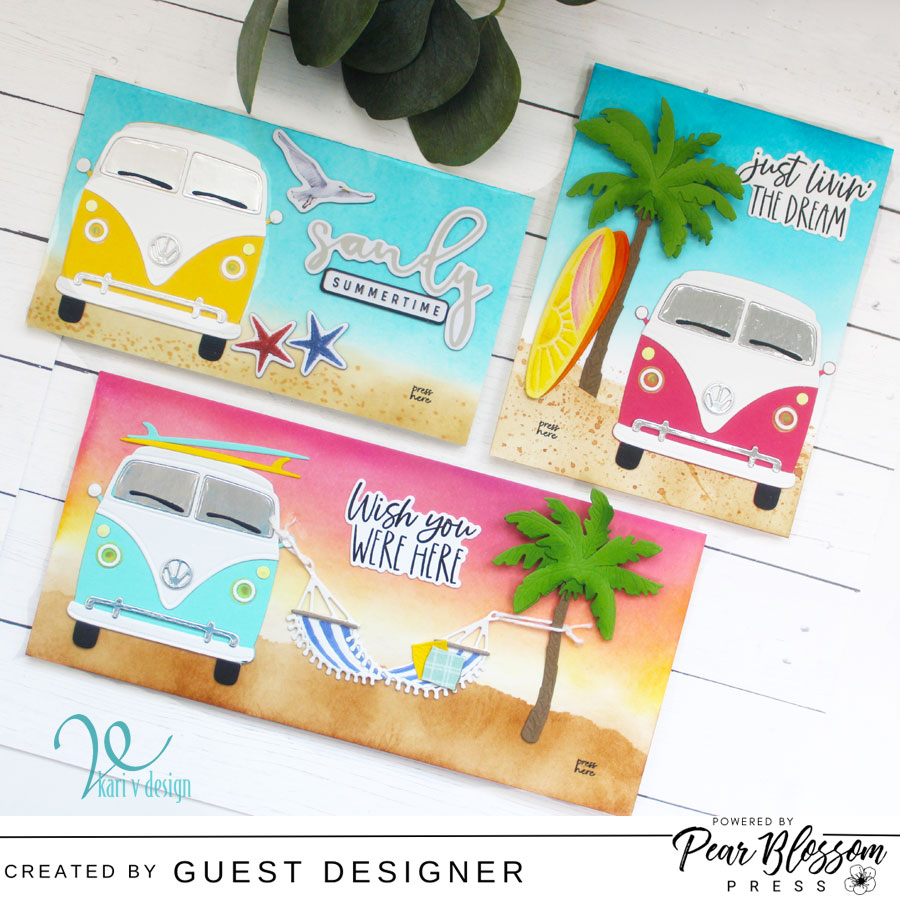
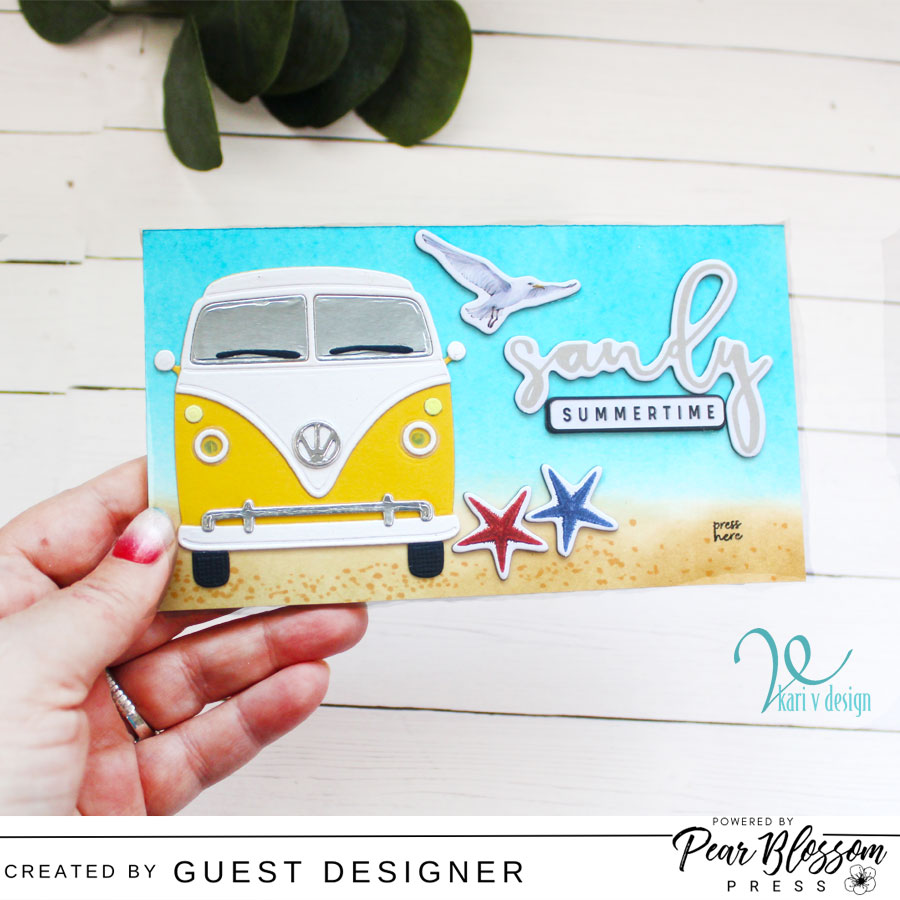
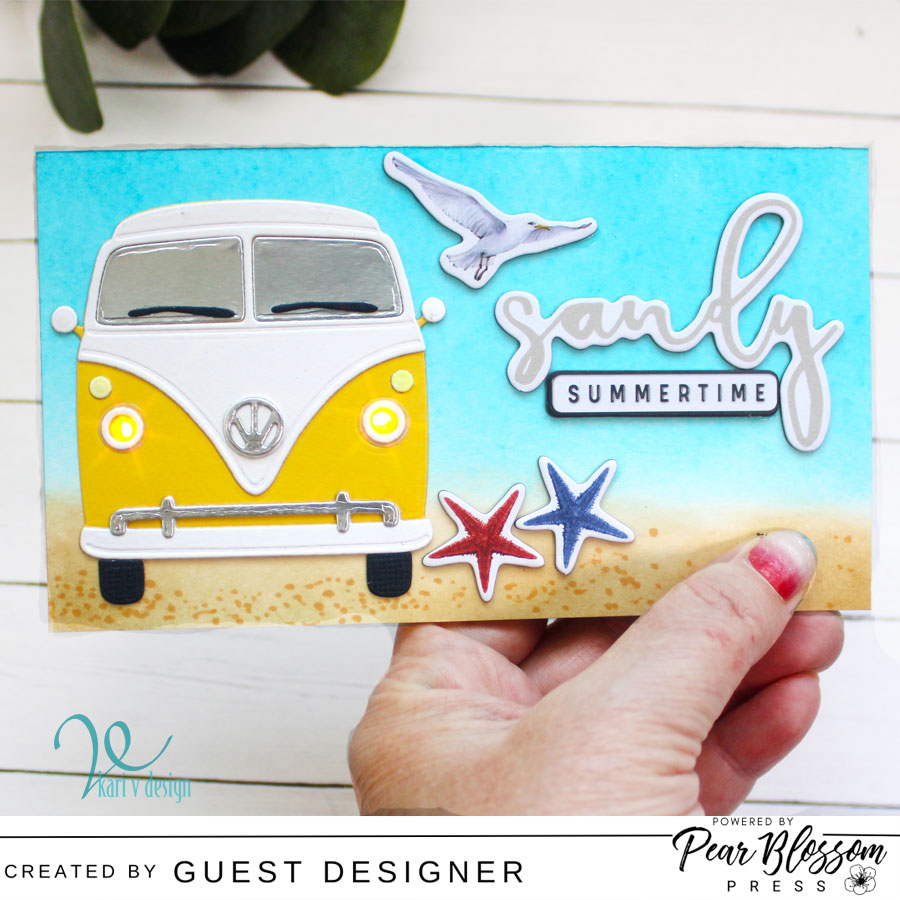
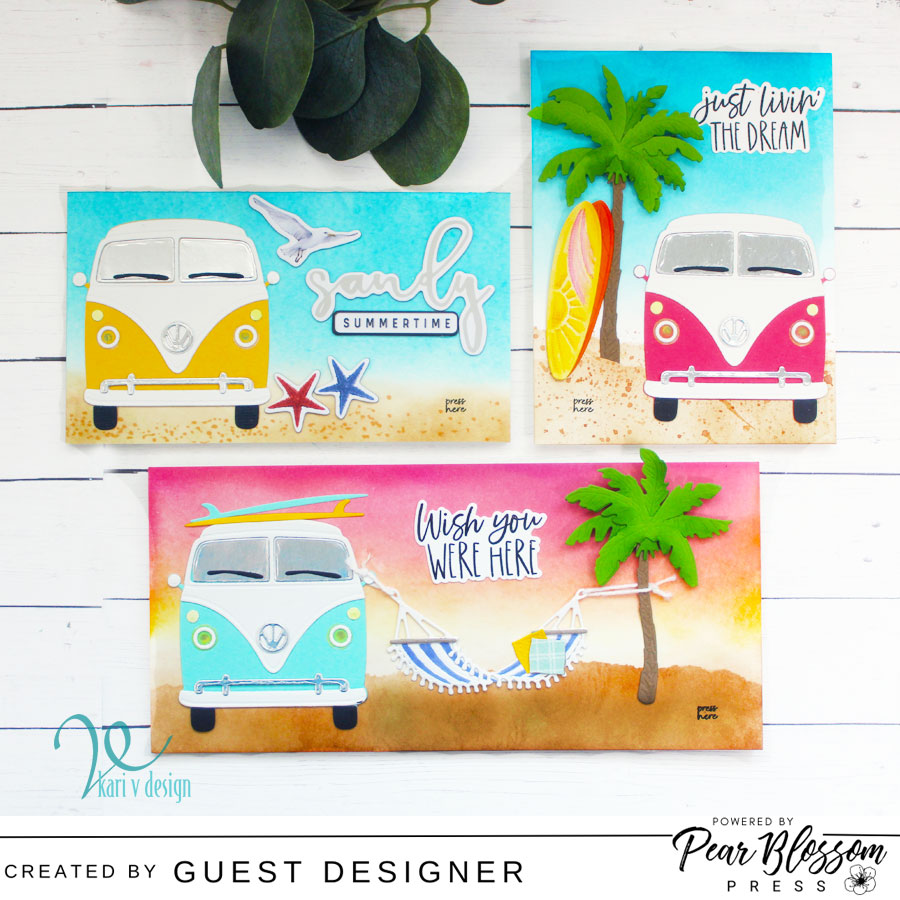
Hello! Today I’m sharing three Light Up Van cards. These are so fun to create and the light up headlights really take this card to the next level!

I created these cards with both EZ Lights and Twinkle Lights in my cards today, both of which have THREE lights in each set. However, today I only needed two lights for the headlights on these vans, and I show you how to do this in my video!

Watch the video here:

These van die cuts are a SOLID die cut and they do not have a way to let the light through. But I have a simple trick for you to alter this in an easy way to be able to add the lights! (Watch the video to find out!)
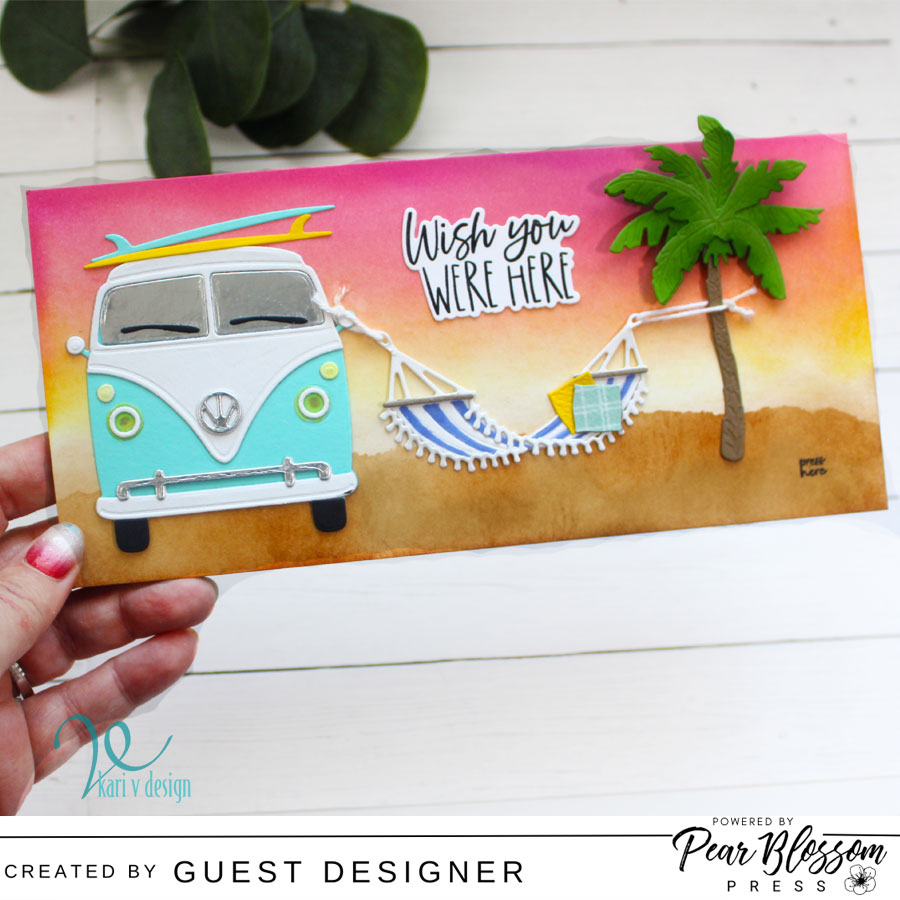
I actually added Twinkle Lights to this card, but I was lucky to be able to capture both lights on at the same time for this picture! They actually take turns lighting up and turn on and off when you press the button. It reminded me of taking a little beach break and having your flashing lights on! (Lol)
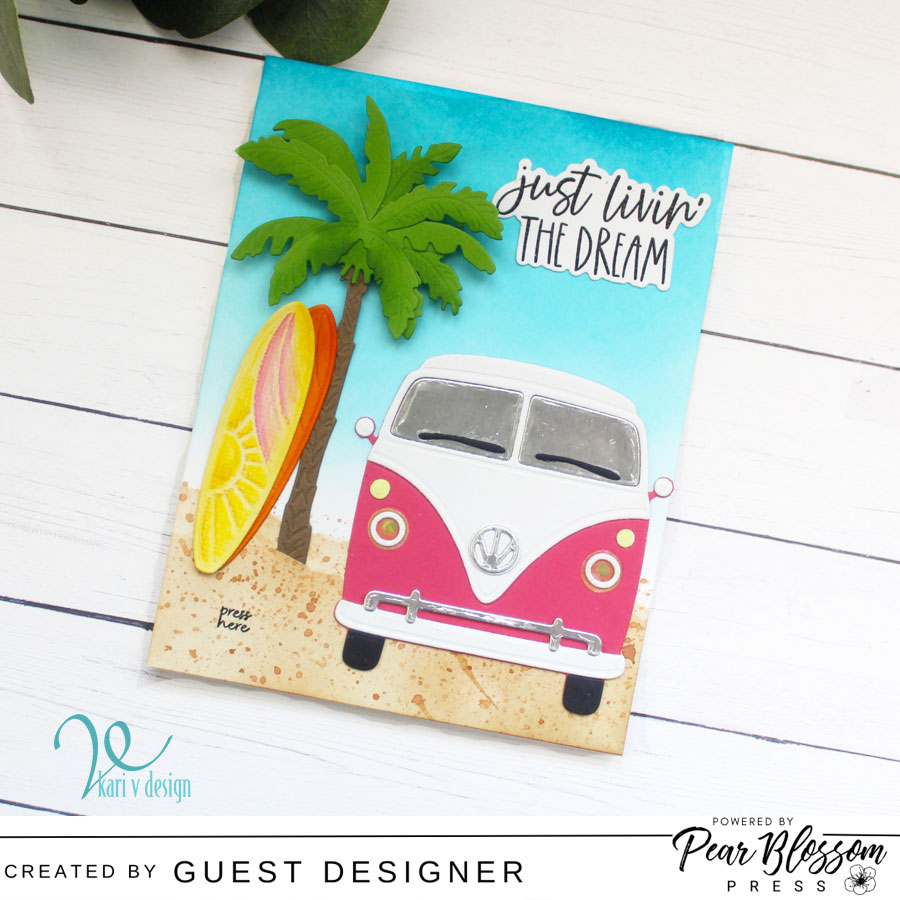
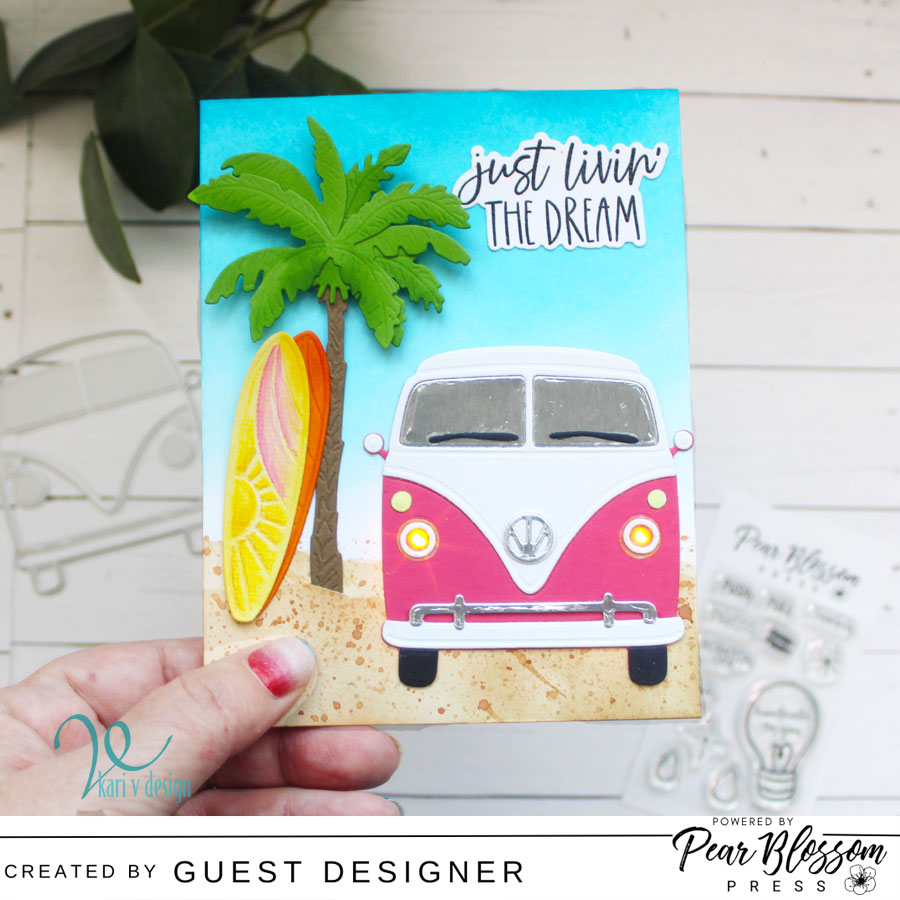
I really love these light up vans! You can create them in any color you’d like…today I made THREE cards: a blue van (of course), a pink van, and a yellow van! These are mostly traditional colors, but what would a PURPLE van be like? Or a Van with extra flowers and peace signs?!
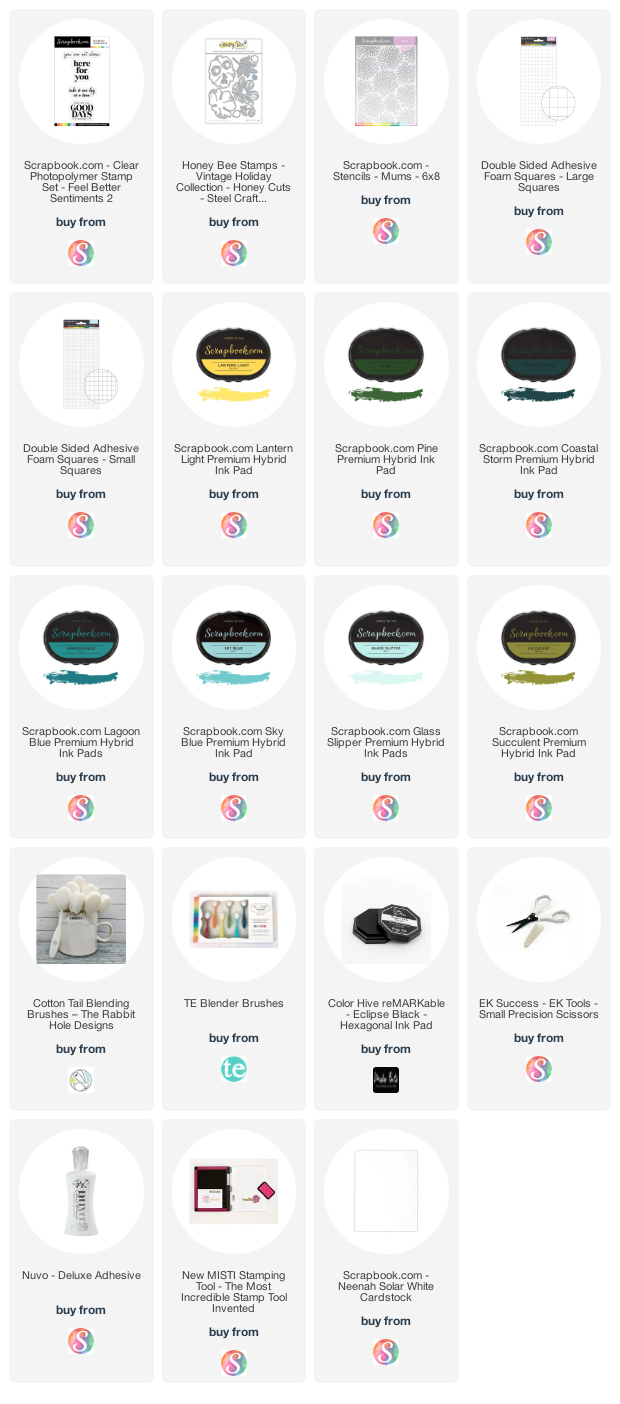
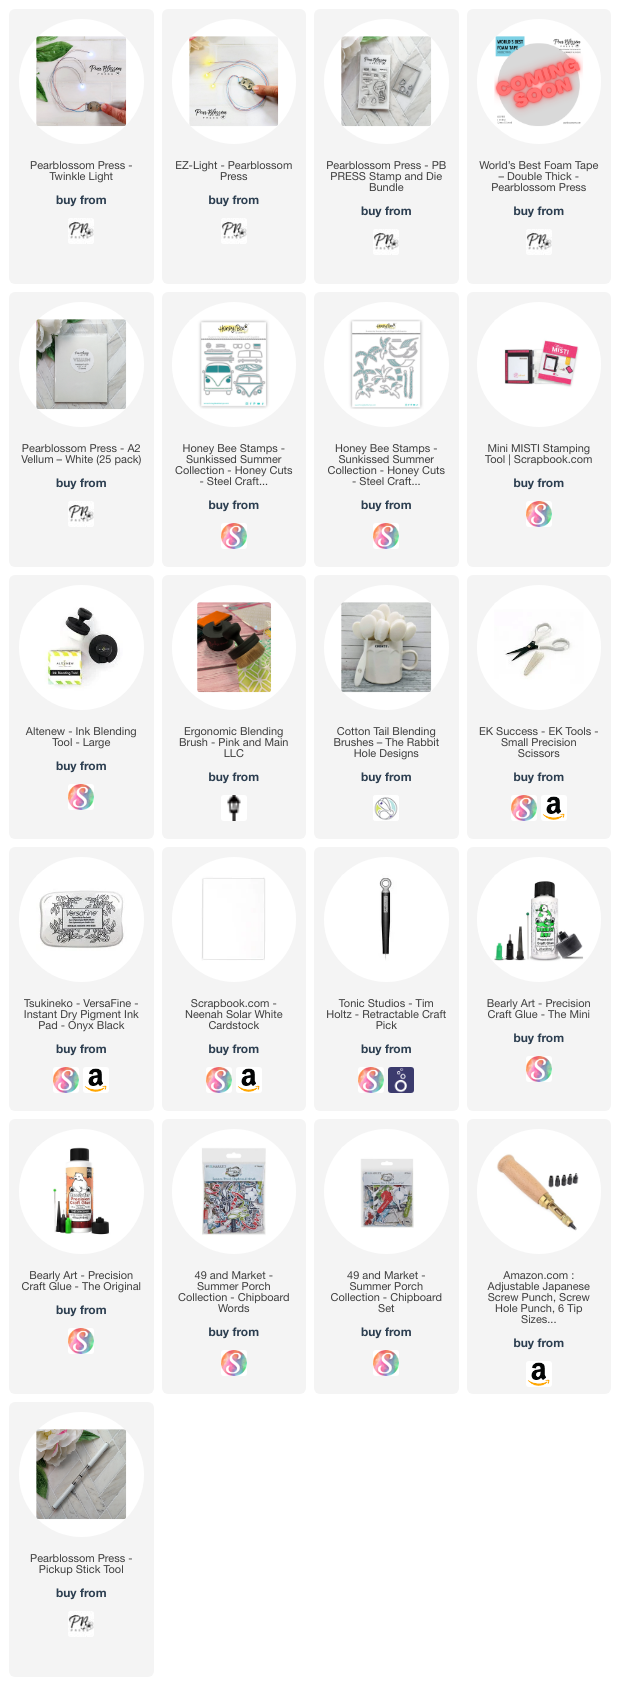
I’m often asked what supplies I use to make my cards and projects, so I’ve put together a list using affiliate links when possible. If you make a purchase with these links I may receive a small commission. These help me to keep up with blog costs and continue bringing you fun projects. Thank you so much for your support!


I hope you enjoyed these cards today featuring the EZ Lights and Twinkle Lights from Pear Blossom Press. They are my favorite way to light up a card! Happy Crafting!

Kari
Comments { 0 }
SUNSHINE-both-witch-cards

A Bear, a Hedgehog, and a Broom

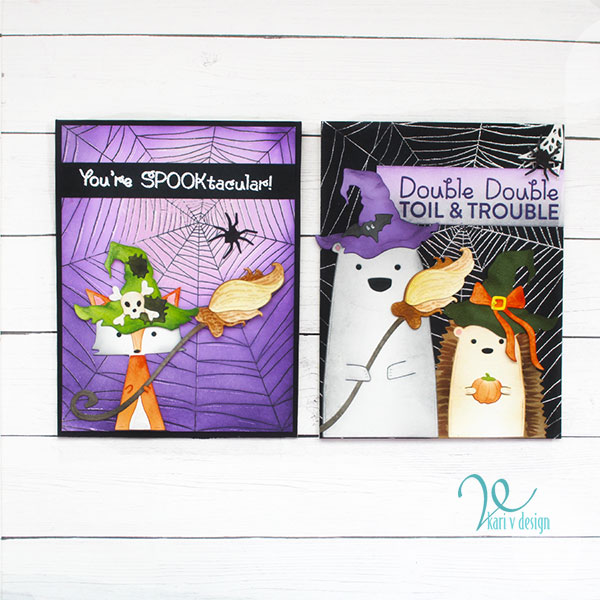
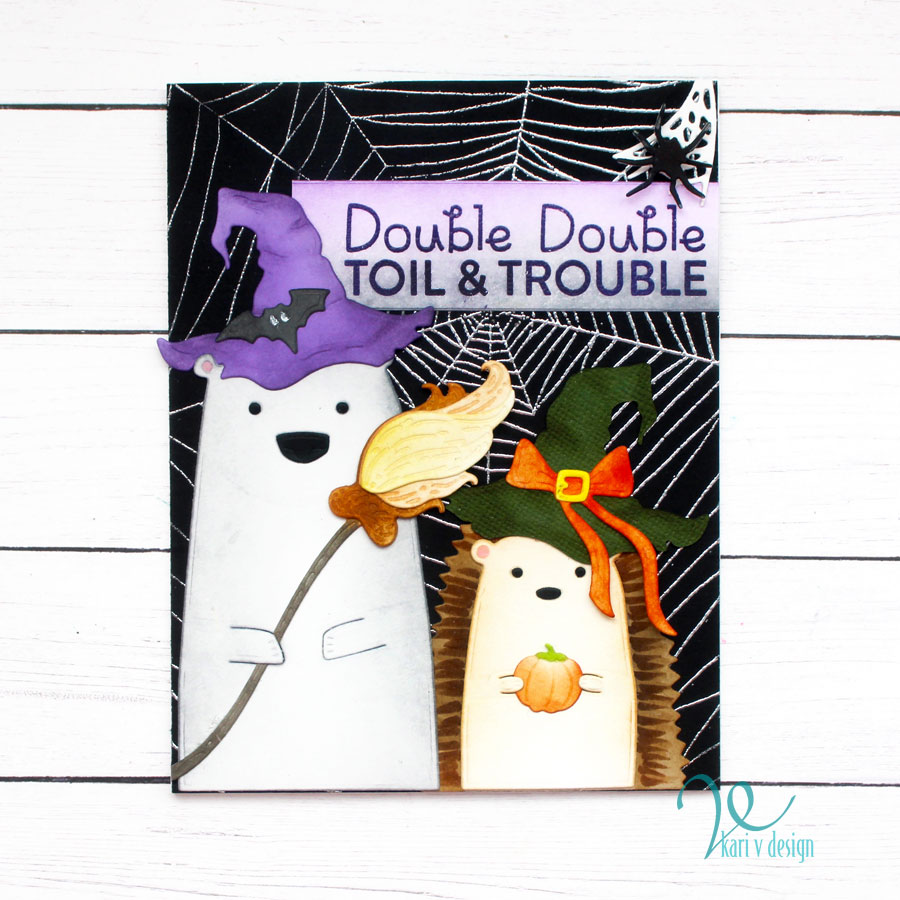
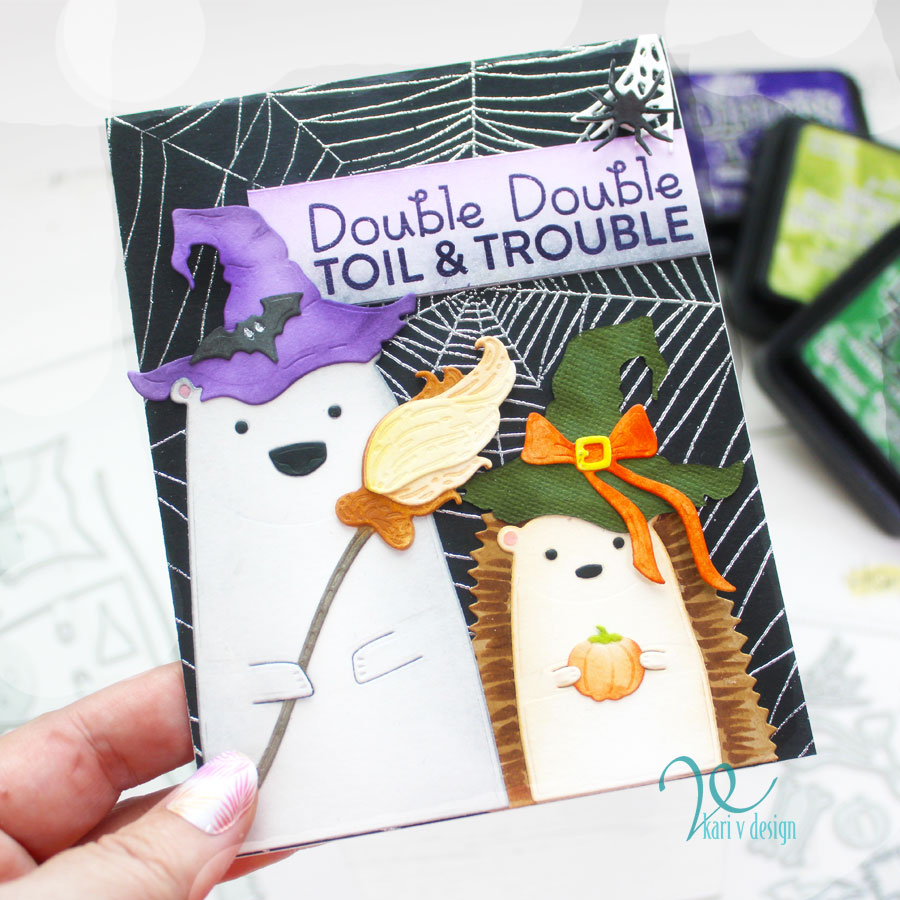
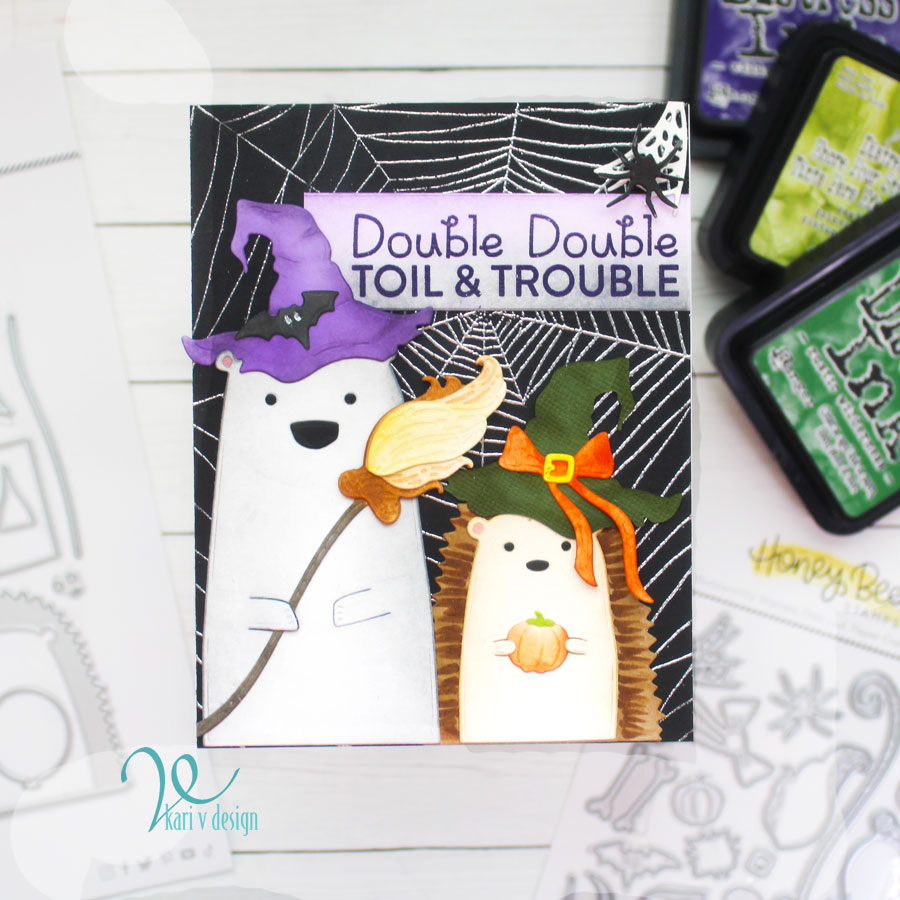
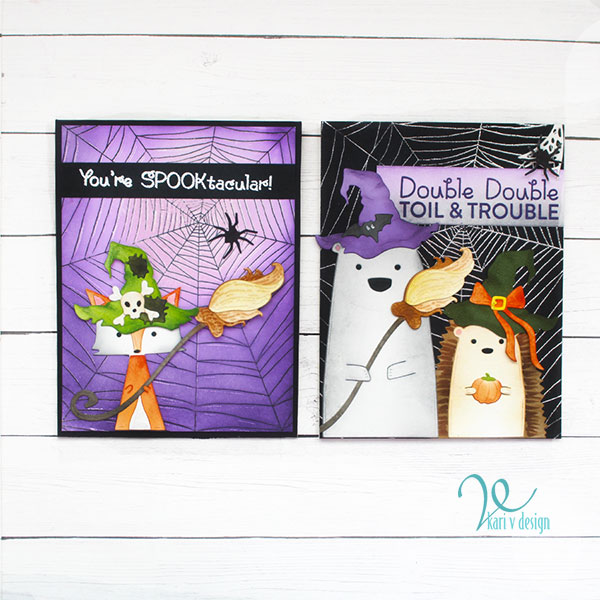
Hello! Today I have a new card with a Bear, a Hedgehog and a Broom as a part of my Halloween Card Series. You KNOW I just HAD to make a bear witch! (I love bears)!

Watch the video below or in HD on YouTube:

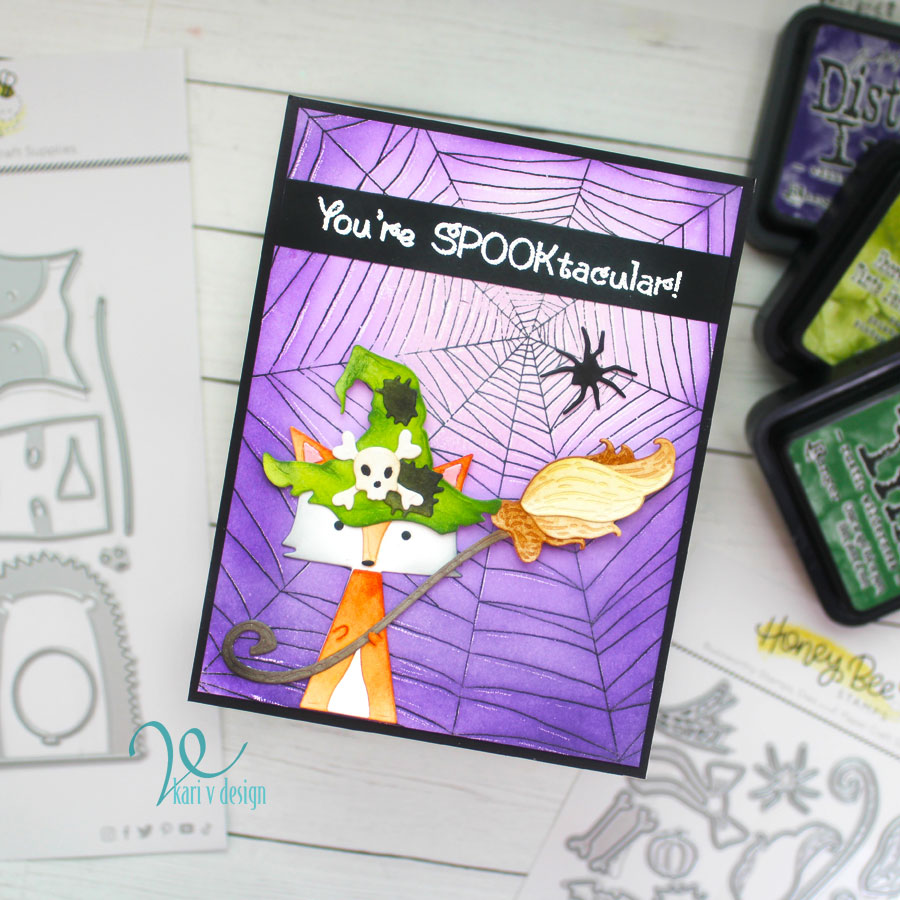
Of course I had to use all the critters in this die set, so I made a Bear and a hedgehog card and then I made a bonus fox card!

I just adore these critters! Watch the video to see some easy ways to color up the die cut critters with inks (and a touch of Copic markers).

I love the silver spider web embossed in the background. Each of these characters can hold something in their hands (I love a die with such a great detail)…so I put the broom in the bear’s hands, and a mini pumpkin in the hedgehog’s hands.

I started out with colored cardstock for their witches hats and added detail with ink! It’s easy when you have a beveled brush.

Once I finished this card, I felt like that fox was left out….so I made a bonus card!

I’m often asked what supplies I use to make my cards and projects, so I’ve put together a list using affiliate links when possible. If you make a purchase with these links I may receive a small commission. These help me to keep up with blog costs and continue bringing you fun projects. Thank you so much for your support!


Thanks for stopping by today! I just love a critter card!

Comments { 0 }
SUNSHINE-all-3-birthday-cake-cards-3

Shaped Birthday Card & Video Hop

Hello! Today I’m creating a Shaped Birthday Card as a part of a GIVEAWAY Video Hop!

Watch the video below or in HD on YouTube:
(Please check out all the giveaway information and hop instruction in the video description)

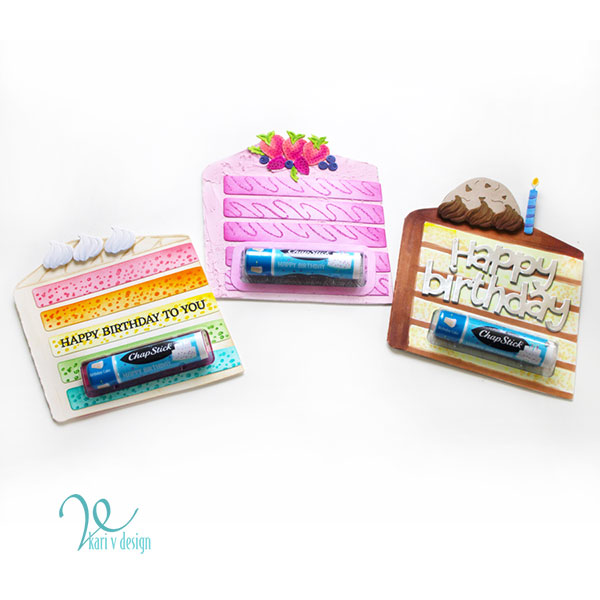
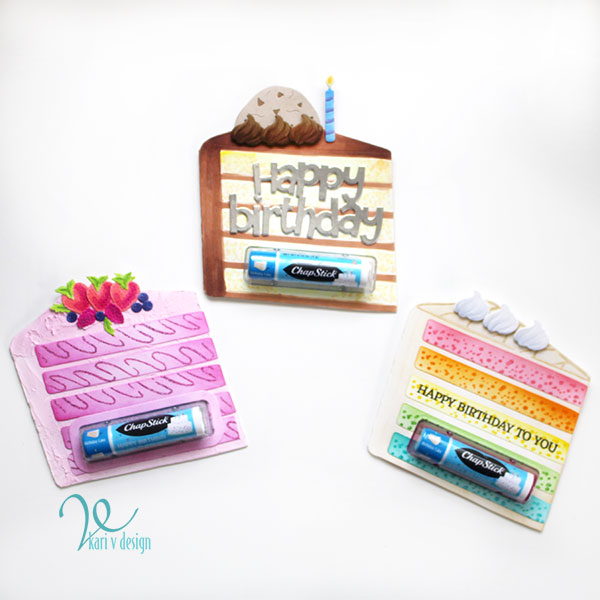
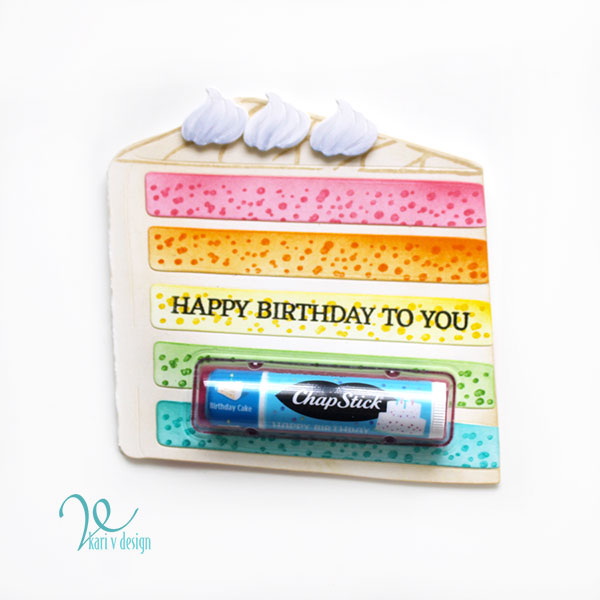
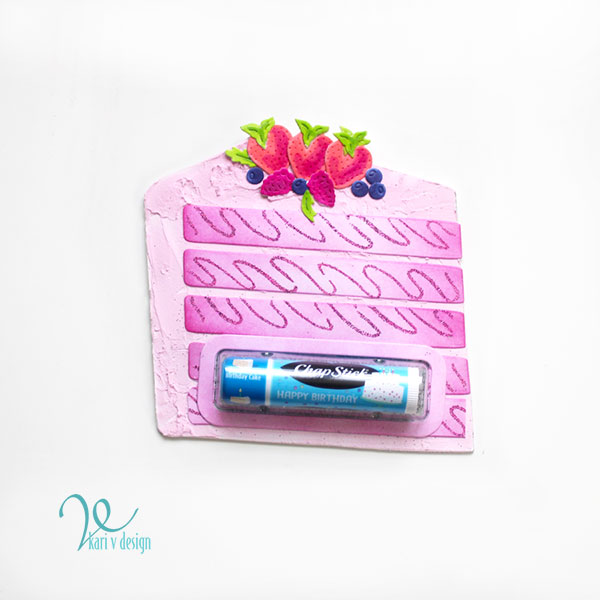
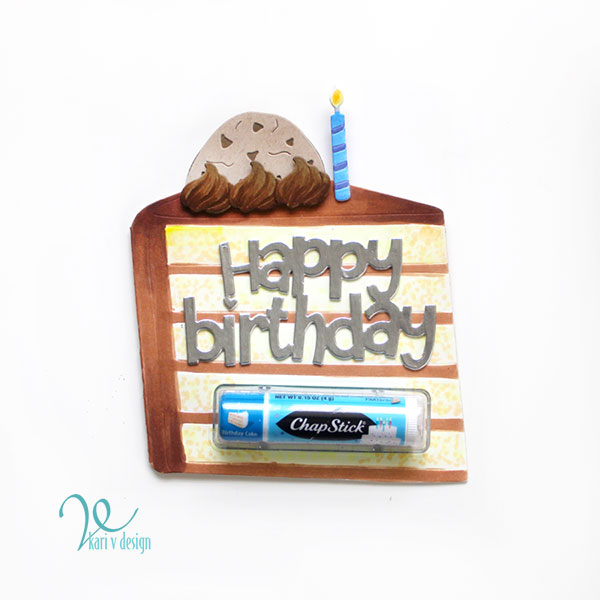
I’m creating a SHAPED card (birthday cake) with an interactive element with that Birthday Cake Chapstick gift!

I created a Rainbow Cake with Vanilla Frosting and a Caramel drizzle:

A Strawberry Cake with real-looking frosting and fresh fruit on top:

And a Chocolate frosted Yellow cake with Chocolate Chip cookie and candle:

To see how I created all these, including the inside of these cards, please see my video! Don’t forget to follow the hashtag and instructions in the video description for the hop!

Congratulations to my friend, Maranda for reaching 10K subscribers!

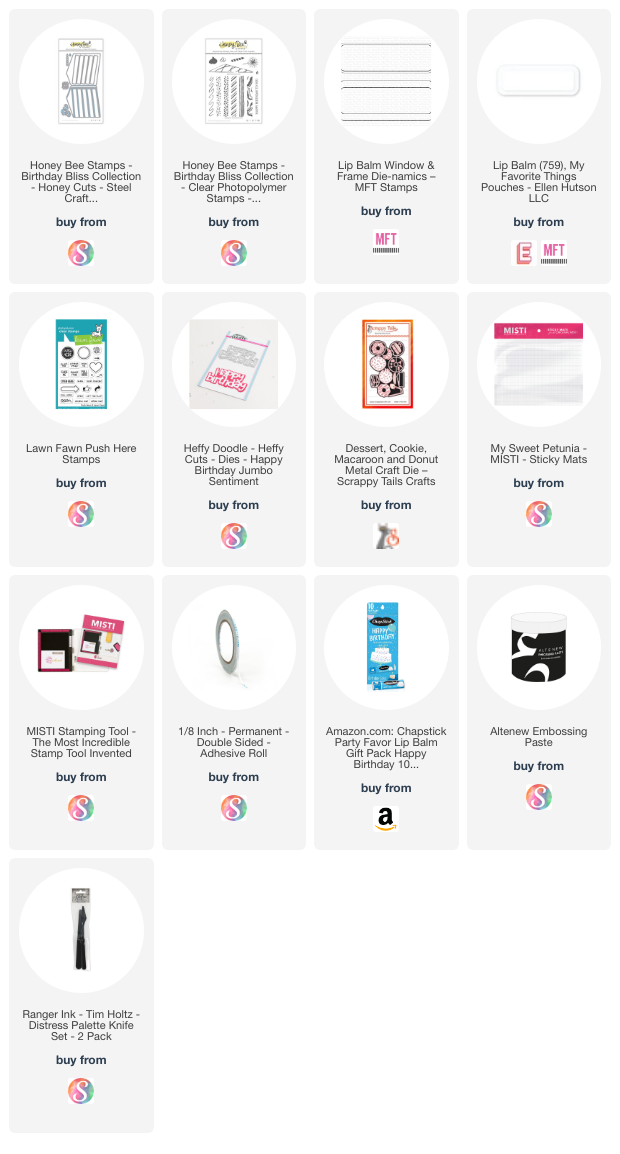
I’m often asked what supplies I use to make my cards and projects, so I’ve put together a list using affiliate links when possible. If you make a purchase with these links I may receive a small commission. These help me to keep up with blog costs and continue bringing you fun projects. Thank you so much for your support!


Thanks for stopping by today!

Comments { 0 }
SUNSHINE-stars-flip-flops-card-2

Patriotic Flip Flops

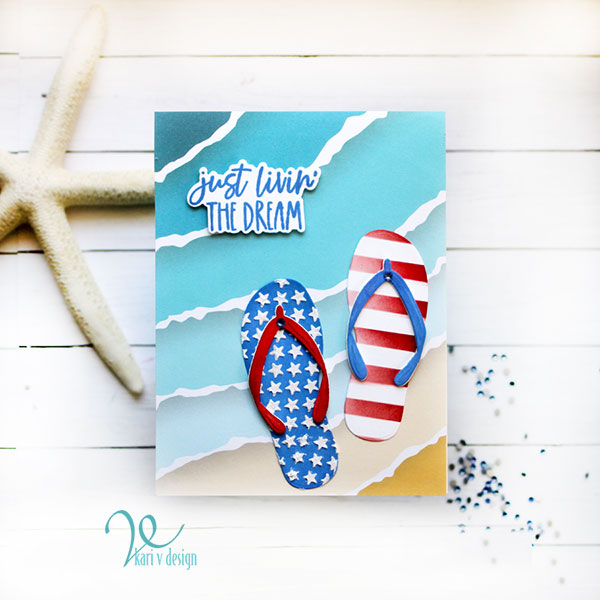
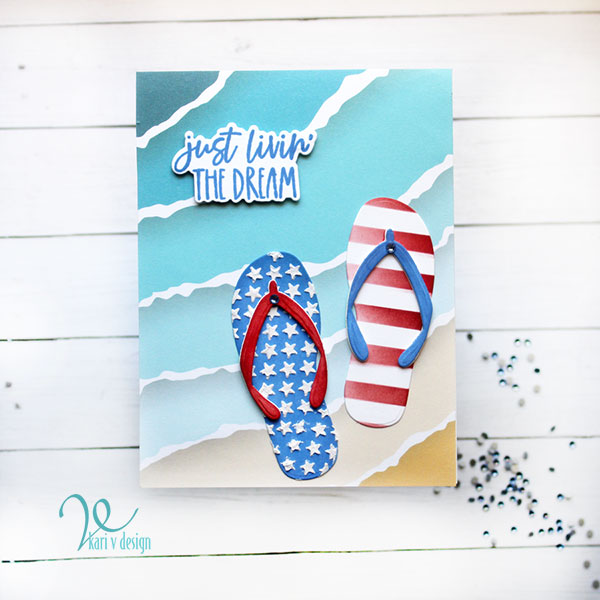
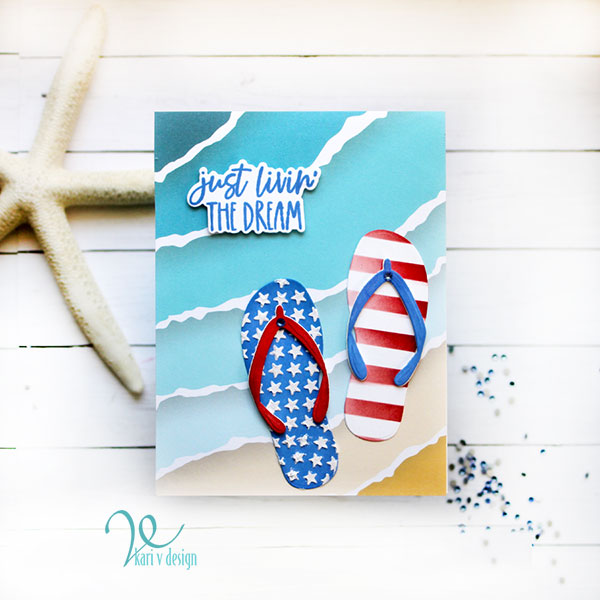
Hello and Happy 4th of July! Today I have some patriotic flip flops to share…inspired by a pair of flip flops I actually own.

I die cut the flip flops from white cardstock and then inked up the blue one with Vegas Strip ink. I used a stripe stencil from my stash to ink on the red stripes with Telephone Box ink. I used these same colors to ink up the straps.

Then I used a mini star stencil from my stash to add embossing paste on the blue flip flop. I set this aside to fully dry.

To assemble the card, I used a background paper from Honeybee stamps. I layered 3 sets of straps per flip flop and attached them with liquid adhesive.

Of course I had to add a gemstone! Then I stamped the sentiment with the same blue ink and die cut with matching dies.

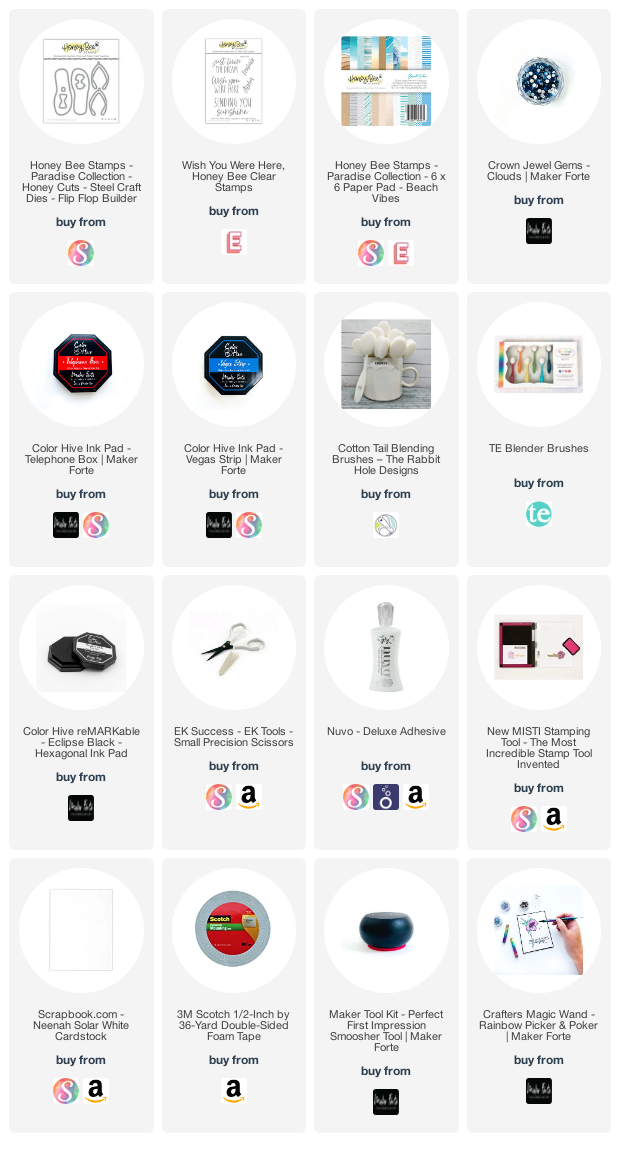
I’m often asked what supplies I use to make my cards and projects, so I’ve put together a list using affiliate links when possible. If you make a purchase with these links I may receive a small commission. These help me to keep up with blog costs and continue bringing you fun projects. Thank you so much for your support!


Thanks for stopping by today! Happy 4th of July!

Comments { 0 }
SUNSHINE-floral-both-cards-only-1

Make Your Own Gradient Colored Cardstock

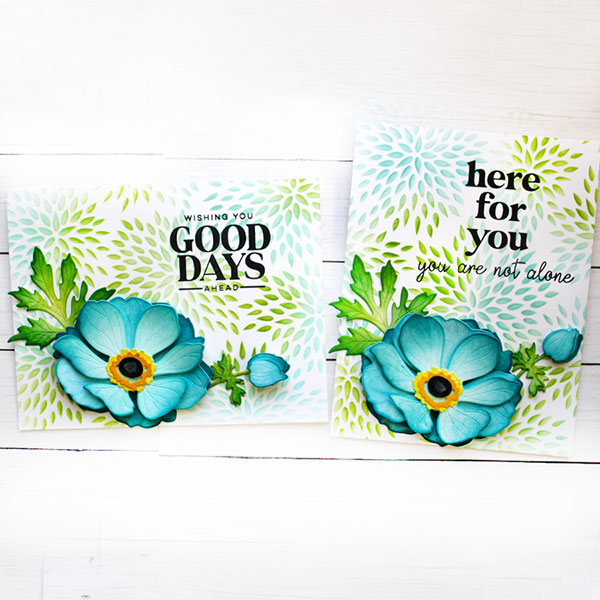
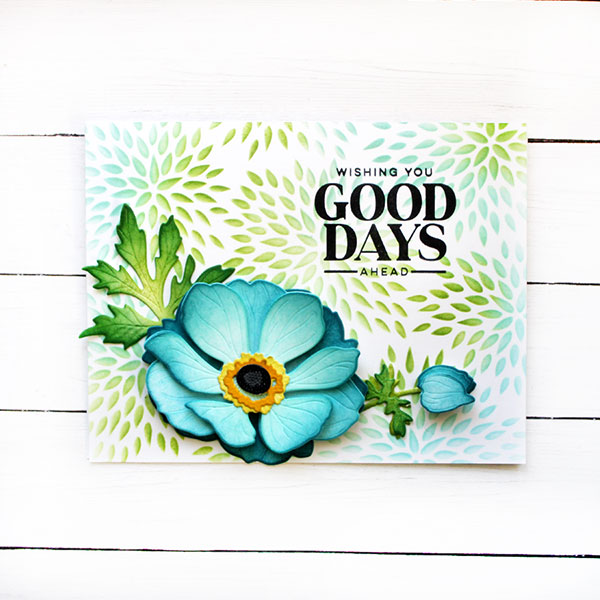
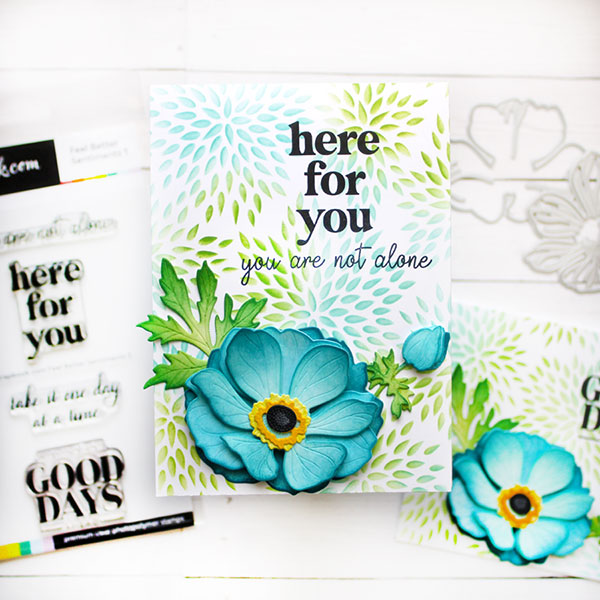
Hello! Today I am excited to share one of my favorite projects so far this year… I love these sentiments, flower die, and stencil; and when you put them all together they SING!

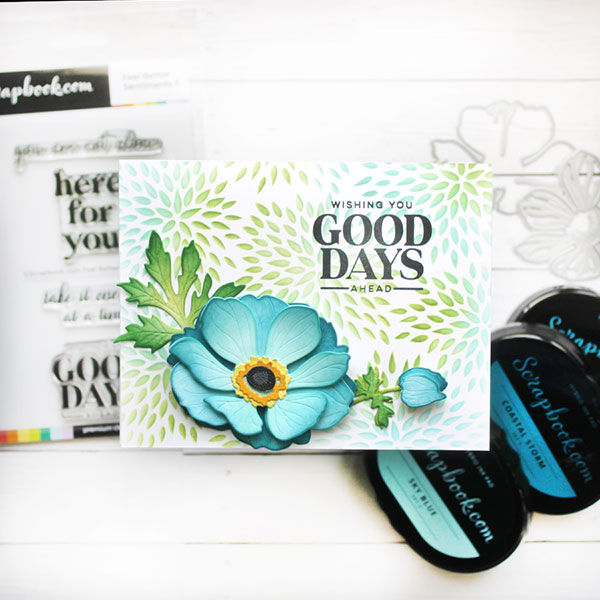
I love a good sentiment set, and this one from Scrapbook.com is so so good. I have used all the sentiments so far and love the encouragement. I have created a video sharing the process, watch it below or in HD on YouTube:

This was the first card I made using the Mum stencil from Scrapbook.com and some of their beautiful inks! I love combining green and blue together and these colors really look great.

I didn’t have gradient cardstock in the colors I wanted, so this inky secret made my flower work!! Watch the video to see how to do this.

The sentiments in Feel Better Sentiments 2 are really great… all of them! It’s so refreshing to find a stamp set with sentiments that I love and will be happy to USE THEM ALL!

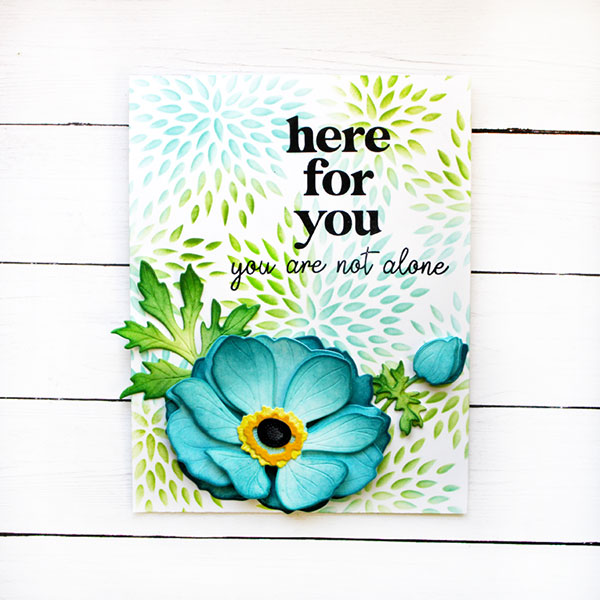
I loved this combination so much, that I made a second card using a different set of sentiments. I changed the orientation for this one to make the sentiment fit just right.

I’m often asked what supplies I use to make my cards and projects, so I’ve put together a list using affiliate links when possible. If you make a purchase with these links I may receive a small commission. These help me to keep up with blog costs and continue bringing you fun projects. Thank you so much for your support!


I hope you enjoyed these cards today! Thanks for stopping by!

Comments { 0 }