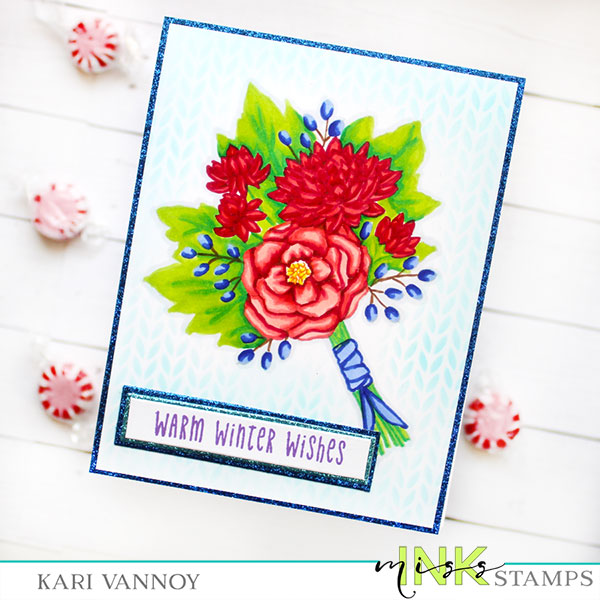
Merry Christmas, everyone! I am posting a Holiday Bouquet for you today and hoping that you are having a wonderful season. This video is unique in that I RARELY share my no-line coloring techniques. Mainly because it takes SO long.
But today is a special occasion, so I have a gift for you. Watch the video below or in HD on YouTube:
If you haven’t tried no-line coloring before…try these easy techniques that I share in my video. I hope you find that it’s really relaxing and the results are dreamy.
I’m often asked what supplies I use to make my cards and projects, so I’ve put together a list using affiliate links when possible. If you make a purchase with these links I may receive a small commission. These help me to keep up with blog costs and continue bringing you fun projects. Thank you so much for your support!
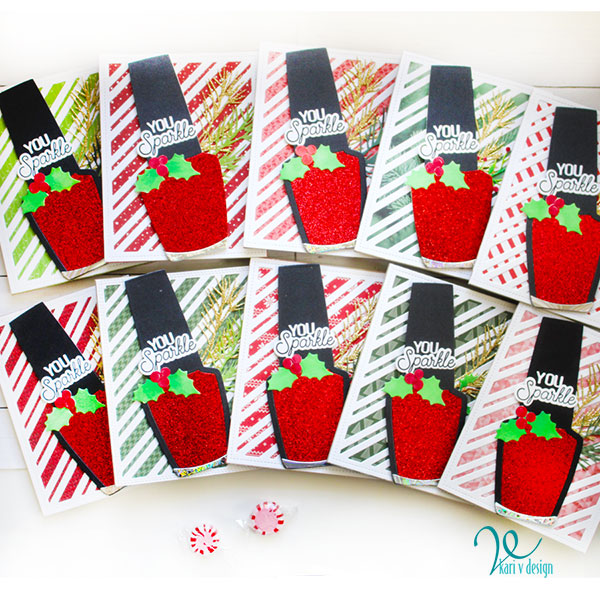
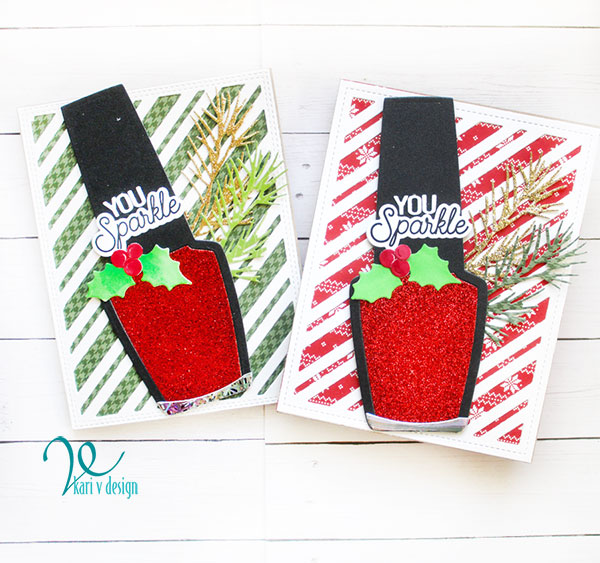
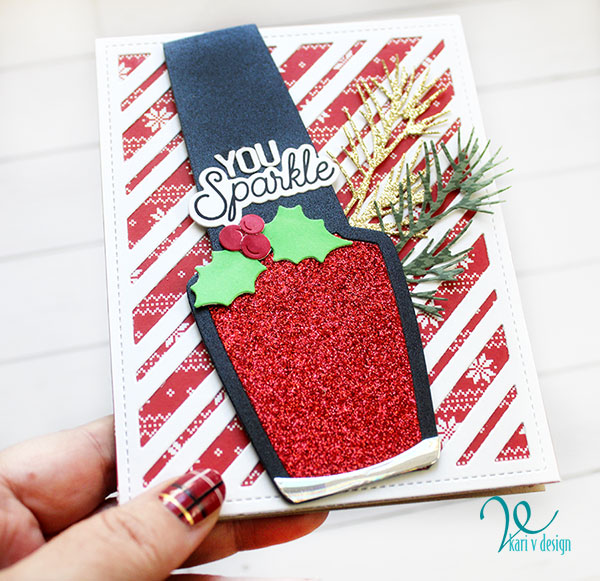
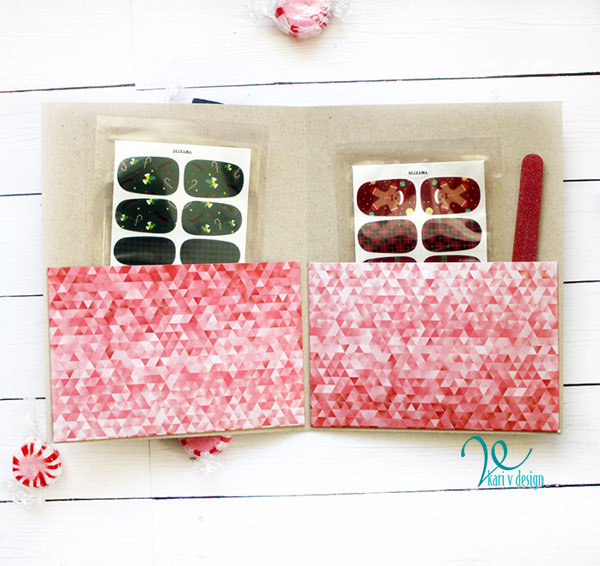
Hello! I have a fun Nail Polish project to share with you. I’m making some cute folders to hold nail stickers for my family and I thought I’d share it with you.
I think a video is the perfect place to explain all the details…watch it here or in HD on YouTube:
These nail polish bottles are glittery!! When you open up the card, it reveals a little folder holding some nail stickers.
These were fun to make…and I included a little nail file too. Those are super handy when you are putting on nail strips!
I’m often asked what supplies I use to make my cards and projects, so I’ve put together a list using affiliate links when possible. If you make a purchase with these links I may receive a small commission. These help me to keep up with blog costs and continue bringing you fun projects. Thank you so much for your support!
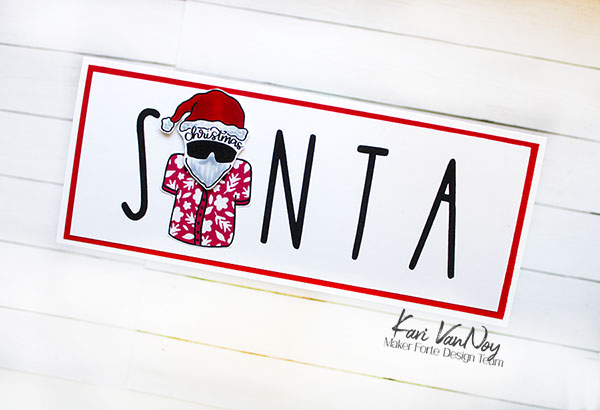
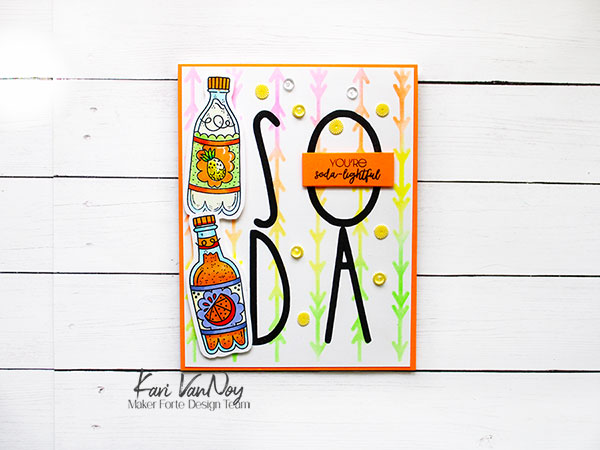
Hello! Today I’m excited to share 4 more ideas on using Alphabet stamp sets. I have found the BIGGEST alpha stamp set I have ever seen…and my projects today are all using this set.
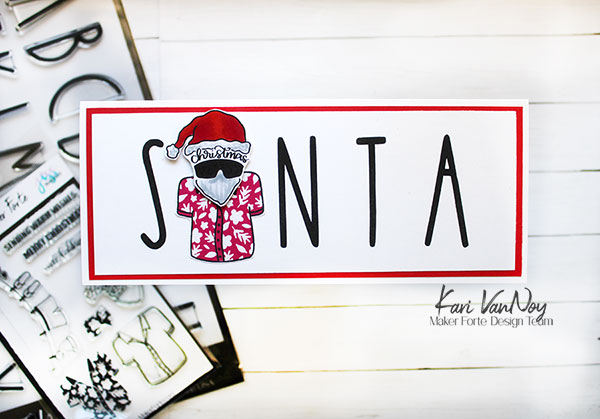
Of course, the first and most obvious use of Alphabet stamps is to spell out a word or a name. But have you ever replaced one of the letters with an image?! This is fun and adds some whimsy to the page.
Also, try stacking your letters for a different look!
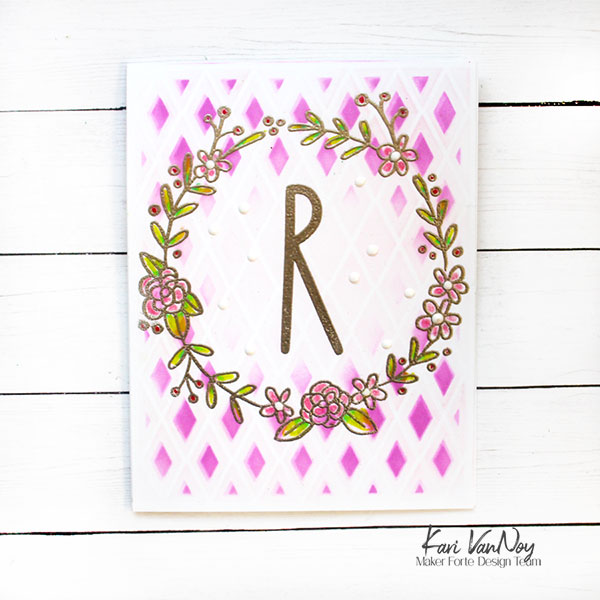
2. Monograms and Initial Cards
The letters on this set are so large and that makes them PERFECT for a monogram or Initial Card! These are great for cards AND tags.
Today I made a very non-Christmas initial card for my Daughter-in-Law. Her birthday is this week and often gets mixed up with Christmas. So this is just for her to show that we are celebrating HER on her birthday.
3. As a Background
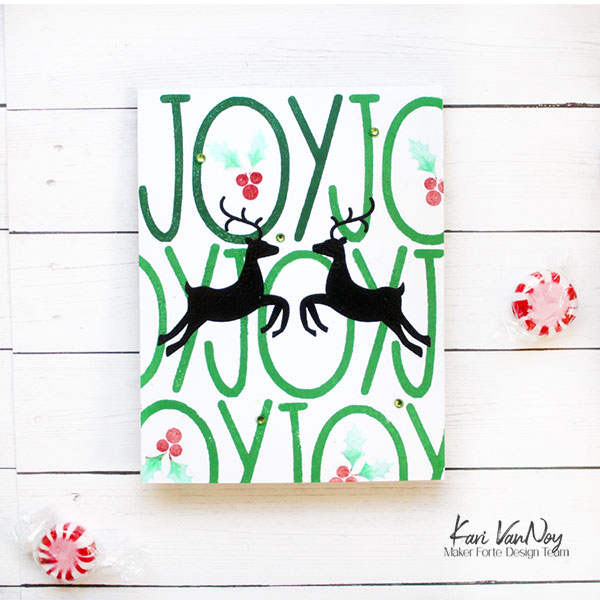
Letters make a fun background and these large letters really add a pop! Here I repeatedly stamped the word JOY in green ink and then black heat embossed the deer over the top using THIS stamp set.
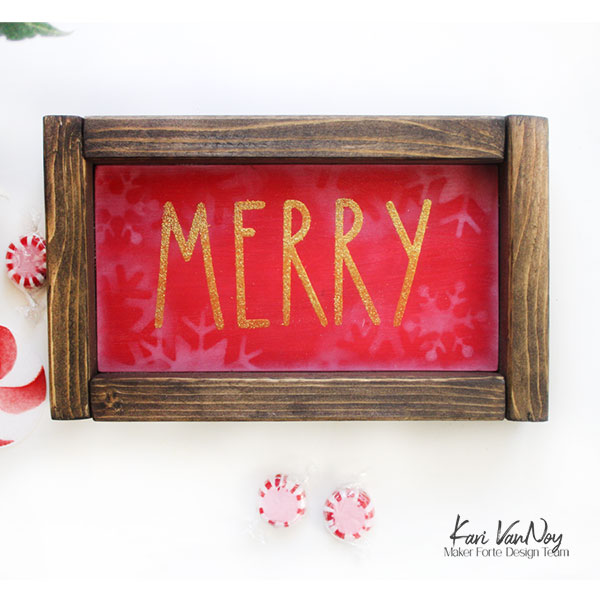
4. Home Decor
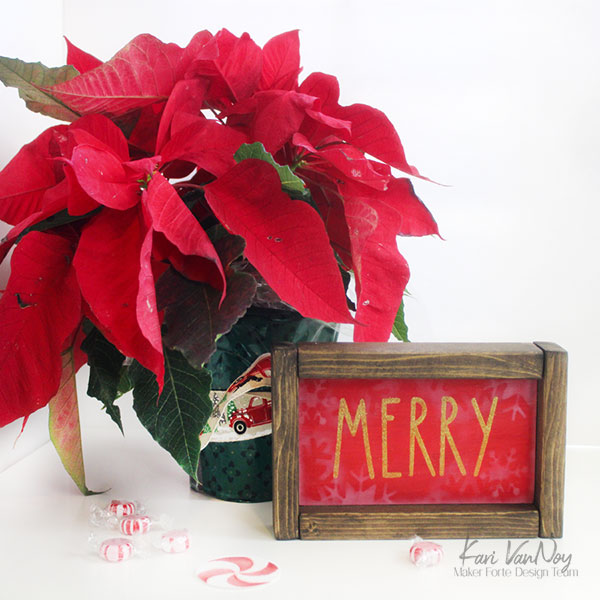
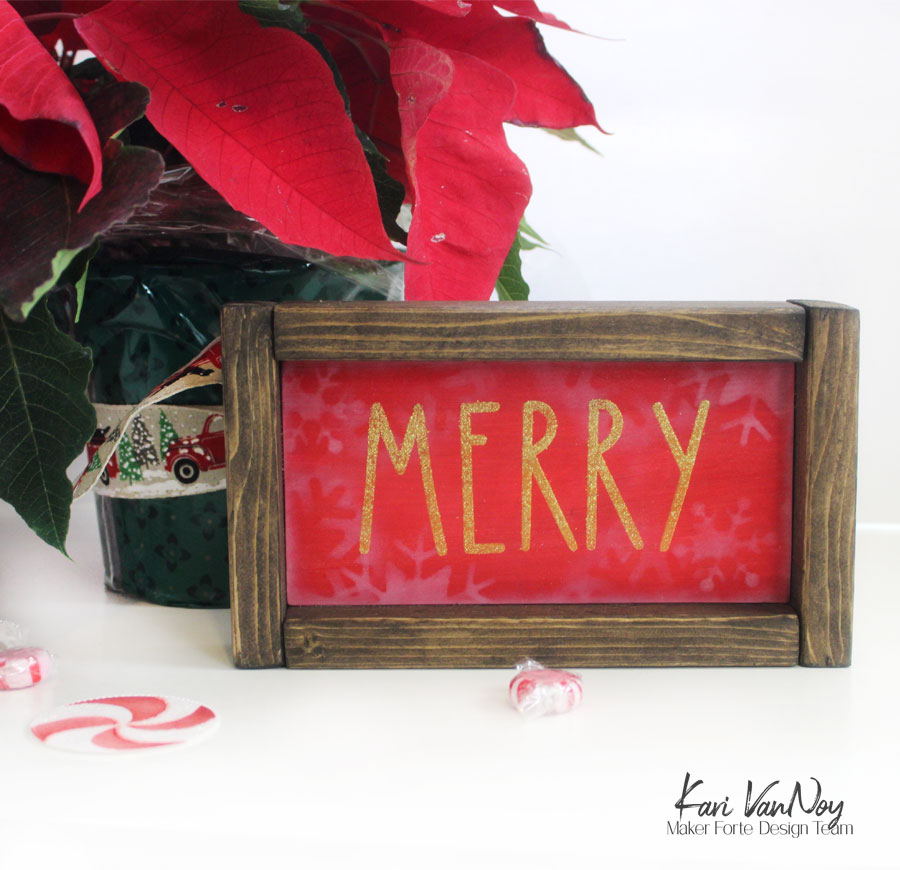
Another really positive aspect of such a large stamp set, is that you can make home decor pieces and signs. Here I made a Merry little sign by heat embossing in gold over a red painted wood block. I added an easy rustic frame and Voila!
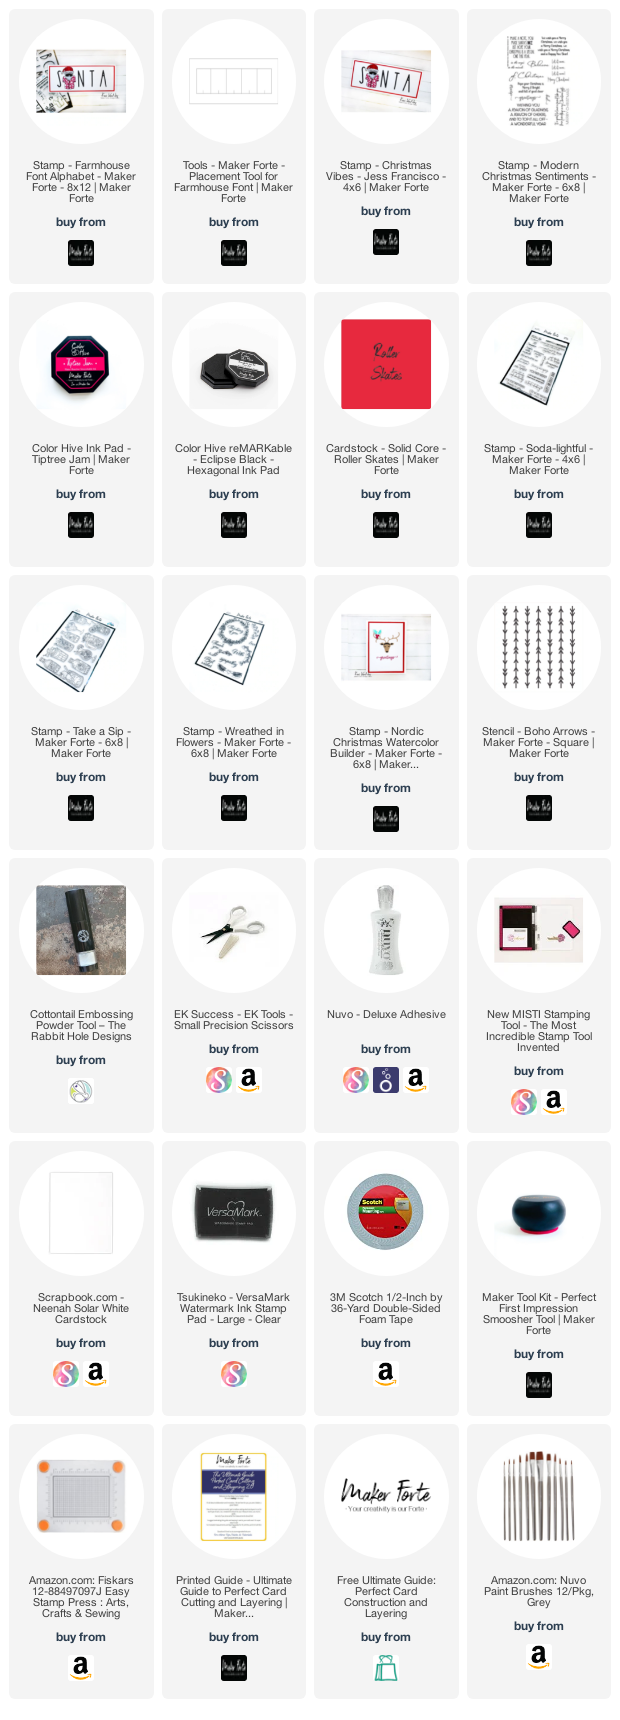
I’m often asked what supplies I use to make my cards and projects, so I’ve put together a list using affiliate links when possible. If you make a purchase with these links I may receive a small commission. These help me to keep up with blog costs and continue bringing you fun projects. Thank you so much for your support!
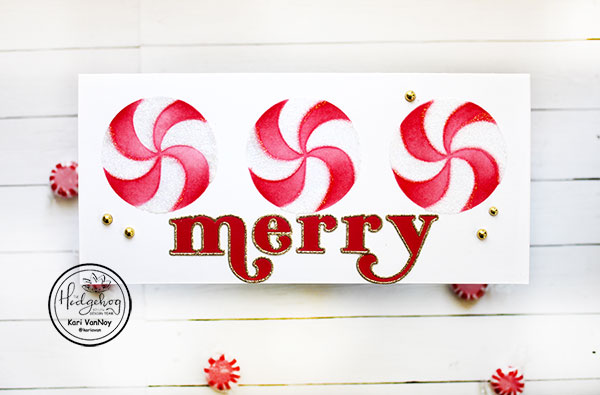
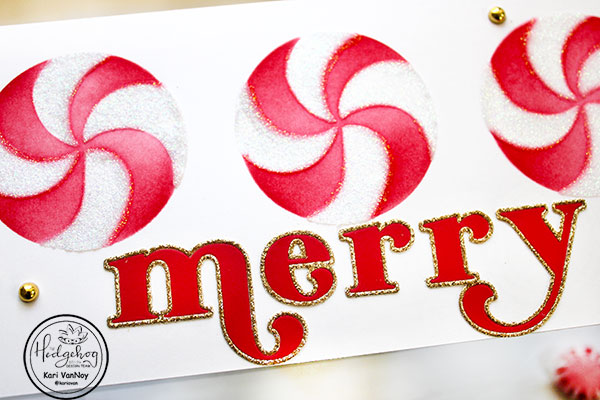
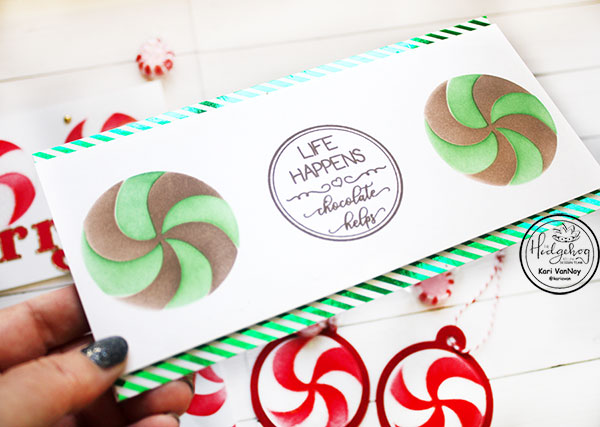
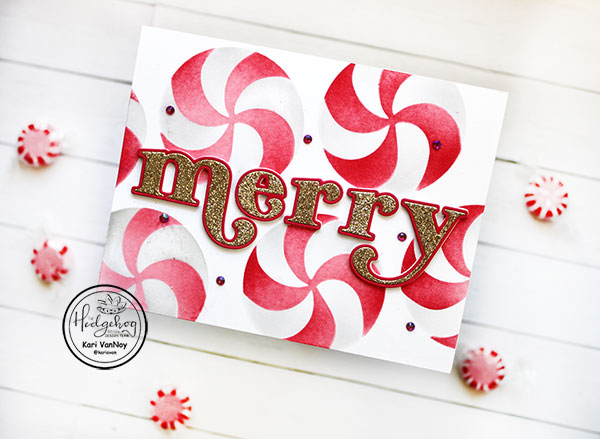
Hello! Today I have some holiday projects featuring Starlight Mints! I love this slimline stencil from the Hedgehog Hollow September Kit, and I couldn’t stop making with it. So today I have 3 cards and 2 gift tags for you!
To read more about these projects, visit the Hedgehog Hollow blog HERE.
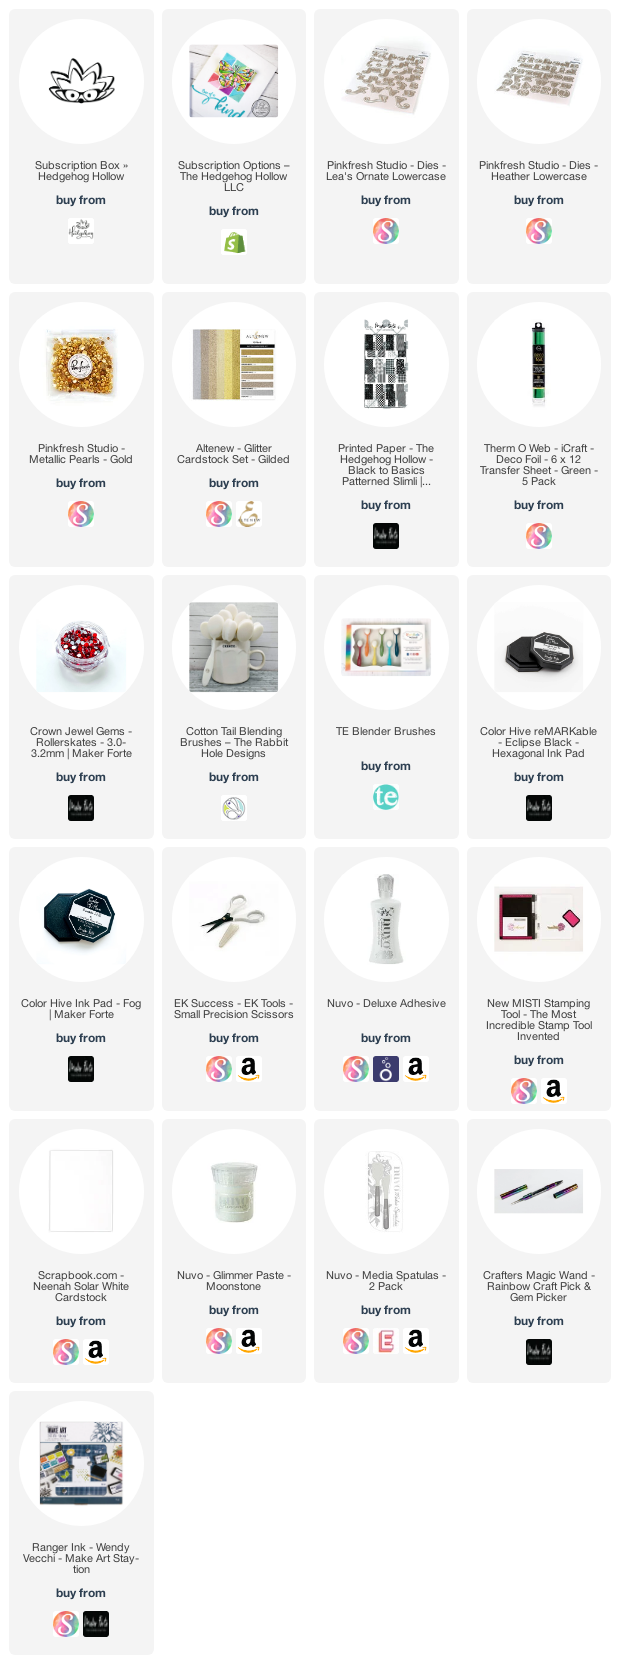
I’m often asked what supplies I use to make my cards and projects, so I’ve put together a list using affiliate links when possible. If you make a purchase with these links I may receive a small commission. These help me to keep up with blog costs and continue bringing you fun projects. Thank you so much for your support!
I hope you loved these projects today! I’ll be back with more cards soon!
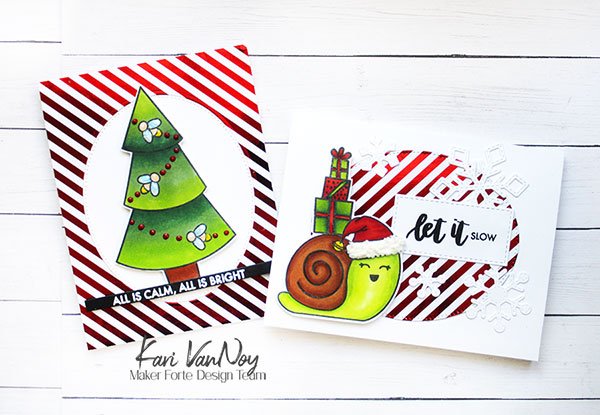
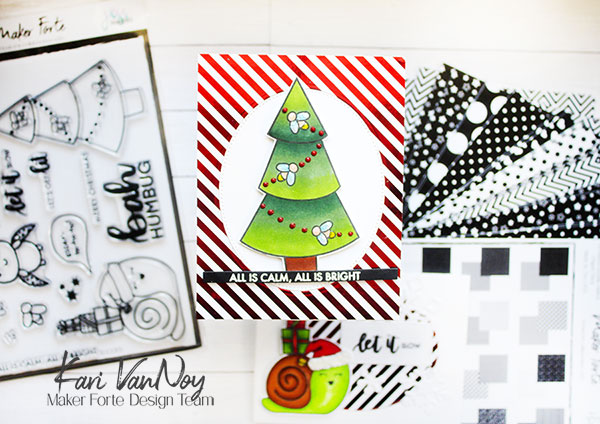
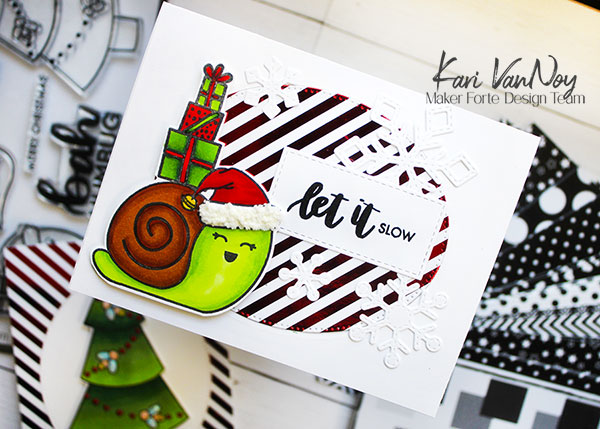
Hello! Today I am sharing my new FAVORITE black and white paper pack! This is not just any paper pack…it can be used with FOIL!! Can you tell I am excited about this? I have two cards with this foiled paper and I add Marshmallow Paste for even more drama.
To start, I cut down a piece of the striped paper and added red foil to it using the Minc Machine. You can also use a lamintor to add the foil. Then I cut out an oval of the middle so I could make two cards.
Card 1
For this first card, I colored up the tree with Copics. Then I added some Nuvo drops to the tree and Glitter drops to the lightning bugs. I white heat embossed the sentiment on black cardstock. I thought “All is calm, all is bright” worked great with the glow bugs!
I have a video below showing you the foiling and putting both cards together, and how to apply Marshmallow paste! Watch it below or in HD on YouTube:
Card 2
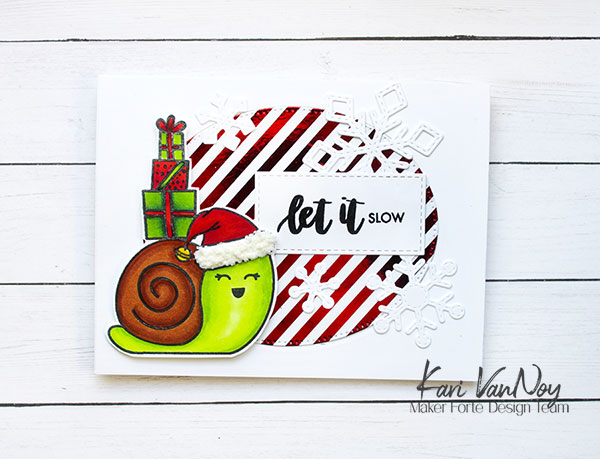
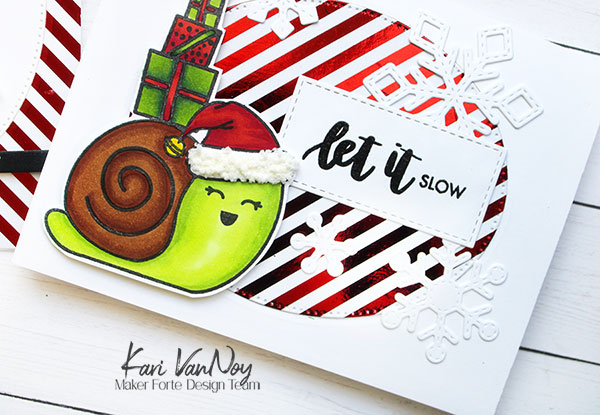
For the snail card, I used the same Copic colors to color up the snail image but I added one extra lighter yellow green color (YG01). I die cut some snowflakes for the background.
For the hat fur, I used a palette knife to add a generous amount of Marshmallow paste. Then I used the heat tool to heat it up for a few seconds until it popped up. It looks so fuzzy!
I’m often asked what supplies I use to make my cards and projects, so I’ve put together a list using affiliate links when possible. If you make a purchase with these links I may receive a small commission. These help me to keep up with blog costs and continue bringing you fun projects. Thank you so much for your support!
I hope you enjoyed these projects today and meeting my new favorite black and white paper. If you think about it, you can change the black and white into any color foil you’d like!
Hi I'm Kari. I'm a creator, a card maker, and a day maker! I am Lucky in love to a supportive husband, blessed to raise 3 kids (all moved away now!), and happy to be watched over by 2 dogs.
I originally started this blog to remind me to be happy amid adversity, and I hope it inspires you, too!