Tag Archives | HH subscription box
sunshine-zenvelope-with-card-2

How I Copic Color Ghosts…and the October Box Reveal!

Hello! When you think of coloring ghosts, do they rank right up there with panda bears, penguins and polar bears?! Right…they are white (or clear) so they should be so easy to color!

Today I am going to share with you my very favorite…and easy….color combinations for coloring ghosts!

All the products I use today are from the October 2018 Hedgehog Hollow box, and those ghost images are an exclusive set created by the Ink Road Stamps! The ribbon, Nuvo drops, and little spider brad also come in the box!

sunshine-too-cute-to-spook-1

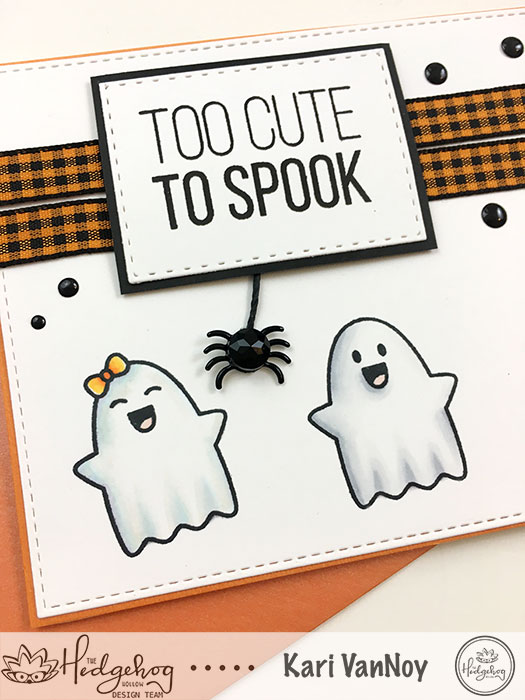
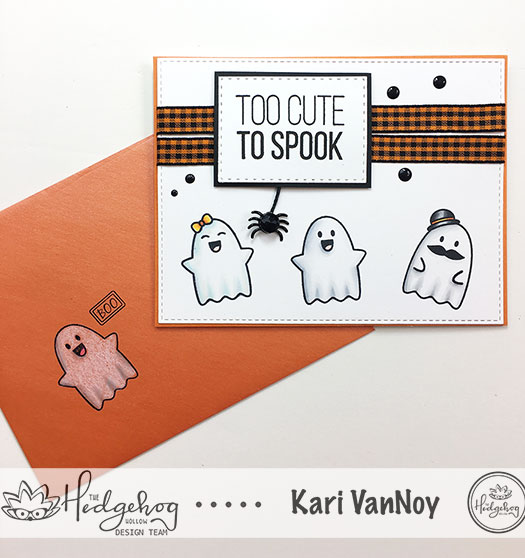
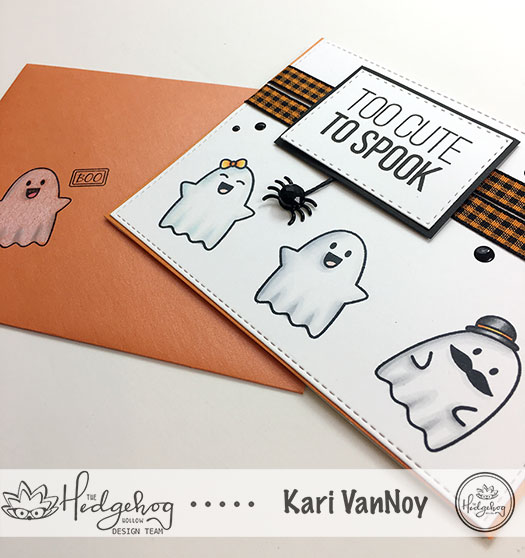
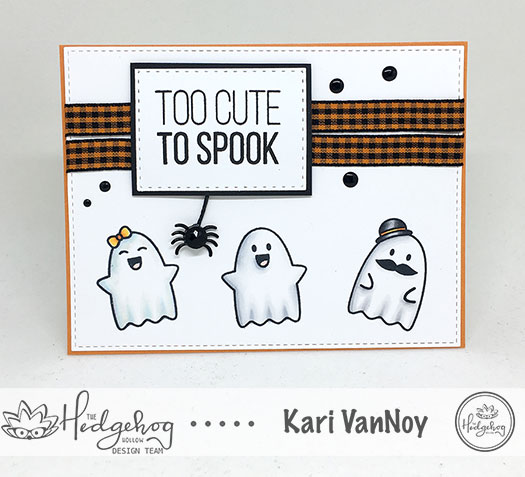
Can you see a difference in the way they are colored? I used a different combination for each so they would each have their own look. Subtle, yes…but in real life so effective!

For that first little ghost I used these Copic colors in this order: B0000, BV00, B000. These add a slight purple/blue undertone. Then I went over all of those colors with E40.

sunshine-too-cute-close-up-1

For the ghost in the middle, I used Cool Grays in C00, C1, C3. I first went over the ghost with the C00 where I thought the shadows would be. Then I used the darkest C3 over that, blended out with the C1 and back to the C00 to smooth it all out.

The last ghost is colored up with Warm Grays: W00, W1, W3. I used the same method as above for this cutie with a mustache!

sunshine-ghosts-with-envelope

For the envelope, I simply stamped one of the ghosts and the “boo” (using Staz On ink…this envelope is a little slick so I didn’t want that ink to smear!)

I colored it using prismacolored pencils and burnished it a little with a blending stump to smooth it out.

sunshine-zenvelope-with-card-2

If you are interested in seeing everything included in this box, check out my video here or on YouTube:


I hope you love these little ghosts as much as I do!! For more information or to get your very own box with exclusive stamps, visit The Hedgehog Hollow here.
Comments { 0 }
get-well-soon-watercolor-pen-card

Watercolor Pens with the Bountiful Blooms set

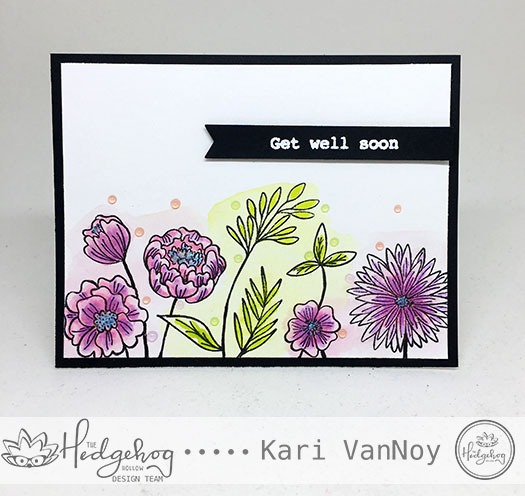
Hello! Today I’m sharing a project on the Hedgehog Hollow blog that is rather unusual for me. I’m creating a messy watercolor look using the Watercolor Pens and the Bountiful Blooms set from the September Hedgehog Hollow Box. Here’s a sneak peek:

get-well-soon-watercolor-pen-card

I used all four colors included in the set and a watercolor brush to move that color around, but you could just as easily use a small paintbrush and a little bit of water.

All the details and the VIDEO tutorial are up on the Hedgehog Hollow blog here. So click now to check out just how easy this card style can be!

Thanks for stopping by!

Comments { 0 }
bloom-card

A Review of Catherine Pooler Inks

Hello! Did you know that you can do so many things with Catherine Pooler Inks? You can stamp, of course, but you can also do some ink blending and watercoloring with them!

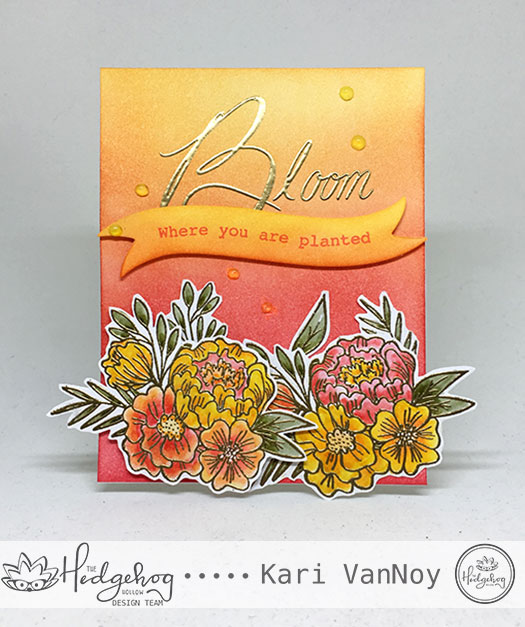
Today I have a fun fall project with the new Catherine Pooler ink, Coral Cabana, that came in the September Hedgehog Hollow subscription box.

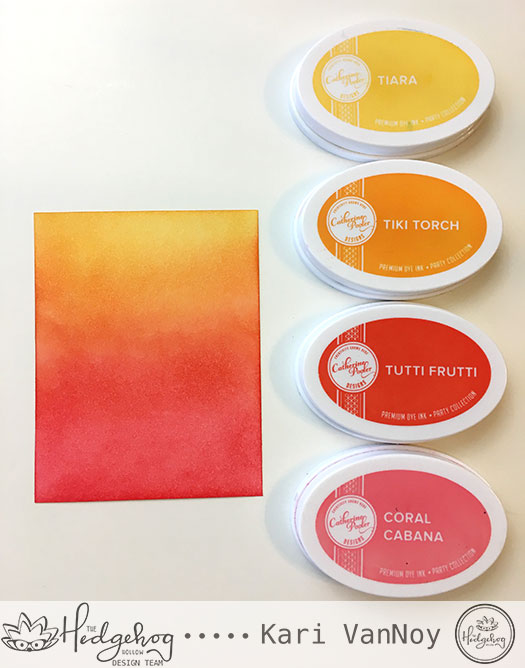
First, I took that ink and a few other ink colors and blended them on Bristol Smooth paper using a round ink blending tool.

ink-blending-with-inks

These inks blend beautifully on this Bristol Smooth paper!

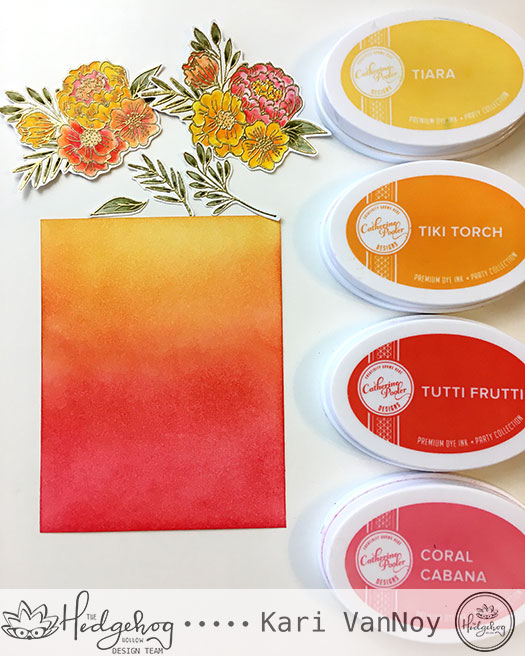
Once I had that background blended, I stamped and gold embossed the florals from the HH Subscription box and used these inks to WATERCOLOR on them!

2-blending-and-watercolor-flowers

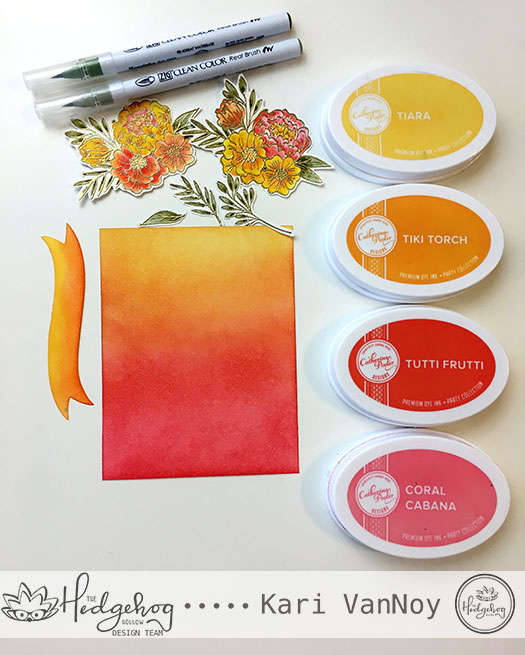
I also used the same Bristol Smooth paper for this. I also used some Zig Clean color markers to color up the green leaves. I wanted this to feel like a FALL card, so I picked my interpretation of fall colors for this card.

Then I cut a banner shape from my stash, ink blended on that banner, and STAMPED the sentiment using the Coral Cabana ink.

watercolor-with-zigs-photo

And Voila! A beautiful card using three methods with the very same inks! If you haven’t tried these inks, I would definitely recommend them!

I popped up the banner and one of the florals with Scotch 3M foam tape, and used my Nuvo liquid adhesive to attach the rest. To finish it off, I added Jewel Nuvo drops (these are translucent with a hint of color…which I love)!

bloom-card

I hope I inspired you give all three methods a try with your inks: stamping, watercoloring, and ink blending. Enjoy!

Thanks for stopping by. For more information about the Hedgehog Hollow subscription boxes, please click here. And while you are there, check out the EXCLUSIVE Christmas box that is available now with limited quantities!

Comments { 0 }
card-with-envelope

Sending Hedgehugs Slider card

Hi there! I have a fun slider card for you today using products from The Hedgehog Hollow August box.

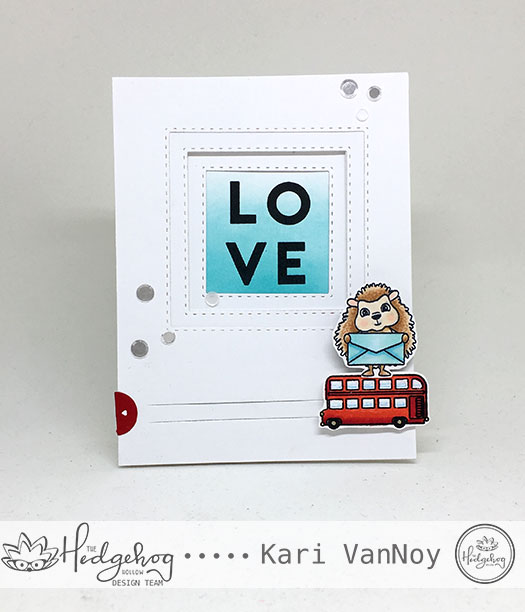
slider-hedgehog-card

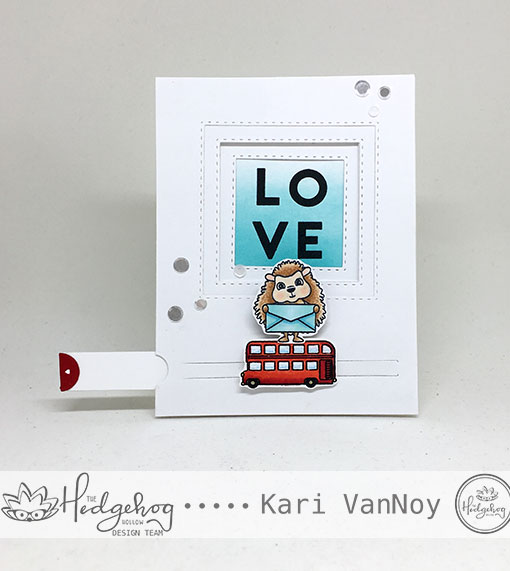
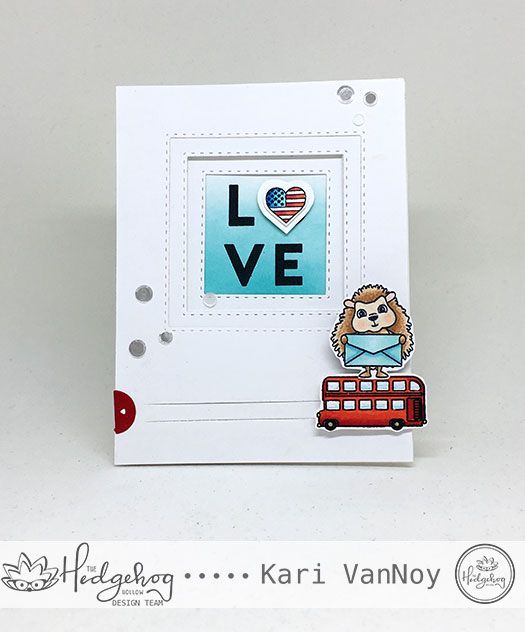
This is a dimensional card, I cut multiple layers of different sized stitched squares in each layer. Then I added some foam in between the layers to create that dimension. The very top layer has the slider with the hedgehog on top of the double-decker bus (he’s delivering the hugs!)

slider-open

That very cool slider element is this slider set here.

When I completed and took pictures of this card, I decided to add a little USA heart in the place of the “o” and here’s how it turned out:

slider-with-heart

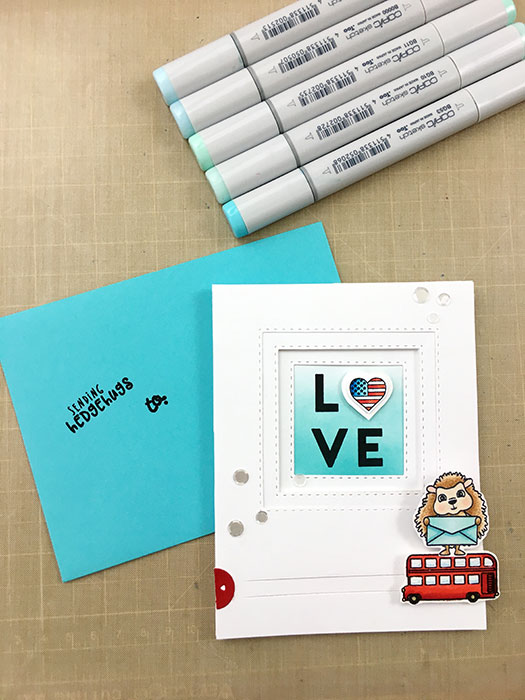
Which one do you like better?! I also added a stamped envelope:

card-with-envelope

And VOILA! It’s all ready to send to my friend in England from the USA! This is such a fun box, and I loved coloring up those hedgehogs in a variety of ways. Check out my other projects I made with this box here, here, and here.

For more information about these subscription boxes, check out the Hedgehog Hollow shop here. One of the reasons I love these boxes is that you get a different company stamps and/or dies in the box each month (it’s always a fun surprise)…and it’s a great way to try out new stamps!

Thanks for stopping by today!

Comments { 0 }
wishing-a-rainbow-of-happiness

Have a Rainbow Kind of Day!

Hello! Today I have some fun rainbow themed cards for you using the Hedgehog Hollow July box. I am just loving this box so much, and I couldn’t stop creating with the cute images and papers that are included!

For my first card, I used the Ric Rac dies in the box and created a rainbow element on my card:

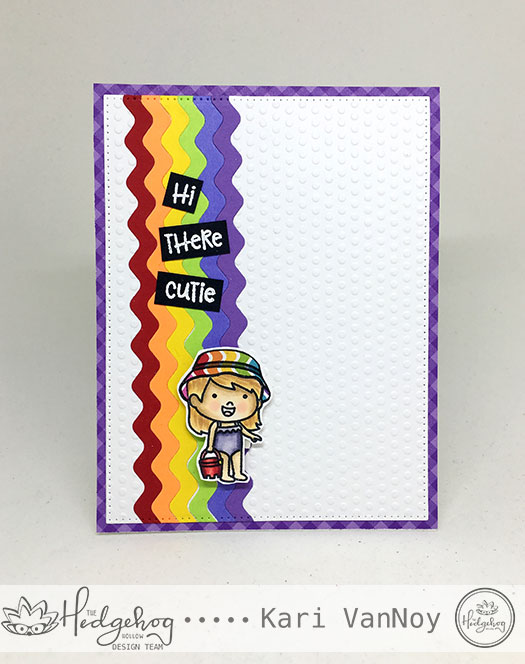
rainbow-ric-rac

I used the papers to create the purple background and to paper piece her hat! I love a rainbow hat. Lol. I colored that little girl up with Copic markers, then attached her to the card using foam tape for dimension. The sentiment is white heat embossed on black paper.

have-a-rainbow-kind-of-day

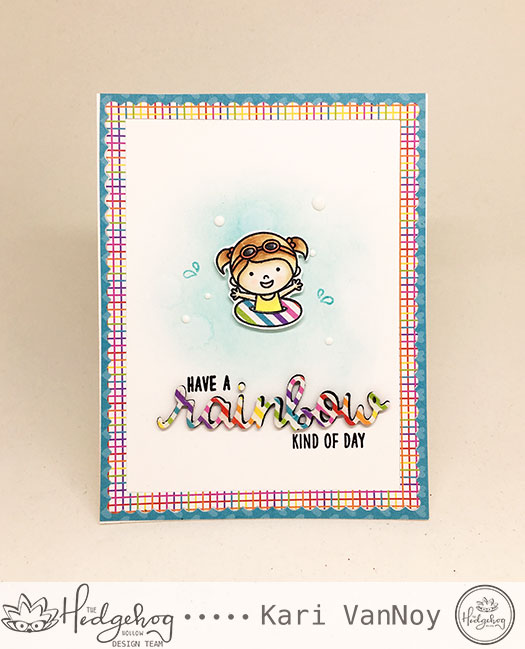
This second card also uses many of the papers included in the box. They are so bright and fun so I had to make the rainbow die striped! (notice it matches her innertube!) This card came together so easily…I just took some Distress Oxide ink for the background, added the girl with foam tape, and stamped on some of the water droplets that are included in the stamp set! Some white Nuvo drops finished it all off.

I die cut the background using a frame die from my stash out of two different papers in the kit. And I really DO wish you a rainbow kind of day!

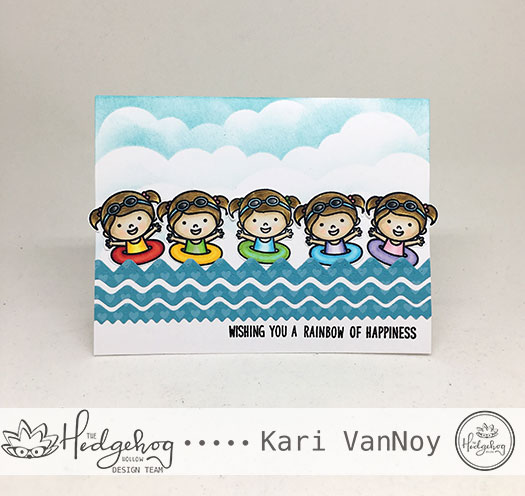
wishing-a-rainbow-of-happiness

This last card was one I made FIRST from the kit, but I’m just sharing it today! I loved the idea of a rainbow color of those innertubes and swimsuits, floating along a ric rac river! Aren’t they cute?

I hope you enjoyed these projects today. I sure enjoyed making them. I cannot WAIT for the next box to arrive. For more information about these jam-packed subscription boxes, visit the Hedgehog Hollow here. Thanks for visiting!
Comments { 2 }