Tag Archives | HH February 2019 kit
blue-glitter-hello-side-view

Pearl Alcohol Inks with Photo paper

If you’re anything like me, you have a nice stash of old Photo Paper. You know, the kind you used with an inkjet printer to print photographs? I have an entire full box of it!

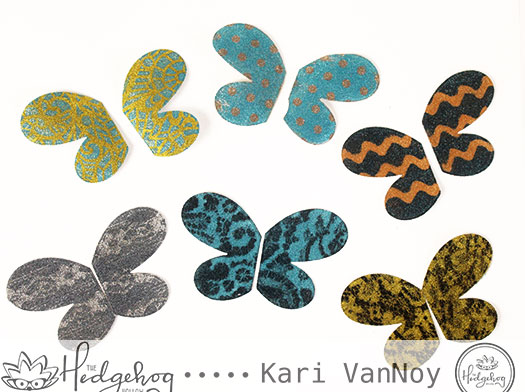
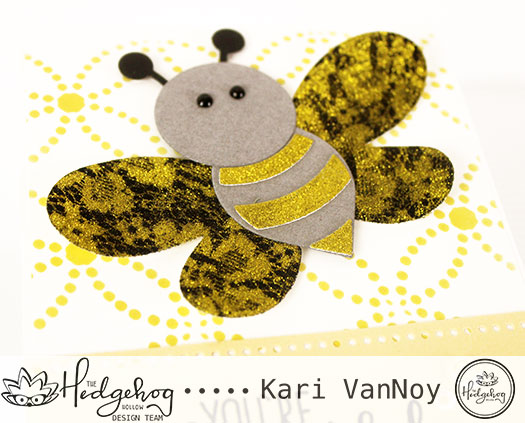
So I did what any creative type might do…I put it to work in my craft room! I heard multiple times that photo paper doesn’t really work so well with alcohol inks…that the ink just soaks right in and doesn’t move.

But I found a trick!

Using Pearl Alcohol Inks with Photo Paper

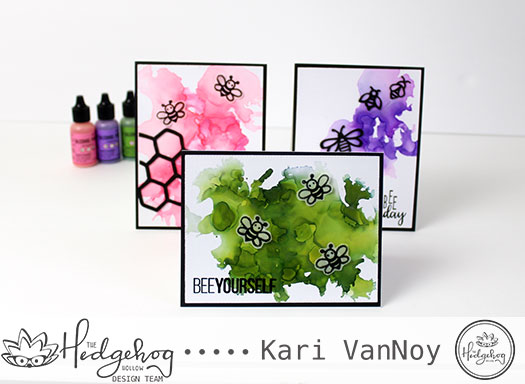
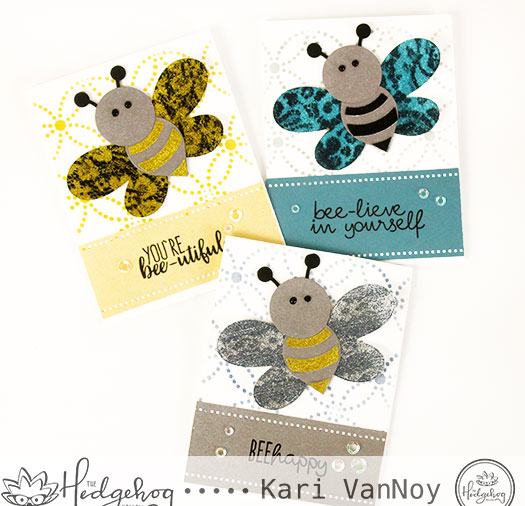
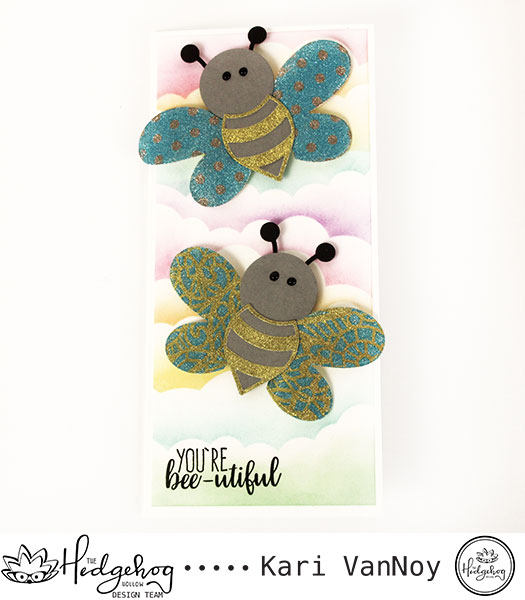
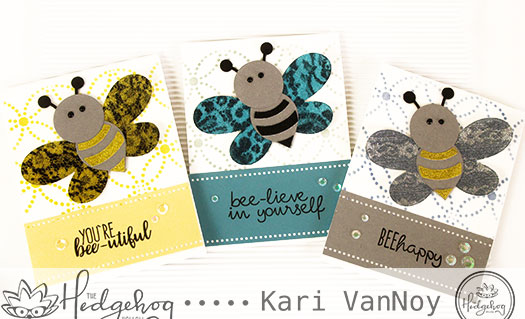
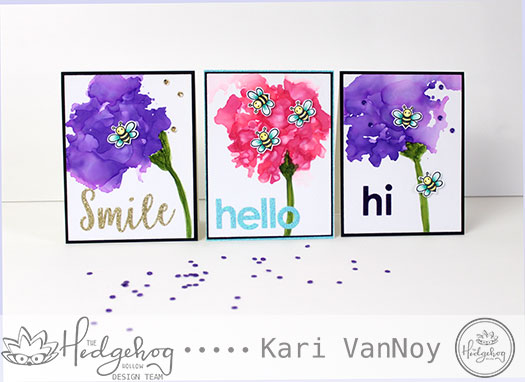
In fact, I found a way to make it work that is so much fun…I just couldn’t stop making card panels!

Pearl Alcohol ink Flowers!

I have a video to show you all the details, watch it below or on YouTube:

I can see many Alcohol ink panels in my future…after all…I still have the big box of Photo Paper!

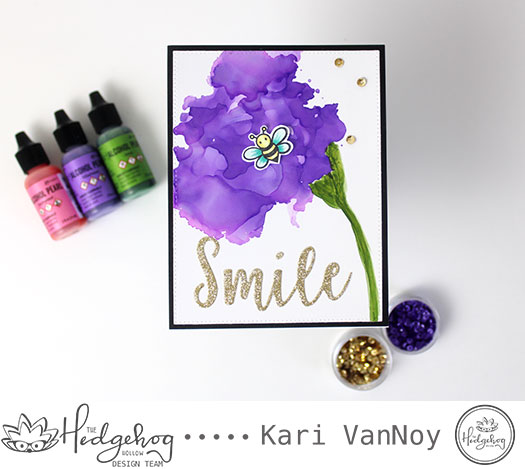
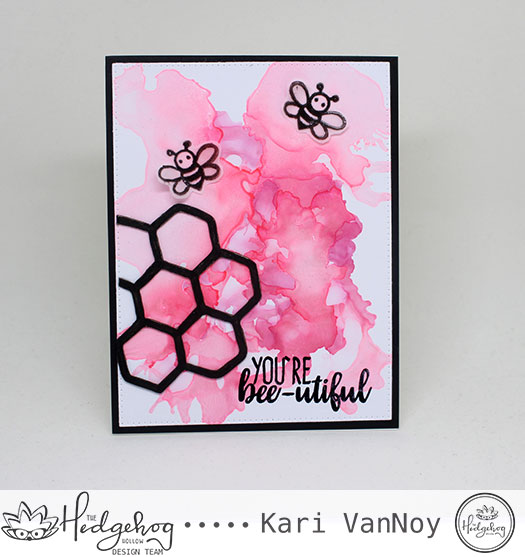
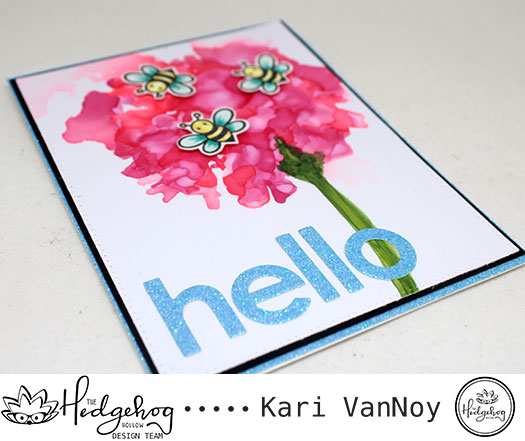
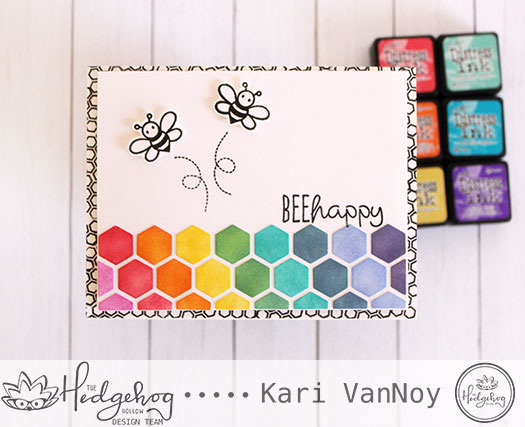
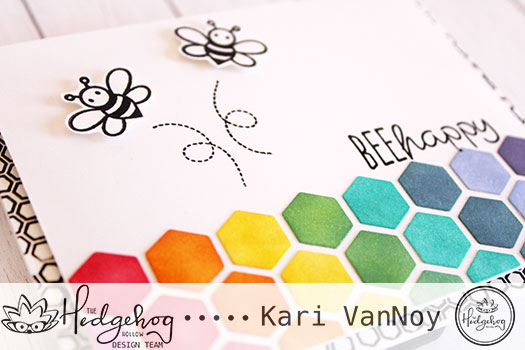
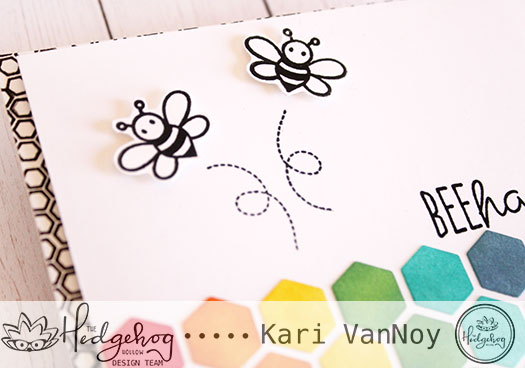
Thanks for stopping by! I can’t wait to see your Alcohol Ink cards! The bees and sentiments I used for these cards are from the Hedgehog Hollow February Kit. For more details about the February 2019 Kit, visit the Hedgehog Hollow shop.

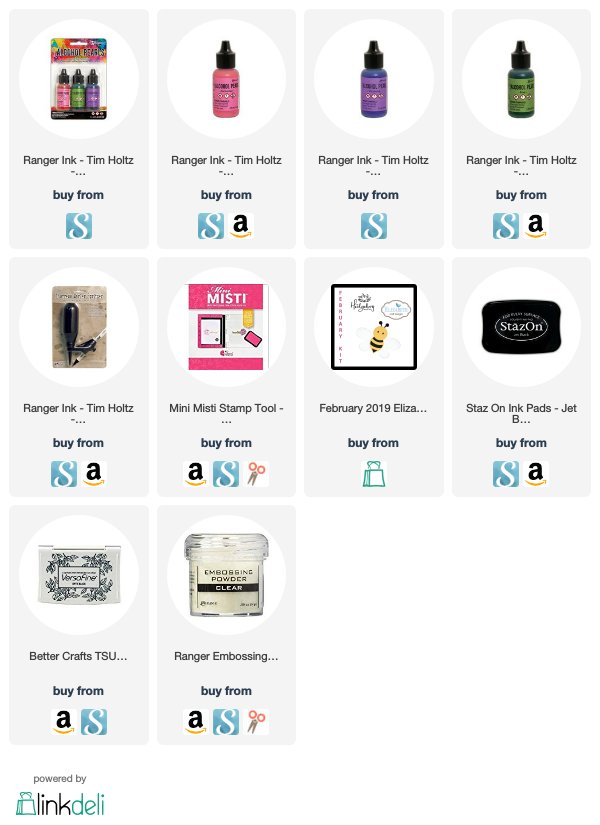
I’m often asked what products I’ve used and where to get them, so below is a list of supplies I used. When possible, affiliate links are used at no extra charge to you. These links may pay a small commission that helps me to keep my blog and YouTube channels running. Thank you for your support!

Comments { 0 }
wendi-close-up-of-yellow-bee

Lacy Bee Wings!

Oh, honey. Today I have a really fun glittery project to share! I’m going to share with you how to make glitter wings that look just like LACE. Eep! These are so much fun to make and so pretty on a bee. (I imagine they would be just as beautiful on a butterfly or a fairy, too!)

First, let me show you my cards. Please notice those lacy glittery wings!

Those lacy wings have me all glittery-eyed!

I’m going to show you just how to get these two-toned glittery wings. Watch the video below or on YouTube:

I hope you are inspired to try this technique yourself. I also made a tall card using two of those bees with their two-toned wings.

I hope you enjoyed this project today. I’m also up on The Hedgehog Hollow blog sharing all the information! Check it out and get more information on the HH Subscription boxes here.

Thanks for stopping by today!

Be Happy!

Comments { 0 }
close-up-2

Bee Happy Rainbow card with the HH February Kit

Hello! Today I have a cheerful card for you using products from the Hedgehog Hollow February kit. It starts with a rainbow of colors of Distress Ink so you know it’s going to be cheery! I used Picked Raspberry, Worn Lipstick, Orange Marmalade, Mustard Seed, Evergreen Bough, Peacock Feathers, Denim Jeans, Shaded Lilac, and Wilted Violet. With all those colors, you are sure to smile! (at least they made me smile)

bee-happy-rainbow-3

I used some die cut hexagons that would normally just be thrown out! But they were perfect for my project today. To adhere these in perfect alignment, I put all the colored hexagons into the die cut, then picked it all up with some Glad Press N Seal. Then I turned it over and added some glue ONLY to the rainbow pieces. I attached it all to the card panel, let it dry for a minute, then removed the die cut to reveal the perfect placement of all those beautiful hexagons!

close-up-2

I used the bees, bee trails and BEE happy sentiment from the stamp set that came in the February Kit, and as an outline for the bottom layer I used the small hexagon stamp repeatedly for the border.

bee-close-up

I popped up those bees with some Scotch 3M foam tape (the mega roll!) to give more dimension. I put some craft foam between the top layer and the bottom layer for even more dimension!

bee-happy-rainbow-3

I hope you enjoyed this cheery project today! Check out how you can get the Hedgehog Hollow Kit here. And she is taking pre-orders for the April Kit (which I hear has some Art Impressions!!)

See you next time!

Comments { 0 }