Tag Archives | hedgehog hollow November 2020 kit
SUNSHINE-leaves-wreath-with-joy-close-up

3 Layered Tags

Hello! Today I have one last project to share using small images from the Hedgehog Hollow November Kit. These ideas to layer your images or your tag shapes bring so much interest to your projects.

Tag #1

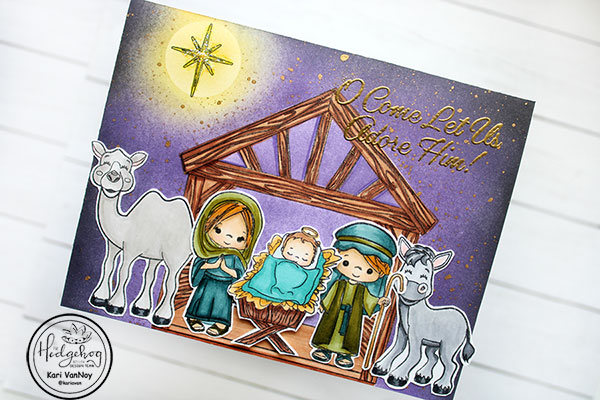
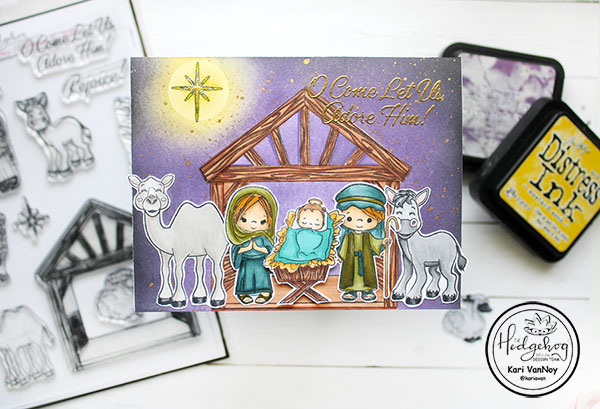
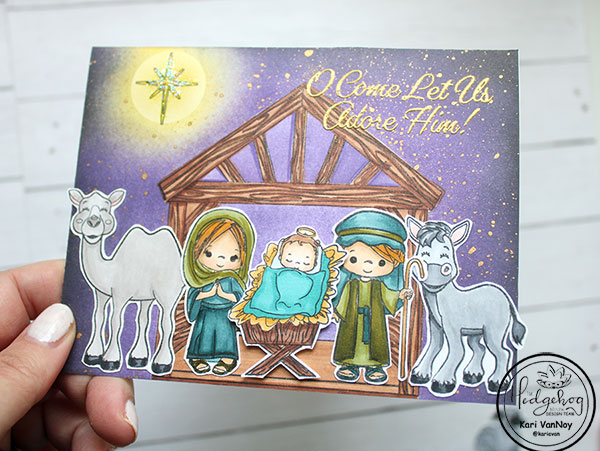
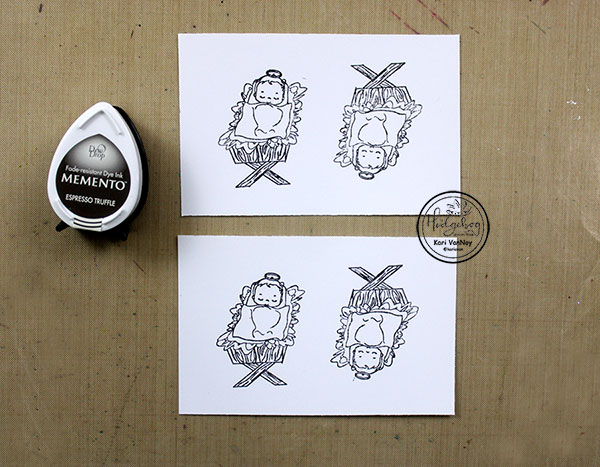
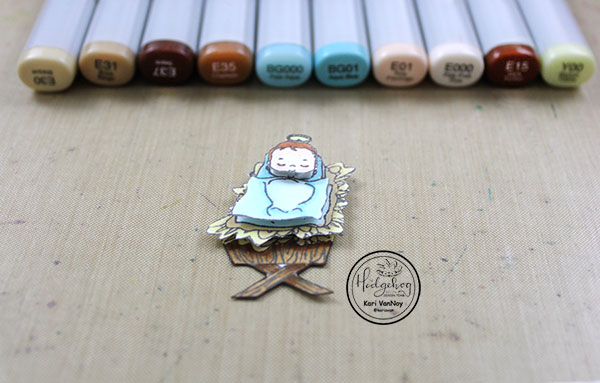
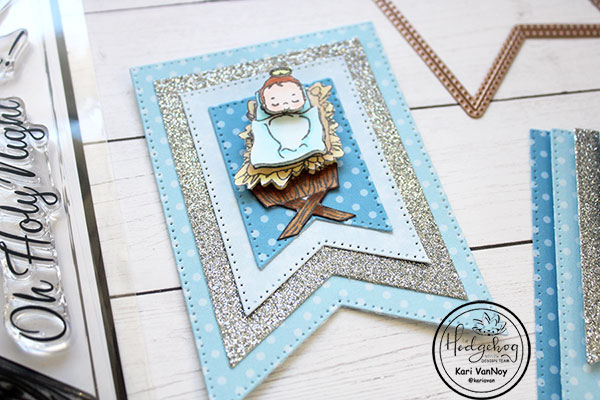
For my first tag, I chose the baby Jesus image from the kit and some beautiful blue papers also from the kit. I stamped the image four times on Neenah Solar white paper.

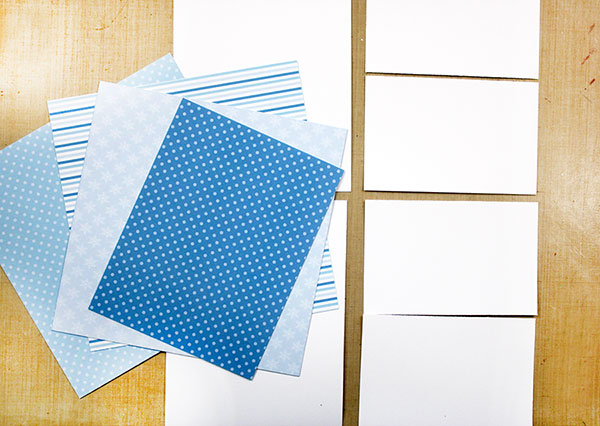
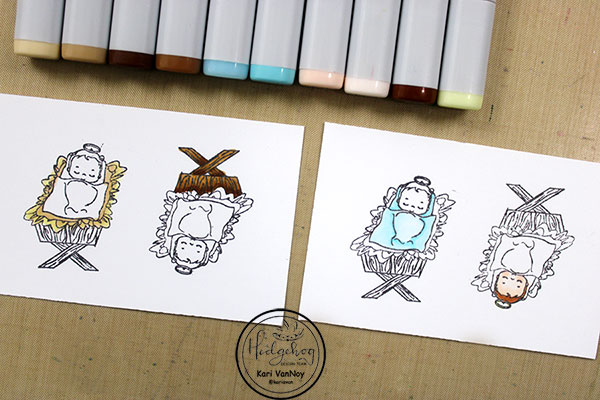
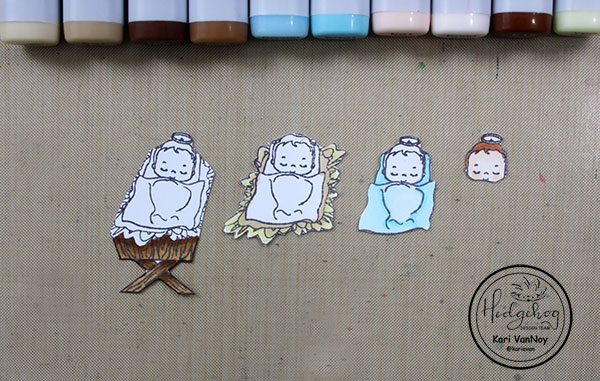
Then I colored just the part of each layer with Copic markers and cut them out. I layered them up with foam squares to get a 3D look!

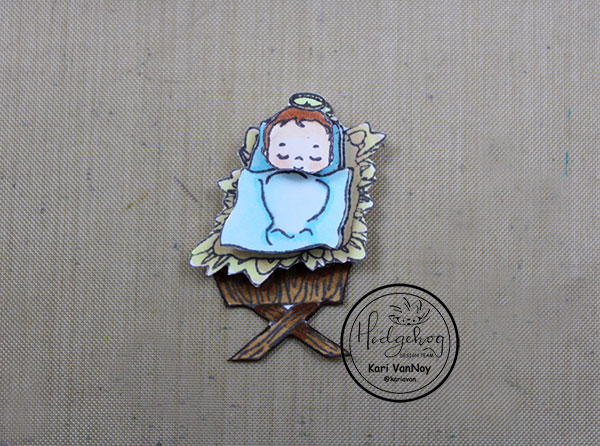
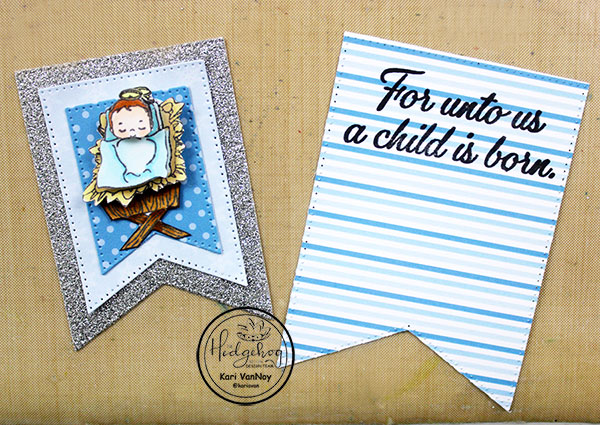
I die cut the paper with a layering banner die. Before I adhered them all together, I stamped the sentiment on the very back layer.

Tag # 2

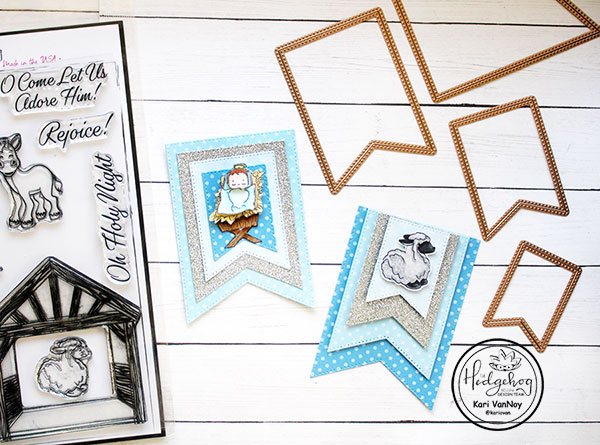
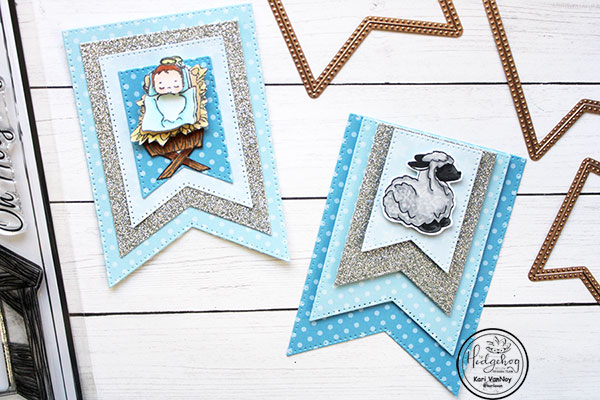
For the second tag, instead of layering the image, I layered the banner dies with foam squares. Then I lined them up at the top (instead of the center) and added the sweet lamb image with foam tape. So much beautiful dimension on these tags.
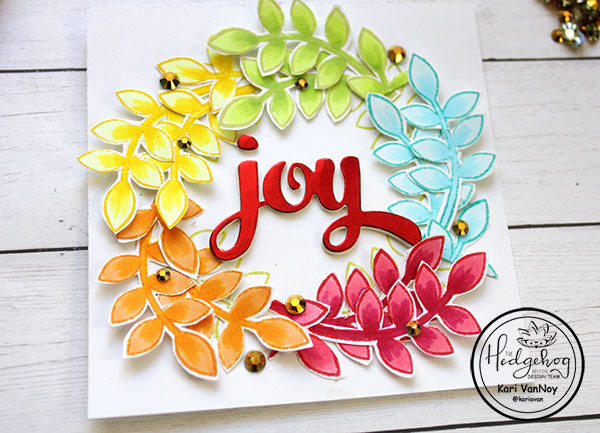
Tag # 3

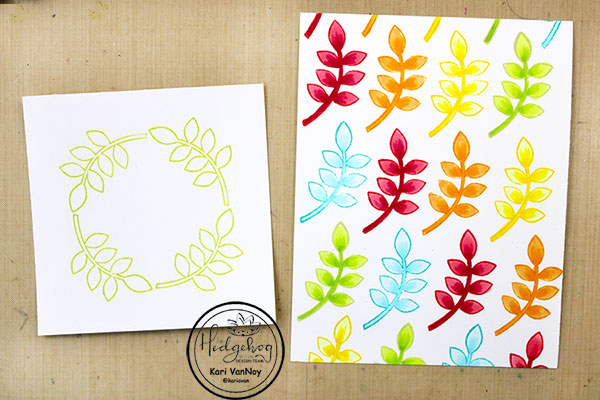
For my third tag, I chose my favorite leaf image and stamped it in multiple colors. I colored them up with coordinating Copic Markers and fussy cut them all out. I also stamped four leaves in a circle to act as a template for the wreath shape.

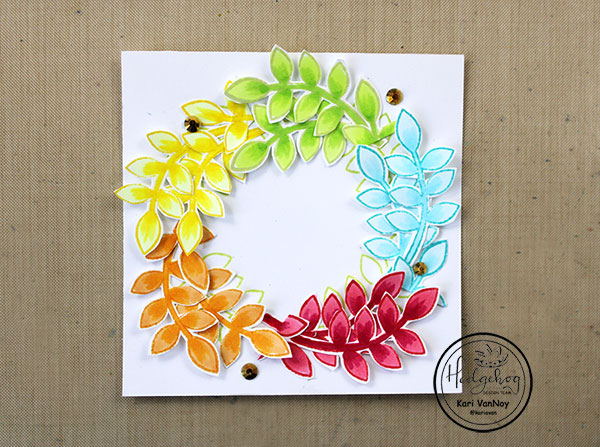
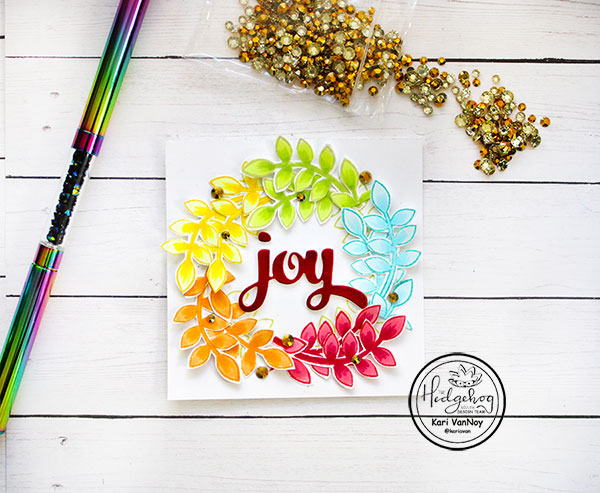
I layered them up with foam squares and added some gold gems. Then I die cut the word “Joy” four times and layered those up. The top layer is cut from red foil paper for some shine.

I hope you enjoyed these layering tag projects today! I’ll be back soon with more ideas!

Comments { 0 }
SUNSHINE-sleigh-with-all-supplies-1

Wood U Bend Ornament

Hello! Today I’m up at the Hedgehog Hollow blog sharing this holiday ornament project using Wood U Bend. This is a unique product that is made out of wood, and when you heat it, you can bend it to the shape you want!

Visit the blog for all the details! I also have a video showing all the tips and surprises I found out about this product, watch it below or in HD on YouTube:

I loved making this project, so I hope you’ll take a look and tell me what YOU think about the Wood U Bend. (this was a sample I got in the November Hedgehog Hollow Box).

I’m often asked what supplies I use to make my cards and projects, so I’ve put together a list using affiliate links when possible. If you make a purchase with these links I may receive a small commission. These help me to keep up with blog costs and continue bringing you fun projects. Thank you so much for your support!


Comments { 0 }
SUNSHINE-all-three-cards-only

Not Just for Hanukkah Cards

Hello! Today I am thinking outside the box using the Hanukkah stamp set from the Hedgehog Hollow November Kit. I know very many people that celebrate Hanukkah, so I needed to come up with some other ideas for cards with this set.

First, I created a Hanukkah card using the Menorah (candles) from the set. I stamped it and colored it up simply with a gold gel pen and Copic markers. Then I added a shadow below it with Cool Greys to ground the image.

I matted it on some blue and white paper from the Kit. Lastly, I added some glittery Stickles to the candles to finish it off.

Then, I saw that dove from the set and decided to pair it with the branch to create a card. I took some alpha dies from my stash and cut out the word “PEACE.” I added some blue plaid paper behind the die. Then I added the dove and branch; I colored these up with Copics.

Since I had the white letters left over from this card, I decided to make ONE MORE card! I chose another paper from the paper pack, this time a snowflake paper. Then I added those letters and decorated them up with some gems. I drew a white gel pen frame around the perimeter of the card to finish it up.

I hope you enjoyed these projects today and use your stamps to think outside of the box! I’d love to see what you come up with.

Comments { 0 }
SUNSHINE-o-come-let-us-adore-him-in-hand

Nativity Card

Hello! Today I have a sweet Nativity Scene to share using products from the Hedgehog Hollow November Kit. I love these images (they remind me of Precious Moments) and couldn’t wait to make a card with them!

I’m using masking techniques and Copic coloring in today’s card and I have a video below on how this card came together:

I love a nice, inked background and I only used TWO ink colors for this one…easy! The blending brushes make this such an easy background, too.

I colored up all the images with Copic Markers and attached them all with liquid adhesive except the Baby Jesus. I used foam tape to give him the appearance of being closer to us.

I’m often asked what supplies I use to make my cards and projects, so I’ve put together a list using affiliate links when possible. If you make a purchase with these links I may receive a small commission. These help me to keep up with blog costs and continue bringing you fun projects. Thank you so much for your support!

Isn’t it sweet? Thanks for stopping by today.

Comments { 0 }
SUNSHINE-both-believe-cards

Believe Slimline Card (plus a bonus card)

Hello! Today I’m sharing a few sparkly, glittery slimline cards using the new “BELIEVE” stencil from the Hedgehog Hollow November Kit. This kit is beautiful, and if you haven’t seen it yet, I have a preview of what comes in the kit at the beginning of my video below!

These cards were so fun to create, and I am just in love with this stencil.

I’m often asked what supplies I use to make my cards and projects, so I’ve put together a list using affiliate links when possible. If you make a purchase with these links I may receive a small commission. These help me to keep up with blog costs and continue bringing you fun projects. Thank you so much for your support!

Comments { 0 }