Tag Archives | hedgehog hollow July 2020 Kit
SUNSHINE-love-you-more-than-avocados-crooked

Five Avocado Cards?! Holy Guacamole…

Hello! Today I’m back with tips on how to use one SMALL stamp from your set and turn them into five cards! I’m using the cutest little stamp from the July Hedgehog Hollow Kit today: I just couldn’t stop with this July Kit until I made all my little avocado cards!

I have a video with all the ways and some tips for making them quickly, watch it below or on YouTube:

I hope you will take a moment to watch the video to see my five ideas! For now, I will leave you with pictures of all these cutie cards and a quick description:
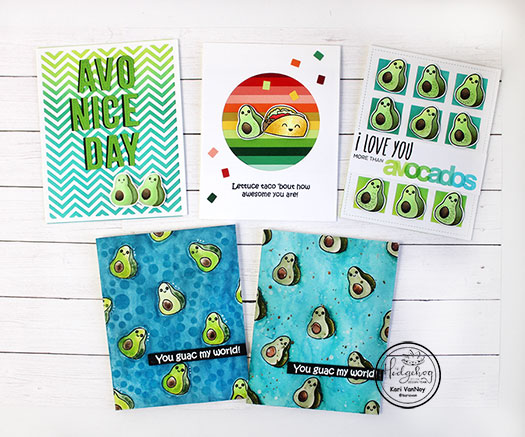
  1. Stamp a whole bunch of the small image to create a “patterned paper” then watercolor it! For the first one, I used Zig Clean Color Real brush markers, then splattered on some paint to get a fun texture (and to mask the fact that my background didn’t come out as smooth as I wanted! Lol.) These are tricks of the trade, my friends!
  2. Add a Stencil to the background…for the second card (which is the one on the left) I used Altenew watercolors and got some BEAUTIFUL colors. Then I took the circle stencil from a previous HH Kit and added the circles to the background.
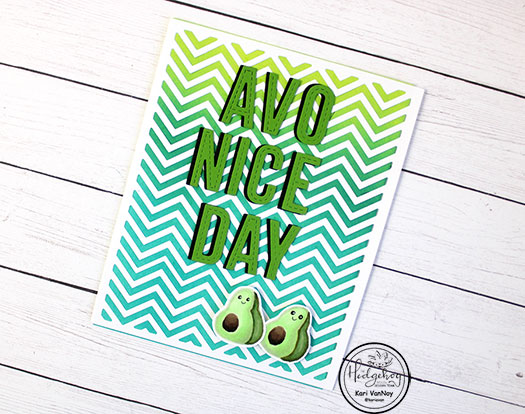
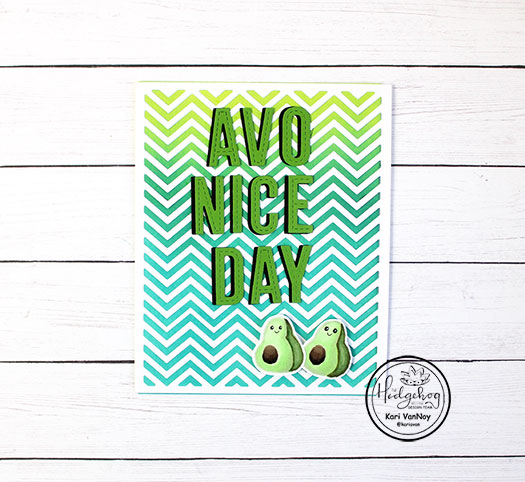
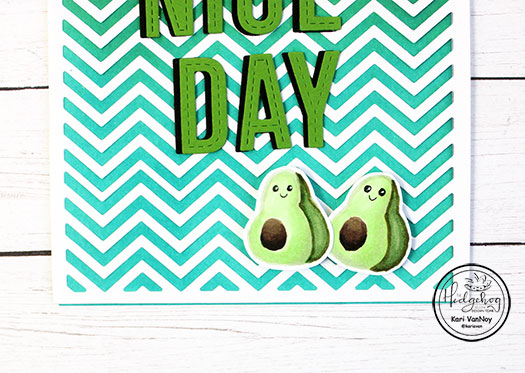
3. Try no-line copic coloring and add a PUNNY sentiment with die cuts. Here I stamped the avocados in a light ink and colored with Copics. I show you how I colored up with Copics in the video. I ink blended that background with Distress Oxides and added a chevron cover die. Then I die cut the letters to make a fun sentiment.
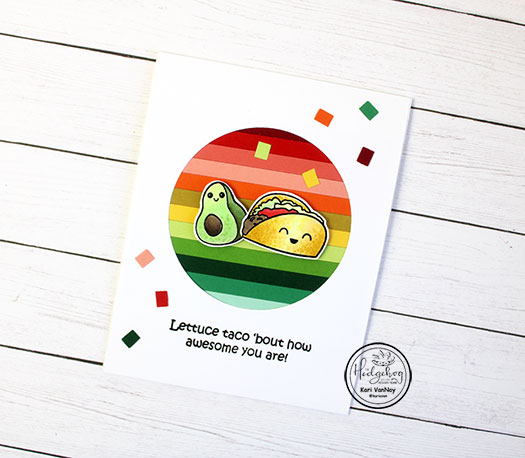
4. Use die cut paper strips to make a fun background for your images. Here I paired that avocado with the taco from the same set. If you have leftover strips of paper, use them to make confetti for the front of your card. It’s a fiesta! So fun.
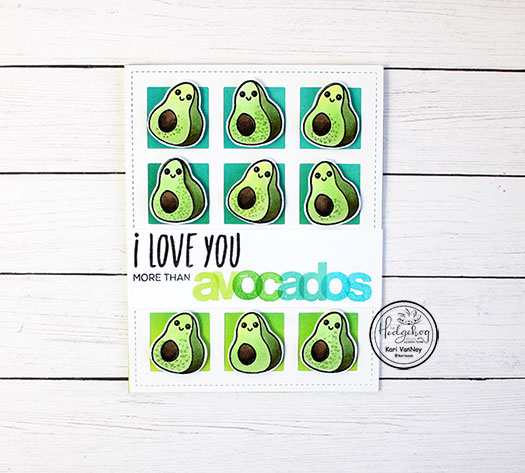
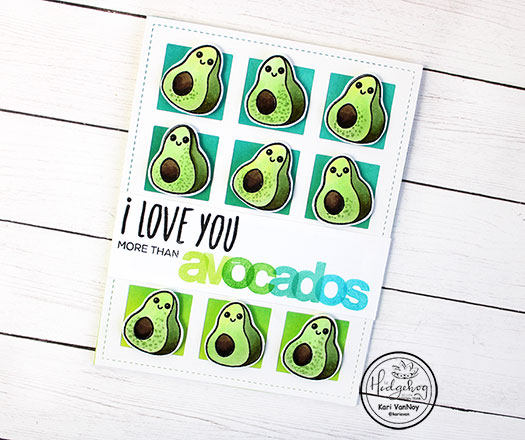
5. Use a grid to highlight lots of your small stamps. Here’s a “tray” of avocados with a sentiment that I stamped from a new FAVORITE alpha stamp set! I used different transparent ink colors to get a fun vibe. By using transparent inks, you can overlap your letters and still read it. Such a happy look! Try this at home!

I’m often asked what supplies I use to make my cards and projects, so I’ve put together a list using affiliate links when possible. If you make a purchase with these links I may receive a small commission. These help me to keep up with blog costs and continue bringing you fun projects. Thank you so much for your support!

Yes, it’s true!

Comments { 0 }
SUNSHINE-all-three-cards-different-layers

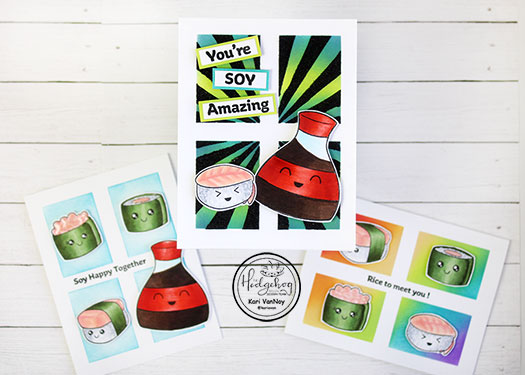
Sushi Cards!

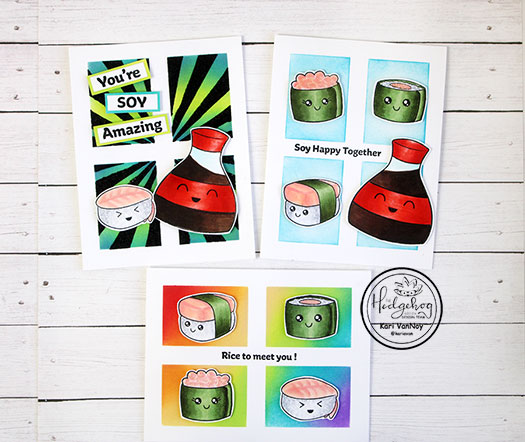
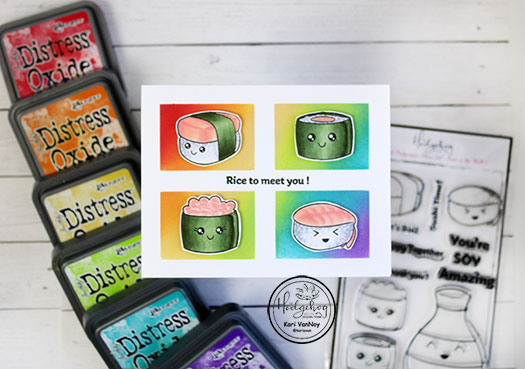
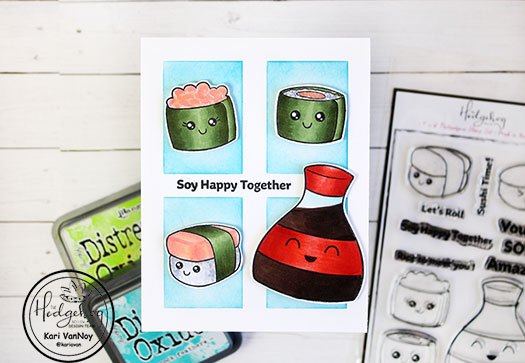
Hello! Today I am here to share some fun sushi cards with a few favorite stenciling techniques. Have you ever struggled to create a scene card? Well, here are some easy techniques to make your cards shine!

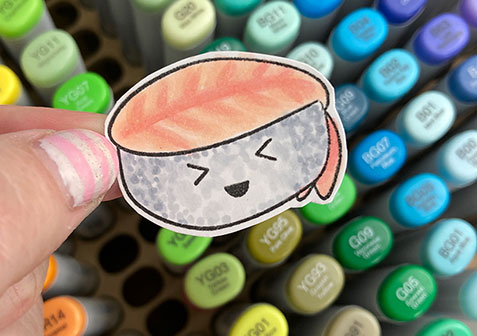
I had so much fun coloring up these images. I added some extra details where I thought it was needed: like the lines on the shrimp, and the lines on the salmon wrap (which turned out a little looking like a pink eraser! Lol). But these details are fun and give so much extra interest.

For the rice, I used Cool Greys to dot the color on…to give it a feeling of rice granules.

Watch the video below or in HD on YouTube:

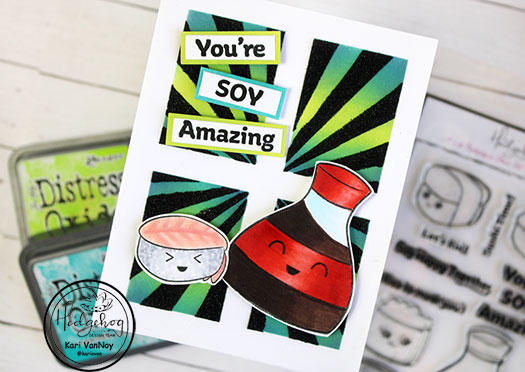
I’m using a simple window stencil on all three cards, then on the black glitter rays I used a DOUBLE stencil technique. (It’s sooooo easy, and yet it’s still one of my favorites!)

You may have noticed that for the way I positioned my soy sauce, I colored the liquid in the wrong direction! But most people won’t notice, and so I say JUST HAVE FUN with your coloring and don’t worry about the way it lands or the light source. You have plenty of time to worry about that later on…

I love the rainbow inking in a diagonal direction on this one. I think any way you ink the background will look adorable with these sushi characters. I mean, they are just so cute!

I’m often asked what supplies I use to make my cards and projects, so I’ve put together a list using affiliate links when possible. If you make a purchase with these links I may receive a small commission. These help me to keep up with blog costs and continue bringing you fun projects. Thank you so much for your support!

I added glossy accents to the caviar and the California roll (or is it a Vegas Roll? Who knows….) and it catches the light and adds another element of fun.

I hope you enjoyed these sushi cards today! I don’t normally enjoy sushi, but I do LOVE them on a card! Lol. See you soon!

Comments { 0 }
SUNSHINE-all-the-colored-faces-1

Adding Face Emojis Three Ways

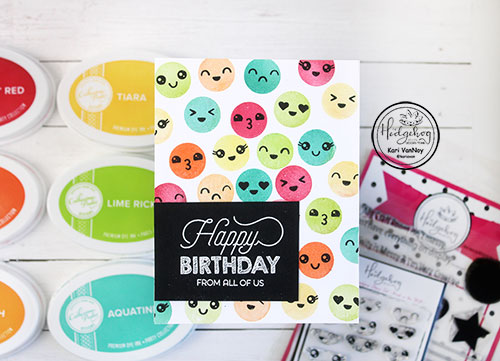
Hello! Today I’m up at The Hedgehog Hollow to share three different ways to add emoji faces.

I’m sharing ways to use stamps, stencils and dies to feature the emoji faces! Head on over and check it out HERE.

I’m often asked what supplies I use to make my cards and projects, so I’ve put together a list using affiliate links when possible. If you make a purchase with these links I may receive a small commission. These help me to keep up with blog costs and continue bringing you fun projects. Thank you so much for your support!

I hope you enjoy!

Comments { 0 }
pb-and-j-close-up-crooked-1

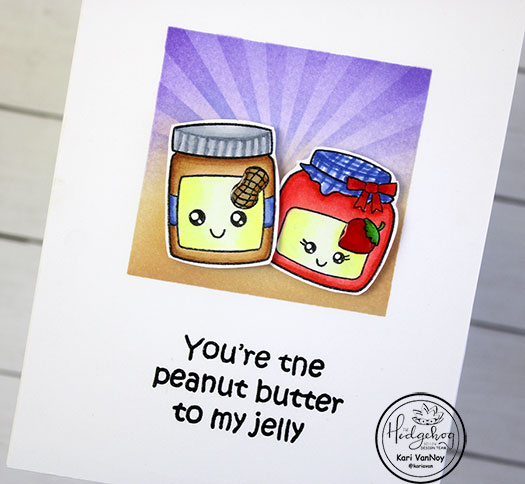
Peanut Butter & Jelly

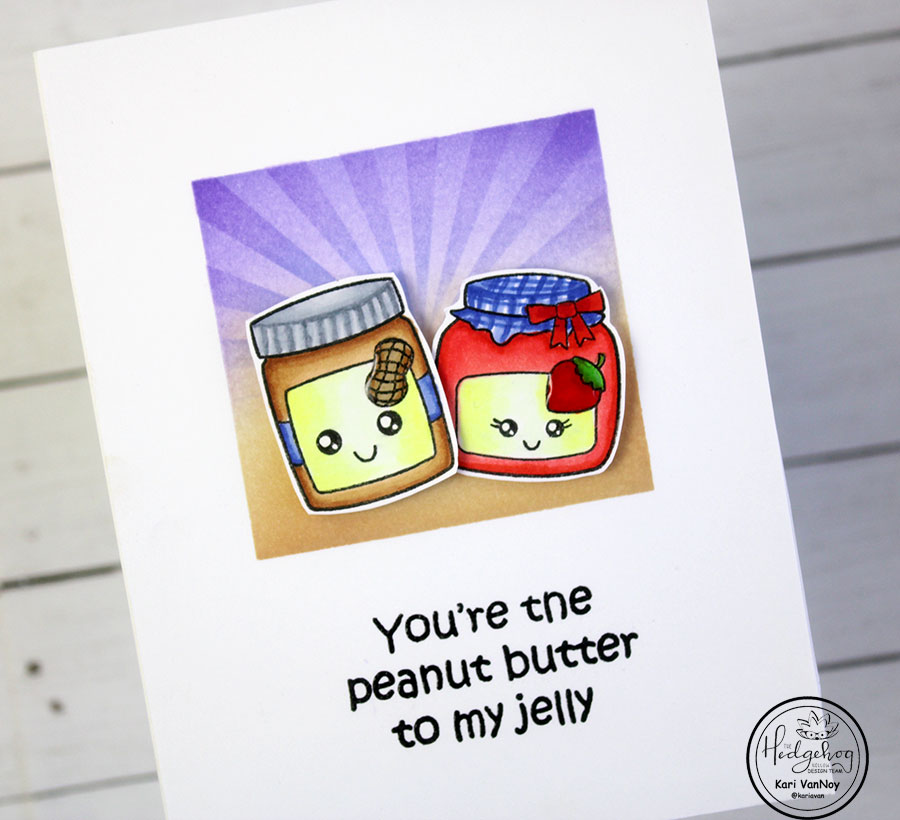
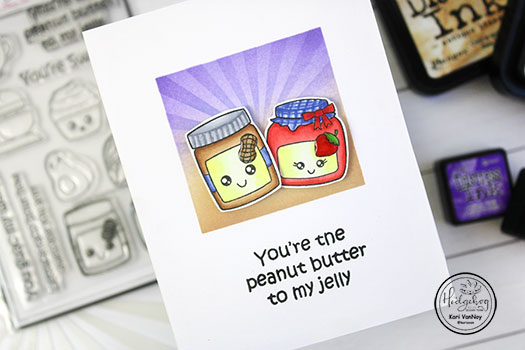
Hello! Today I have the sweetest little peanut butter and jelly jars for you, with some added detail that you won’t want to miss!

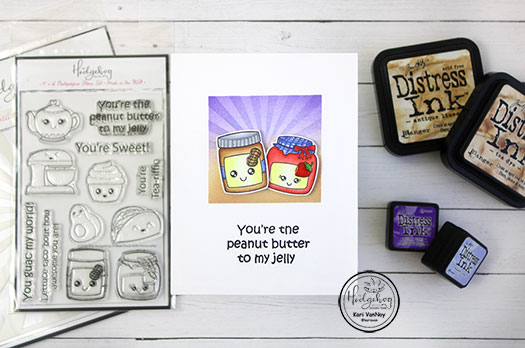
I’m working with the Hedgehog Hollow July 2020 Kit today, and the cutest food stamps and sentiments are included in this kit.

Just take a look at those peanut butter & jam jars!! So cute. But definitely needing some detail on the lids. So today I show you how to do just that.

Watch my video below or in HD on YouTube for all the fun details:

I’m often asked what supplies I use to make my cards and projects, so I’ve put together a list using affiliate links when possible. If you make a purchase with these links I may receive a small commission. These help me to keep up with blog costs and continue bringing you fun projects. Thank you so much for your support!


I finally got up the courage to use my NEW favorite blending brushes! I had them on my desk for a couple weeks before I finally put them to use, they were just so pretty!

And if you want even more details, don’t forget to check out The Hedgehog Hollow Blog and leave a comment to show some love.

Thanks for stopping by today!

Comments { 0 }
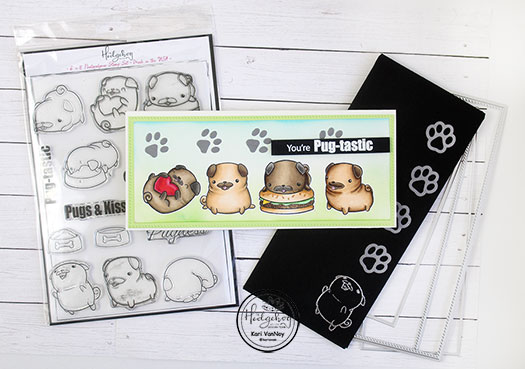
SUNSHINE-pug-slimline-with-supplies-closer

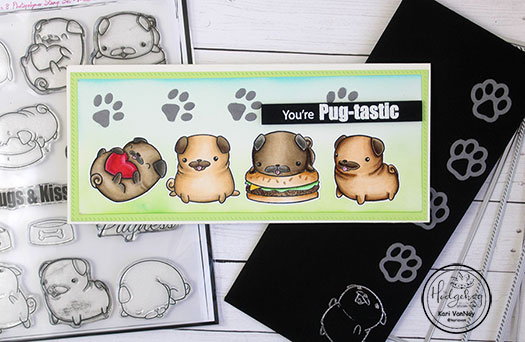
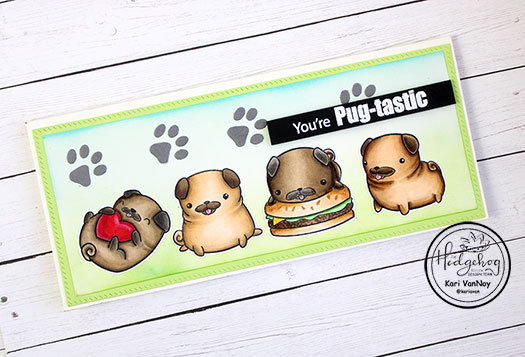
Pug Slimline Card

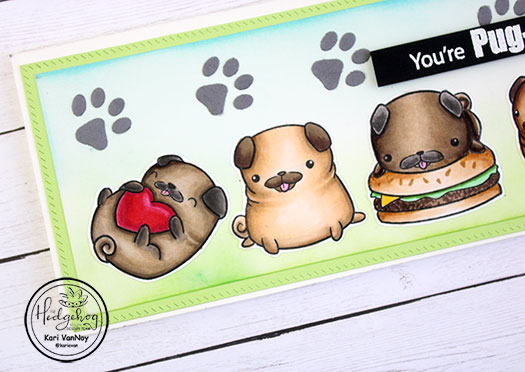
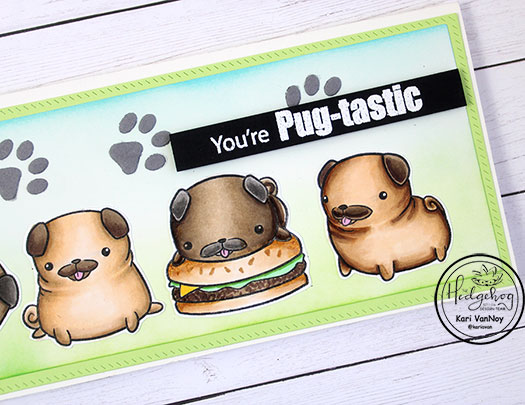
Hello! Today I’m excited to bring you a preview of the Hedgehog Hollow July 2020 Kit…and I have a Copic Colored Pug Slimline card to share.

Take a quick look at the video below for a Copic color choices, coloring, and putting the card together! I also show you how to make a coordinating slimline envelope. Watch below or in HD on YouTube:

This was a super fun project to make, I hope you enjoy! Check out more details at the Hedgehog Hollow, and please do come back to see more projects with this kit throughout the month!

I’m often asked what supplies I use to make my cards and projects, so I’ve put together a list using affiliate links when possible. If you make a purchase with these links I may receive a small commission. These help me to keep up with blog costs and continue bringing you fun projects. Thank you so much for your support!
Thanks for stopping by today!

Comments { 0 }