Hello! Today I have a light up ghost card for you with a video! Watch the video below or on YouTube:
Today I’m using specialty paper from Your Paper Insider, but you could also use vellum or any specialty papers you want to try with lights! Please watch the video to see how this came together.
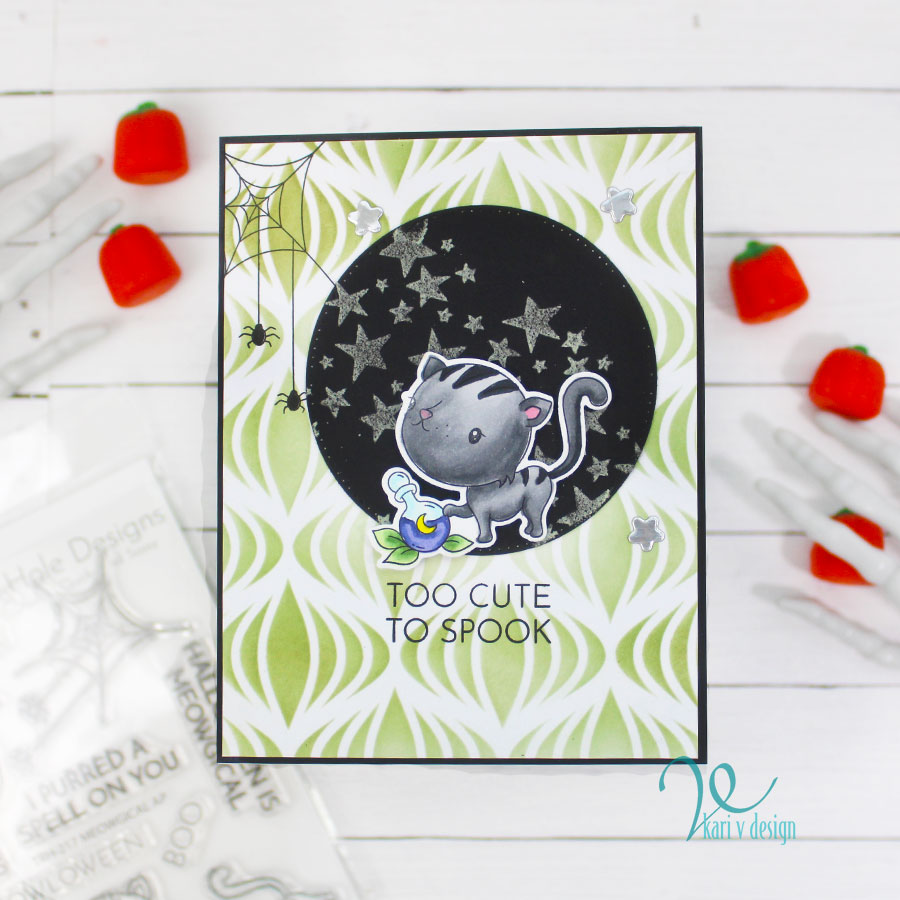
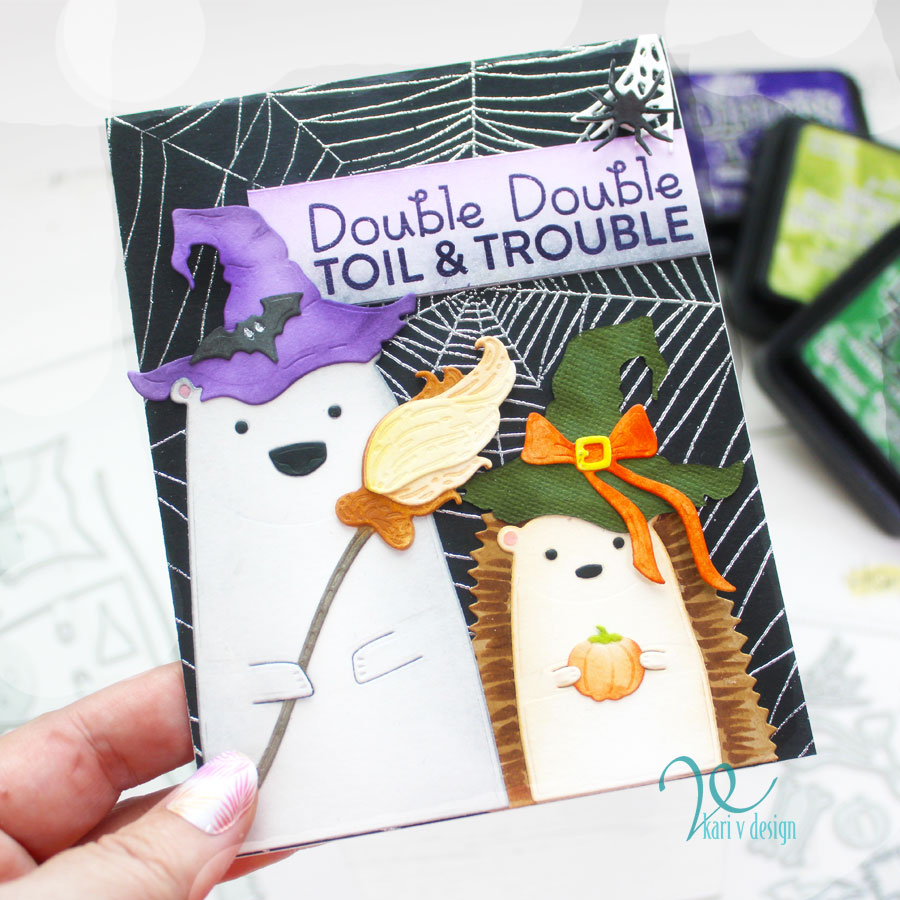
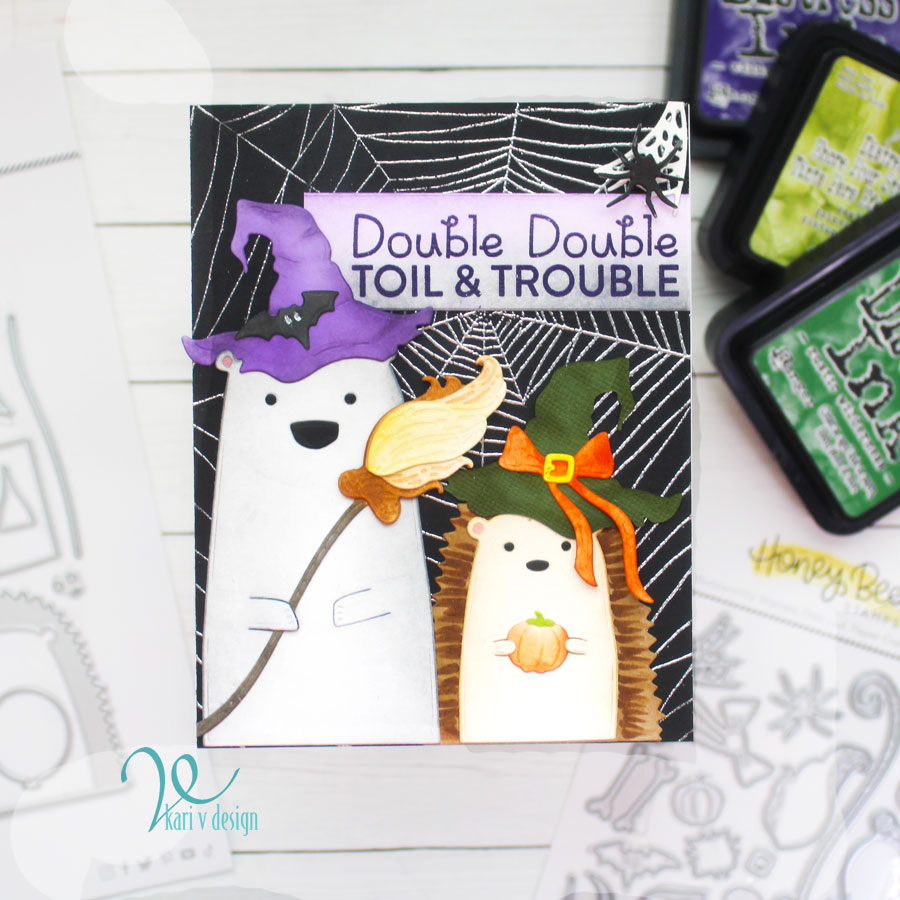
I die cut the ghost on a 5×7 panel of light pink cardstock, added the specialty paper to the back, lined up the One Light from Pear Blossom Press and marked the panel with a light pencil mark to see where I needed to put that “press” stamp. Once I had the placement, I stamped the “Press” with black ink and heat embossed it with clear embossing powder.
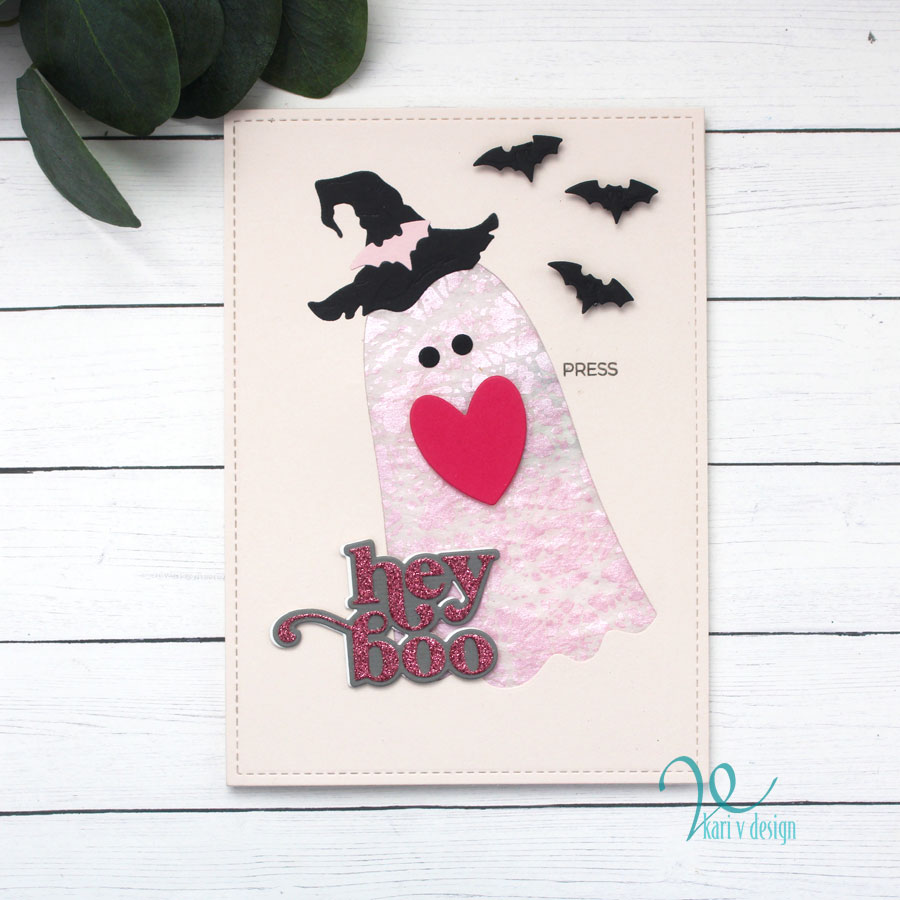
Next, I added some delightful details, like the witches hat, bats, heart and hey boo sentiment cut out of glitter paper.
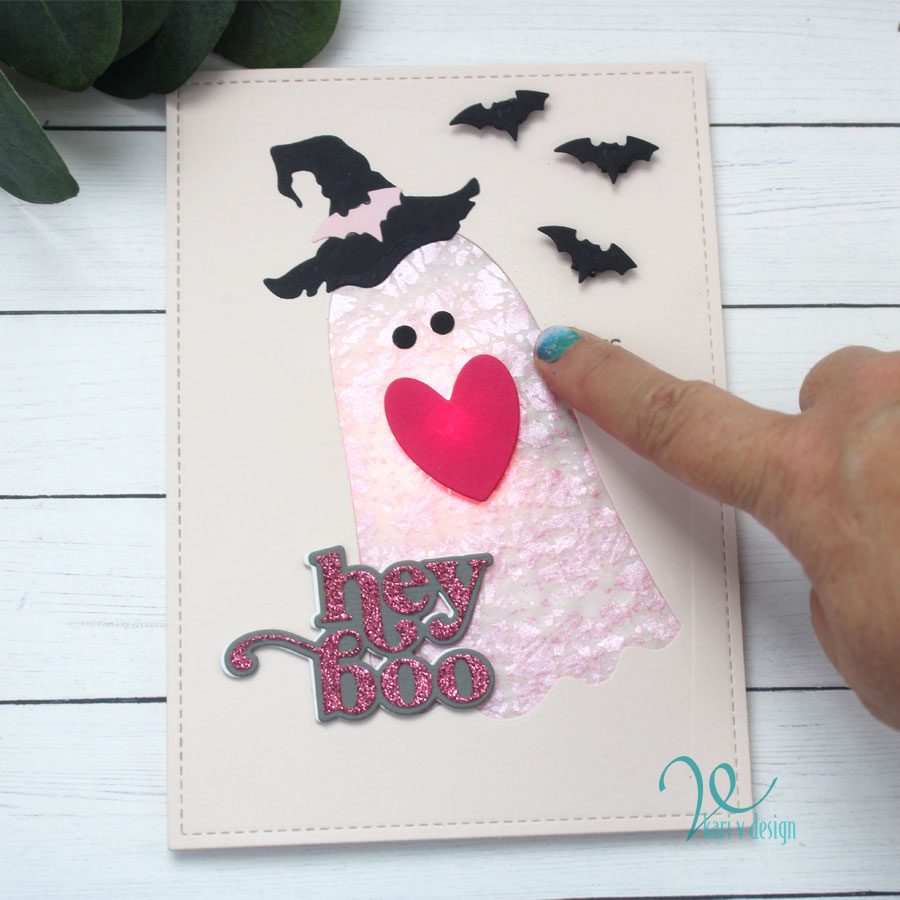
I love how the heart lights up and the heart diffuses the light a little more. I keep singing “Turn on Your Heart Light” (Neil Diamond fans, anyone?) Ha ha. That was a favorite of my Dad’s, but now it’s stuck in my head.
I just love the extra texture from the specialty paper. If you are interested in a subscription box where you get surprise papers from all around the world, check out Your Paper Insider (I’ve linked them below). I am not an affiliate for them, but I did love the box I got and wanted to share!
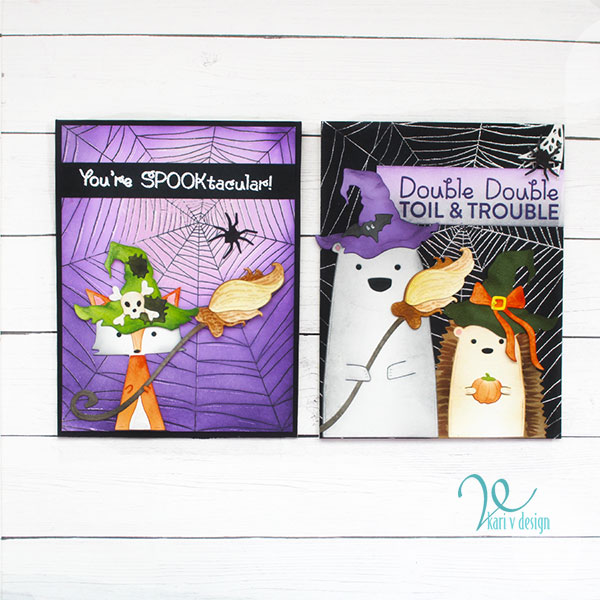
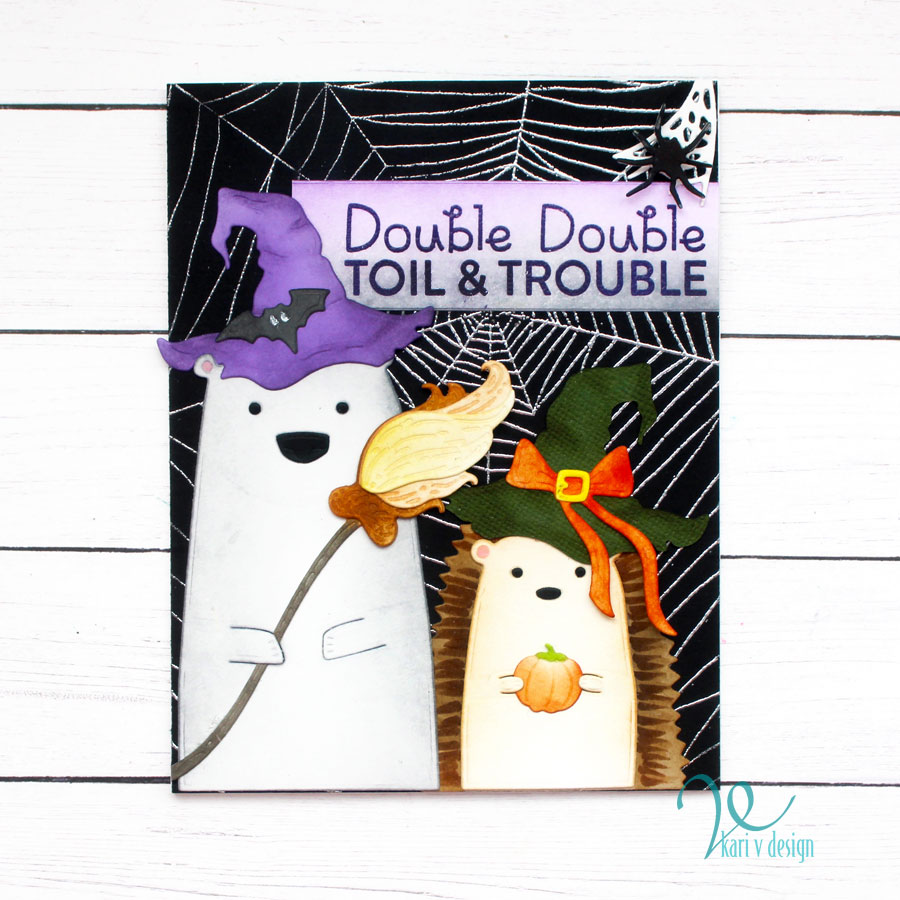
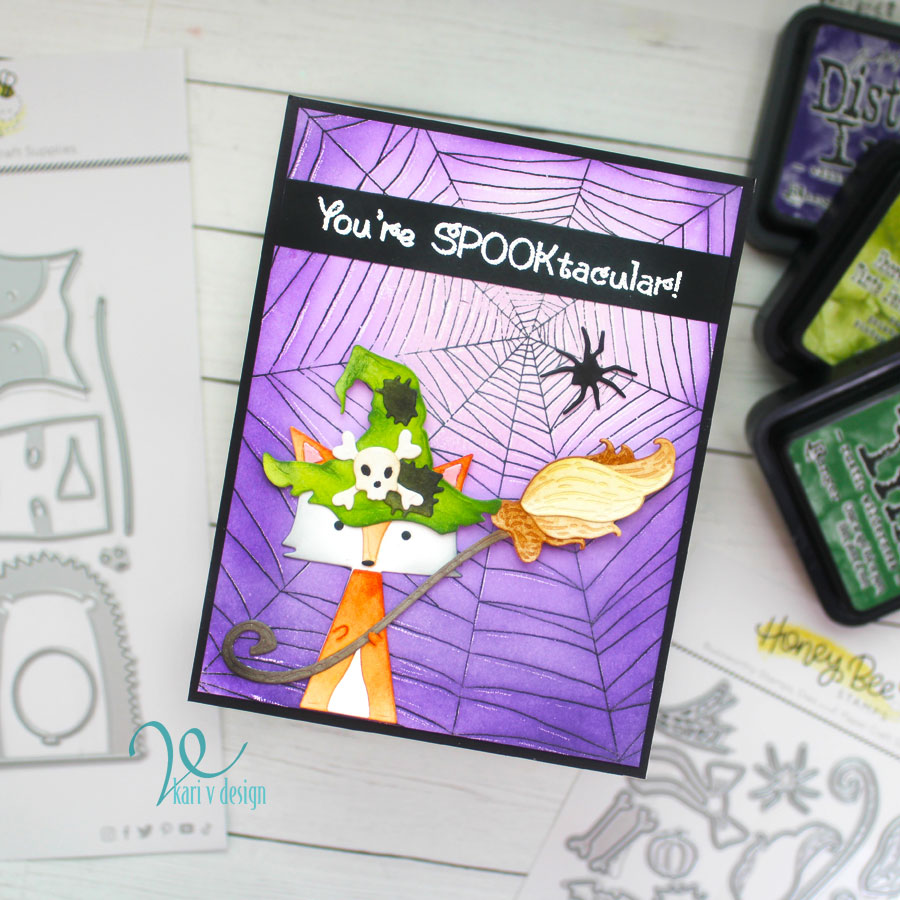
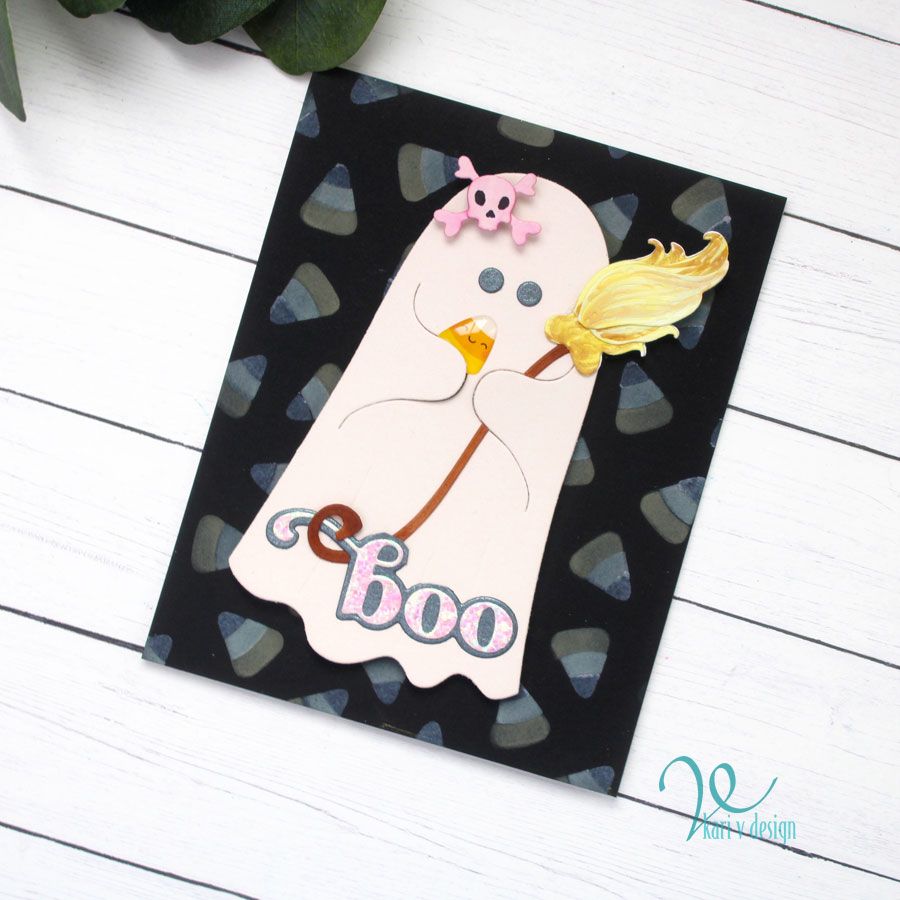
For my bonus card of course I wanted to use the pink ghost I cut out from the first card! here I put her together with a broom and pink skull & bones, and a little candy corn shape sprinkle from Doodlebug!
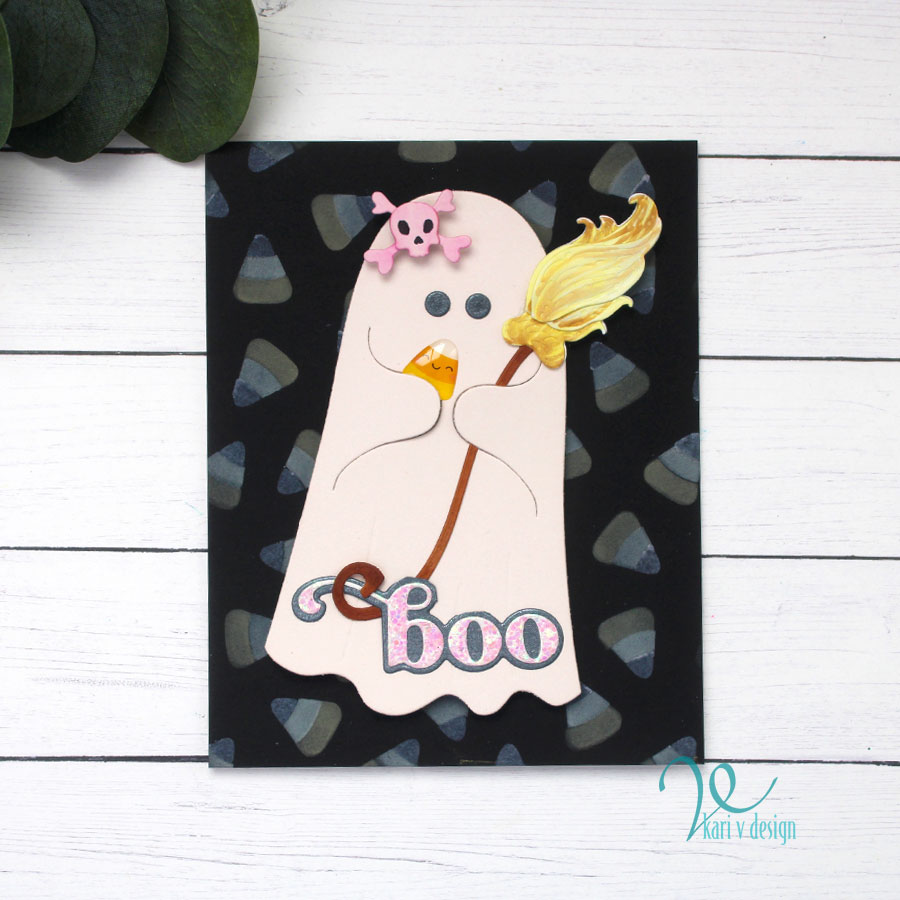
I used a candy corn background for this also, which I stenciled on to a black cardstock panel using oxide inks. Doesn’t it look a little spookier that way?
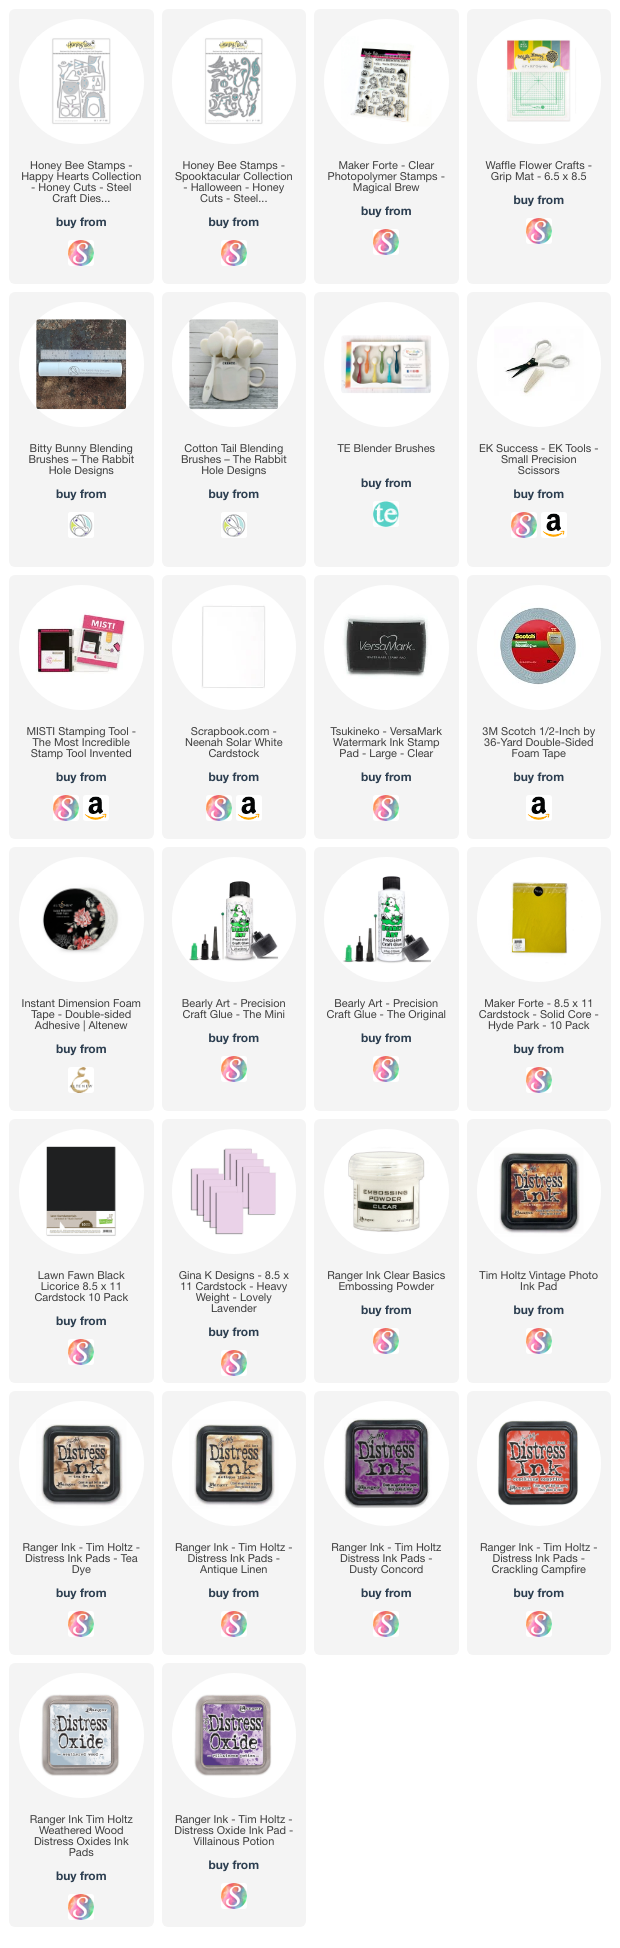
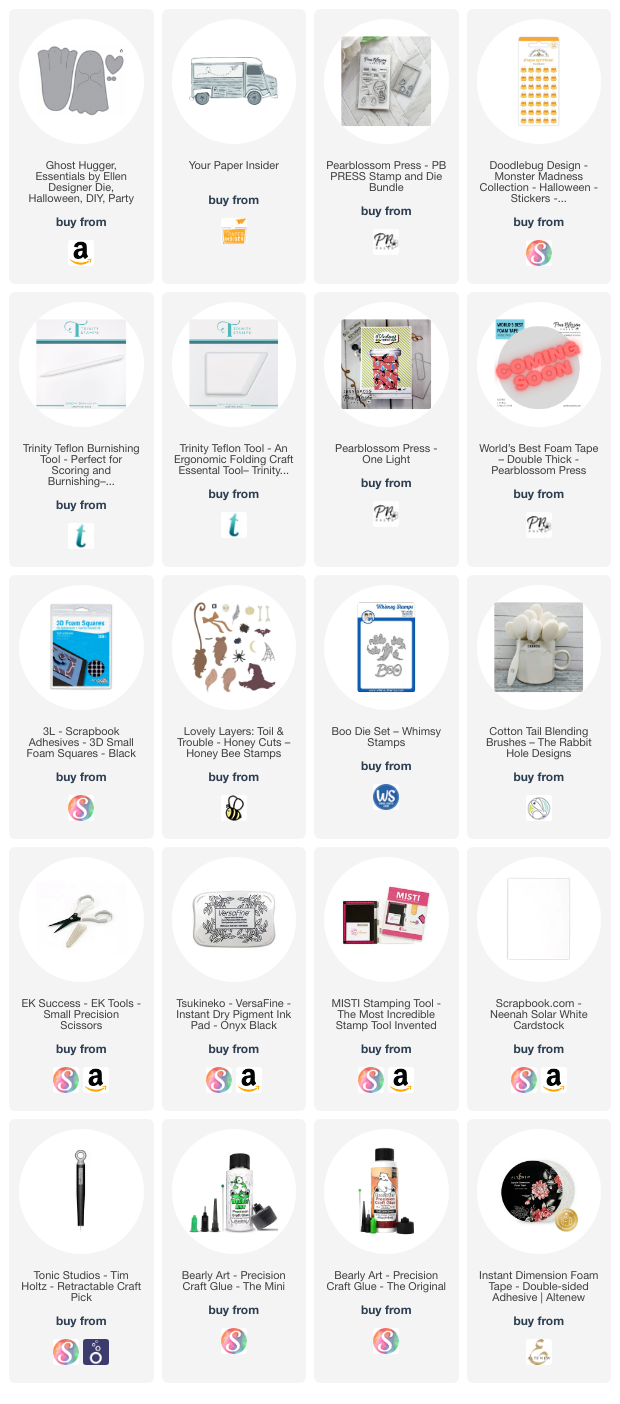
I’m often asked what supplies I use to make my cards and projects, so I’ve put together a list using affiliate links when possible. If you make a purchase with these links I may receive a small commission. These help me to keep up with blog costs and continue bringing you fun projects. Thank you so much for your support!
Hope you enjoyed! Thanks for stopping by!