Hello! I have a fun post today filled with masculine cards and a handmade box for gifting. This is perfect for this time of year or anytime you want a sweet handmade gift! I also have a more feminine gift card set…find it here.
This is a part of my Altenew Level 1 FINAL project! I chose to highlight three techniques that I learned throughout all the Level 1 courses:
1) Ink Blending
2) Adding Sparkle & Shine
3) Stencil Techniques
I use one, two or all three techniques in different ways on each card. Here’s a look at all six cards:
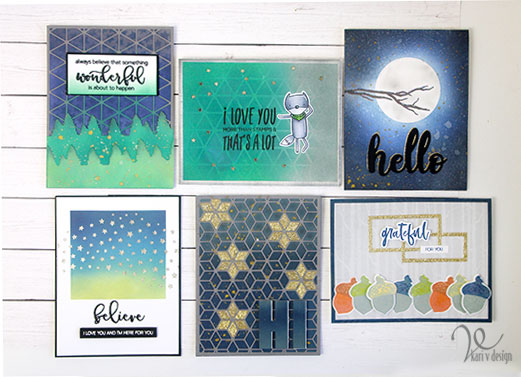
I began choosing a color theme of Dark Blue, Green, and Gray and I started by ink blending some backgrounds and gathering some papers to support my theme. I have a video of all the cards, watch it here or on YouTube:
For my first card, I used the Altenew Layered Snowflakes Cover Die A cut with gray cardstock. I chose a dark blue and gray ink blended background I created and inlaid some of the snowflake stars with gold glitter paper (for the shine factor)! One of the tips in the ink blending course was to use a die cut sentiment in the same ink blended on the background. So I added the “HI” cut from the alpha dies in the same ink blended colors. I popped it up with white fun foam to set it apart.
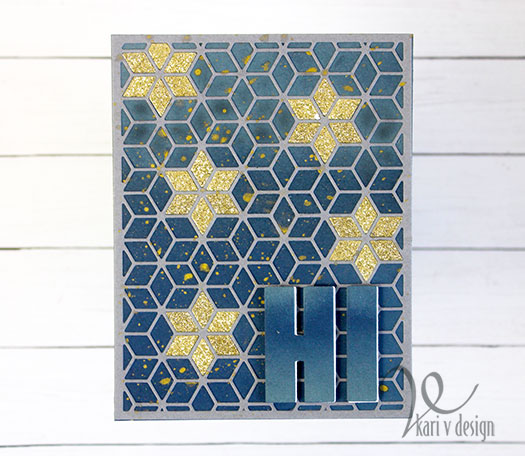
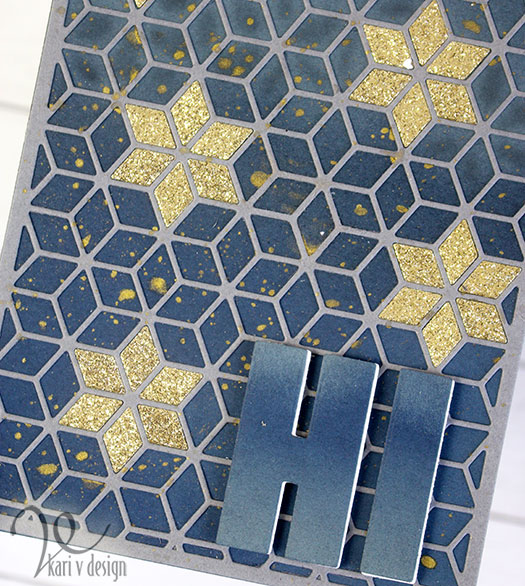
The gold watercolor ink splattered on the background creates another element of shine.
For my second card, I started by taping off a square onto my card that I could ink blend an evening dusk scene. Then I stamped the sentiment “believe” with black ink and clear heat embossed over it. (I did this so the black ink wouldn’t smear.) Then I used the new star stencil to add some Glacier Paste in the color Quicksilver.
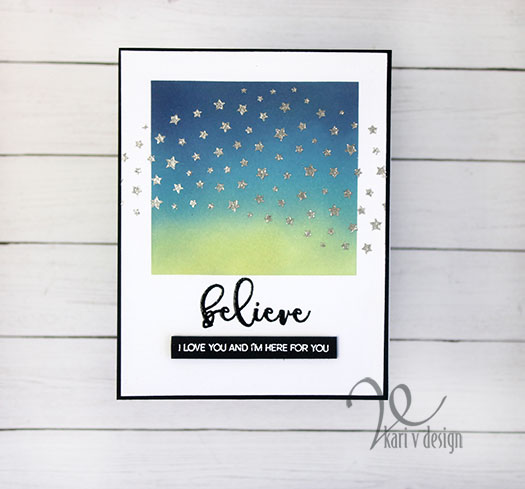
That Glacier Paste dries flat and shiny and really looks like foil! I added a sub-sentiment that I heat embossed in white on a black paper strip. I cut the panel down just a little to mat it all onto black paper and then onto the card base.
For the third card, I used a little trick taught by Carissa Wiley to create a frame using stacked die cut shapes. For this one, I cut glitter paper out of stacked rectangles to create a frame.
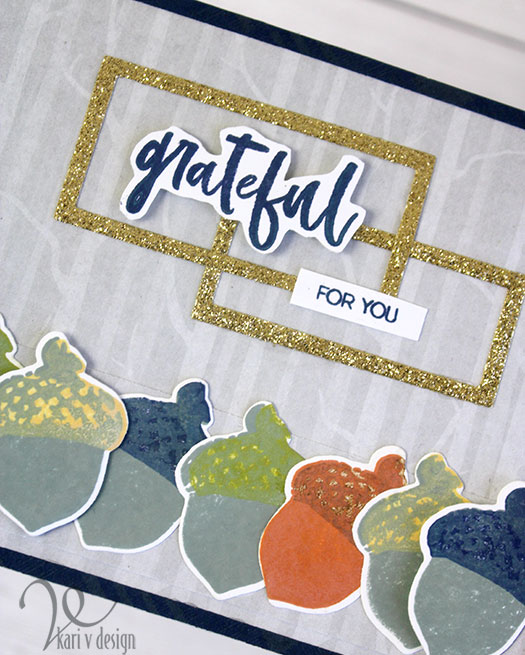
I stamped all the acorns using my color theme and stacked them onto some Altenew gray paper with birch trees. I fussy cut the grateful sentiment and popped it up with foam tape. I used a navy blue frame to finish it all off.
For the Fourth card, I used a die cut as a stencil…this is a great way to stretch your cover dies! This time I used the Snowflake Stars Cover die B as a stencil on this green inked background.
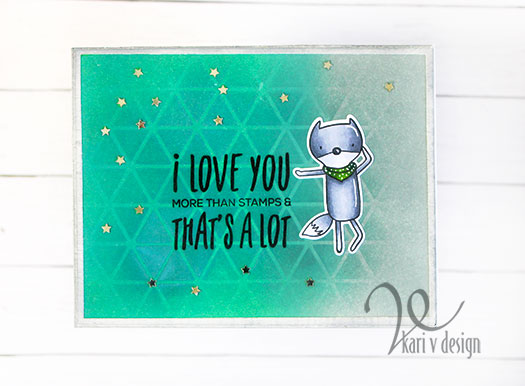
I added a sentiment, and a Copic colored Gray Fox. For the sparkle on this card, I sprinkled on some silver star sequins. This sentiment makes me smile!
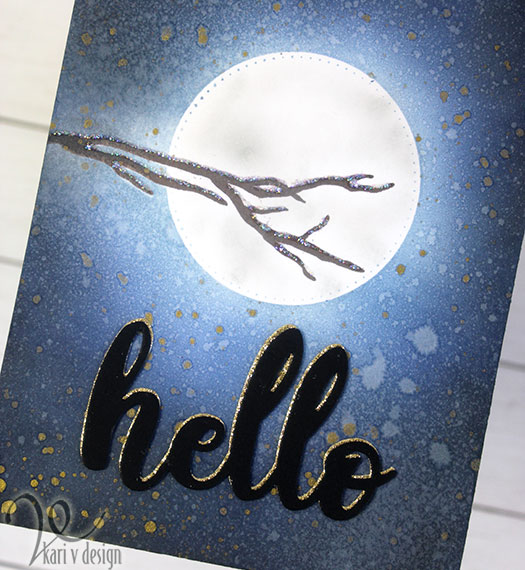
This next card is like a moonlight stroll! I masked off the branch (from the Winter Cardinal set) and a circle die before inking on some dark blue inks and black ink with makeup brushes. I continued to add light layers, building up the color each time.
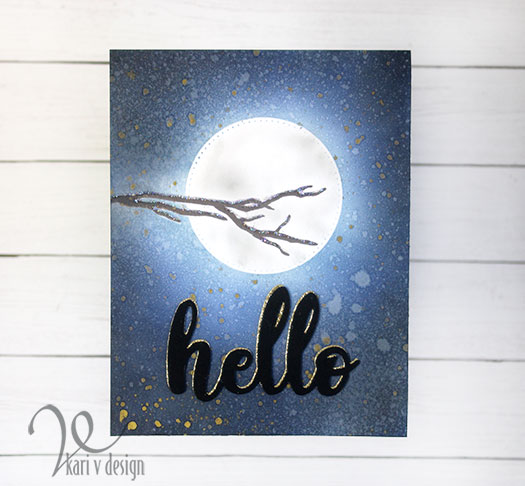
Before I removed the masks, I added some splashes of water and gold watercolor. Once the masks were removed, I inked on some Weathered Wood Distress Oxide ink onto that moon to create the shadows. For extra shine, I used Stardust Stickles to add some ice to the branch…it sparkles in the moonlight!
The die cut Hello is cut in black and layered onto a gold die cut hello.
And finally…the last card features some die cut & layered evergreen trees, inked in green and splattered with metallic paint (both gold watercolor paint and Altenew metallic spray).
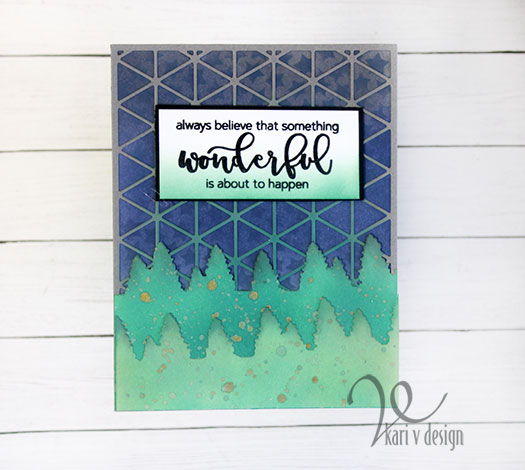
I used the cover plate die that I used earlier as a stencil! If you look closely, you might see the stars inked subtly on the background. I finished it off with a favorite sentiment of mine!
I have gathered together a list of all the supplies I used.
I’m often asked what supplies I use to make my cards and projects, so I’ve put together a list using affiliate links when possible. If you make a purchase with these links I may receive a small commission. These help me to keep up with blog costs and continue bringing you fun projects. Thank you so much for your support!
I hope you enjoyed this gift set of cards. I packaged it all up in this handmade card box:
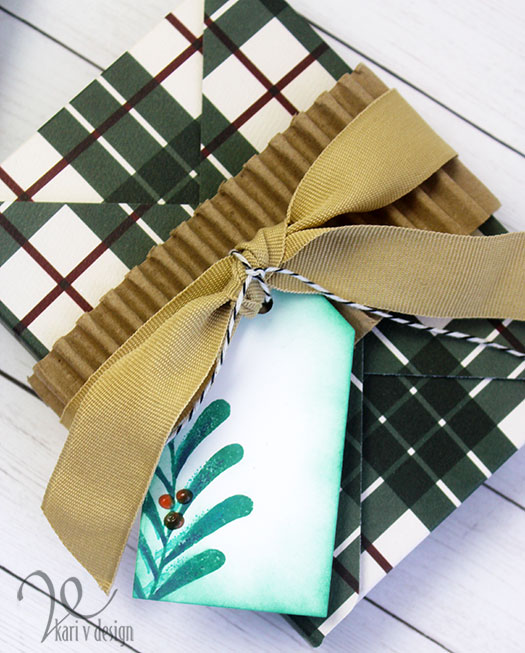
I created the tag using the Majestic Mistletoe stamp set. The corregated cardboard is recycled from packaging (that I’ve been saving because I loved it!) and the ribbon is also recycled from packaging…it was tied around a blanket. All I had to do was iron that ribbon and it looks good as new!
If you are interesting in making a gift card box, the instructions for the card box is in the beginning of my video for the feminine card set here.
Thanks so much for stopping by today!


