Tag Archives | Distress Oxide
full-card-2

Once Upon a Dream

Hello…I’m here with one more card for the Lawnfawnatics card challenge: inspired by a book, movie, or song!

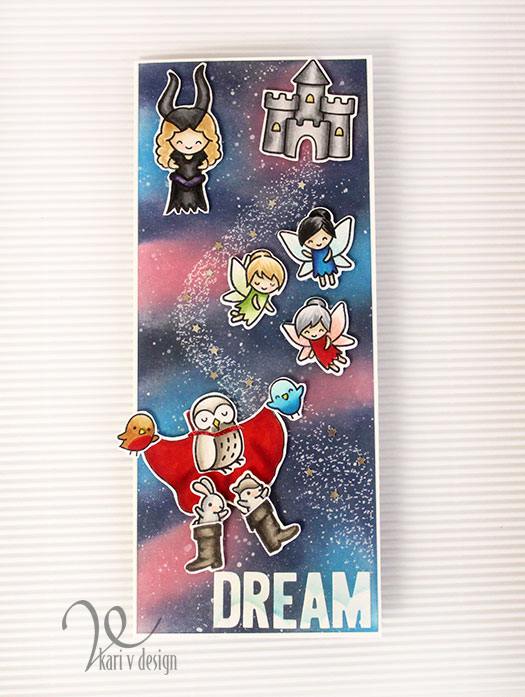
Today I was inspired by Sleeping Beauty and I have a TALL card to share. I had to make this a tall card just so I could fit all the elements onto my card. Lol.

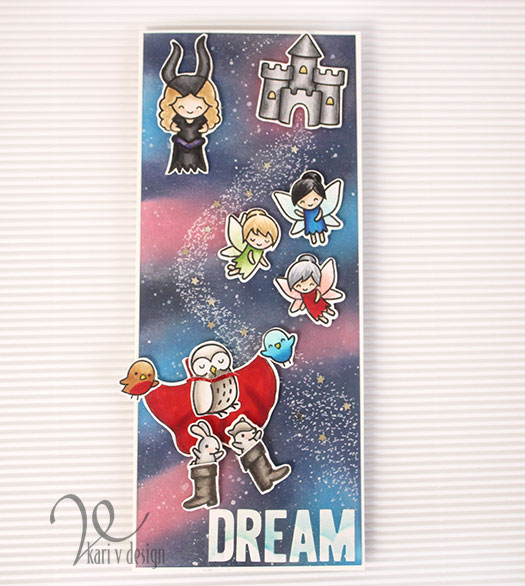
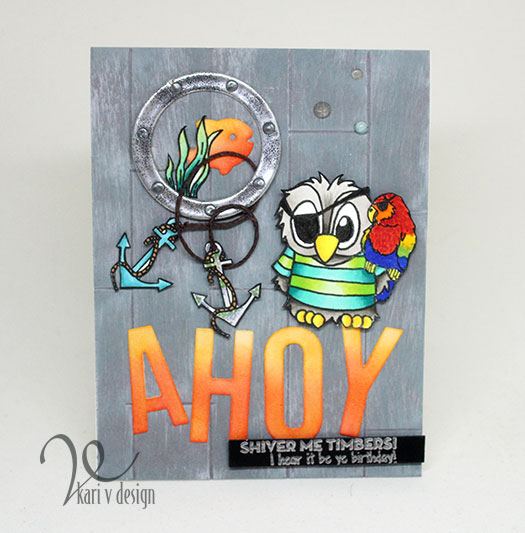
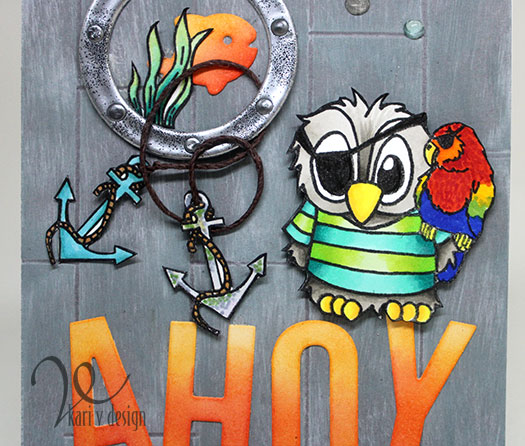
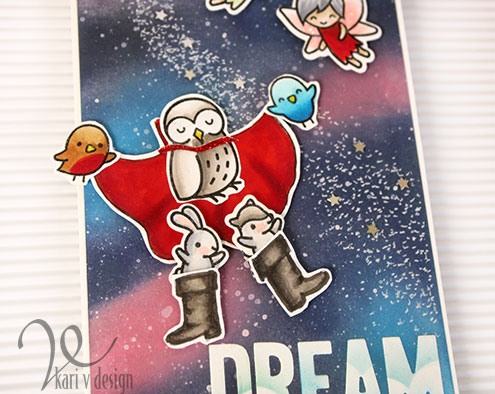
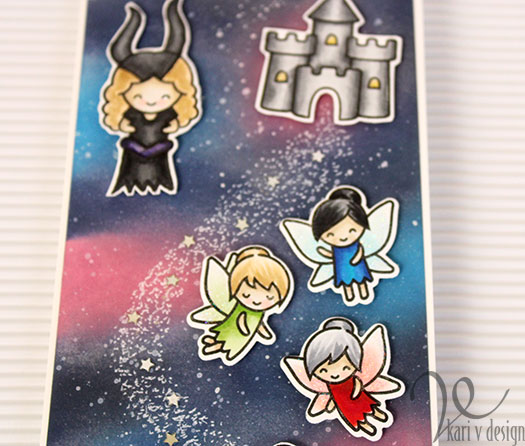
Do you recognize Flora, Fauna, and Merryweather? There’s also of course, Malificent at the top! And the owl with his animal friends represents the prince! If you have seen the animated version, you know that she is dreaming of her prince and her animal friends create this rendition of the perfect man!

I drew the boots and the cape myself, but the rest of the characters are from the following Lawn Fawn sets:

Screen Time (for Malificent)
Life Is Good (for the castle)
Fairy Friends (for Flora, Fauna, and Merryweather)
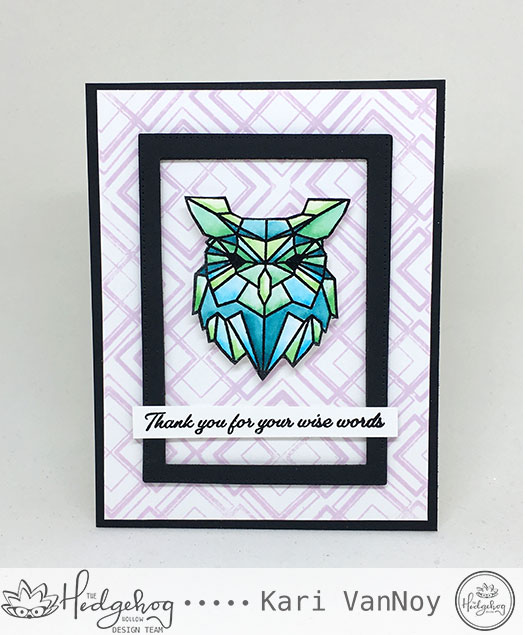
Critters in the Arctic (for the owl)
Open Me (for the birds)
Coaster Critters (for the small rabbit and squirrel)
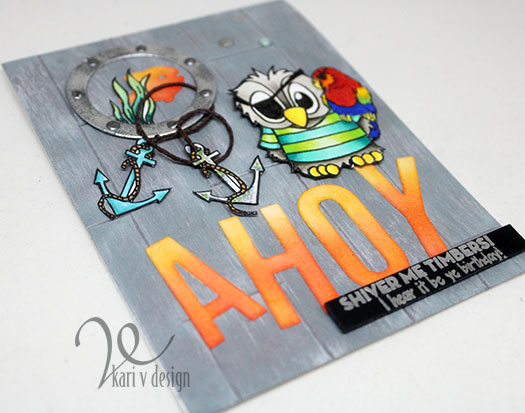
Cole’s ABCs (for the die cut letters that spell DREAM)

Not Bad….only 7 sets this time! Lol.

Extra points if you guess why I did the background with pink and blue!!
It’s a nod to the end of the animated Sleeping Beauty when the fairies couldn’t agree on what color dress she should have, so they kept changing it to BLUE then to PINK and back to BLUE… Lol.

I know you…I walked with you Once Upon A Dream
Flora, Fauna, & Merryweather

For the background I used Distress Oxides, then I splattered on some white paint. Then to make the “magical sparkles” I used a white gel pen to add a million little dots. Lol.

I hope you enjoyed my Inspired By….Sleeping Beauty card today. I just realized how ironic it is that there is no sign of Sleeping Beauty herself on this card. I guess she’s inside the castle!

Linking up to the Lawnfawnatics Challenge here.

Thanks for stopping by!

Comments { 1 }
ahoy-owl-sideways-view

How to make a Wood Plank Background

Hello friends! Today I have some fun cards to share AND a video on how to make a wood plank background.

Affiliate Links are used when possible. When you click on these links and make a purchase I receive a small commission, which helps me to continue to bring you projects and blog posts! Thanks for your support.

These are some cute images from Jessica Lynn Originals. I just couldn’t resist coloring up those mermaid owls. Here’s my first card:

I colored up that cutie mermaid as a blonde bombshell, complete with glittery pink bikini top.

The background is called Everyday Tintables Card Pack from Concord & 9th, these are so great because they have a white design pre-printed that allows for this emboss resist look. I inked up with Distress Inks in three different colors: Peacock Feathers, Cracked Pistachio, and Fossilized Amber.

Close up of Mermaid Owl

I used some Jewel Nuvo Drops to finish off this card. They are so beautiful because they are semi-transparent with just a little tint of color. These are the three colors I used: Limoncello, Key Lime, Sea Breeze.

My second card shows of that mermaid owl with some hot pink hair:

Look at her cute little octopus friend! I used Copics to color them up and added some white gel pen dots for accents. The ocean waves are a die from this set. I just love the added stitching to the edge.

My last card features Brentwood Owl, which is actually the logo of Jessica Lynn Originals. Did you know she’s celebrating 14 years in business in April?! So this little owl is extra meaningful:

Shiver me Timbers! I hear it be ye birthday!

Take a look at his sidekick parrot! I used some extra lines to serve as his feathers and I think he turned out pretty cute! Here’s a close up:

That wooden plank background is made using one of my favorite techniques! I have a video to show you just how to create that wooden plank look, as well as how I put this card together.

[Note: listen for the “guest pirate” in this video! LOL. I had a great time having a guest join in on this voiceover!]

Watch it below or on YouTube:

I love that Porthole die from Lawn Fawn. To finish it off, I used Nuvo drops in Liquid Mercury…I think it adds just the right amount of detail.

I hope you enjoyed these projects today. Check out more of Jessica’s designs at her blog here.

Ahoy!

I’m loving how the wooden plank background turned out!
Until next time…Thanks for stopping by!

Comments { 0 }
wolf-side-view

Watercolored Owl and Wolf

Hello everyone! I shared the new January Hedgehog Hollow kit with the geometric goodies, and today I have some cards using the OWL and WOLF to share.

owl-and-wolf-card

I watercolored these up using Zig Clean Color Real brush markers using my favorite trick! Embossing powder! Yep…it keeps the colors in the lines!

Watch my video below or on YouTube:


I’m loving these geometric animals. There’s also a butterfly, a lion, and a unicorn. Oh just wait to see what else I have planned for cards coming soon!

I created the backgrounds of each of these cards using the geometric designs from the same kit.

owl-with-geometric-bckgrnd

This square geometric design is probably my favorite. I just stamped it repeatedly to create that background using Distress Oxide Ink!

wolf-card

For the wolf card background, I used another geometric shape and white heat embossed it onto grey cardstock. I think it looks cool with this wolf!

wolf-side-view

To finish off these cards, I popped the images up using double layer of foam tape. These turned out so cool, don’t you think? And they look a bit masculine…which is not easy for me to create!

Love them and I hope this inspired you to try some geometric watercoloring yourself.

Thanks for stopping by!

Comments { 0 }
sunshine-brick-neighborhood-diorama

A Look back at the October Release with Our Daily Bread Designs

Hello! I hope you’ve had a chance to see the entire October Release from Our Daily Bread Designs, because it is fabulous! Today I’m sharing two cards using some of the products.

First I had to create a card front using the beautiful Bethlehem dies set.

sunshine-bethlehem-A2-card

I used the Pierced Ovals dies to create the frame and inked it up slightly with Cracked Pistachio Distress Oxide ink. I heat embossed the back layer of the building tops with copper embossing powder before adding them to the kraft background. The trees are colored with copics. Isn’t this a beautiful scene?

To finish it all off, I added the Merry Christmas Caps die at the top.

Here’s a look at the inside of the card, where I stamped a sentiment from the Christmas Card Scriptures Stamp set:

sunshine-bethlehem-A2-inside

This sentiment is such a beautiful way to say Merry Christmas!

My next project features the Diorama with Layers set. This is another new favorite of mine and this time I’ve paired the Brick Gate Border with the Neighborhood Border die.

sunshine-brick-neighborhood-diorama

Look at that sweet little neighborhood! I’ve added some chunky glitter to the rooftops to add a snowy feeling. The paper is from this set. The Pinecones Dies and Pine Branches Dies are must-haves, in my opinion!

The Brick Gate Border offers a way to ink up those bricks through the die when you leave it on the die cut piece! (That’s how I got all those individual grey bricks).

I hope you enjoyed these projects today and got inspired.

For more inspiration using the October Release and to see the other designers projects, be sure to visit the ODBD Blog here.

Comments { 0 }
white-background-fall-2

Fall Card with the October Hedgehog Hollow Box

Hello! Today I’m a guest at the Hedgehog Hollow sharing how I made this fall card using the Ink Road stamps “Octobers.” These were created exclusively for the Hedgehog Hollow and they are beautiful!

white-background-fall-2

Head on over to the blog post here to read about how it was created, including the faux wood background panel!

Thanks for stopping by!

Kari

Comments { 0 }