Tag Archives | Distress Oxide
butterfly-card-2

It’s All About the Details

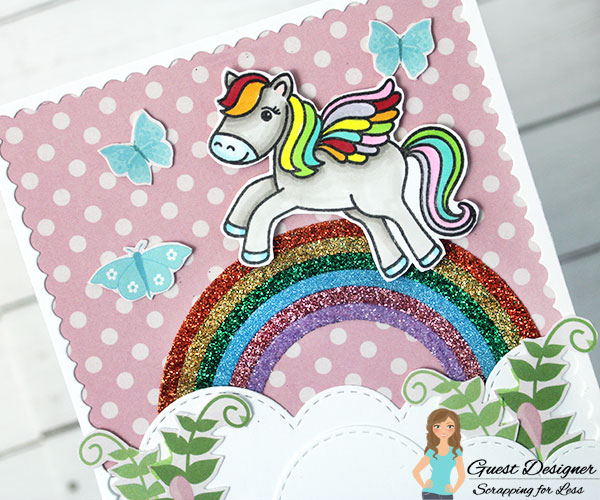
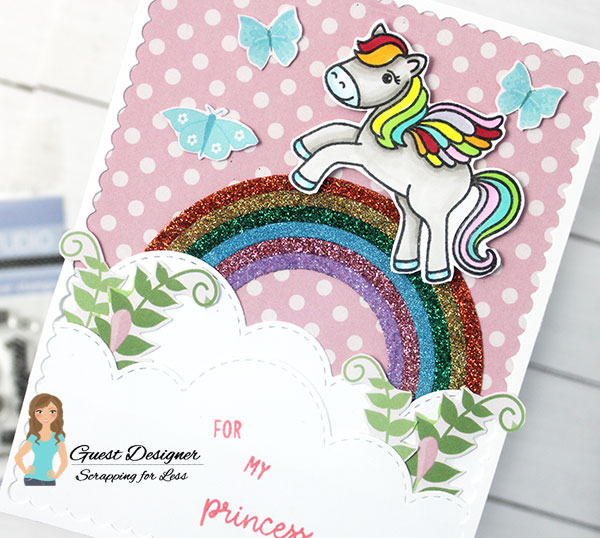
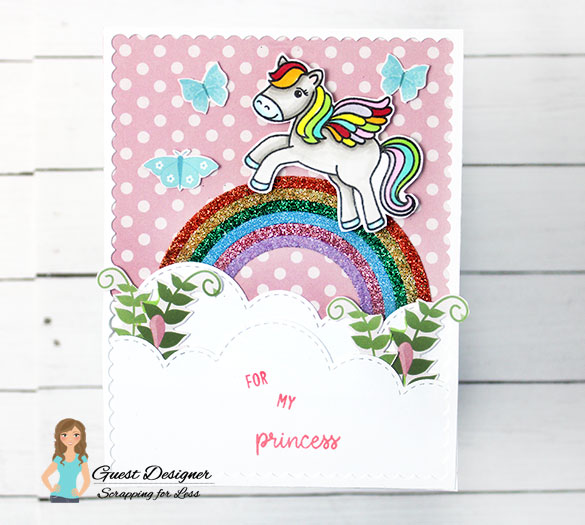
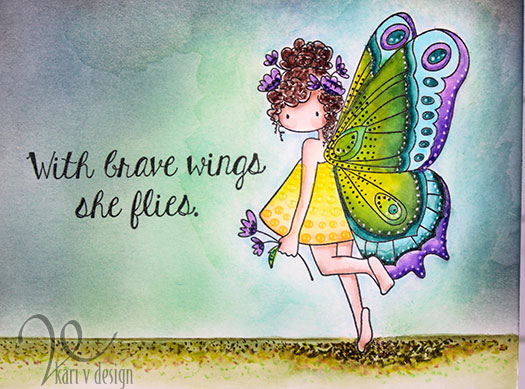
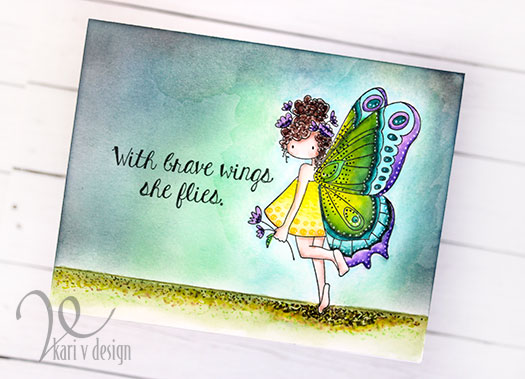
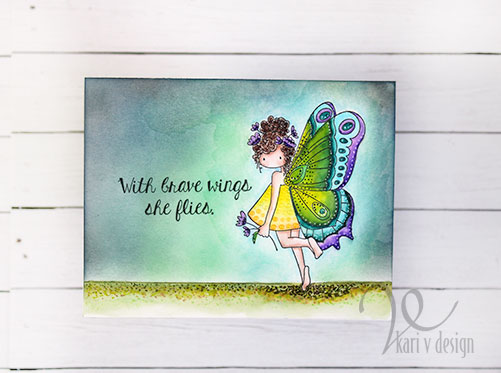
Hello! Today I am excited to share a video about adding fun details to a card. I first colored up my image on bristol paper using Zigs, then I added a bunch of extra details. This detail work is fun and EASY, and it adds quite a bit of interest to an otherwise fairly simple card.

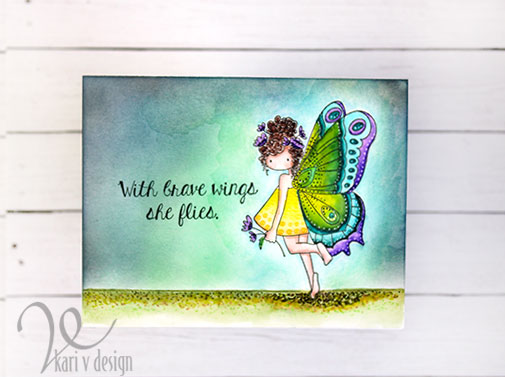
I love this butterfly image…and those sentiments are ALL really good, too. Perfect for a time like this!

See all that fun detail work?! I love it. Watch the video below or in HD on YouTube:

I used four kinds of detail-adding elements: a white gel pen, a Copic multi-liner, Nuvo Jewel drops (translucent), and Zig marker. These are all great ways to add DOTS to your cards. Be sure to watch the video for the details.

Adding this kind of detail is something to try at home and see what you like! I can’t wait to see what you create.

I’m often asked what supplies I use to make my cards and projects, so I’ve put together a list using affiliate links when possible. If you make a purchase with these links I may receive a small commission. These help me to keep up with blog costs and continue bringing you fun projects. Thank you so much for your support!

Want to know a secret? That background was not going to be a stormy background. It was going to be a bright, watercolored background. But it morphed into this stormy background, with that angel butterfly staying calm amidst it all! We can all learn from this bright butterfly.

I hope you enjoyed this project today! See you real soon with another card to share.

Comments { 0 }
rainbow-pegasus-card-2

Pegasus Love

Hello! Today I’m up on the Scrapping For Less blog sharing some cards made with the Prancing Pegasus stamp set and beautiful Fairy’s Garden paper pad.

For my first card, I inked up the background with some Distress Oxides in Picked Raspberry and Dried Marigold. Then I splattered on some white pearl watercolor to give it more of a magical feel.

I stamped some of the stars from the same stamp set on the background using the same colors of Distress Oxide inks. They are a little difficult to see in the photos, but it adds a subtle detail.

I colored up the Pegasus with Copic markers and added some sparkly stickles to the wing. I die cut some clouds from my stash and added WOW! Sparkle glitter to the smaller ones. This is some WOW! glitter I got to preview at Creativation and oh…I love it!

That frame is from the diagonal paper in the paper pack and it adds just the right touch! I stamped the sentiment on strips of teal paper and popped it up with foam tape. This is for sure a “magical” birthday card that is fit for a princess!

For my second card I knew I wanted that Pegasus to be running on top of a rainbow. So I glittered up a rainbow and added it to a pink polka dot background from the Fairy’s Garden paper.

I colored the Pegasus’ mane, tail, and wing in the same rainbow colors with Copic markers. Those butterflies and leaves are cut from the paper pad as well! I was so excited to see those butterflies in there and they were so perfect for this rainbow card!

I added some clouds to the card and stamped the sentiment “For My Princess” with pink ink.

I added the Pegasus with foam tape to give it more dimension. I also folded up the butterfly wings just a little to so they look like they are flying!

I hope you enjoyed these projects today! I really loved making them. I’ll see you real soon with some more inspiration.

Kari VanNoy
Find me here: Instagram * Blog * YouTube

Comments { 0 }
green-best-witches-crooked

Witches Brew Cards

Hello! What IS in a witch’s brew anyway? Lol. Today I have a couple Halloween cards using a favorite sentiment of mine: “Best Witches.”

Best Witches!

This is a fun card to make! I have a video showing you how, watch it below or on YouTube:

The second card uses much of the same products, with a little more of a twist.

For this one, I inked the background with the domed blending tools and some distress oxides in greens & blues. Then I added some water to create that oxide look. I cut some clouds to represent the witches brew, then popped up the witch legs behind the brew. I added some clear droplets, bats and stickles.

I’m often asked what supplies I use to make my cards and projects, so I’ve put together a list using affiliate links when possible. If you make a purchase with these links I may receive a small commission. These help me to keep up with blog costs and continue bringing you fun projects. Thank you so much for your support!

I hope you liked these fun Halloween cards. This is about as spooky as it gets around here, folks! Lol. Thanks for stopping by.

Comments { 0 }
Boo-rising-close-up

Haunted House Interactive Card

Hello there! Today I have a bit of a Haunted House issue…uh oh! I am using the interactive die from the Hedgehog Hollow October kit and some cute ghosts from a previous kit to create this haunted house.

Boo! The ghosts are coming out of the chimney!

Oh boy…there are ghosts in that chimney! I have all the details of how I built this card on the Hedgehog Hollow blog today…see it here.

I use the IRON OFF technique for that background spiderweb! First I stamped it with embossing ink and heat embossed clear embossing powder over the spider web. Then I blended on some Distress Oxides over the spider web. Once the ink was dry, I placed the panel on my ironing board, added a piece of plain computer paper over the top, and held the warm iron over it all for a few seconds. The computer paper absorbs the embossing powder and leaves the panel completely FLAT!

You might be asking…why did you want to remove the embossing powder? Well, I wanted to stamp that “BOO” over the top and needed a flat surface to add it. This allowed me to stamp in dark black ink. (I didn’t want a large sentiment strip on this card.)

Here’s what it looks like when you turn the dial…the ghosts pop up!

Isn’t that cool?! To put this card together, I attached the dial and arms with brads, then attached the full card base on the black card panel with foam tape. For a video tutorial of how to do this, check out my earlier video here.

I’m often asked what supplies I use to make my cards and projects, so I’ve put together a list using affiliate links when possible. If you make a purchase with these links I may receive a small commission. These help me to keep up with blog costs and continue bringing you fun projects. Thank you so much for your support!

Haunted House!! I hope you enjoyed this happy Haunted House card today. Thanks so much for stopping by!

Comments { 0 }
eat-drink-and-be-scary-close-up

Quick Halloween Cards

Hello! Sometimes I need a quick card, so today I’m showing you some easy Halloween cards with only minimal supplies! I’m using the same Fall Sampler stamp set to make two very different Halloween Cards.

Here’s the first one:

Eat Drink and Be Scary

I love this stamp set, there are so many sentiments perfect for Fall, Thanksgiving, Halloween, AND Winter. I love a stamp set with lots of uses…it is great on the budget, too! 🙂

Best Witches!

Here’s a video to show you the process and how quick it is, watch it below or on YouTube:

These cards are so fun, and there’s no coloring involved (which is sometimes a plus when you are in a hurry)!

I’m often asked what supplies I use to make my cards and projects, so I’ve put together a list using affiliate links when possible. If you make a purchase with these links I may receive a small commission. These help me to keep up with blog costs and continue bringing you fun projects. Thank you so much for your support!

So what do you think? Are you going to give this technique a try? Thanks so much for stopping by!

Comments { 0 }