Tag Archives | Distress Oxide Ink
SUNSHINE-some-ink-swatches-with-close-up-stamp

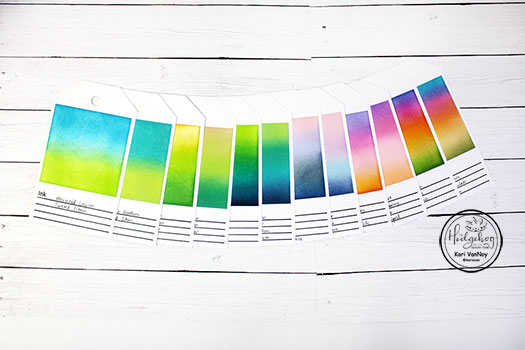
Ink Blended Tags for Inspiration

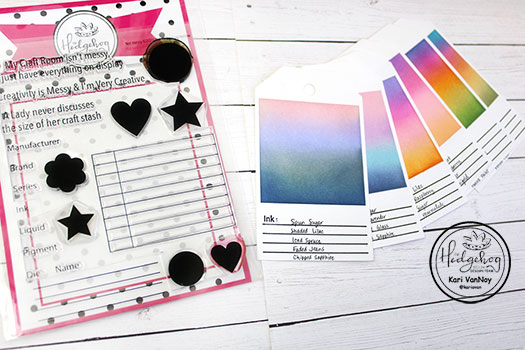
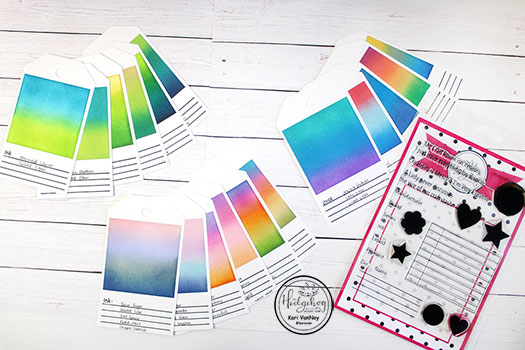
Hello! Today I’m up on The Hedgehog Hollow blog here to share these Ink Blended tags for Inspiration.

I love how these turned out! I used the quiet, unassuming line stamp in the lower left corner of this stamp set from the Hedgehog Hollow May 2020 Kit.

Check out my video for all the details, and a SECRET for getting almost any ink combination to blend well. Watch below or in HD on YouTube:

For all the ink combinations I used, head on over to The Hedgehog Hollow.

I’m often asked what supplies I use to make my cards and projects, so I’ve put together a list using affiliate links when possible. If you make a purchase with these links I may receive a small commission. These help me to keep up with blog costs and continue bringing you fun projects. Thank you so much for your support!

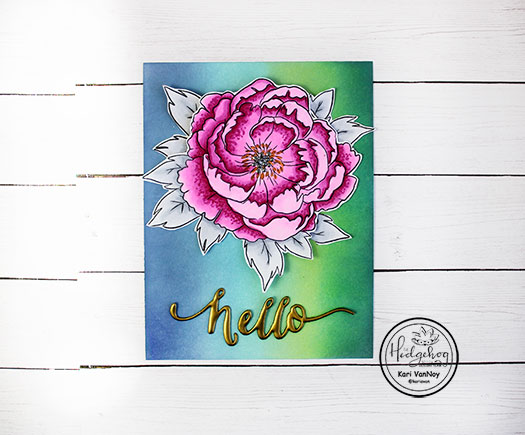
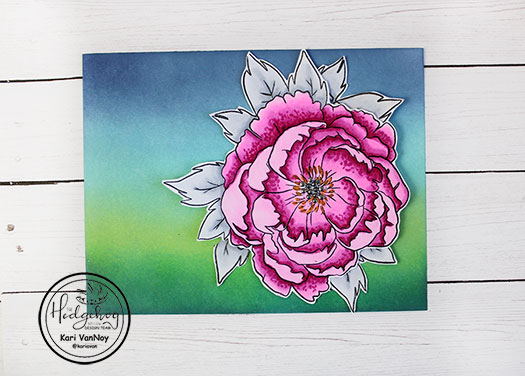
Here’s one of the backgrounds I created inspired by one of the tags…I can’t decide if it should be a vertical or landscape card! lol. So I haven’t attached the hello sentiment until I can decide.

Thanks for stopping by! I hope you enjoyed the May kit this year…it’s already sold out, it has been so popular.

See you next time!

Comments { 0 }
unicorn-close-up

Geometric Love

Happy New Year! I took a little break between Christmas and New Years for some much needed time off! But I just got the new Hedgehog Hollow January Kit and I couldn’t wait to share! I have two videos for you today, the first one is the unveiling of the kit!!

And the second one is the first set of cards I made with this kit.

Check out the video below for the unveiling, or watch it on YouTube:

I really really LOVE this kit! The geometric shapes are a dream!

I just had to make some projects first using those chipboard pieces. Watch my video below or on YouTube for two ideas on using those chipboard cut outs:


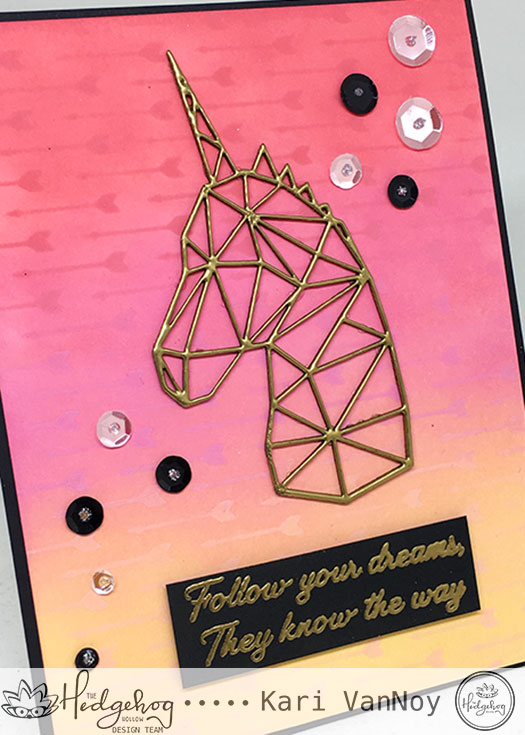
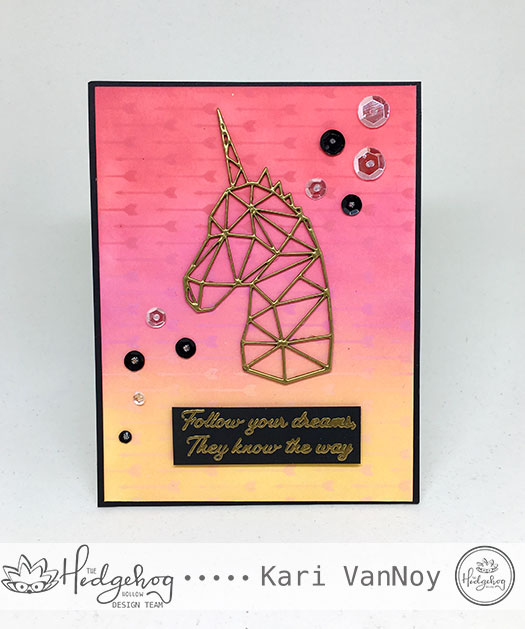
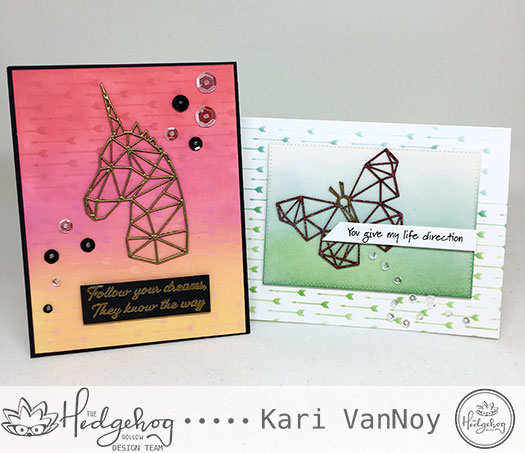
Oh yes…I made a GOLDEN UNICORN! Perfect for the sentiment: “Follow your dreams, they know the way.”  unicorn-card unicorn-close-up

I also created a sparkly, colored butterfly and I show  you just how to do this in the video. I hope you will take a look!

both-cards-together

Thanks for visiting today! Happy New Year! I really do hope you will follow your dreams….

Comments { 0 }
sunshine-rainbow-hugs-to-you

Rainbow Hugs for You

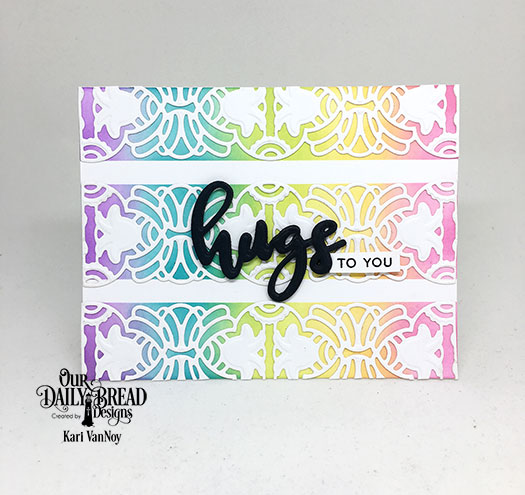
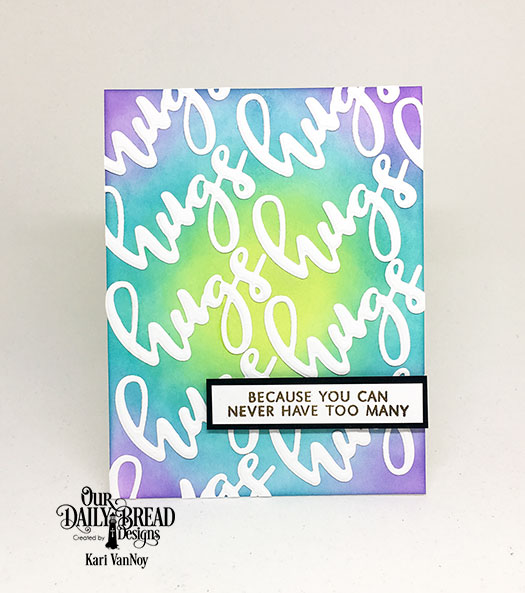
Hello! Today I have some rainbow hugs for you!! Yes, I am taking a closer look at the Hugs Stamp/Die Duo from Our Daily Bread Designs and I just knew they would look great with a rainbow of colors.

I used Distress Oxide to ink up the backgrounds in a variety of colors and then I added the Hugs die cut in a diagonal pattern. Isn’t it cute? This hugs die cuts AND embosses…which adds some great interest to the card.

sunshine-hugs-because-you-can-never-have-too-many

That sentiment is oh-so-true! You can never have too many hugs! This sentiment comes in the stamp/die duo and I love all of the sentiments included.

On my second card I also used a rainbow of colors, and this time I masked off the stripes to leave some white space. Then I added the Art Deco Border Die over the inked portions. This is my first time using this die and I’m so pleased with how smooth it cut…it’s just beautiful!

sunshine-rainbow-hugs-to-you

I used spray adhesive on this one (my first time!) and it adhered like a dream. I recommend using a box to spray in and a well ventilated area!

I popped up the hugs sentiment on black craft foam to give more dimension and really make that “hugs” die pop!

I hope you enjoyed these fun, bright cards today. For more inspiration and to see more products from the July release, be sure to visit the Our Daily Bread Designs blog post here.

Rainbow hugs to you!

Comments { 0 }
halloween-bear-with-gravestones

Big Bear Halloween Version, 4 ways

Hello! I have some fun Halloween cards for you using the “Boo” set from Waffle Flower, featuring one of my favorite characters: Big Bear! I use mostly Distress Oxide Inks to create these backgrounds and I really had a lot of fun!

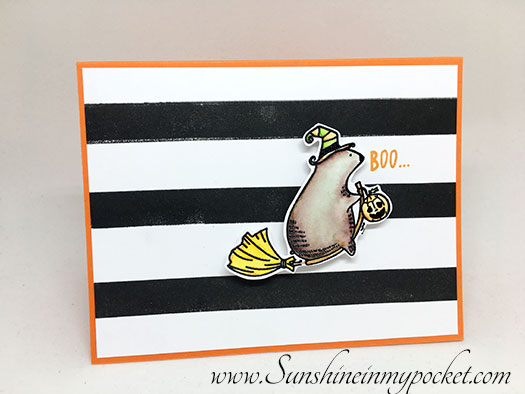
This first one is the simplest to make: just stamp some black stripes for the background, color up your bear and pop him up using Scotch 3M foam tape! (This is my favorite and I buy it in a big roll!) I used the Plaid Play set to stamp these stripes in VersaFine Onyx Black ink.
halloween-bear-with-stripes

[Here I used Zig Clean Color Real Brush Markers to color the bear.] Then, I added the card panel to an orange card base, stamped the “Boo” sentiment in orange marmalade Distress Oxide ink and Voila! A cute Halloween card that didn’t take very long at all!

For the second card, I used the same stamp set, but got a very different look!
halloween-bear-with-cape

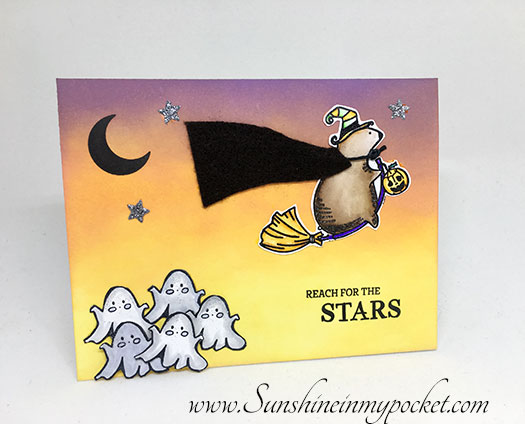
Oh, Big Bear, you look very cute with a cape! I just cut a small piece of felt in a “cape-like” shape and attached it to the car front using my favorite glue: Tombow Mono Multi glue. A little black twine tied in a knot makes it look like an official cape. Lol.

For the background, I used Distress Oxide Ink in Fossilized Amber, Spiced Marmalade, and Wilted Violet. (These are from the January 2017 Distress Oxide colors).  I added some die cut stars in silver glitter paper, and a moon shape and sentiment from the Waffle Flower “Reach for the Stars” set.

I love those ghosts in the corner!

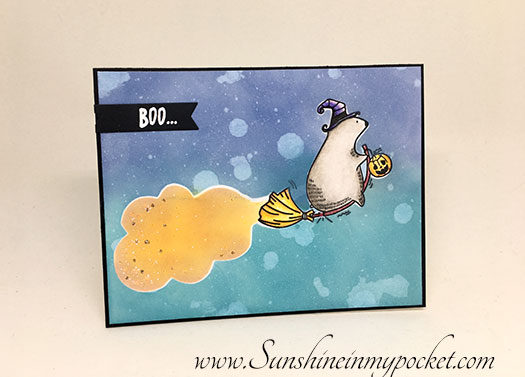
My third card uses Distress Oxide ink in Spiced Marmalade to make a puff of smoke behind Big Bear. I cut my own mask in a smoke shape using Post-It Full Adhesive sheets, then inked on the orange color. Add some sparkly Stickles and White dots to create a magical look.
halloween-bear-with-orange

The background is made with Distress Oxides in Broken China and Faded Jeans colors and splashed with water droplets. I masked the bear first before this ink went on…it’s an *almost* one layer card! The Boo sentiment is heat embossed in white on a black strip of cardstock and adhered to the upper left of the card. I like the black card base for this one.

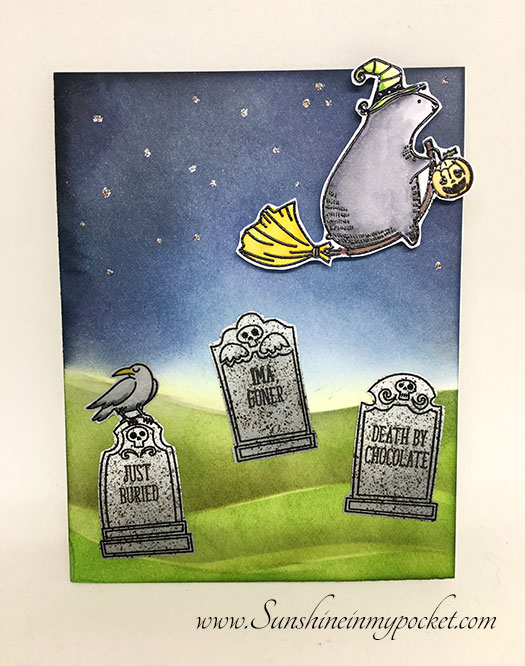
And my last card is one of my favorites…Big Bear flying over a graveyard!! (This grave stamp set is from My Favorite Things)
halloween-bear-with-gravestones

The Distress Oxides are wonderful for creating a background like this! I also inked on the gravestones using the Iced Spruce color. To get the granite-like texture on the gravestones, the Distress Spritzer is key! I used a few grey Distress Markers in the spritzer on the gravestones BEFORE I cut them out. Don’t they look cool?

For the stars in the sky, I used one of my favorite colors of Stickles: here. It creates a silvery/gold star in the sky! Just add some dots and they dry to a glittery perfection.

I hope you enjoyed these projects! I’d love to hear if you send out Halloween Cards. I have to say, that I don’t normally send Halloween cards, but when you have stamps as cute as these…now I love to make and send them!

Happy Halloween!

Affiliate links used when possible at no additional cost to you. Thank you for your support!
 

Comments { 0 }