Tag Archives | distress inks
both-cards-2

Using Zigs to Blend

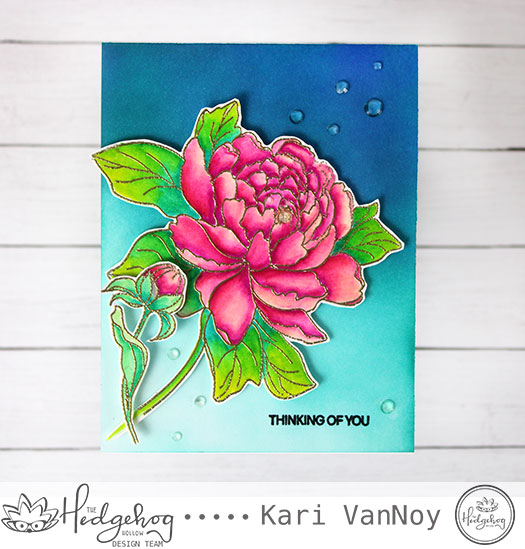
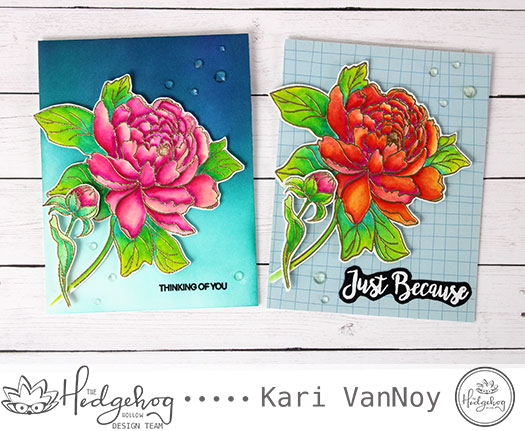
Hello! Today I’m excited to bring to you a couple cards using beautiful florals designed by Alex Syberia. These florals are exclusive to the Hedgehog Hollow August box and they are gorgeous! I have had a few requests to show how to blend with Zig Clean Color Real Brush Markers….and so I’m combining the two!

Here’s a look at my cards:
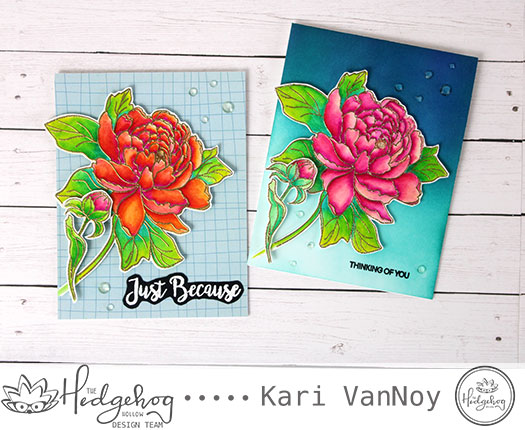
Vibrant Colors from these watercolor markers!

I have a video showing you the process and how to get such vibrant colors (hint: I don’t use water at all! Only the Zigs). Watch the video below or on YouTube:

This August box will sell out fast, so if you love beautiful florals that are so very fun to color, go check out this box soon!
Ink blended background

I gold heat embossed the images first, then colored with the Zigs. For this first card, I ink blended a background using Distress Inks and makeup brushes. I love this look. I used the Zigs on the flowers and fussy cut them out. Then I popped them up using foam tape.
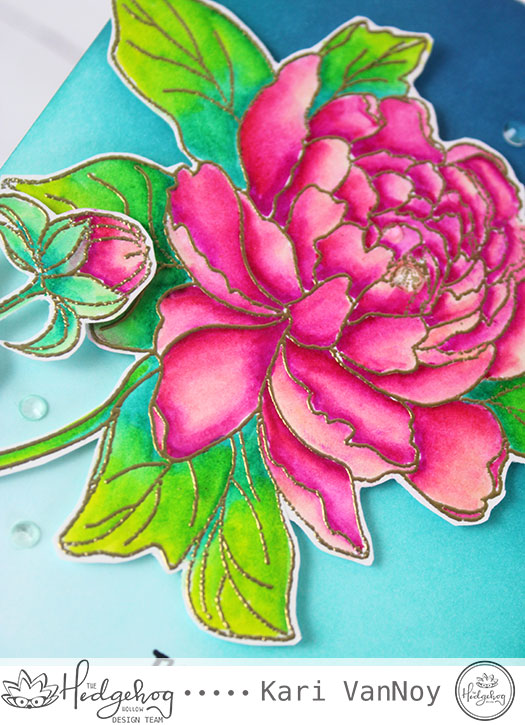
Three colors of green, Three colors of pink

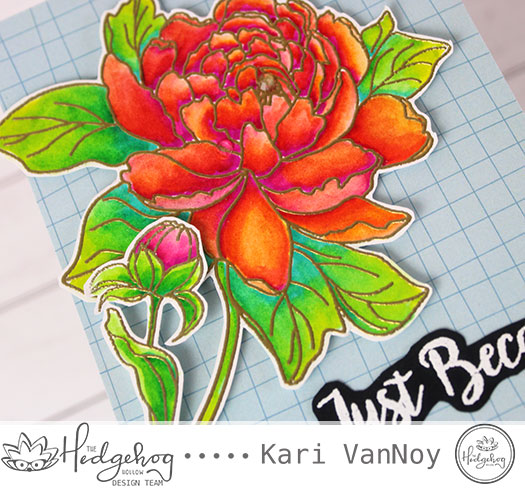
Now I know sometimes the ink blending on the background either takes too long, or maybe you don’t enjoy ink blending. This beautiful flower looks great on a patterned paper background, too!
I’m often asked about the supplies I use to make my cards, so I’ve compiled a list for you here, using affiliate links when possible. When you purchase using these links, I may receive a small commission. These help me to keep up with my blog costs and continue to bring you fun projects. Thank you so very much!

I really hope you love these cards as much as I do. Sometimes a photograph just doesn’t do a card justice, and I think that might be the case with these! I love just how much they POP in real life! Thank you for stopping by.
Comments { 0 }
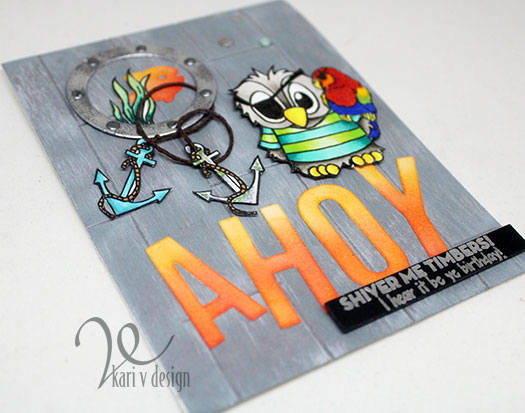
ahoy-owl-sideways-view

How to make a Wood Plank Background

Hello friends! Today I have some fun cards to share AND a video on how to make a wood plank background.

Affiliate Links are used when possible. When you click on these links and make a purchase I receive a small commission, which helps me to continue to bring you projects and blog posts! Thanks for your support.

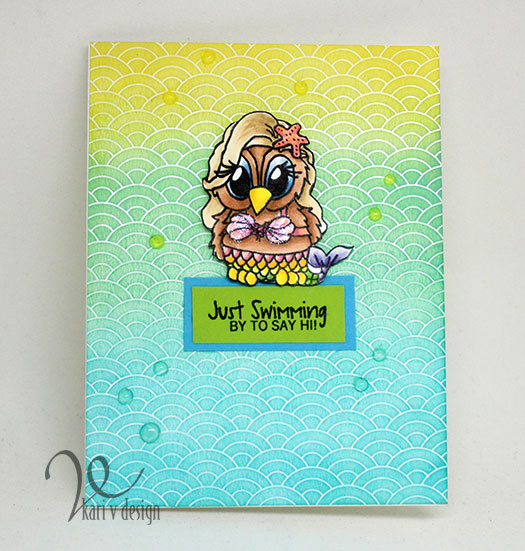
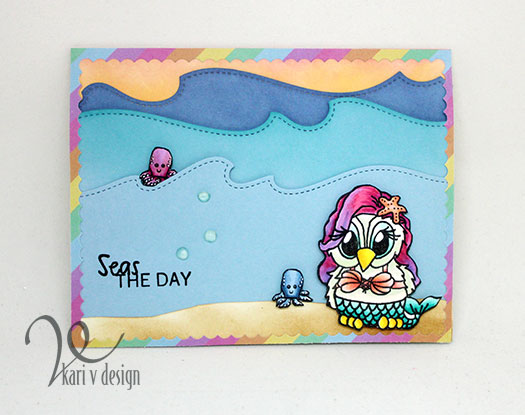
These are some cute images from Jessica Lynn Originals. I just couldn’t resist coloring up those mermaid owls. Here’s my first card:

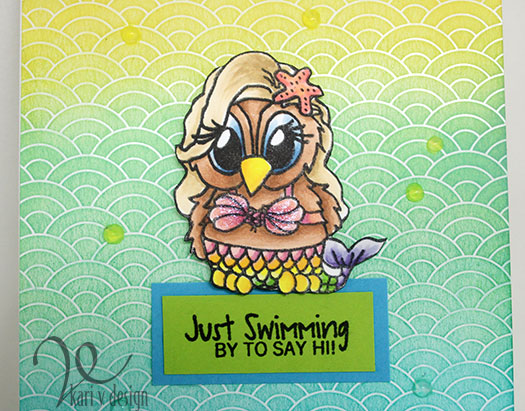
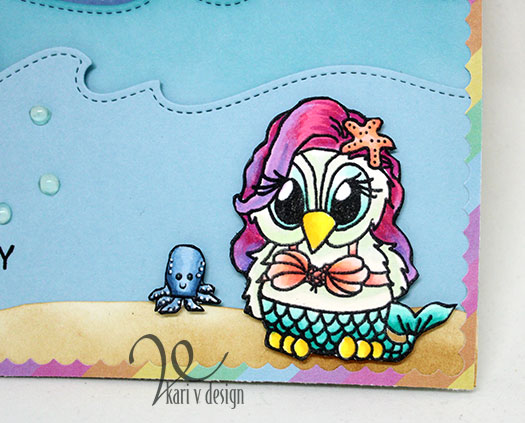
I colored up that cutie mermaid as a blonde bombshell, complete with glittery pink bikini top.

The background is called Everyday Tintables Card Pack from Concord & 9th, these are so great because they have a white design pre-printed that allows for this emboss resist look. I inked up with Distress Inks in three different colors: Peacock Feathers, Cracked Pistachio, and Fossilized Amber.

Close up of Mermaid Owl

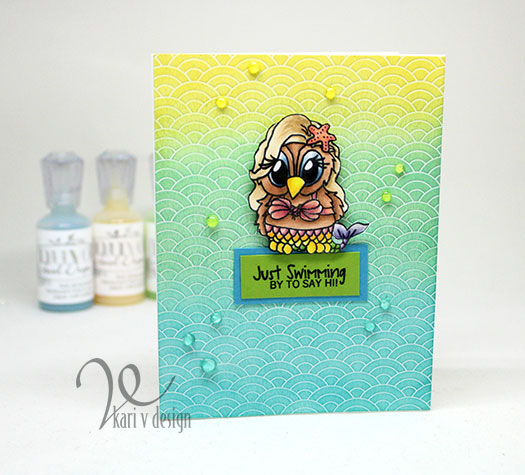
I used some Jewel Nuvo Drops to finish off this card. They are so beautiful because they are semi-transparent with just a little tint of color. These are the three colors I used: Limoncello, Key Lime, Sea Breeze.

My second card shows of that mermaid owl with some hot pink hair:

Look at her cute little octopus friend! I used Copics to color them up and added some white gel pen dots for accents. The ocean waves are a die from this set. I just love the added stitching to the edge.

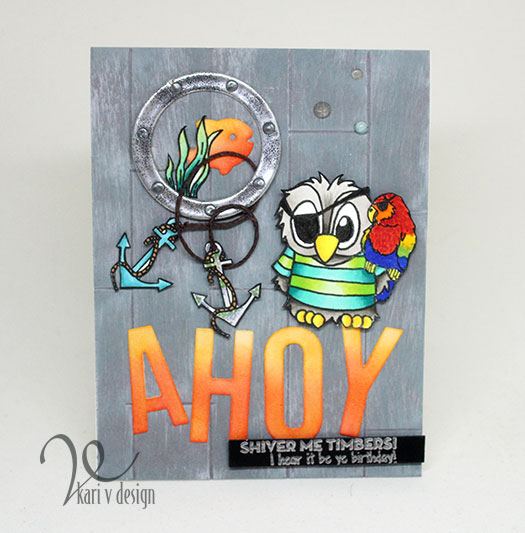
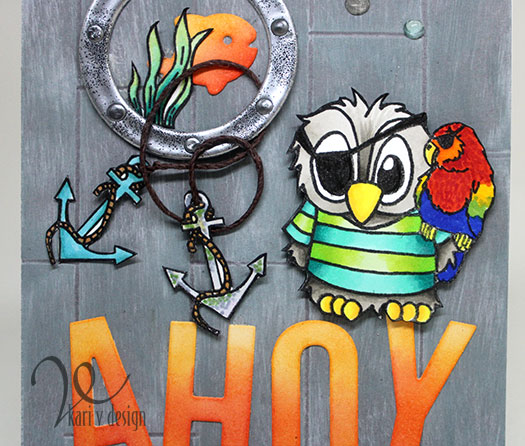
My last card features Brentwood Owl, which is actually the logo of Jessica Lynn Originals. Did you know she’s celebrating 14 years in business in April?! So this little owl is extra meaningful:

Shiver me Timbers! I hear it be ye birthday!

Take a look at his sidekick parrot! I used some extra lines to serve as his feathers and I think he turned out pretty cute! Here’s a close up:

That wooden plank background is made using one of my favorite techniques! I have a video to show you just how to create that wooden plank look, as well as how I put this card together.

[Note: listen for the “guest pirate” in this video! LOL. I had a great time having a guest join in on this voiceover!]

Watch it below or on YouTube:

I love that Porthole die from Lawn Fawn. To finish it off, I used Nuvo drops in Liquid Mercury…I think it adds just the right amount of detail.

I hope you enjoyed these projects today. Check out more of Jessica’s designs at her blog here.

Ahoy!

I’m loving how the wooden plank background turned out!
Until next time…Thanks for stopping by!

Comments { 0 }
Sunshine-flip-flop-lever-card-inside

Cards for Brother

Hello! Today I am featuring the new “Brother In Christ” stamp set from Our Daily Bread Designs. If you have been following me, you know that I don’t make a lot of masculine cards and so this was a fun challenge for me.

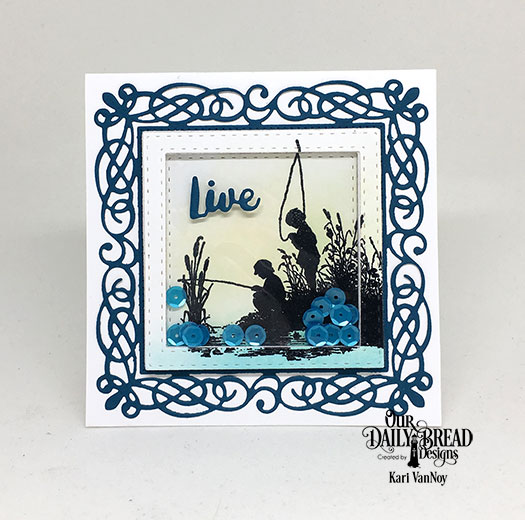
The first card was one I knew I wanted to make just as soon as I saw this new set! It’s a beautiful square card with a shaker element! I wanted the sequins to mimic the look of the water.

LIVE FOR FISHING!

Sunshine-Live-for-fishing

I used the Flourishy Frame Die to create the frame around my scene, but also used the Double Stitched Square Dies for the shaker portion. The stamp of the fishermen fit perfectly inside…and then when I cut the frame with the square dies, added a fun layer of dimension with a portion of the picture outside of the shaker! I’m not sure if I explained that correctly, but I really liked the way it turned out!

The “live” sentiment is from the Inspiration Words Dies.

SUNSET FISHING

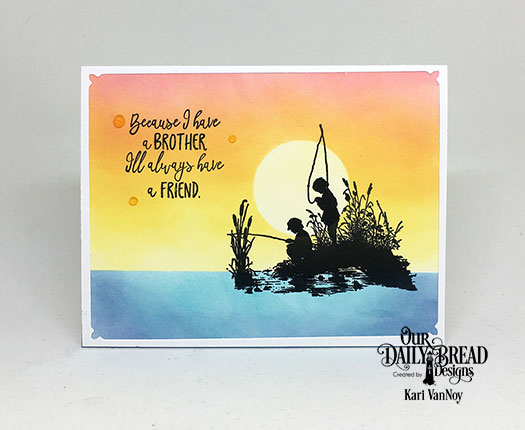
Then, I knew I had to make a sunset fishing card. We used to love to walk around the vacation lake at sunset and I thought sunset fishing would be fun. After he saw this card, my husband said…”no, you need to go fishing in the morning!” Well, what do I know about fishing? Not much. But I know a sunset fishing CARD was a really pretty idea! Lol.

Sunshine-sunset-fishing

I masked off a circle for the “sun” and strategically placed it on the card just where I knew those fellas would be stamped. Then I sponged on Distress Oxide inks in some of my favorite colors: Abandoned Coral, Orange Marmalade, Squeezed Lemonade and Antique Linen for the sky; Faded Jeans and Peacock Feathers for the water. Then I stamped the image in my favorite crisp black ink.

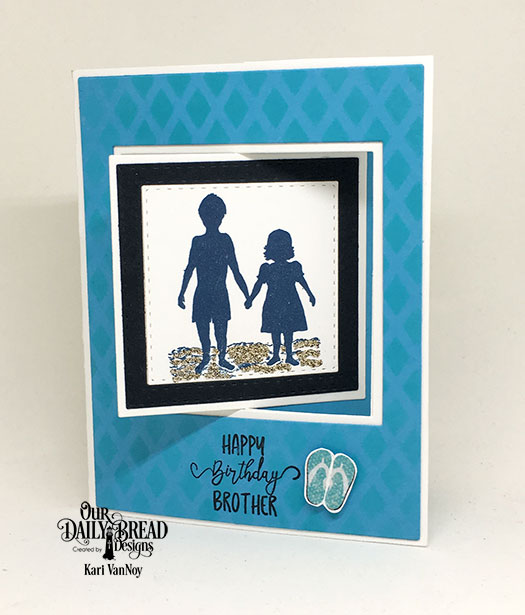
For my last card today using this set, I tried my hand at a Lever Card:

sunshine-flip-flop-lever-card-front-new

Sunshine-flip-flop-lever-card-inside

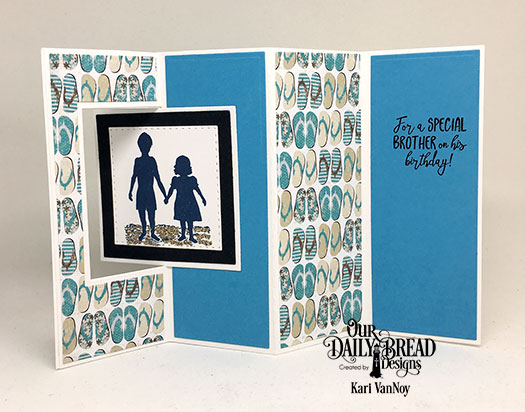
My brother is definitely a beach kinda guy and he almost ALWAYS wears flip flops, so this card was just a natural. I really love the mix of fonts on these sentiments! I used the Lattice Background Die to ink on a interesting pattern on the front, and then used the By The Shore Collection Paper for the fun flip flops!

I hope you enjoyed a look at the new Brother In Christ stamp set. For more information and details, visit the Our Daily Bread Designs website here. Thanks for stopping by!

Comments { 0 }
day-4-die-cutting-card

Merry Making Class Day 4

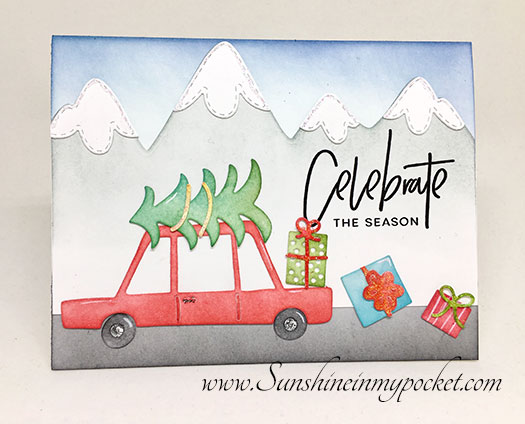
I’m back with a great card using all die cuts, inspired by Nichol Spohr! Ok, ok, there is ONE stamp on this card: the greeting! But other than that, this is mostly die cuts colored up with some Distress Inks. I love how it turned out! These are some new stamps and dies from Right At Home Stamps and I love the car and that sentiment!

day-4-die-cutting-card

See you again for the last day of class projects tomorrow!

merry-making-badge

Comments { 0 }
8-14-happy-birthday-throwing-flowers

Flowers Everywhere

If you asked me a favorite place to be in all the places you could ever be….I would say in a field of flowers. I feel so peaceful with flowers all around. In fact, a favorite place to visit is the Flower Fields in California (in April or May). It it just amazing!! (Read my post about it here).

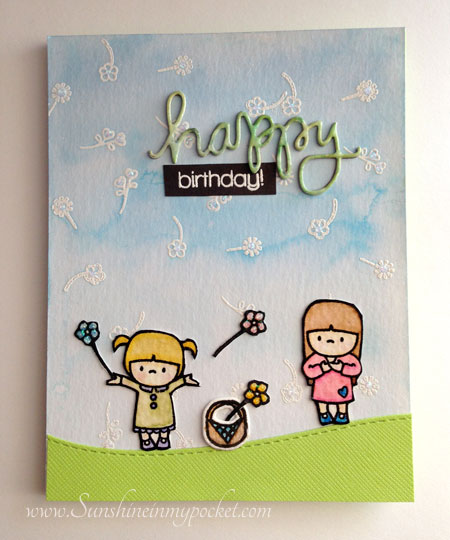
So it seemed perfectly natural to build a card around that idea. Have you ever thought of throwing flowers as a sort of celebration? Well, it sounds like fun, and that’s just what these little cuties are doing:

8-14-happy-birthday-throwing-flowers

See all the flowers in the background? The sky is just filled with flowers! I was going for an Ombre look with my watercolored sky, but it didn’t turn out exactly as I imagined. That’s the beauty of watercoloring….it’s completely unpredictable!

I white embossed those flowers first onto watercolor paper, then applied the color. I also watercolored those gals (from Mama Elephant “In My Heart”) and I think they turned out so cute!

For the “happy,” I first watercolored some paper with greens, yellow and blues, then cut out the word. As you can see, I didn’t get much of the blues in there, but I like the variation of greens and yellows here…it kinda goes with the grassy hill. 🙂

I think this little scene would also go well with the sentiment from “Up and Away” that says: Spread Happiness Wherever you go. I just might add that to the inside of the card.

Joining in the fun at the Mama Elephant and Me Challenge!

Untitled-2

Supplies Used:
Stamps: Mama Elephant In My Heart, Up and Away; Avery Elle Red & Goldie (basket);
Dies: Mama Elephant Landscape Trio; Avery Elle Red & Goldie; Simon Says Stamp Happy;
Watercolor: Distress inks
Other: Wink of Stella Clear glitter brush pen; Glossy Accents; white embossing powder; stickles

8-14-happy-birthday-throwing-flowers

Comments { 1 }