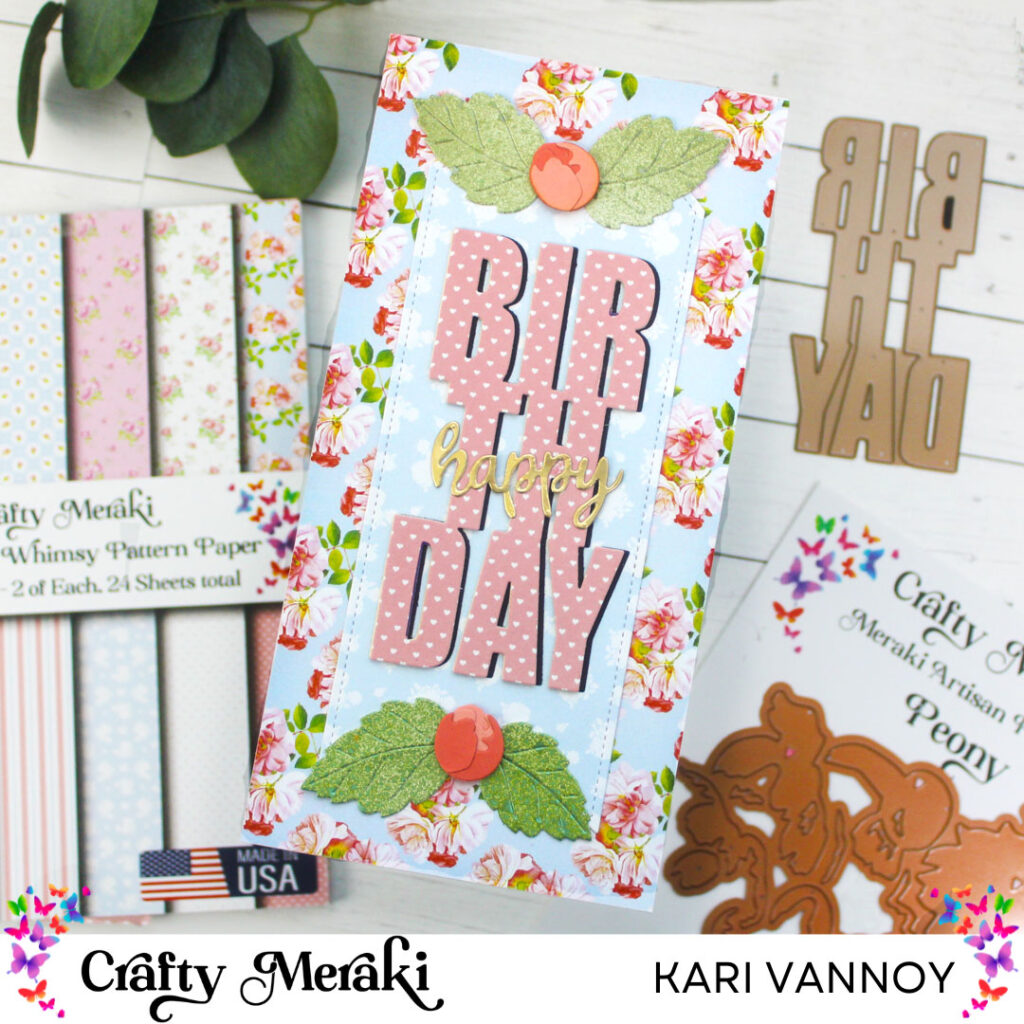
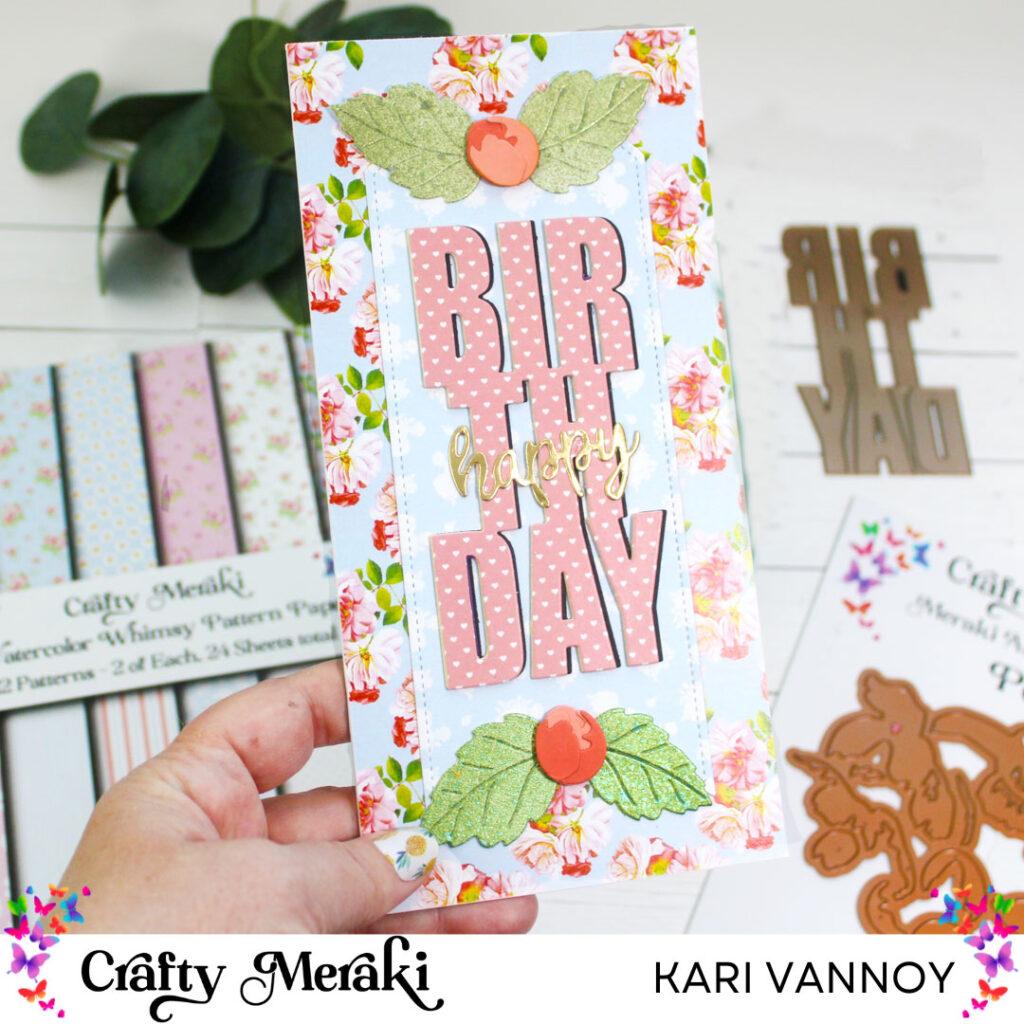
Hello! Today I’m excited to share a Citrus Cupcake card with you, creating my own colors of background patterned paper.
Watch the video below or in HD on YouTube:

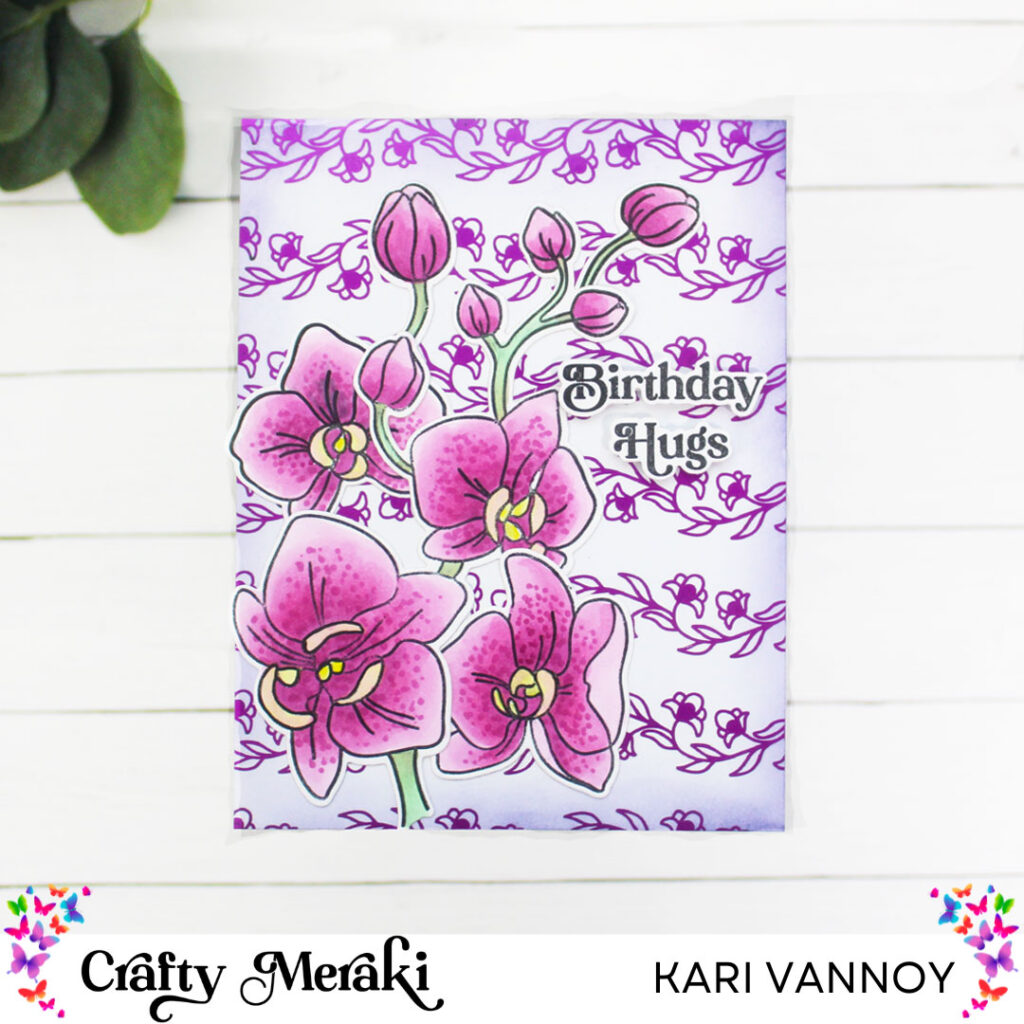
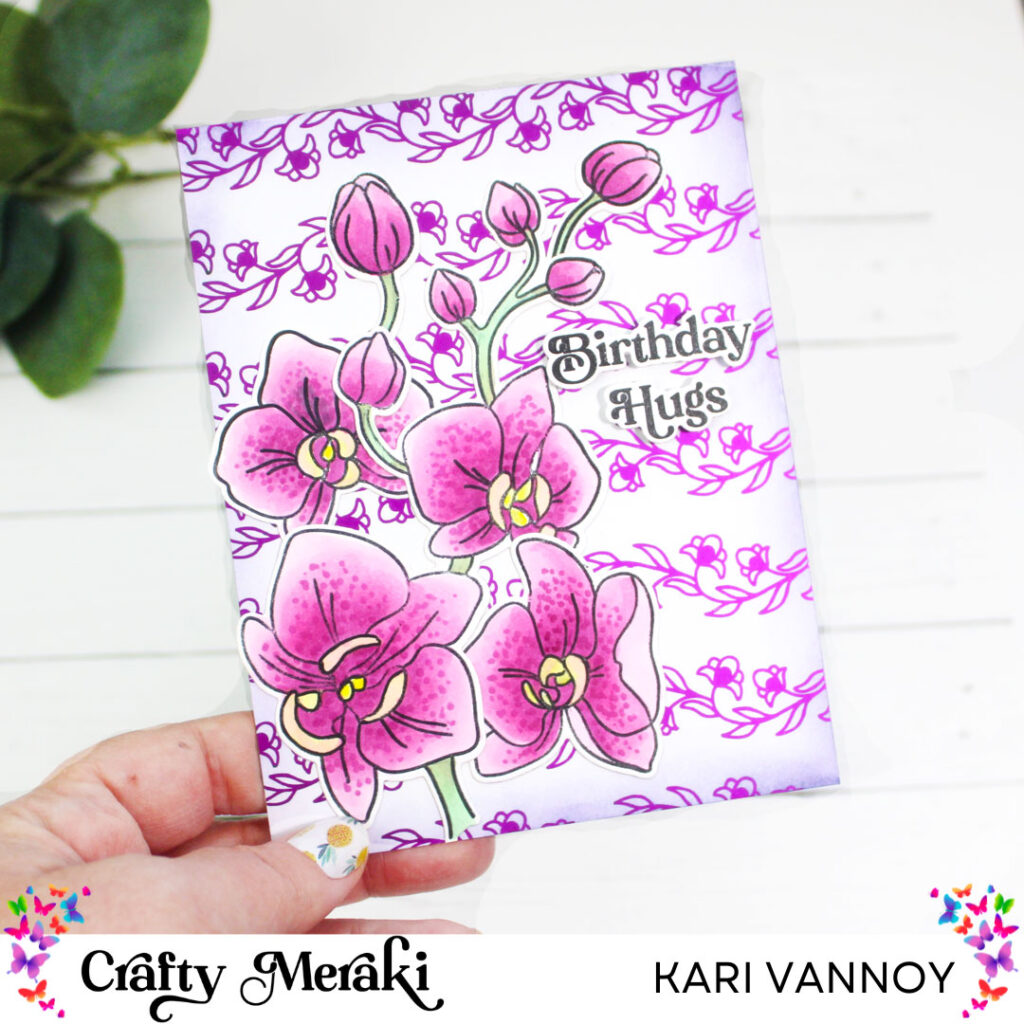
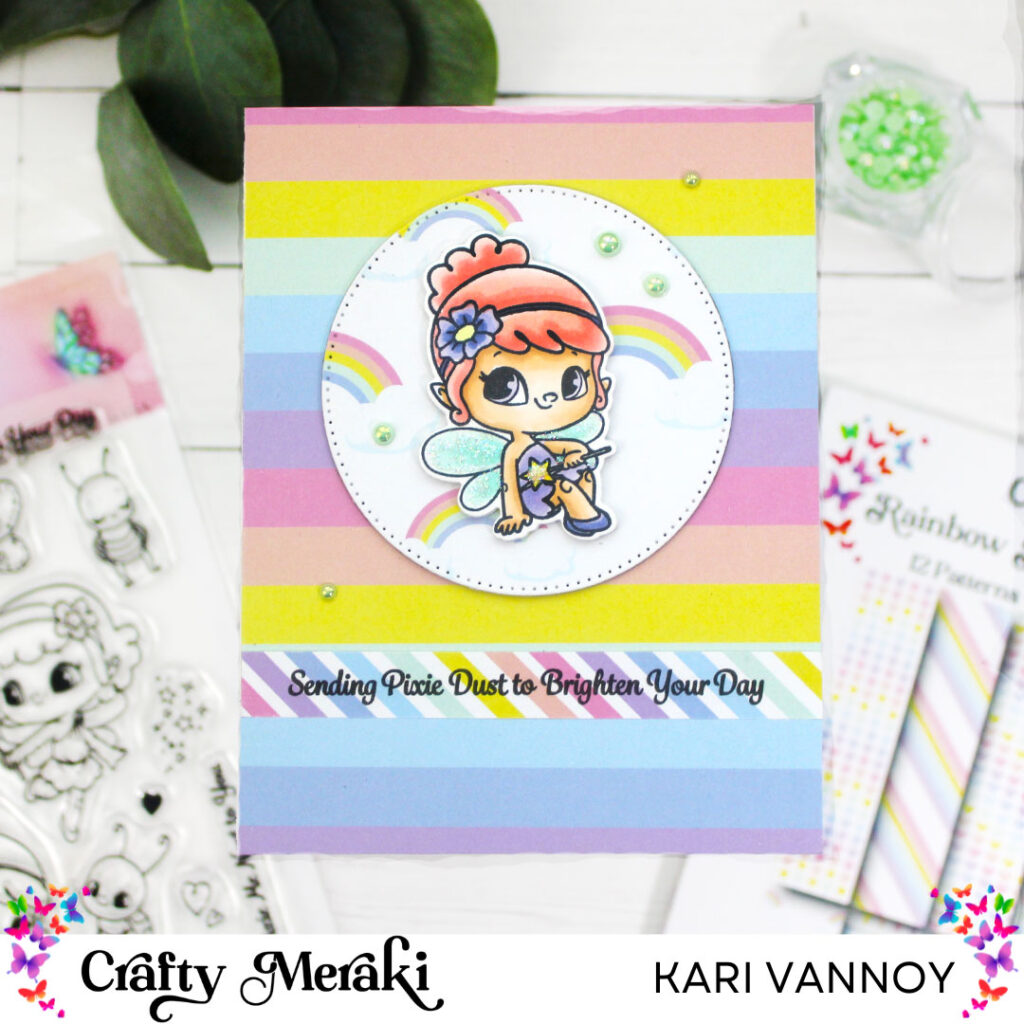
I started off with some foilable paper from Crafty Meraki, but instead of foiling it, I ink blended some Distress Oxide inks! I used colors that reminded me of grapefruit, oranges, and lemons.
Next, I colored up one of my favorite cupcake stamps with the same colors. Love these colors for Spring and Summer!
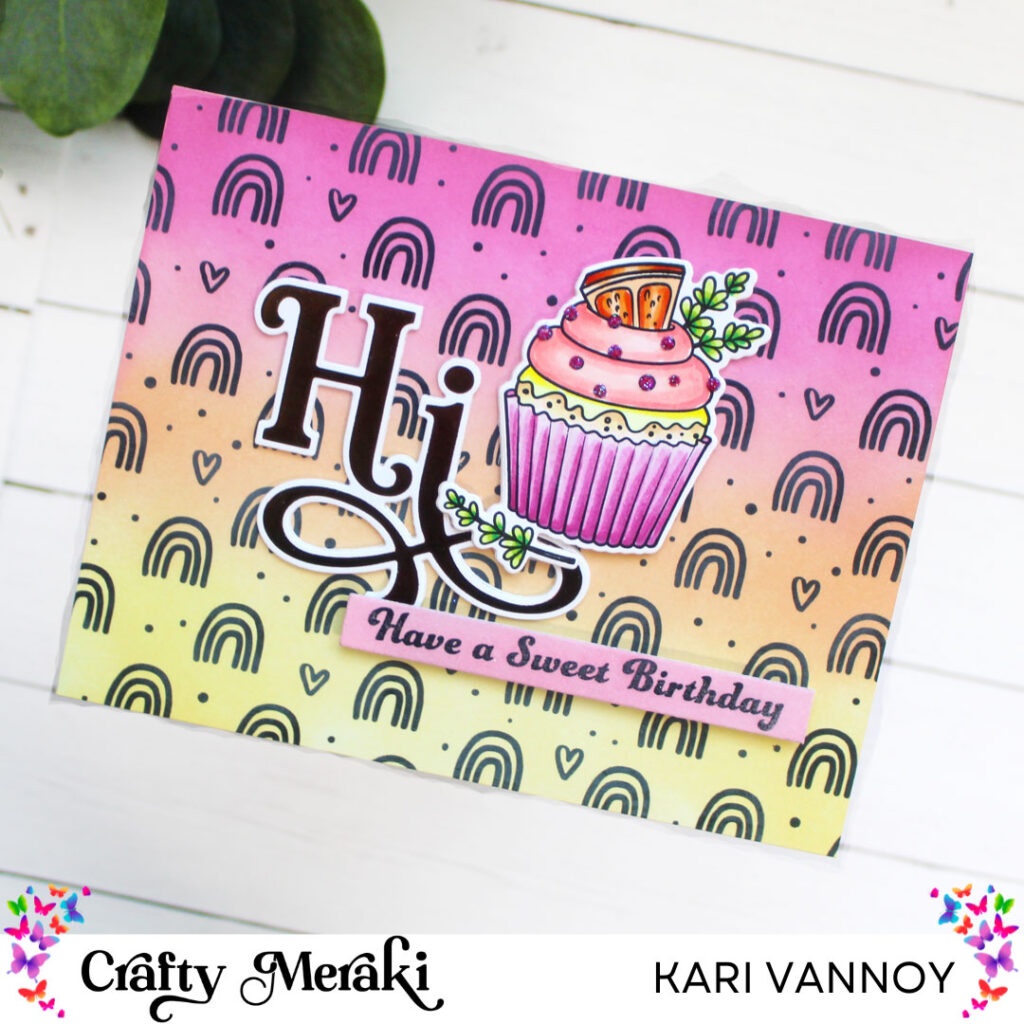
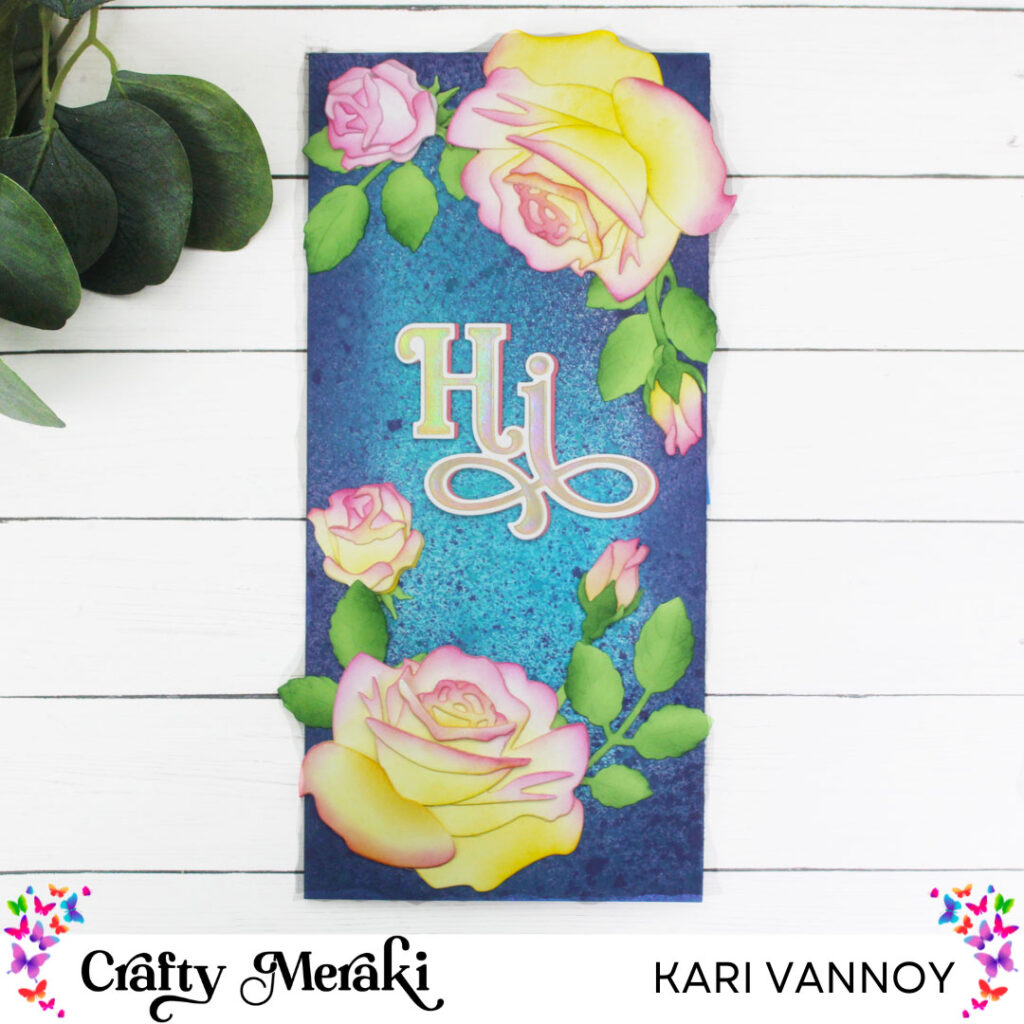
I also foiled that Hi hot foil plate sentiment with copper colored foil! I know it’s difficult to tell the foiling and color in these photos…it’s so difficult to capture foil in a picture!

I put it all together with a sentiment from the cupcake stamp set. I just love how it all came together!
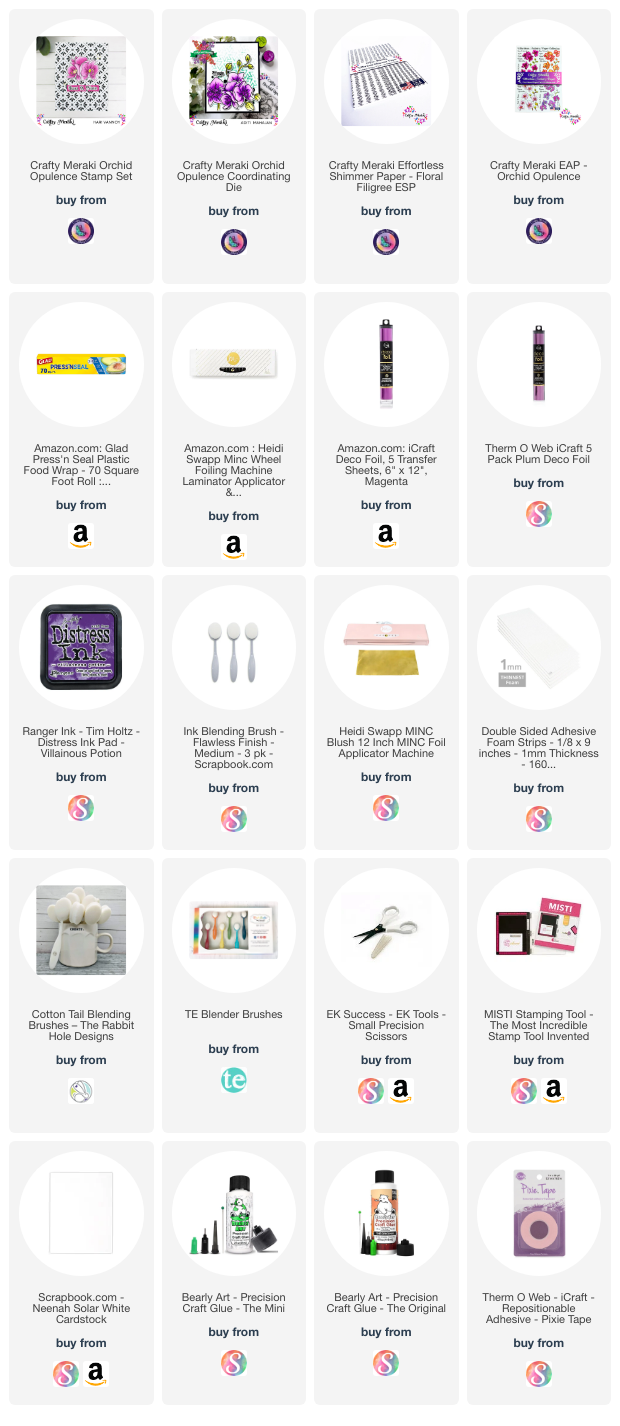
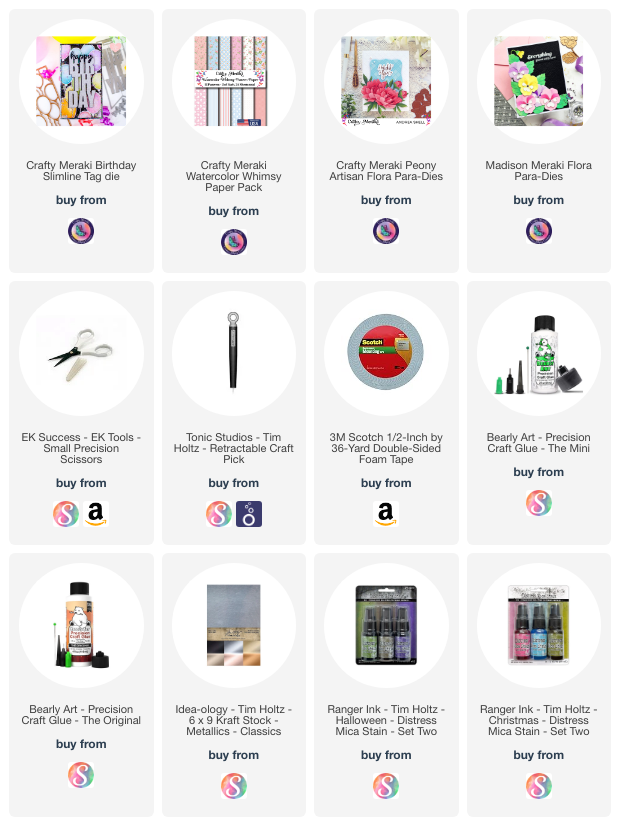
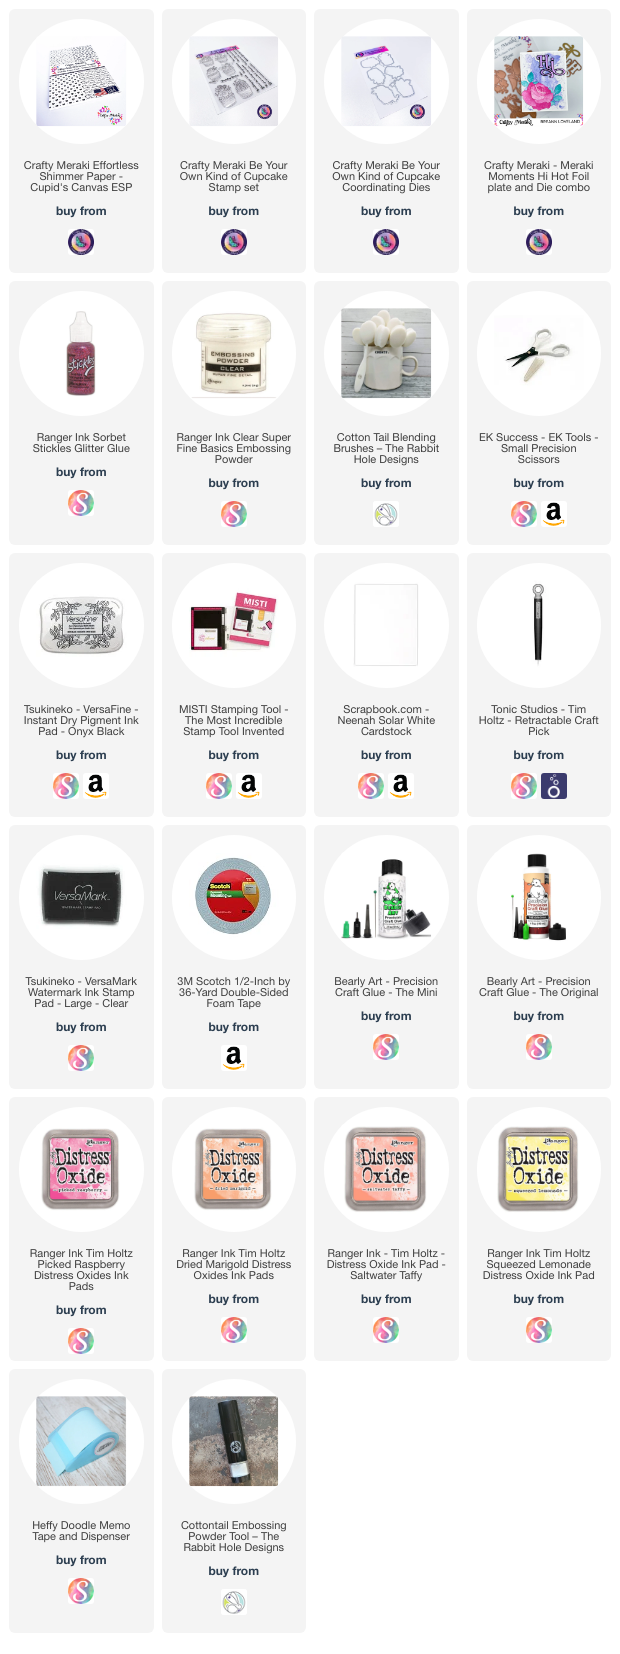
I’m often asked what supplies I use to make my cards and projects, so I’ve put together a list using affiliate links when possible. If you make a purchase with these links I may receive a small commission. These help me to keep up with blog costs and continue bringing you fun projects. Thank you so much for your support!
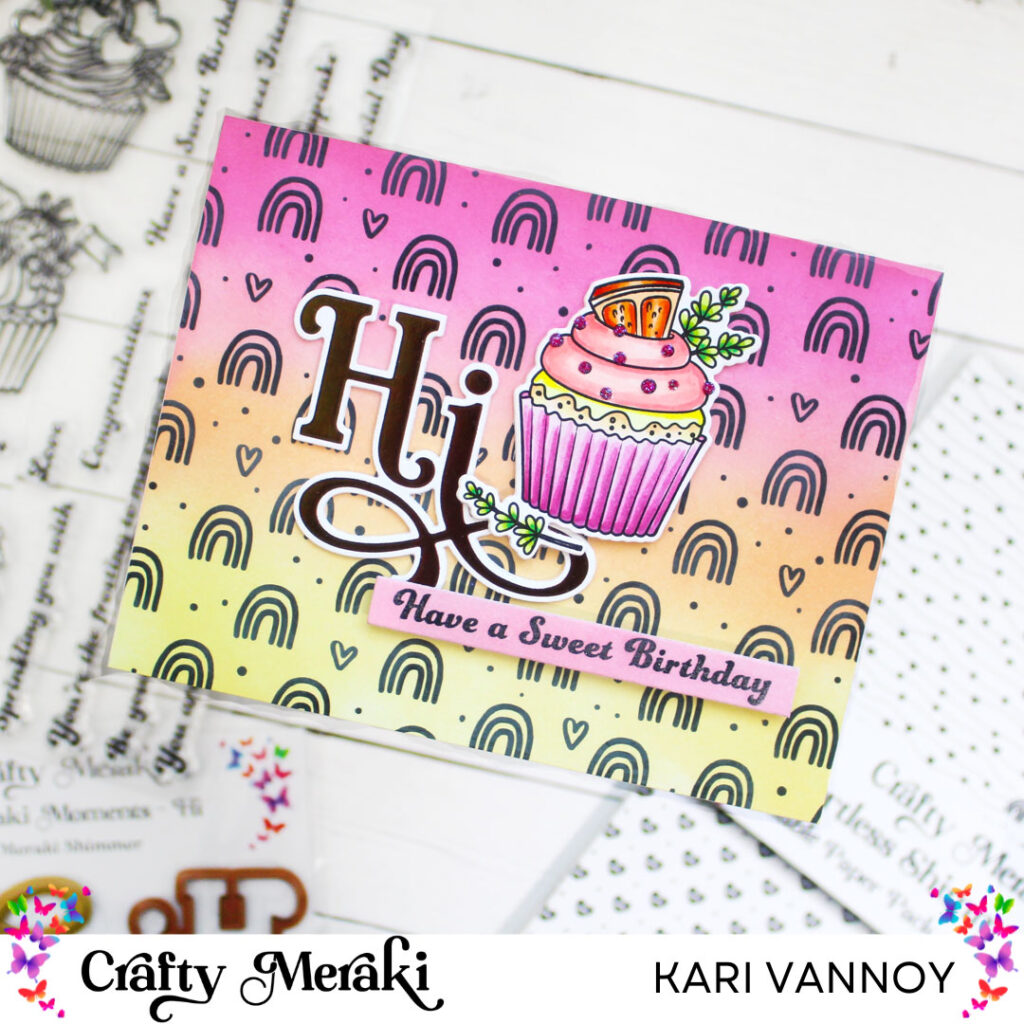
I hope you enjoyed this citrus inspired project today! I’ll be back with another card to share soon!