Tag Archives | Christmas cards
make-it-jolly-close-up-2

Make It Jolly

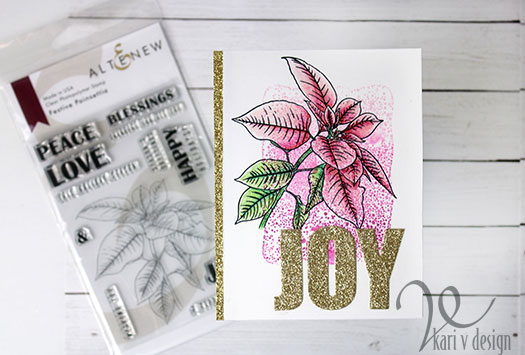
Hello! Today I have another beautiful holiday card to share with a favorite sentiment of mine this season.

Make It Jolly. So Jolly!

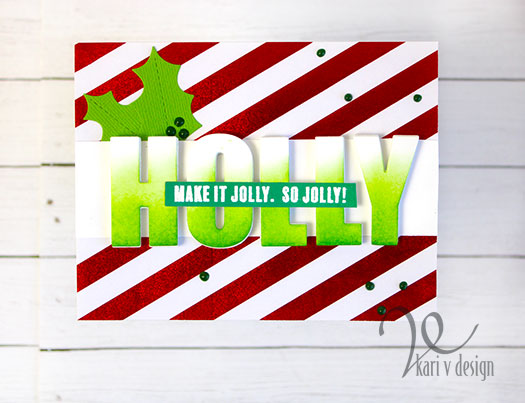
This card came together so quickly with the use of some glittery foil striped paper I found in my stash! Love the extra sparkle.

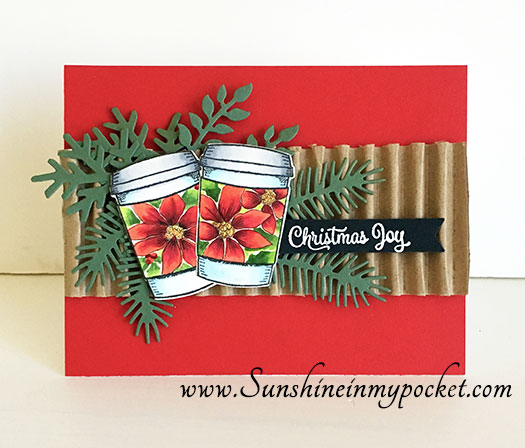
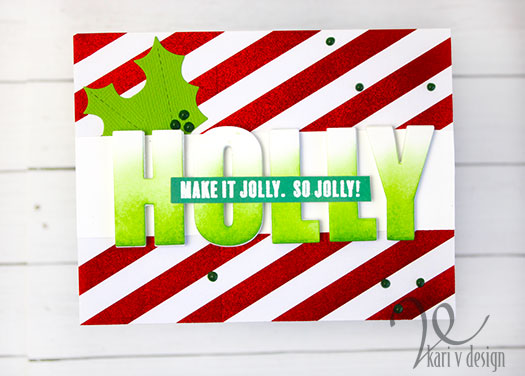
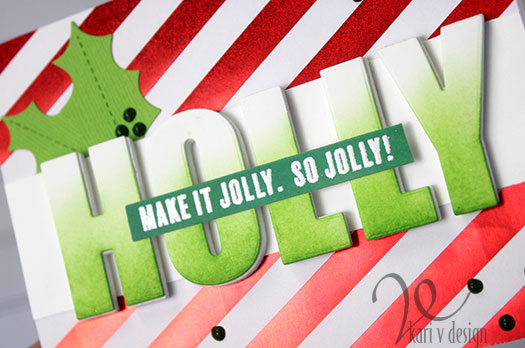
I first die cut the large HOLLY with bold alpha dies and inked them up with green Distress Ink. Then I popped those up on fun foam and added them to the foiled striped paper.

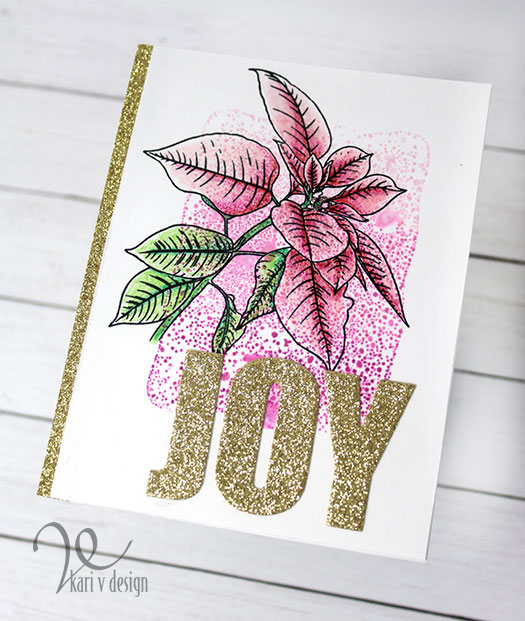
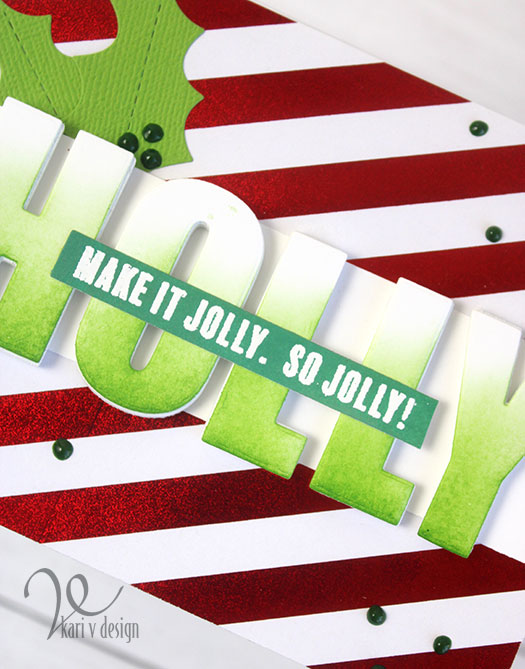
I used the same green ink to make a paper strip and stamped on the sentiment “Make it Jolly. So Jolly!” with embossing ink, then white heat embossed it.

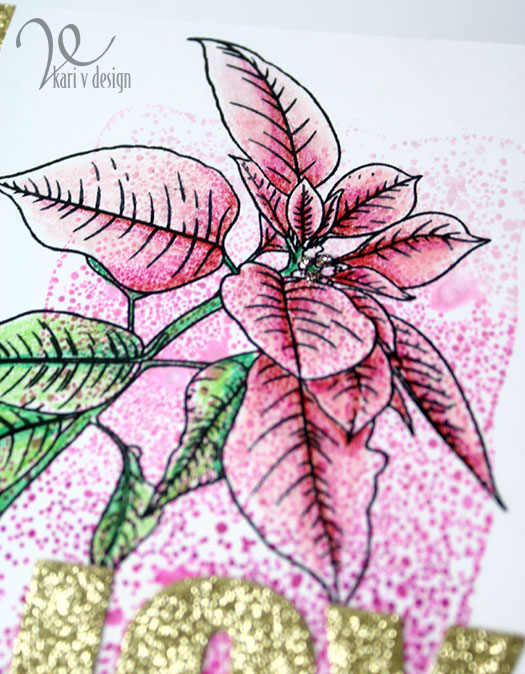
To finish it all off, I added some holly die cuts and some Green Nuvo drops. You might be wondering why I didn’t add red Nuvo drops…well, the red that I had didn’t match the red foiled paper (it was too pink). So green it is!

I added it all to a pre-scored card base (these are a dream for making cards so easily!) and that’s it!

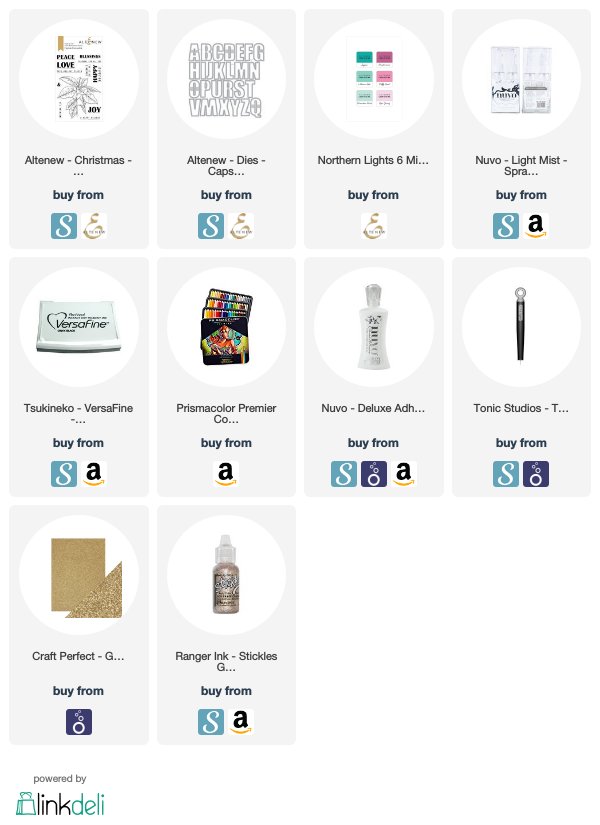
I’m often asked what supplies I use to make my cards and projects, so I’ve put together a list using affiliate links when possible. If you make a purchase with these links I may receive a small commission. These help me to keep up with blog costs and continue bringing you fun projects. Thank you so much for your support!

Thanks for stopping by!

Comments { 0 }
poinsettia-card-2

First Holiday card of the Season!

Hello! Today I am sharing my first Christmas card of the season. Also, I have a confession to make. I don’t usually make Christmas cards to mail out. I know, I know…I’m a card maker that doesn’t make my own Christmas cards! Shocking. But I found that it stresses me out too much to make multiples during the busy time of year, so I just don’t.

But today I made a festive poinsettia card that turned out so fun! I was inspired by the Irresistible Inking Techniques class at Altenew Academy and I just had to try it!

Polka dots in the background make me happy!

This is an inking technique I HAVE tried before, but this time I got so much better results. The trick is to ink up your acrylic block, spritz it with water using a light mist spray bottle, then stamp it onto your background.

I tried this a number of times using a variety of paper to see what different results I would get. I tested out the number of times to spray the ink before stamping. I tried different colors and time to leave the acrylic block on the paper. And this is my FAVORITE one of the bunch.

To get this cool spotted look, I used 3 different colors of Altenew ink on my block: Rose Quartz, Puffy Heart, and Purple Wine at the bottom. (This gave me a sort of Ombre look when I stamped it.) I spritzed it with TWO spritzes of water from a light mist spray bottle. (one was not enough, three was too much for my paper). Then I stamped it down onto Neenah Solar White 80# cover cardstock. This surprised me that I preferred the Neenah for this technique over a watercolor cardstock!

I love a speckled poinsettia

I stamped the poinsettia stamp using Versafine Onyx black ink, then I added just a touch of colored pencil. Just enough to give some color, but still see the spots. It reminds me of a speckled poinsettia….I love those!

To finish off the card, I cut it down a bit to add a strip of gold glitter cardstock on the edge. Then I added the JOY die cut out of the glitter card.

I have a list of the supplies I used below, with affiliate links when possible. When you click using these links I may receive a small commission. This helps me keep up with blog costs and continue bringing you fun projects. Thank you so much!

Oh, I forgot to mention that I also added some Mercury Glass Stickles to the center of the poinsettia to give more glittery shine to the card. When it catches the light just right, it looks so pretty.

Thanks for stopping by!

Comments { 1 }
logo-clh

Christmas Joy Hot Cocoa

Hello there! Today I have a quick card to share featuring my new favorite: Poinsettias on Coffee cups (or hot chocolate cups, in my case!)

A week or so ago I shared a quick video, where I masked off the coffee cups so only the middle showed, lightly stamped on some poinsettias using the Poinsettia Box stamp set, and no-lined colored up the poinsettias using Copics.

Well, I finally put them on a card!

christmas-joy-hot-cocoa

I used some corrugated cardboard in the background as a nod to the coffee holders, added some greenery, and popped up those coffee cups using foam tape. (Most of the supplies used are from Our Daily Bread Designs.)

I white heat embossed the sentiment on black cardstock and cut it out using a fishtail end.

Linking up to the Winter 2018 Coffee Lovers Bloghop!

logo-clh

Thanks for stopping by.


Comments { 8 }
sunshine-nativity-diorama-2

Diorama Cards make Sweet Scenes

Hello again! I’m back with a few more Diorama cards. I love that you can make sweet little scenes with these dies. Here I’ve created a little snowy neighborhood with visiting deer!

sunshine-deer-in-neighborhood-diorama

These dioramas have the option to have multiple layers inside your frame. I have 2 different layers here and in real life it’s so dreamy. I love adding a little Star Dust Stickles to the icicles, it adds just the right amount of glitter!

My next Diorama features my all-time favorite nativity set:

sunshine-nativity-diorama-2

sunshine-nativity-close-up

The angel and the star are cut from silver foil paper. I heat embossed the sentiment in the back with silver embossing powder.

To make the nativity characters a little sturdier, I die cut and backed them with chipboard.

There are so many options you can choose with papers and additions for these Diorama cards. I added the red & white washi tape to the front layer for a pop of color. All other products are from Our Daily Bread Designs.

I wish you could see the multiple layers…these photographs don’t do these sweet little scenes justice!

To see just how easy it is to put together these Dioramas, watch my video here or on YouTube:

Here are a few more diorama cards I’ve created. Can you tell I just LOVE these Diorama with Layers dies?!

sunshine-lots-of-diorama-cards

I hope you enjoyed these projects today. Thanks for stopping by!

Comments { 0 }
sunshine-city-scape-A2-card

Cityscape Cards Two Ways

Hello! Today I am excited to share with you some Cityscape Christmas cards…One is a diorama 3D card and one is an A2 size folding card. Here’s the Diorama card:

sunshine-noel-cityscape-diorama

This is a 3D card that will fold flat to fit into an A6 envelope for mailing!

How festive do those skyscrapers look all lit up in green and red?! I love that. I used glitter paper to place behind the die to get that sparkly holiday lights look.

This new Diorama Die is a new favorite of mine. It is so easy to use and to layer with Christmas paper. I added some Alphabet Flags (from a previous release) to spell “Noel” and used that same sparkle paper behind those letters. To finish off this card, I added some glitter to the Pine Branches and topped it with a big, red bow (from this set)!

I love that you can also use these same dies to make an A2 size card:

sunshine-city-scape-A2-card

Here I used the same City Skyline dies over an ink blended background. That beautiful sentiment is from the Christmas Card Verses stamp set. I created a frame with the Pierced Rectangles dies, and finished it all off with sparkly Pine Branches and a Pinecone from this set.

If you haven’t already seen the entire October release, head over to Our Daily Bread Designs to take a look. It’s a fantastic release and I love how versatile the dies are to use for a Diorama Card OR for a folded card.

Thanks for stopping by!

Comments { 0 }