Hello! Today I’m sharing a project with the brand new July Subscription box from The Hedgehog Hollow! I love this month’s box, it’s filled with cuties from Sunny Studios Stamps. If you didn’t see the unboxing video showing everything included in this month’s box, see below to view it!
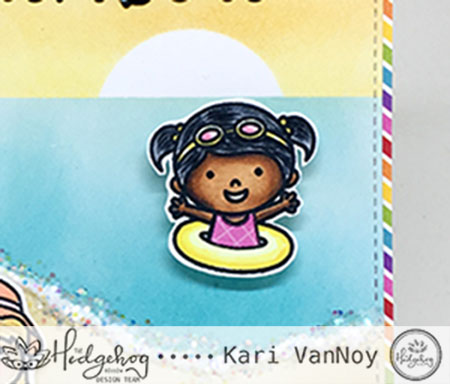
Here’s my project using some of the bright rainbow paper, the cute stamps of the little swimmers and the rainbow die.
Notice the swim suit on the girl in the intertube…I paper pieced her pink suit with paper in the kit. I colored up the rainbow die with copics in a rainbow of colors. And the “foam” from the waves is made with chunky glitter.
This is such a bright, fun, summery kit! There are three exclusive products from Sunny Studio Stamps, available only in The Hedgehog Hollow box. The last box sold out very quickly, so don’t wait! I know you will love this month’s kit.
Here’s the unboxing video you can view here or on YouTube:
I hope you enjoyed my first project from this kit! I have lots more to share this month…Until then I wish you lots of crafty time!
For more information or to order a box for yourself, visit The Hedgehog Hollow shop here.
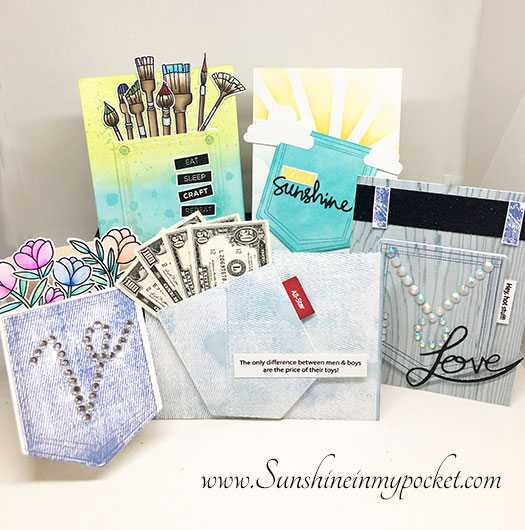
Hello! Today I couldn’t stop making pocket cards with the June 2018 Hedgehog Hollow box! I made 5 cards to share today. Yes, FIVE! I just kept on going (and I still have a dozen more ideas for this versatile box)! Even though this is a masculine themed box, there is still potential for feminine cards, too.
Affiliate links are used when possible, when you click on these links and purchase a product, I will receive a small commission. These help to pay for my blog and crafty news that I bring to you! Thank you for your love and support.
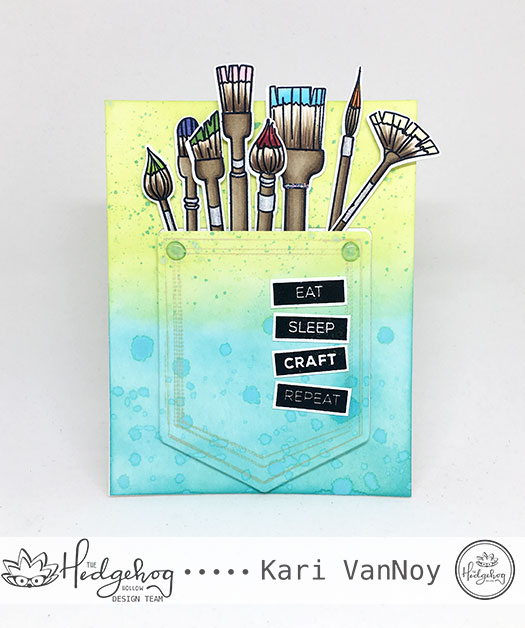
The first one could be for any crafty friend, and I splattered it with a little paint and added some paintbrushes from my stash.
I used Distress Oxides in Peacock Feathers and Twisted Citron to ink up a card panel before cutting out the pocket die. Then I added my brushes and popped it all up using my favorite Scotch 3M foam tape. I added a sentiment that says “Eat. Sleep. Craft. Repeat.”
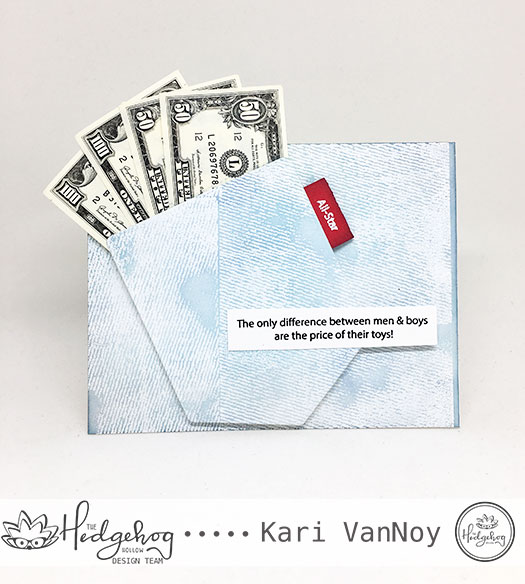
The next card I made just HAD to have some money sticking out of it. Because after all, what do you put in your pocket? My favorite is when I put a twenty dollar bill in my pocket and forget about it…then I find it when I wear those pants again! (do you ever do that, is it just me?)
I used the sentiments from the Hedgehog Hollow stamp sets in the June box: “The only difference between men & boys are the price of their toys!” Then I used “all-star” as a red tag on that pocket….to kind of resemble the “Levis” tag on a pair of jeans. Believe it or not, I FOUND this paper money just floating around in my craft room. Perfect!
Here I just inked up the background with a little Distress Oxide in Faded Jeans, then I stamped on the denim stamp with the same Distress Oxide ink. So easy, but it adds a lot of texture!
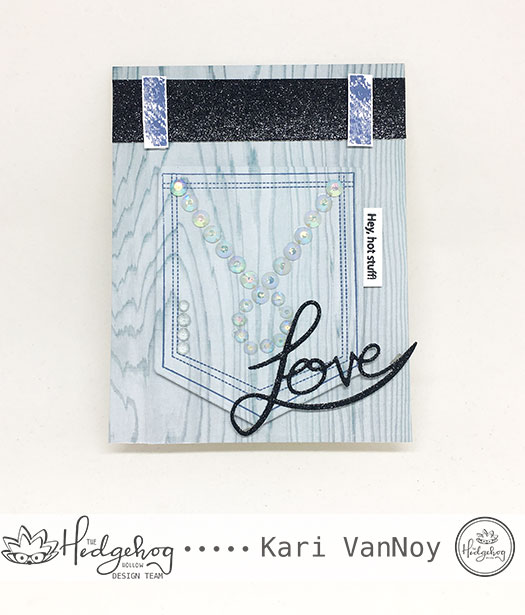
My next card had to be a pocket with BLING!!
So I created a pattern with some gemstones on the pocket. The woodgrain paper was also in the box. Who ever heard of wood grain pants?! But I kinda liked the look, so I went with it. I created a glittery belt out of black glitter paper and added some “belt loops” with the stamp set. The “Love” die is from this set and is a part of the Crafting for a Cure bundle to raise money for the Akron Children’s hospital. (I love that Alexandra did this set!)
For the tag on the side of this pocket, I used “hey hot stuff!” and I think it works perfectly for a girl card.
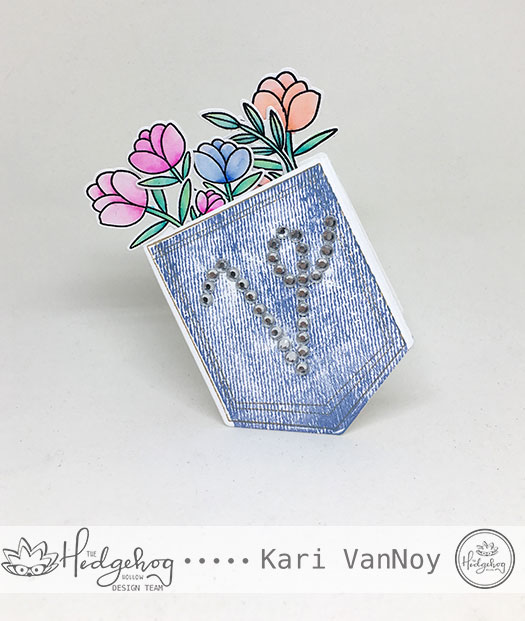
Now, I just couldn’t go on until I made a pocket SHAPED card! Again, I used gem stones for the pocket. But this time I cut the pocket out and left the top portion over the fold in the card, so it created a POCKET SHAPED card! So cool.
I added some flowers that I had colored up with my Zigs, then I covered the back of the card with another pocket die to hide the glue. On the inside it says “Sending Joy.” (see the video for a better look)
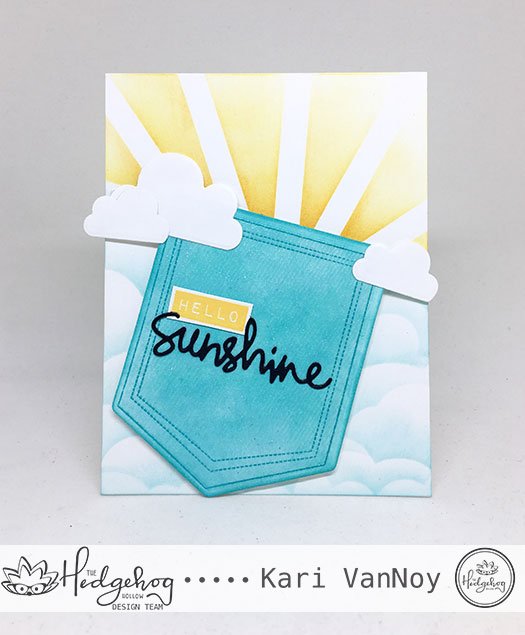
Now, for my last card, you just KNOW I had to make a Sunshine in My Pocket card! I mean, c’mon…it’s the name of my BLOG!
The sentiment says “Hello, Sunshine” and I used some products from my stash to create it. I taped off the sunshine coming out of the pocket with post-it, then I used Distress Ink in Mustard Seed and Wild Honey to ink on those sun rays! The pocket is inked up with Distress Oxide in Peacock Feathers, then I used the denim stamp with Versamark and added clear embossing powder for texture.
Check out my video for more details here or on YouTube:
I hope you had as much fun as me and got some inspiration for your own pocket cards! Here’s one more look at them all together!
Hello! Today I am featuring the new “Brother In Christ” stamp set from Our Daily Bread Designs. If you have been following me, you know that I don’t make a lot of masculine cards and so this was a fun challenge for me.
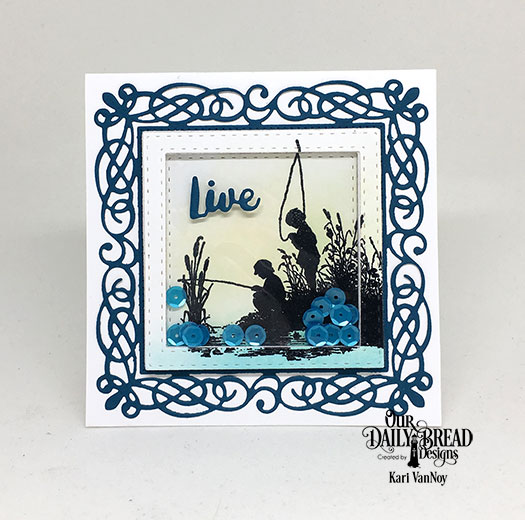
The first card was one I knew I wanted to make just as soon as I saw this new set! It’s a beautiful square card with a shaker element! I wanted the sequins to mimic the look of the water.
LIVE FOR FISHING!
I used the Flourishy Frame Die to create the frame around my scene, but also used the Double Stitched Square Dies for the shaker portion. The stamp of the fishermen fit perfectly inside…and then when I cut the frame with the square dies, added a fun layer of dimension with a portion of the picture outside of the shaker! I’m not sure if I explained that correctly, but I really liked the way it turned out!
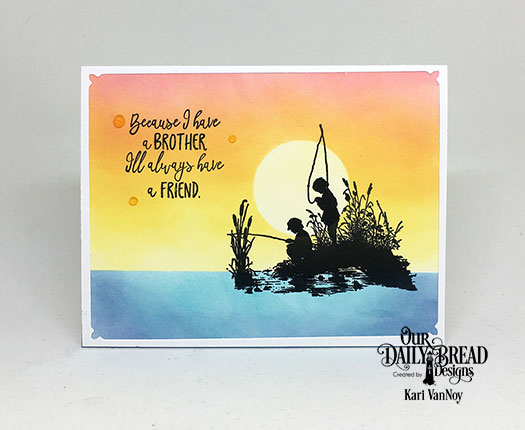
Then, I knew I had to make a sunset fishing card. We used to love to walk around the vacation lake at sunset and I thought sunset fishing would be fun. After he saw this card, my husband said…”no, you need to go fishing in the morning!” Well, what do I know about fishing? Not much. But I know a sunset fishing CARD was a really pretty idea! Lol.
I masked off a circle for the “sun” and strategically placed it on the card just where I knew those fellas would be stamped. Then I sponged on Distress Oxide inks in some of my favorite colors: Abandoned Coral, Orange Marmalade, Squeezed Lemonade and Antique Linen for the sky; Faded Jeans and Peacock Feathers for the water. Then I stamped the image in my favorite crisp black ink.
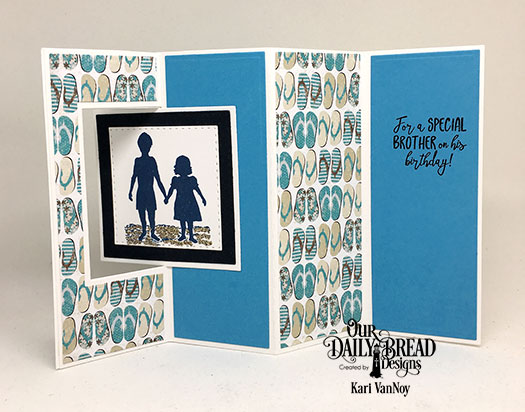
For my last card today using this set, I tried my hand at a Lever Card:
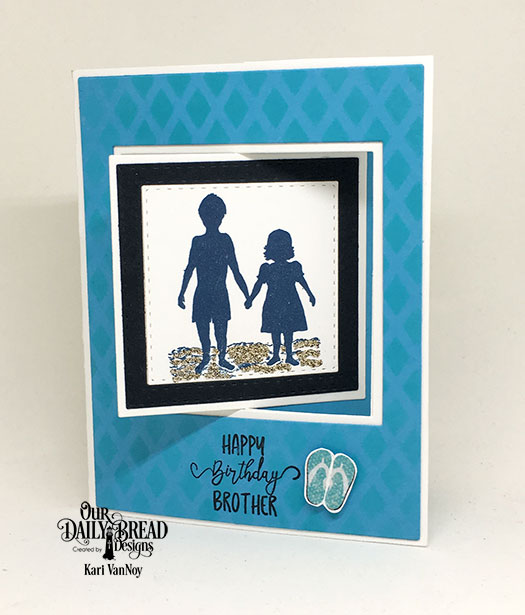
My brother is definitely a beach kinda guy and he almost ALWAYS wears flip flops, so this card was just a natural. I really love the mix of fonts on these sentiments! I used the Lattice Background Die to ink on a interesting pattern on the front, and then used the By The Shore Collection Paper for the fun flip flops!
I hope you enjoyed a look at the new Brother In Christ stamp set. For more information and details, visit the Our Daily Bread Designs website here. Thanks for stopping by!
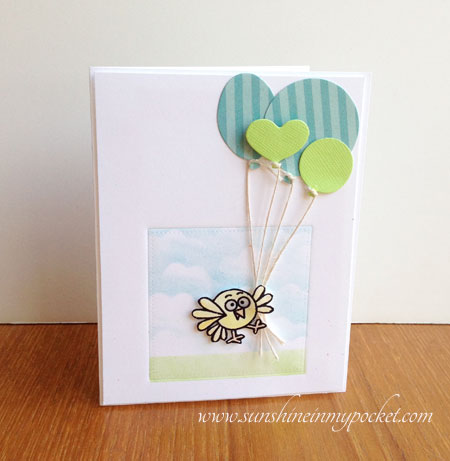
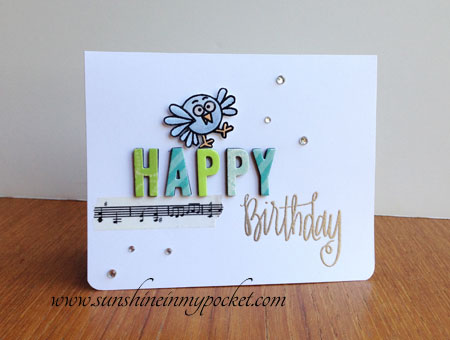
So this was a fun idea to mask off the shape, then ink in the inside, then dry emboss the dots around the shape. I don’t know if that makes sense, but I loved making this card.
I image those balloons are carrying that funny bird away!
Jennifer McGuire showed us a great trick for getting alphabet dies all lined up. I was so happy…and I had to give this one a try right away.
This one is a birthday card for my sister-in-law (she better not see this until after Wednesday!) I thought this one would make her smile.
A little Lawn Fawn alphabet, a Little Paper Smooches bird, a Neat & Tangled embossed sentiment, add some gems….and you get a fun, happy card! And do those letters look well lined up, or what?! (I used a T-ruler and some post-it tape to get them just right) Thanks for a great class today, Jennifer!
Hi I'm Kari. I'm a creator, a card maker, and a day maker! I am Lucky in love to a supportive husband, blessed to raise 3 kids (all moved away now!), and happy to be watched over by 2 dogs.
I originally started this blog to remind me to be happy amid adversity, and I hope it inspires you, too!