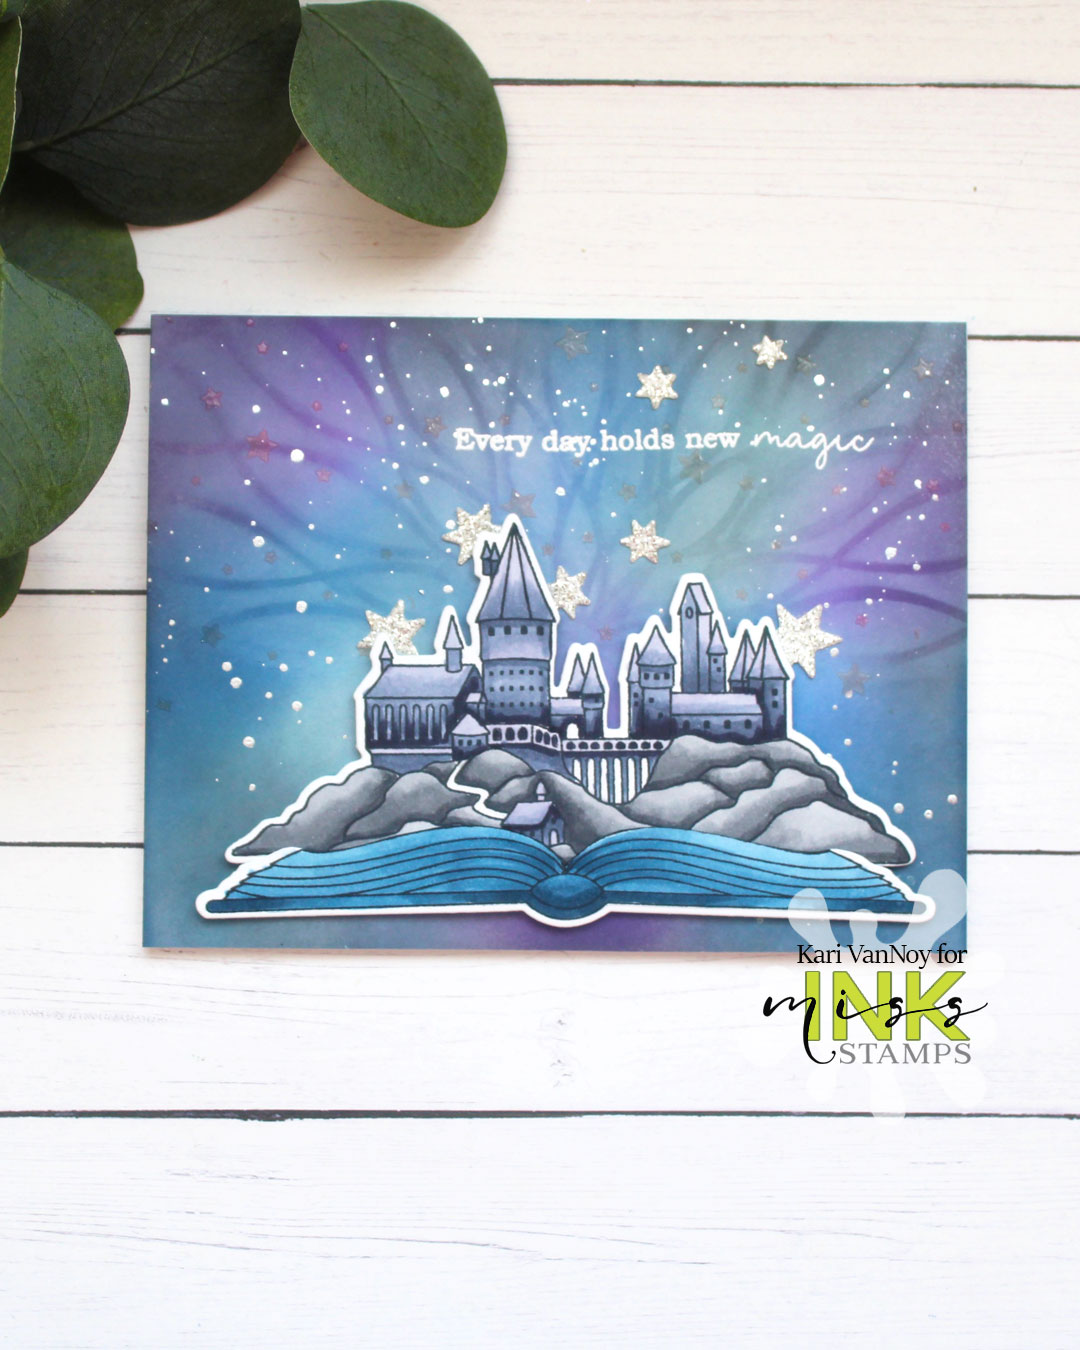
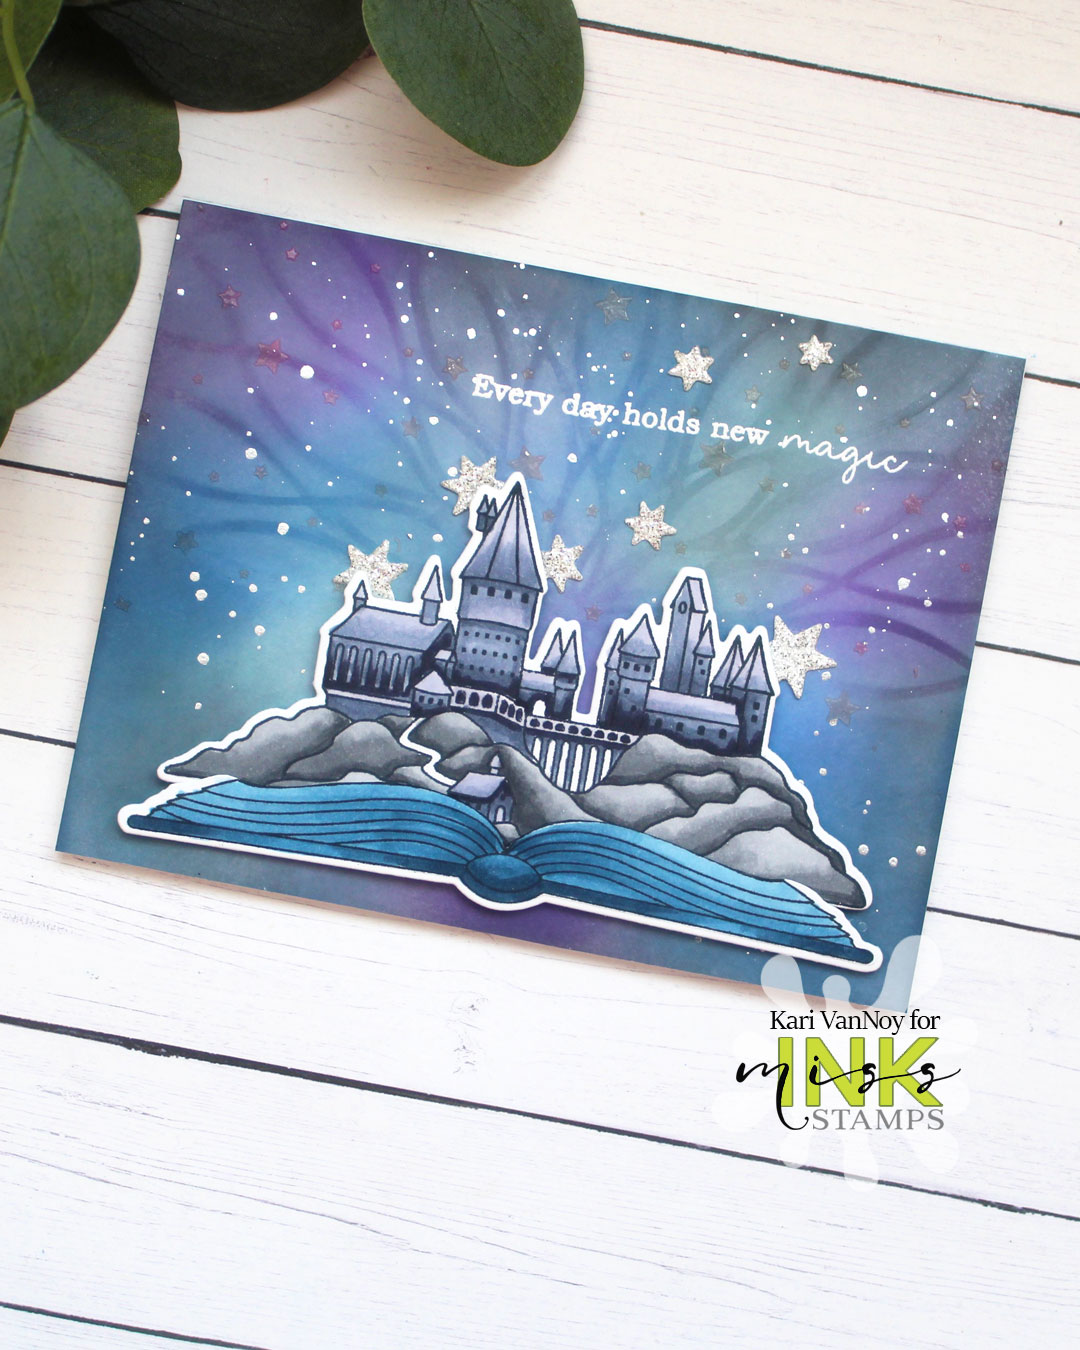
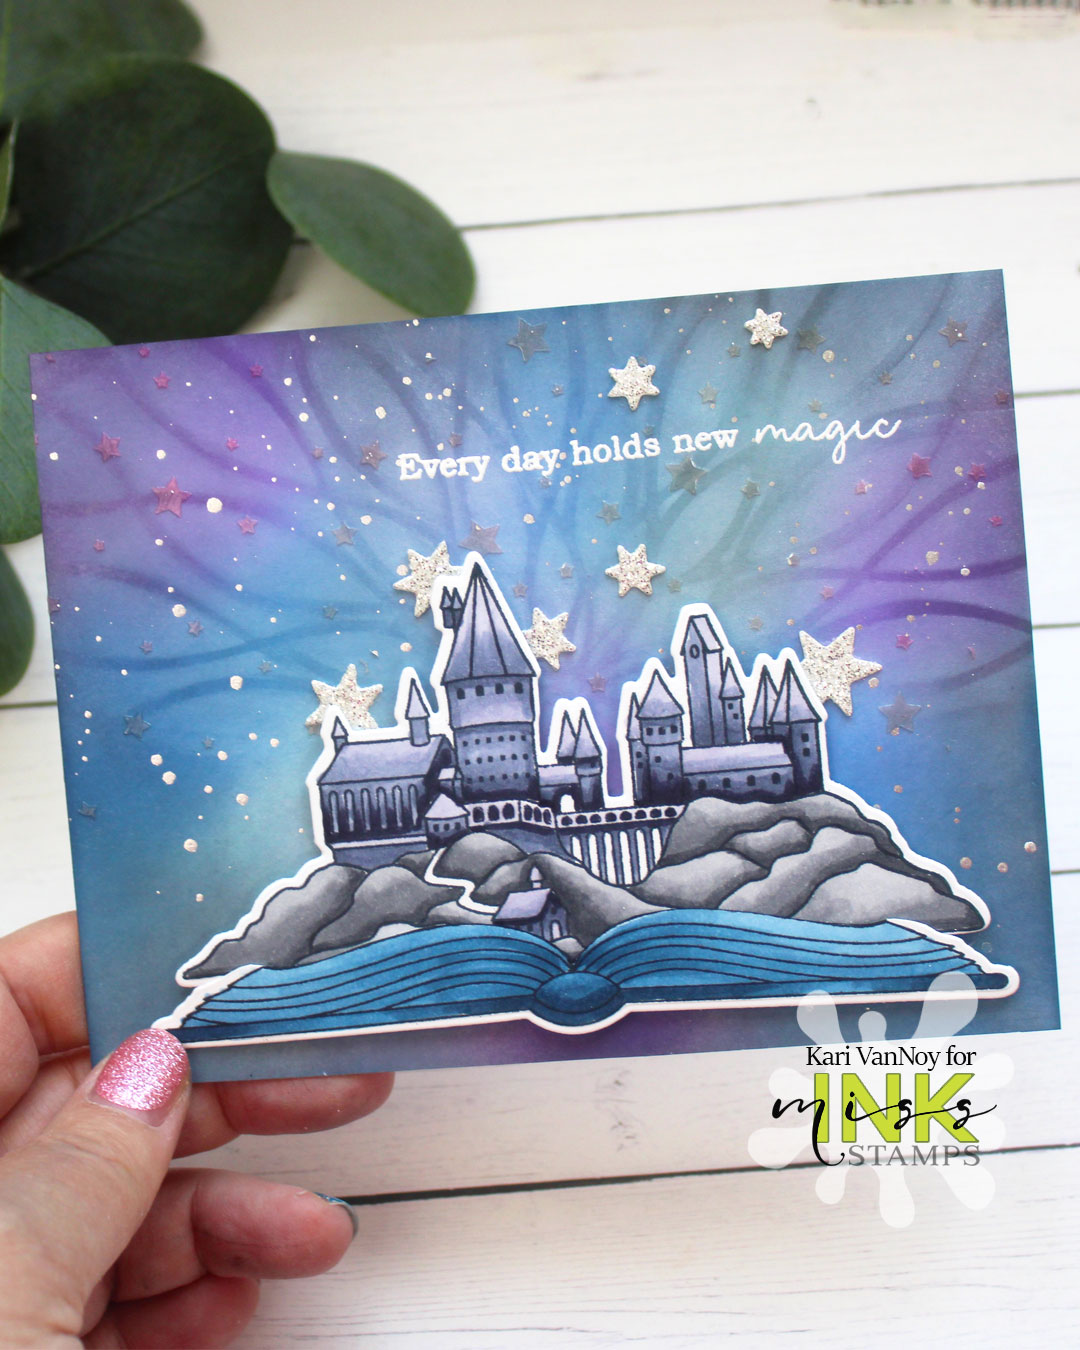
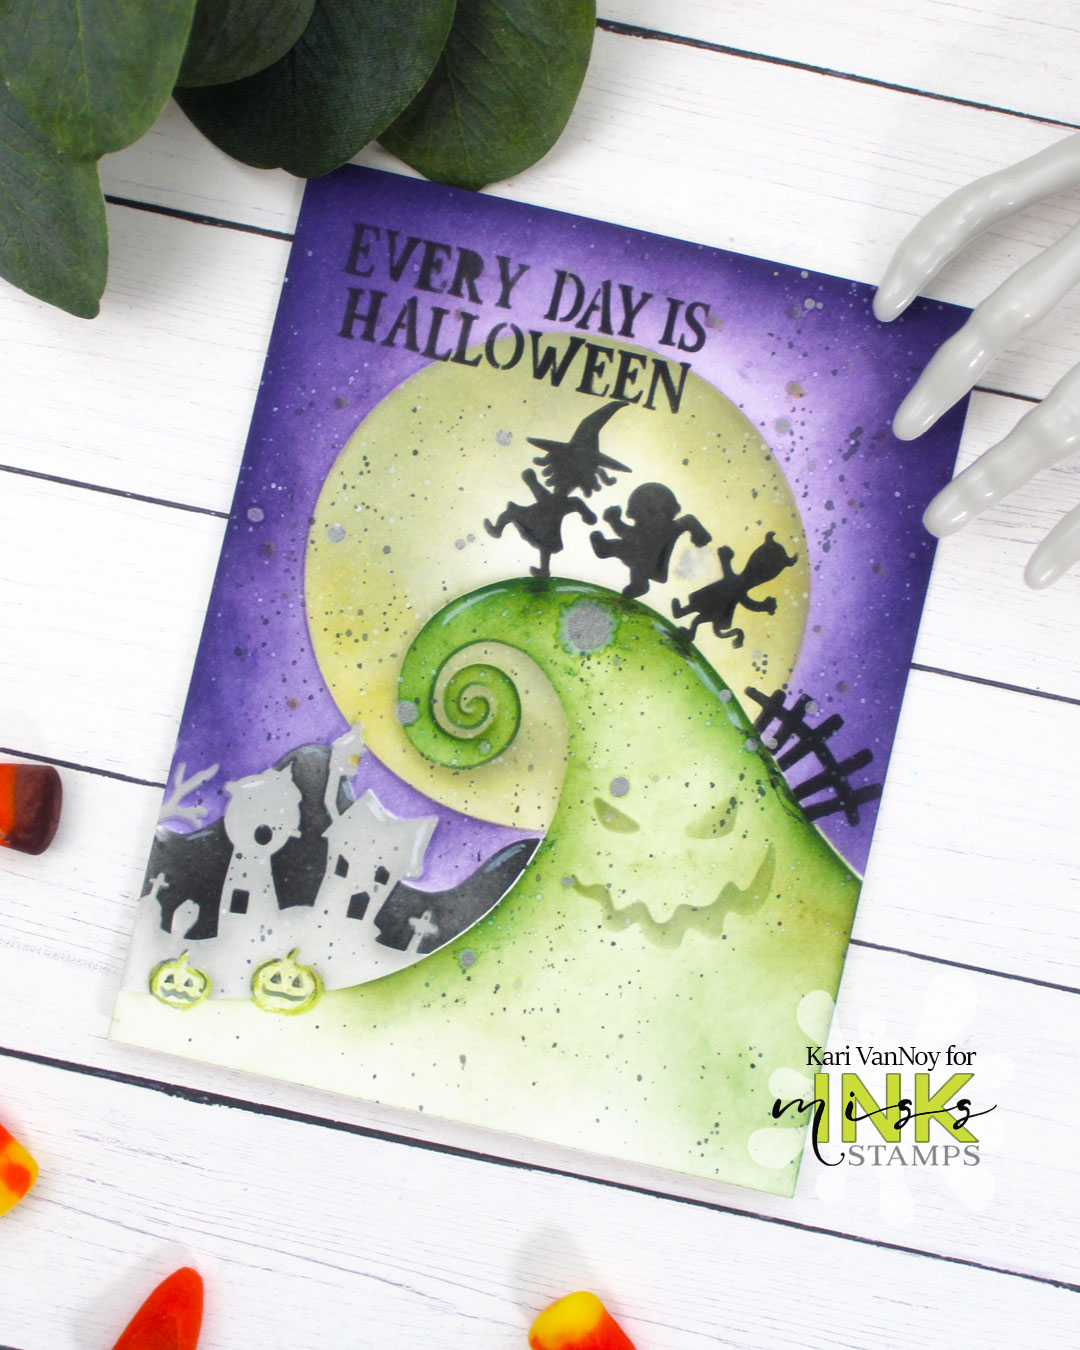
Hello! I have some fun cards & a video to share. You won’t believe all the options on this Layering Stencil! It’s a fun one for Halloween (or Christmas!) Watch the video below or on YouTube:
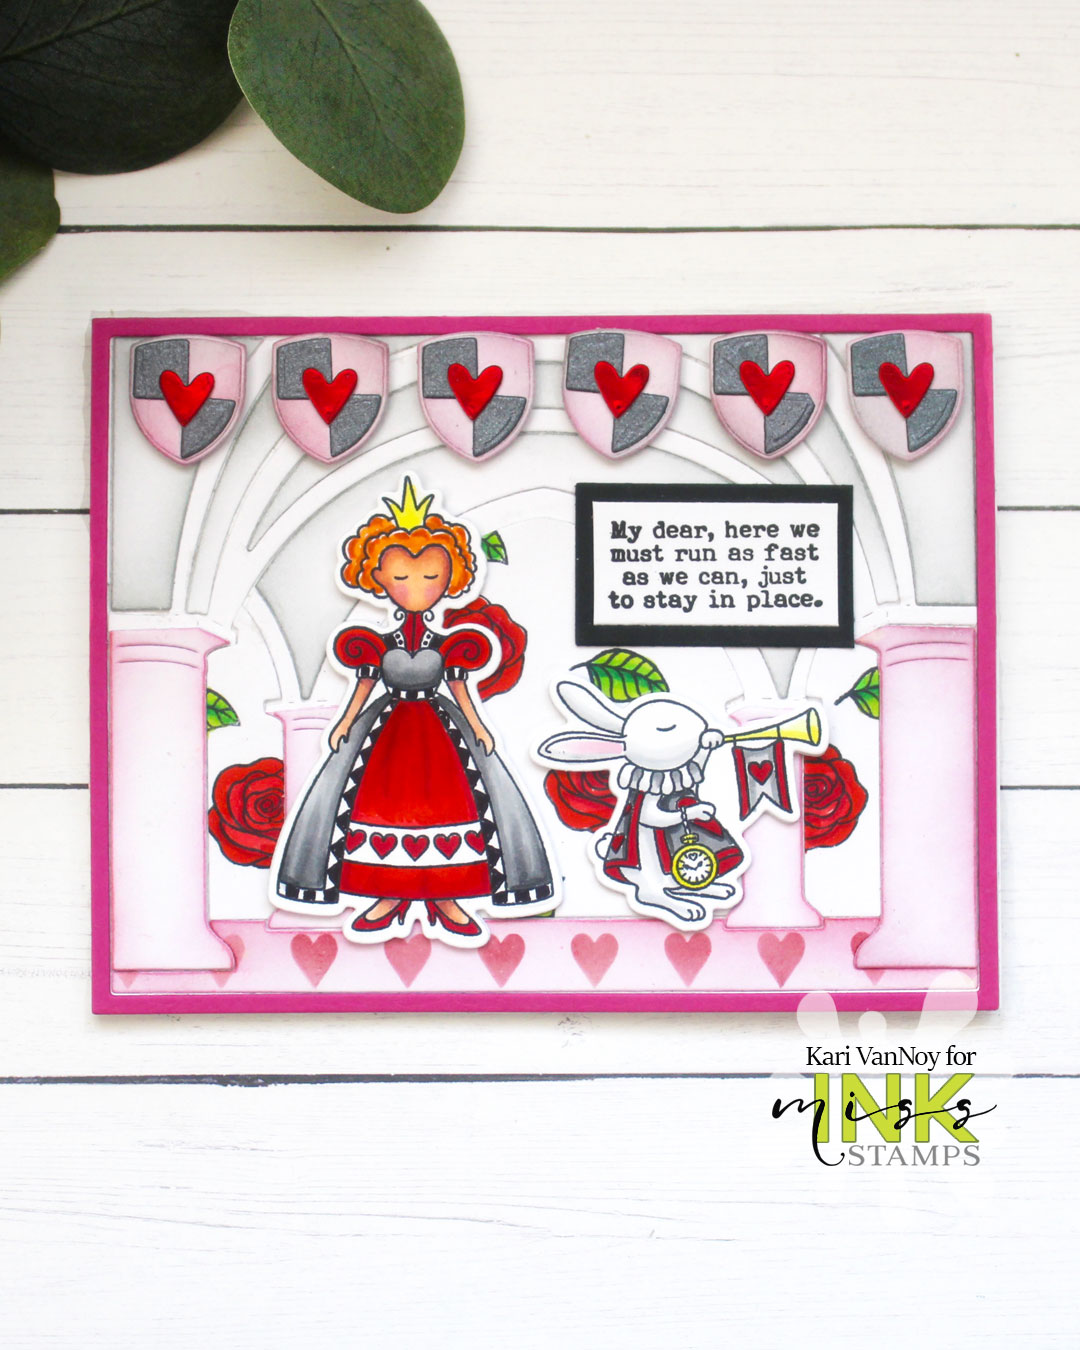
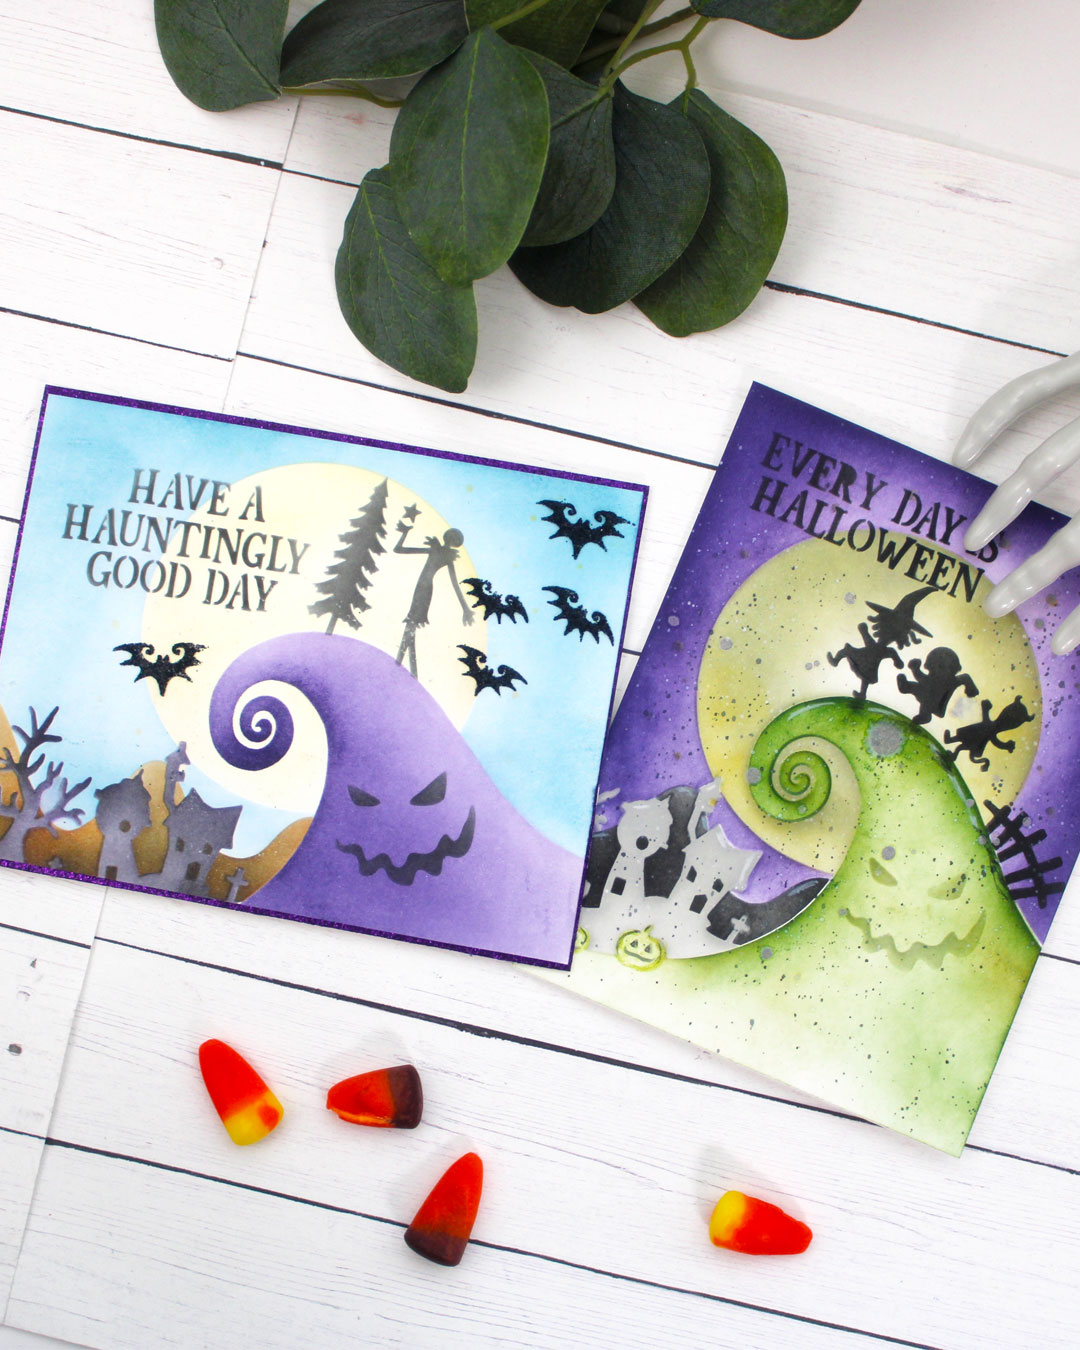
I absolutely love layering stencils, but when they come with this many different images & sentiments to choose from…WOW! It’s so easy to make lots of different cards with just one stencil set.
Watch the video to see all the different options you have, along with a couple cards. I love creating with this stencil and if you like to make Halloween cards, this stencil might just be for you!
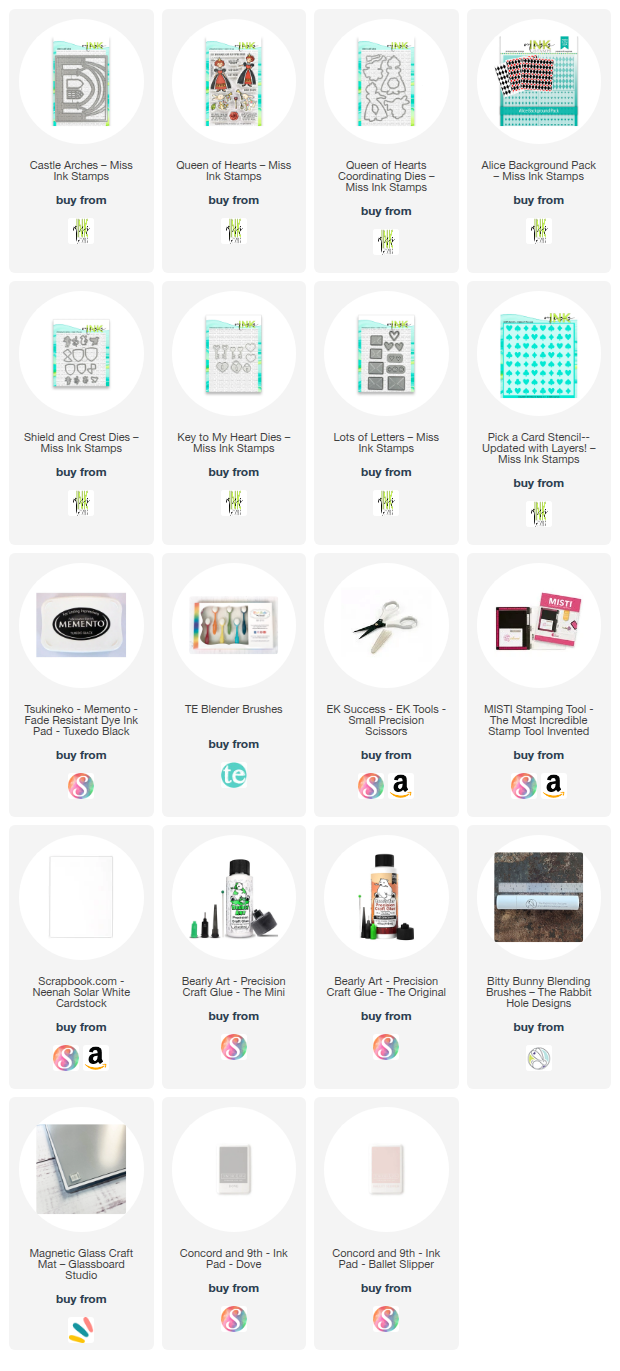
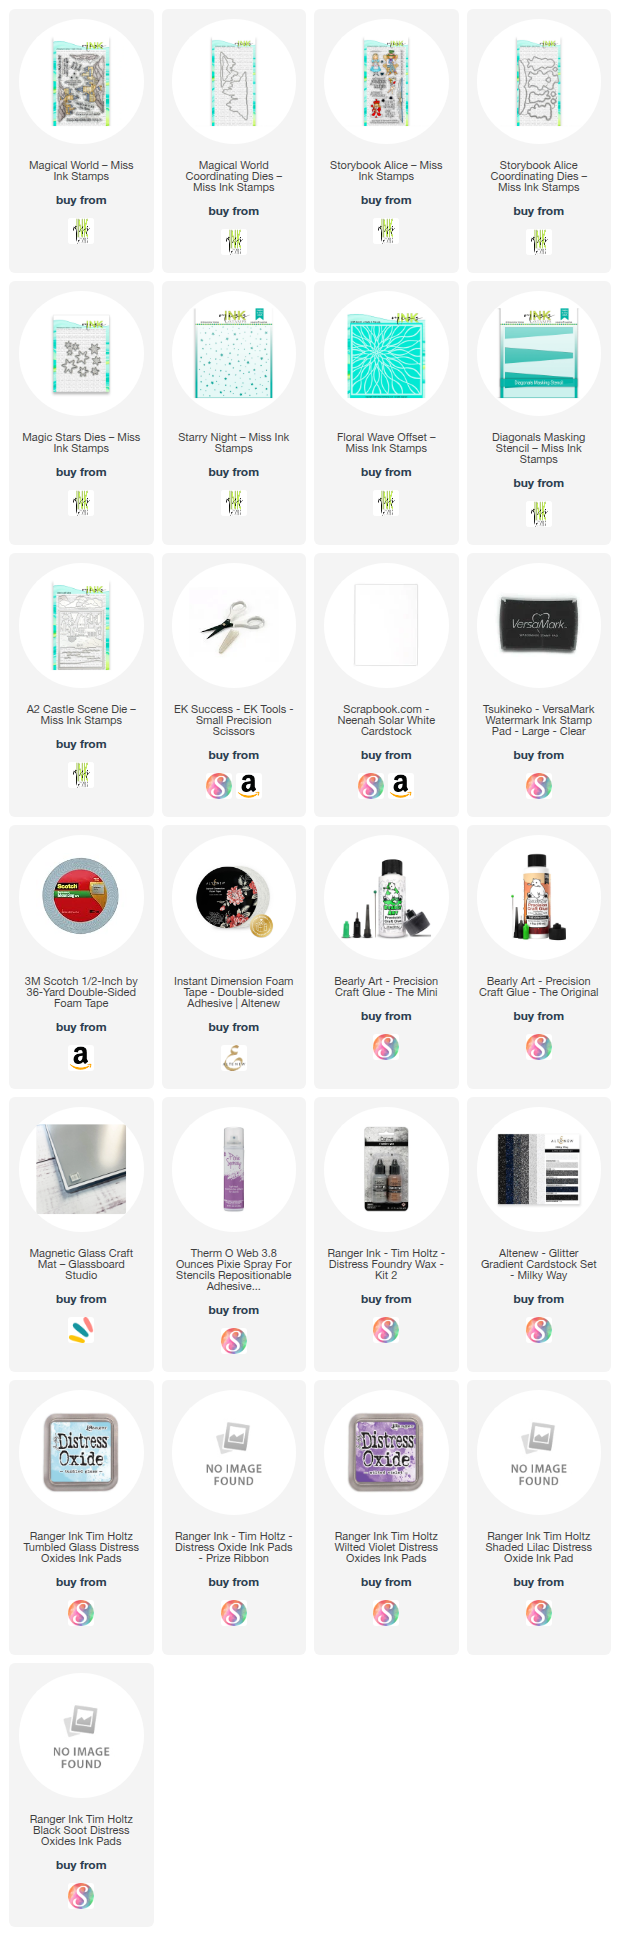
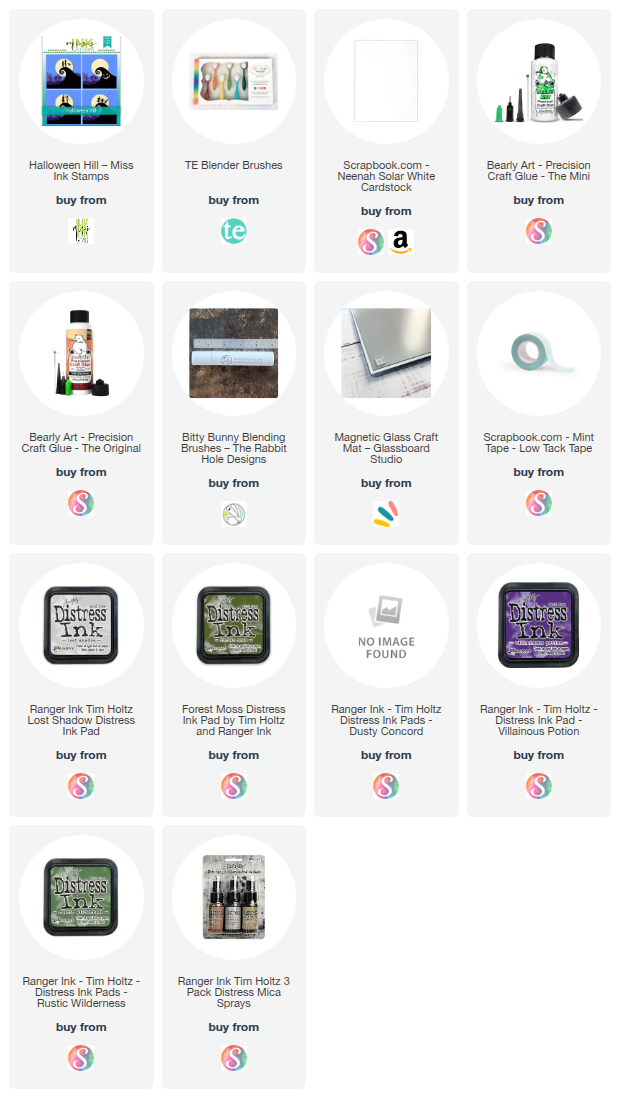
I’m often asked what supplies I use to make my cards and projects, so I’ve put together a list using affiliate links when possible. If you make a purchase with these links I may receive a small commission. These help me to keep up with blog costs and continue bringing you fun projects. Thank you so much for your support!
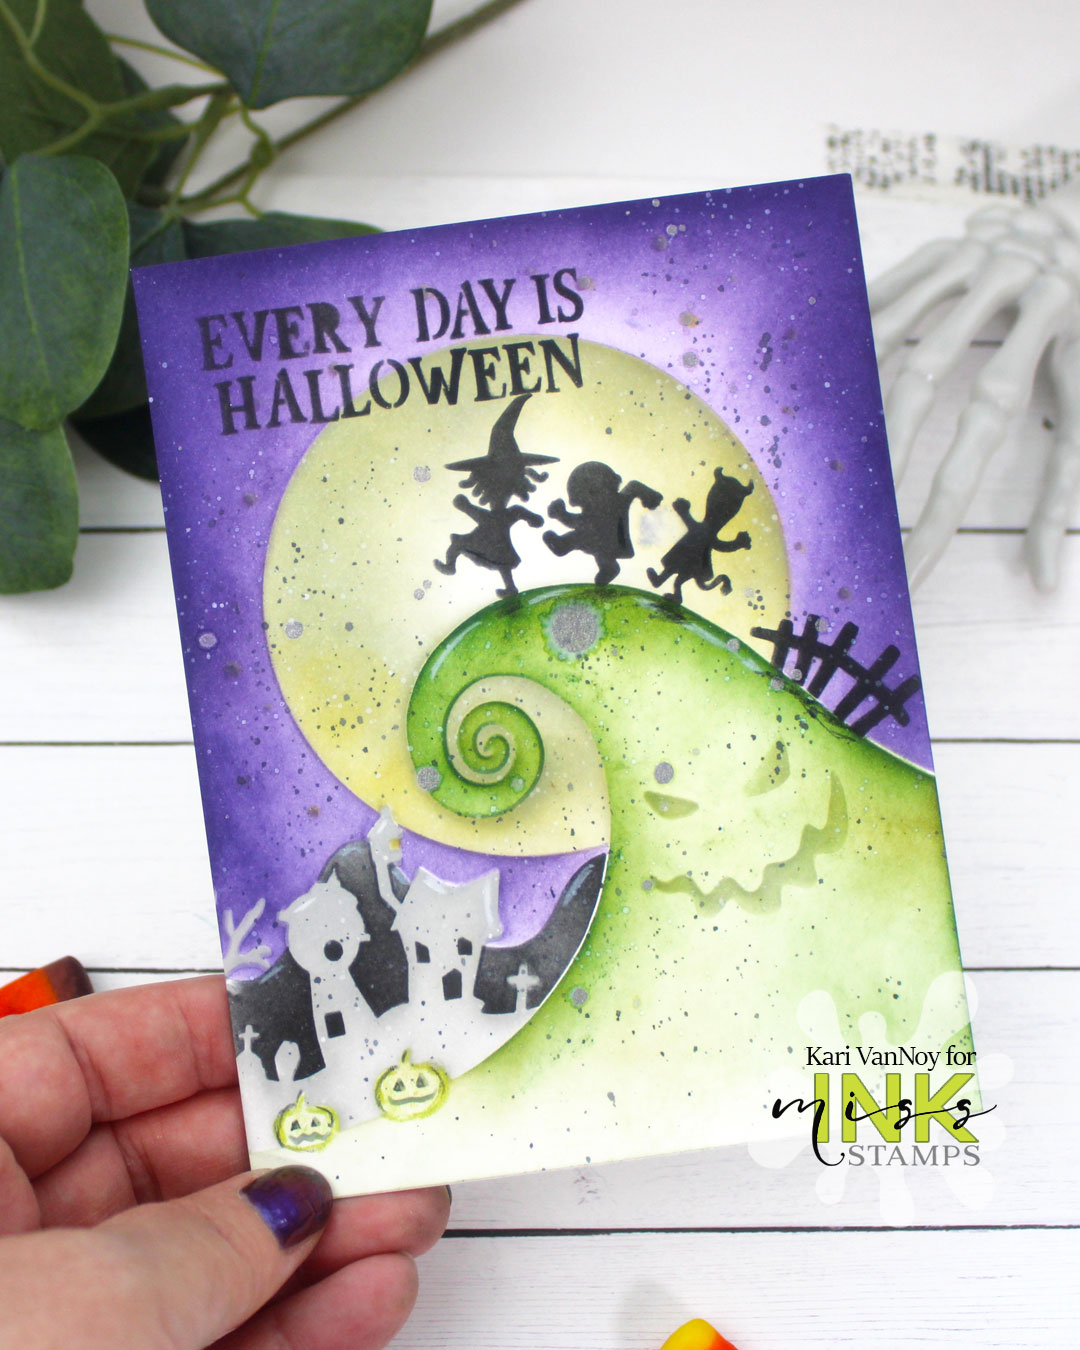
Thanks for stopping by today! Everyday is Halloween right now… (Wink). See you soon with another card to share!
Kari