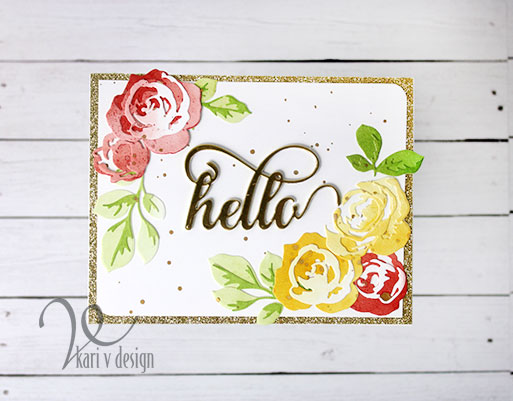
Tag Archives | Altenew Academy
both-cards-2

Life Looks Beautiful on You

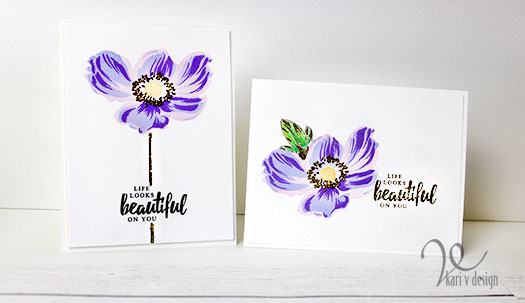
Hello! Today I have another card share for my Altenew Educators Certification Program. This time, I was inspired by Jennifer Rzasa in the Clean & Simple Boutique Cards class.

Clean & Simple definitely does not come easy for me, but Jennifer suggested adding a little something extra like foil or embossing powder. This gives the card a bit more flair and still remains clean & simple.

Here’s my take, (it is difficult to capture the shine of the gold in photos, so please keep scrolling for more pictures):
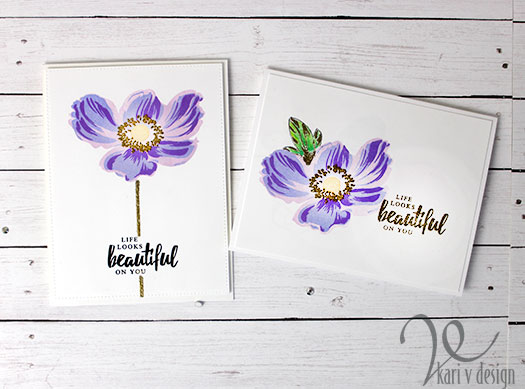
I just love the look of this stamp set (Build-A-Flower: Anemone)! I used a variety of purple inks to get this look. Since I don’t have my Altenew inks yet, I combined both Distress Ink and Distress Oxides to get this look.

The idea was to add a gold embossed stem to the Anemone, but this stamp set doesn’t have any stems, so I drew one on using a Versamarker!
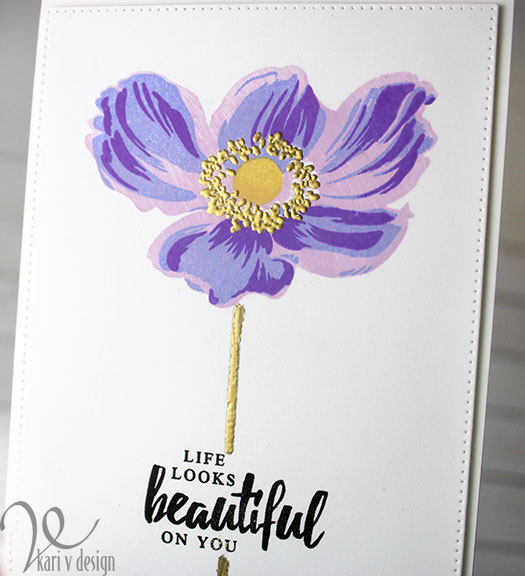
Gold embossing powder adds a pop of shine

I have a video below to show you the process, or watch on YouTube:

Just imagine all the different color combinations you can try on this flower. I love the big change in colors I got here, but for a more subtle effect you could simply use one or two colors and double, even triple stamp in that color.
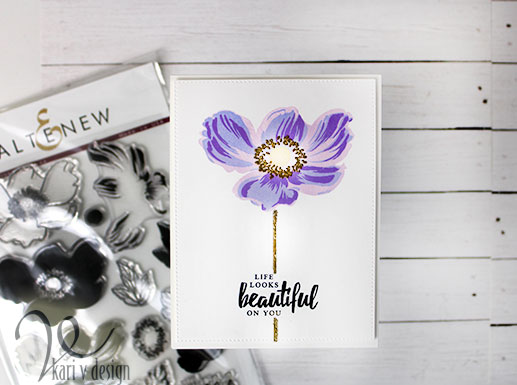
I hope you enjoyed this project today. I often get asked what products I’ve used, so I have a list below. I use affiliate links, when available, at no extra cost to you. When you purchase using these links, I may receive a small commission. This helps me to keep up with blog costs and continue to bring you projects like this! Thanks for your support.

Love this Anemone set! Thanks so much for stopping by.
Dramatic Anemone
Comments { 4 }
Altenew-badge

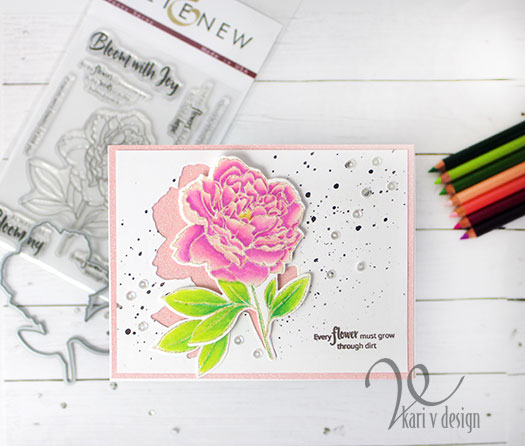
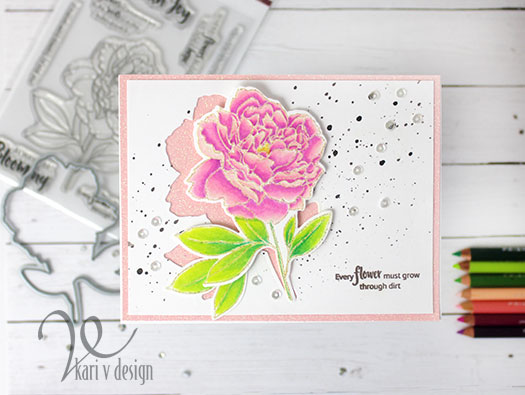
Every Flower Must Grow Through Dirt

Hello! Today I have some very exciting news!! I’ve been accepted into the Altenew Educator Certification Program. I’m so excited about this and today I have my first card to share from my first certification class.

I was inspired by Yana in the Easy Die Cutting Techniques class. She had so many wonderful tips and ideas, but there was one that absolutely jumped out at me. This is a technique I had never done before: die cut the image and offset the image from the die cut card base.

Peony Spray set

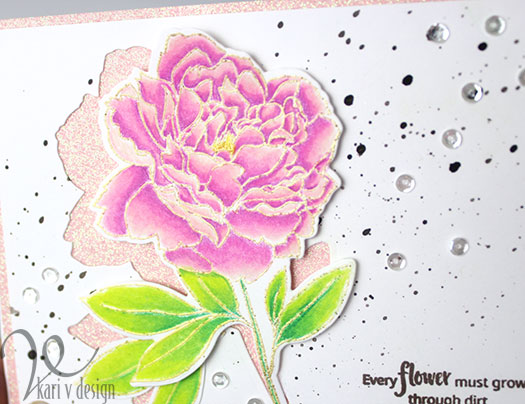
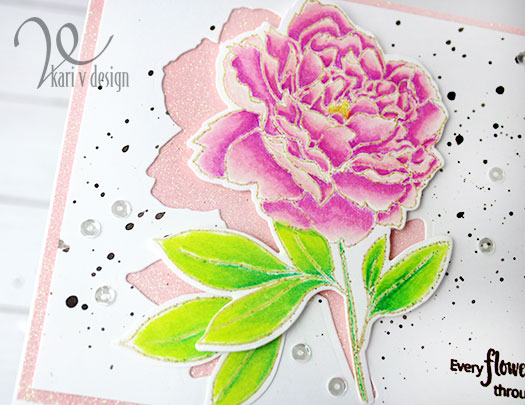
I loved the idea of offsetting the image to show a peek at something below. And of course I had to use a little sparkle with glitter paper! I used a blush glitter paper to match a color in my flower.

Look at that glitter paper…it’s like a promise of something good!

To create this card, I first heat embossed the peony image with glitter gold embossing powder. Then, I colored up my Peony with Prismacolor pencils in these colors: Mulberry (PC995), Process Red (PC 994), Blush Pink (PC918), Light Peach (PC927). For the leaves I used: Grass Green (PC909), Apple Green (PC912), and Chartreuse (PC 989).

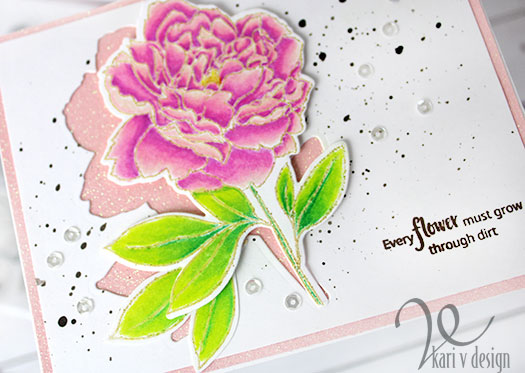
I die cut the image with the matching die. I also colored up two extra leaves. I set those images aside and splattered the panel with a dark brown watercolor paint. Then I stamped the sentiment “Every flower must grow through dirt” in Rich Cocoa ink. Love that sentiment!

I attached the stamped panel piece with liquid glue to the blush pink glitter paper. The glitter paper is cut to an A2 sized card: 4 1/4″ x 5 1/2″ and the stamped panel is just smaller at 4″ x 5 1/4″.

The top flower is popped up with 3M foam tape

To attach the flower, I used 3M foam tape. (The extra leaves are glued directly to the card panel beneath that popped up flower.)

To finish it all off, I added some Sparkling Clear 4mm sequins. I hope you enjoyed this project today!

I’m often asked what products I’ve used, so I’ve included them below using affiliate links when possible at no extra cost to you. When you purchase through these links, I may receive a small commission. These help me to keep up with my blog and bring you more projects! Thanks for your support.

Thanks for stopping by!

Beautiful peony!
Comments { 1 }
hibiscus-close-up

Altenew Day 6: Layered Die cuts with something extra

Hello! Today is the last day for my homework for the Altenew 3D floral focus class. We were challenged to mix up the 3D dies with stamping. However, I don’t own any layering stamps (yet), and so I thought I’d combine them with patterned paper!

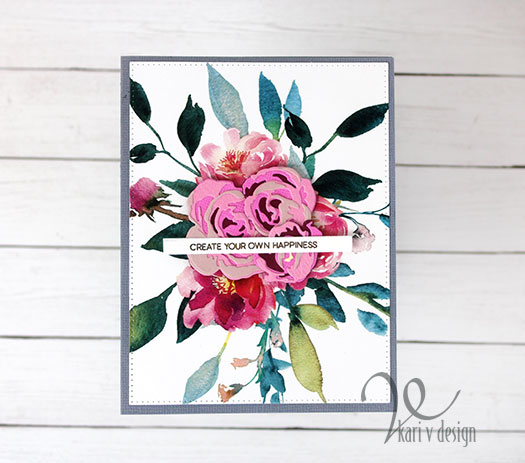
I recently picked up this Summer Garden paper pack and there were some perfect papers in there for this challenge.

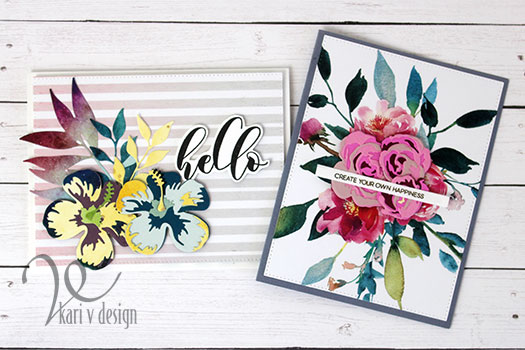
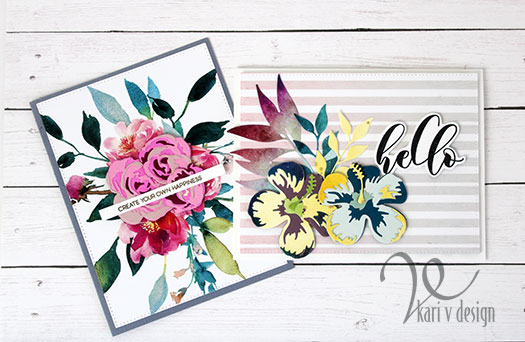
Pretty Patterned Paper combined with Garden Picks 3D Dies

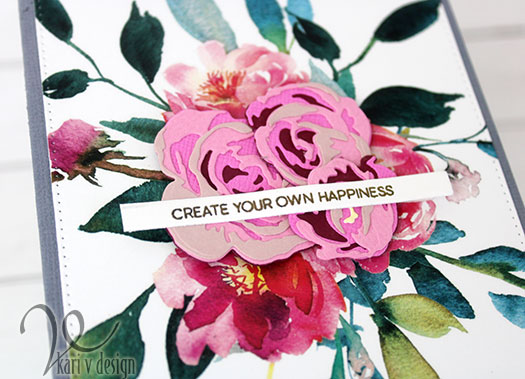
I love this paper combined with the dies. I picked some pinks and dark maroon papers to match with the paper.

I put this card panel onto a grey card base. The sentiment is from another Altenew set.

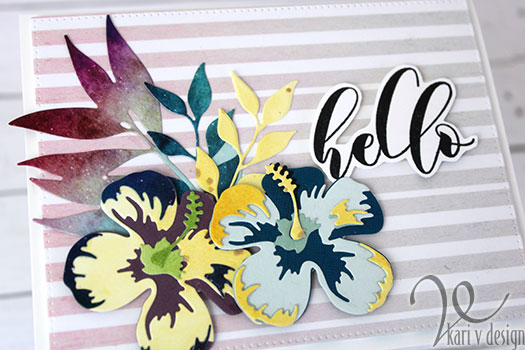
Also in this paper pack was a striped beautiful background that I just couldn’t resist! So I made another card that was inspired by Therese Calvird’s color choices. She is always combining fun colors together that I wouldn’t think of, so I tried my hand at some fun colors for this one:

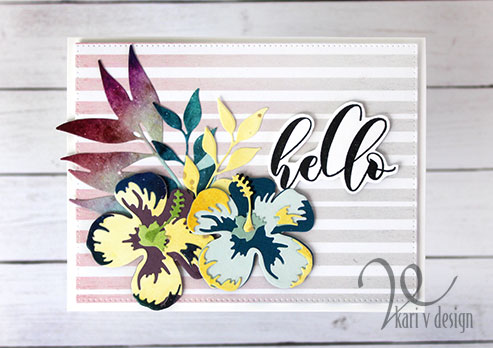
Hello Hibiscus

I started out with some teal blue hibiscus and added some fun yellows and purples and greens. It’s a fun color combo, I think. And how pretty is that striped background paper?

I added a fun Hello stamp that I fussy cut around and popped up on foam tape. Oh, and two of those leaves dies were cut from the Celestial paper pad.

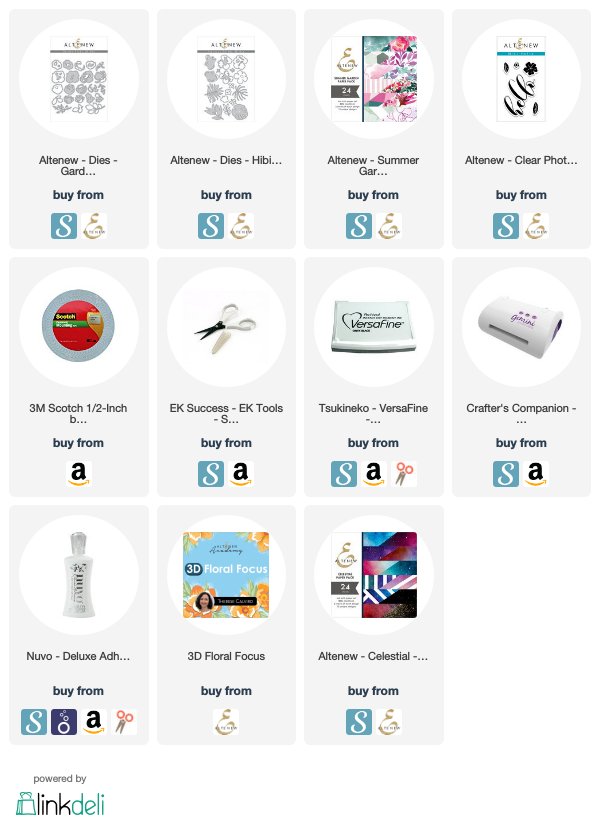
I’m often asked what supplies I’ve used on my cards, so I’ve linked them below using affiliate links when possible. A big thank you if you purchase any products using these links. It helps me to keep up with blog costs and continue to bring you fun projects like these!


I hope you enjoyed these projects today. I’ve really enjoyed this Altenew class. It’s the first one I’ve ever taken and the first time using 3D dies and I learned so much. A big thanks to Altenew and Therese Calvird for a great class!

Thanks for stopping by!

Comments { 1 }
galaxy-close-up

Flower in Space

Hi there! I know, that title sounds strange, but today as a part of the Altenew 3D Floral Focus class we were challenged to make a floral card using patterned paper and washi tape.

Wouldn’t you know it, the only Altenew patterned paper I own is the Celestial 6×6 paper pack. (Edited to add….since then I have ordered more and visited Scrapbook.com for the third time this week. Lol.)

Anyway, a space flower is kinda cool, right?

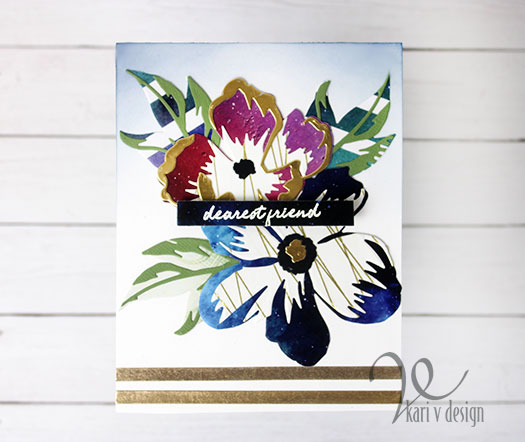
Dearest friend…

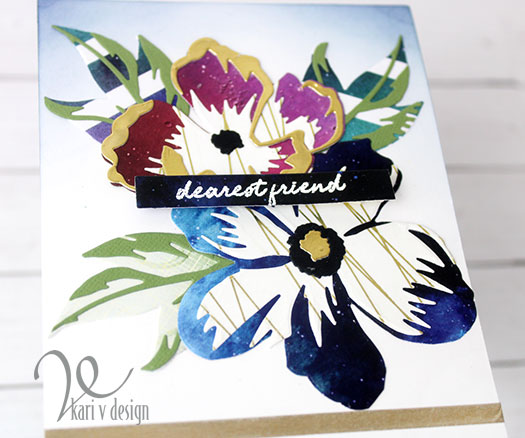
I used the celestial paper pack for the largest portion of the flower (the blues and purples) and some Gold Lined Washi tape for other portions of the flower. Those striped leaves are from the same paper pack. I kinda like striped leaves. 😉

To mimic those stripes, I used gold slim washi on the bottom of the panel to create 2 stripes. Then I added a little Chipped Sapphire ink blending to the top of the panel to balance that out. The struggle is real sometimes, Lol!

A few touches of gold

I saw Therese use gold foil paper on one of her die cut flowers and it was all over after that. I HAD to use gold foil paper for a layer. I used it on the smaller flower as the top layer; and also in the middle of the large flower. Love.

That sentiment is glorious and it’s from the Altenew Versatile Vases set. I heat embossed that on the Celestial paper and popped it up with foam tape.

In the process of making this card, I ended up with extra flowers and leaves. So I thought…why not put together another card?

Here’s my BONUS card:

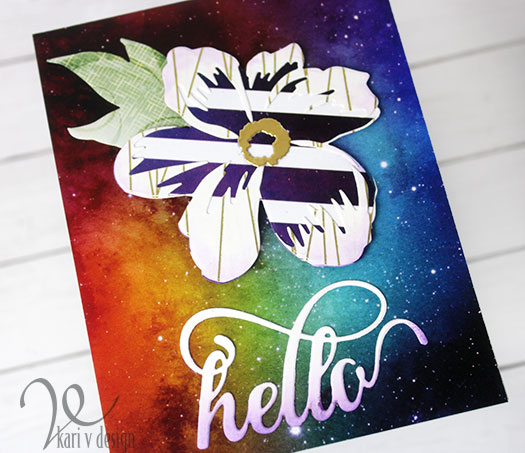
Galaxy background paper is the best!
It’s a little crazy, but this kinda crazy is good.

I have to say, I’m really enjoying this class and creating some cards that have stretched my imagination.

There’s only one day left! Now excuse me while I pick up more supplies from Scrapbook.com. 🙂

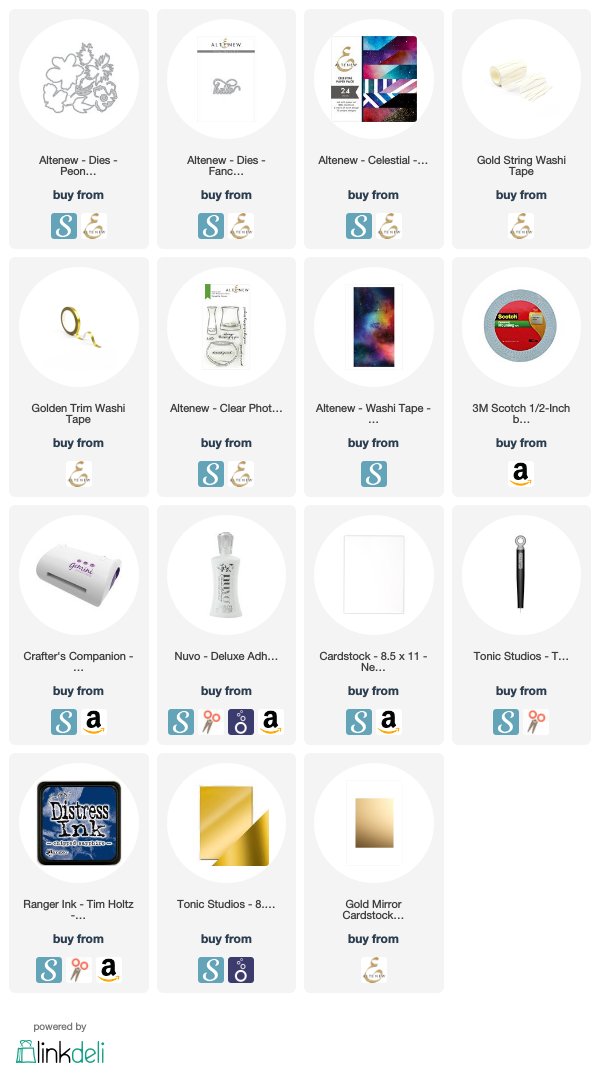
Here’s my supply list! I use affiliate links where possible to help pay for blog costs and allow me to continue to bring you fun projects like these. Thanks for your support!


Thanks for stopping by!

Comments { 1 }
roses-with-gold-hello-12

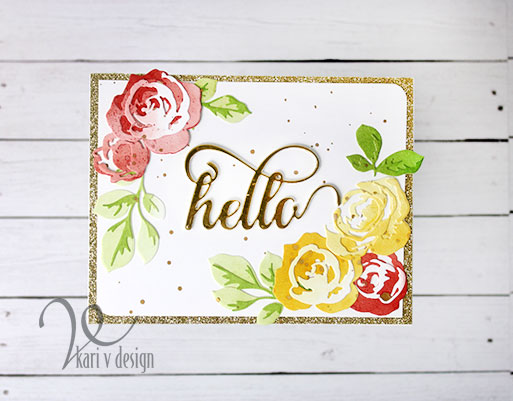
A Golden Hello

Hi there! I’m on Day 4 at the Altenew 3D Floral Focus class with a fun card share today! The topic was to use less layers of the die cuts to create a modern vibe.

Believe it or not, I was going for a modern look here, but it absolutely turned into FANCY! Lol. That happens sometimes.

Before I die cut the flowers, I ink blended some Distress Inks in ombre fashion onto some 80# cardstock, then I splattered some of the same color of paint and gold watercolor paint onto the panel. I then die cut some flowers, reserving the darker portion of the panel for the furthest back florals.

I layered them up, but I didn’t use a complete floral layer for each of them..only 2 or three layers each. After I found an arrangement I liked, I adhered them down with liquid adhesive and splattered the entire panel with gold watercolor paint.

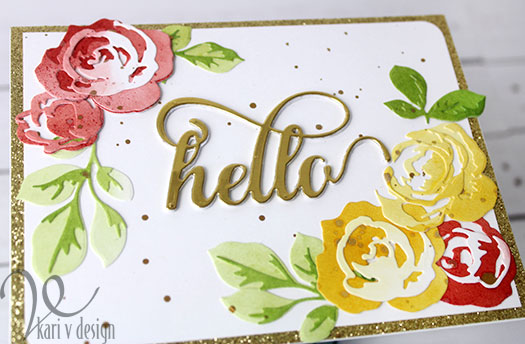
A golden hello

I die cut the hello sentiment out of gold foil paper and adhered it to the center of the card. Only two corners got the corner-rounded treatment before I added the entire panel to a gold glitter 4 1/4″ x 5 1/2 panel. Then the whole thing was added to a 110# card base.

I absolutely love how it turned out, but it really took on a life of it’s own!

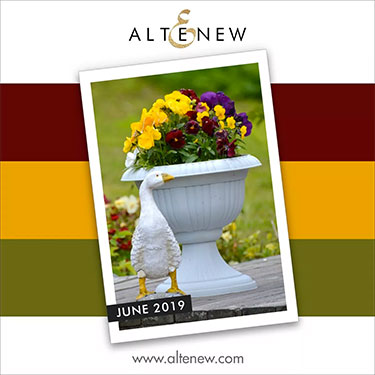
For the colors of this card, I was inspired by the photo below, so I’m also entering the June Altenew Challenge with this card.

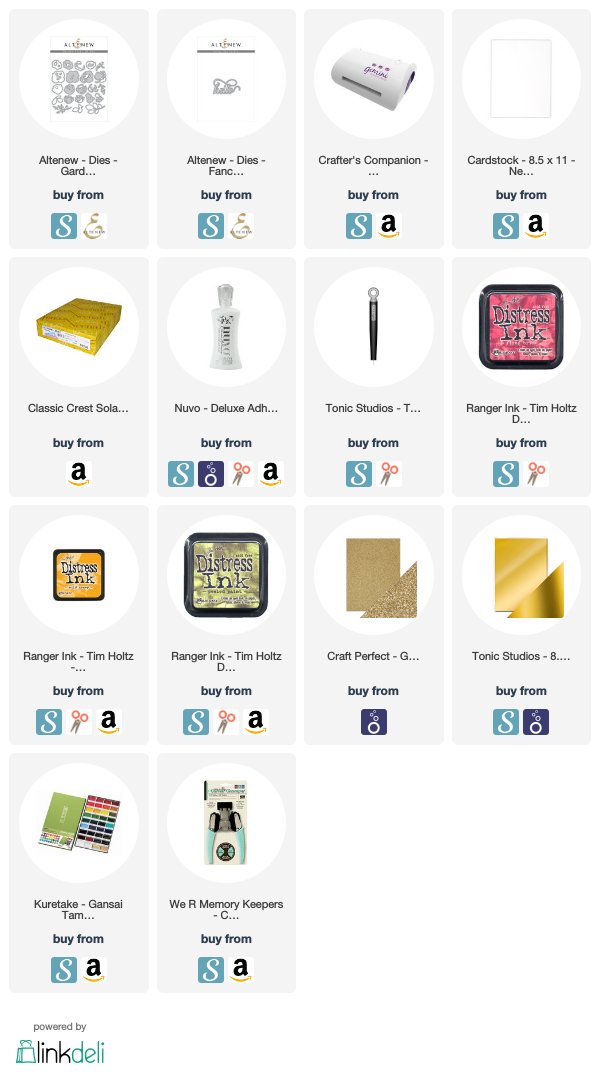
I’ve linked the supplies below, as I get asked often about what products I used. Affiliate links are used when possible, so if you make a purchase through these links, I may receive a small commission. These help me to keep up my blog and bring you more fun projects like this one. Thanks for your support!


I hope you enjoyed my modern/fancy floral card! lol.

Thanks for stopping by!

Comments { 3 }