Hello! Today I am excited to share with you that I have completed all the requirements for my AECP certification! Last night I held my card class and it went so well. I had 5 participants in the class. Virginia, the supervisor representing Altenew, also attended via Zoom.
To prepare for this class, I first had to consider all the techniques I learned over the course of the past year in all my Altenew Academy classes. I chose a few of my favorites and set out to create some card samples that class participants would make. The techniques I chose were:
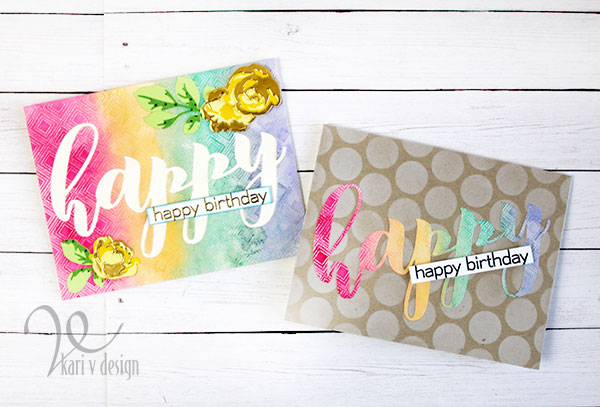
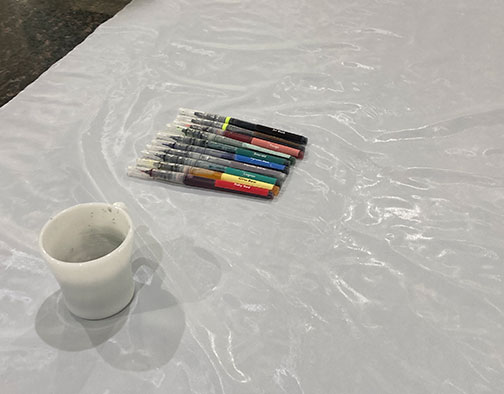
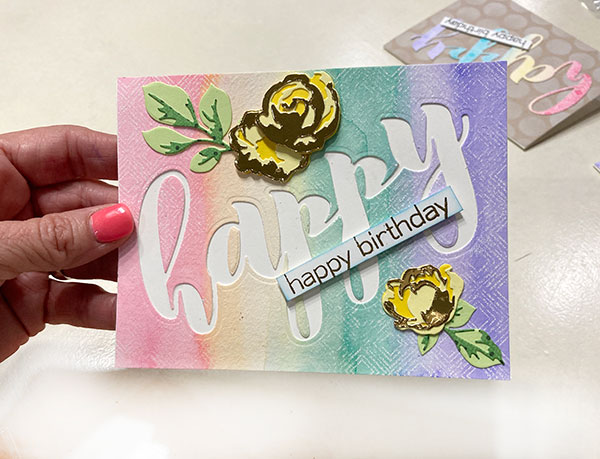
Watercolor wash with Altenew Watercolor Brush Markers
Making 2 cards out of one Mega Die (Mega Happy)
Putting Together Layering Die sets
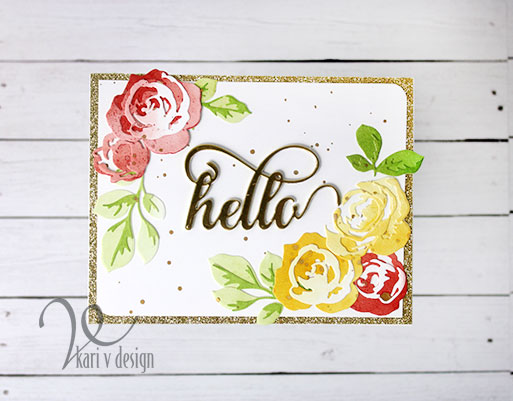
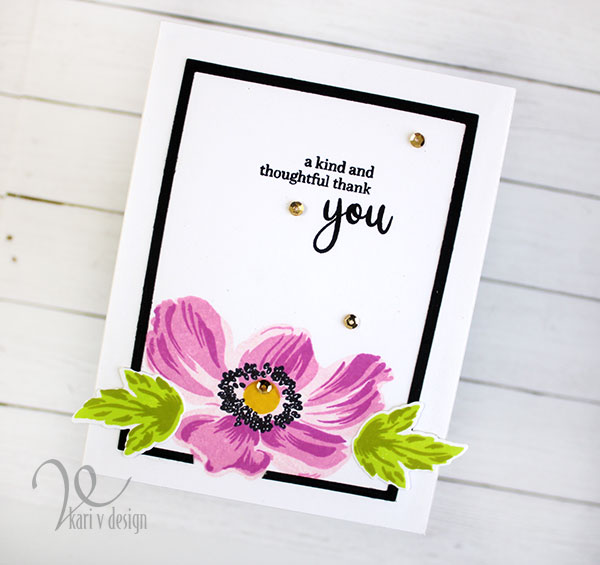
Stamping Layering Flower Anemone Set
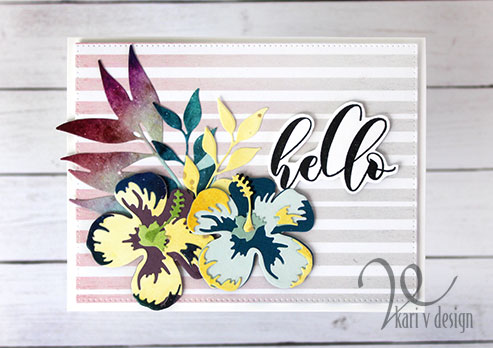
Stenciling with white ink
and more…
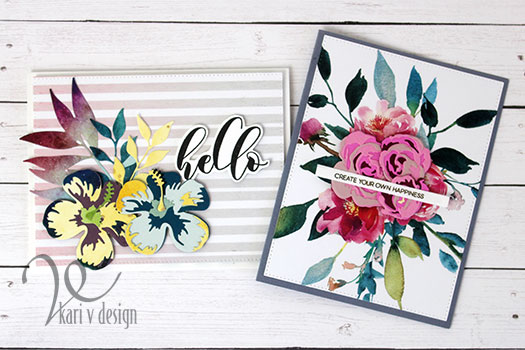
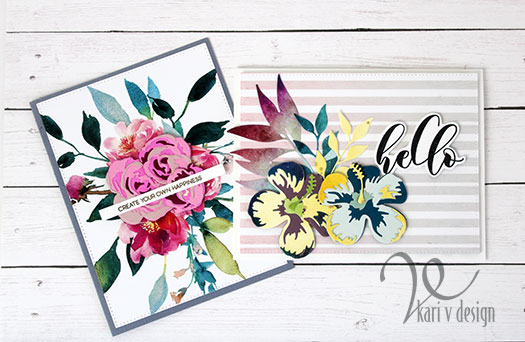
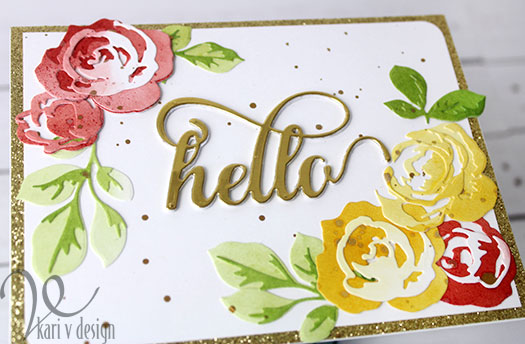
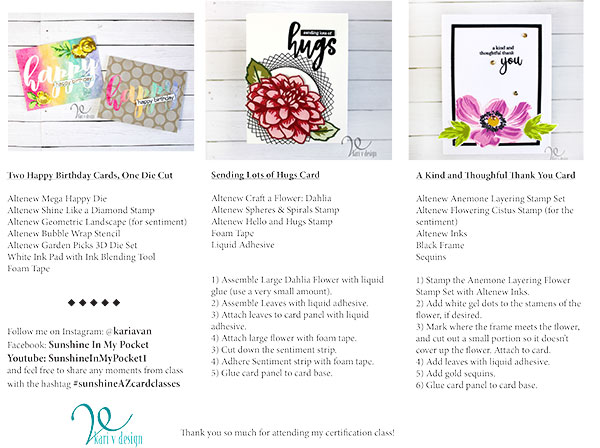
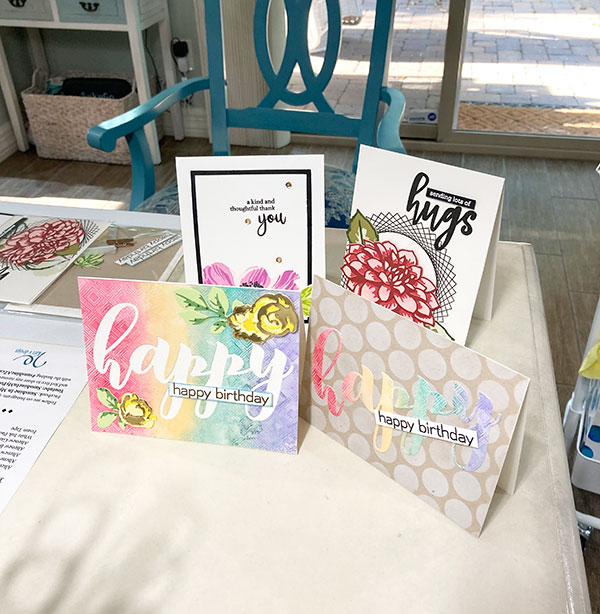
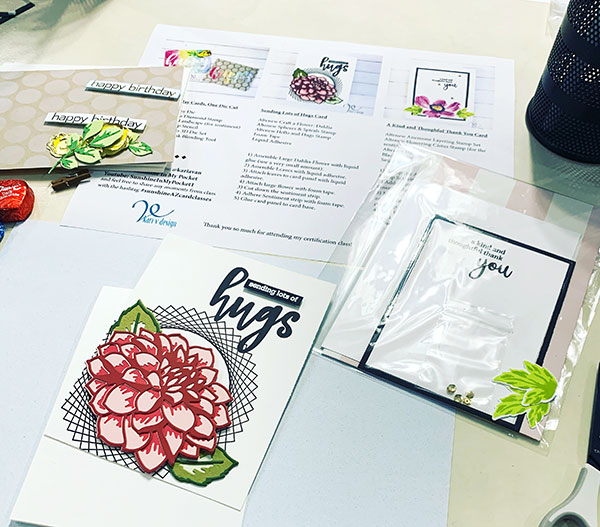
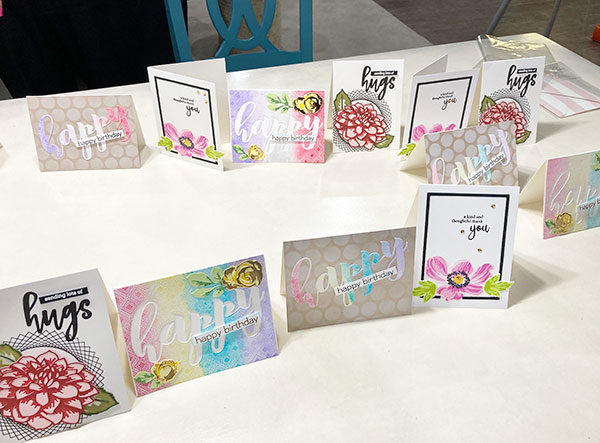
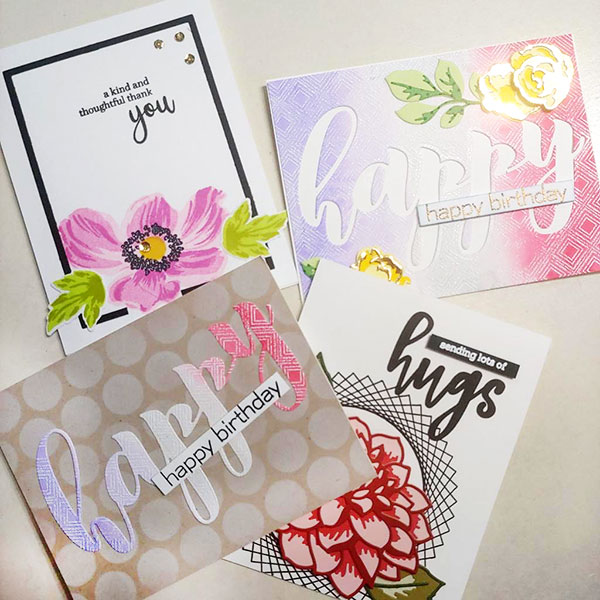
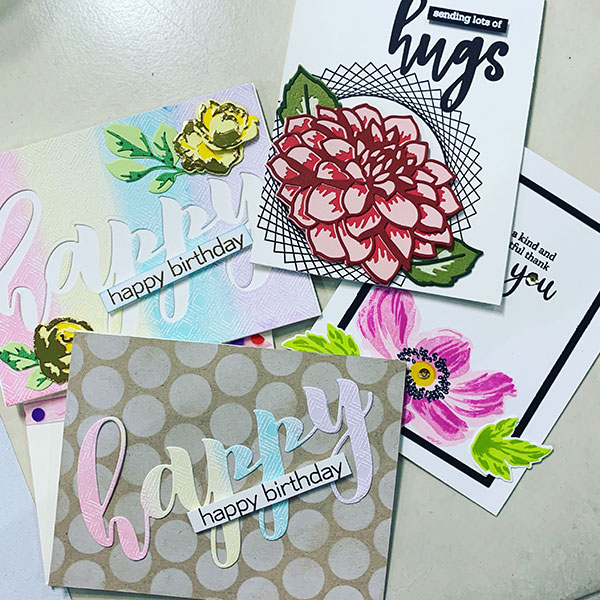
Here’s the cards I created for samples:

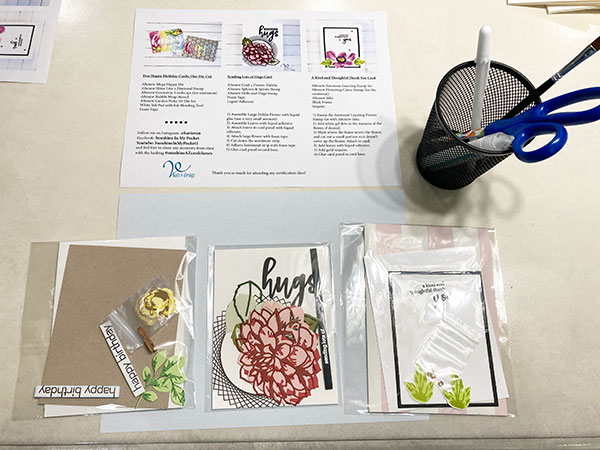
Once the cards were made, I created my worksheet for class. I like to have a handout for my classes to show the participants what supplies we are using, and have a small instruction on how the cards are put together. I also include hashtags they can use to post their cards to social media. (my class hashtag is #sunshineAZcardclasses)
I began preparing all the class kits and setting up a time, date, and place for the workshop. I packed up my rolling cart with all the necessities for class! On the top shelf is the die cutting machine, and in the bag is my Essential Tools for Cardmakers (pre-ordered by one of my students). I also have those mesh pencil cups to set up each participant station.
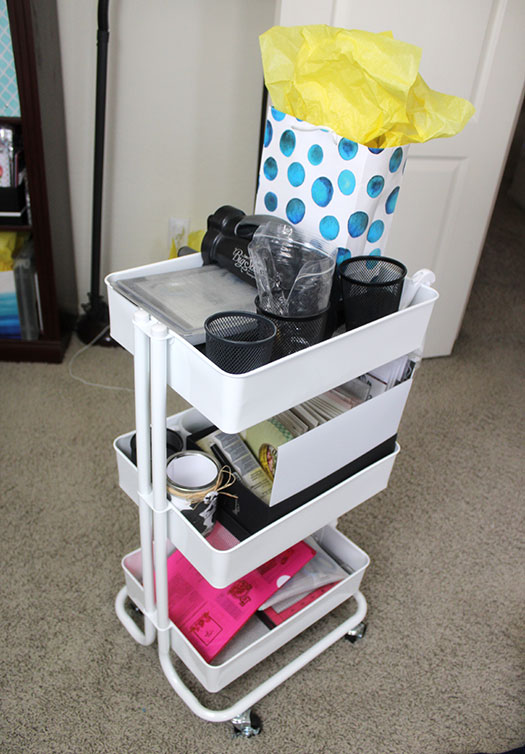
On the second shelf are all the card kits and extra supplies. And in the bottom shelf are the handouts, 3 MISTIs, and tools in a mesh pouch. I’m all ready for class!!
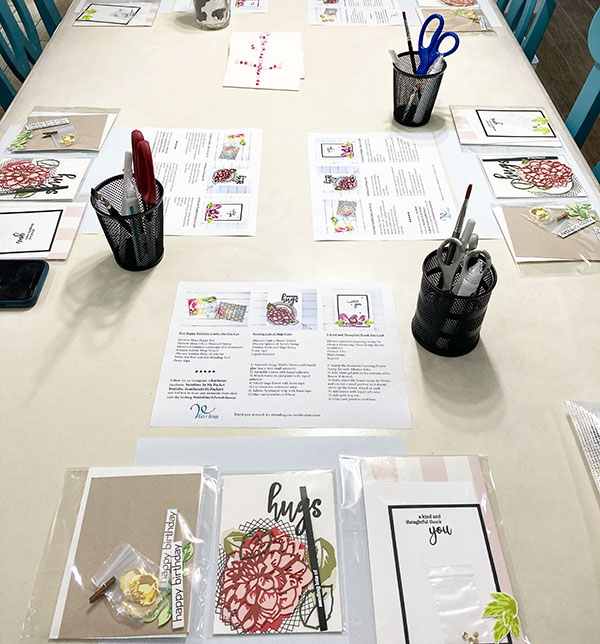
On the night of class, I started set up at about 5 o’clock. Each participant got their own tools to use (no need to share with other students), and we have different stations for the watercoloring, layering stamping, and ink blending.
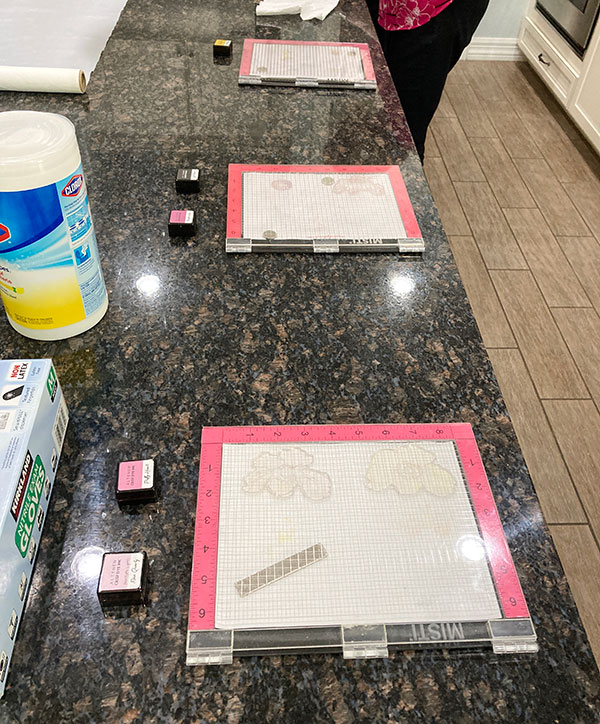
Since we are still dealing with COVID issues, I had gloves to use for the MISTI station and other tools we had to all share. I also had disinfecting wipes readily available and of course, a hand-washing station.
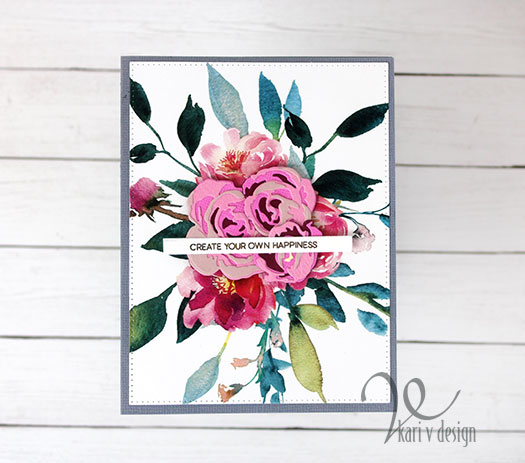
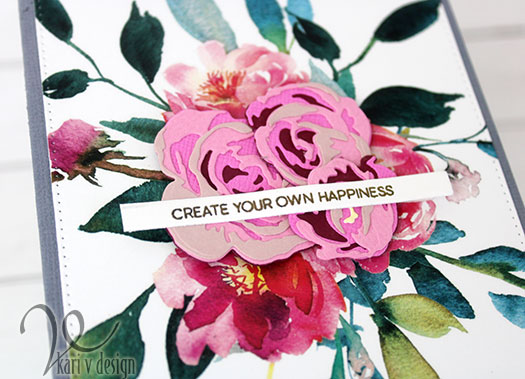
Class went pretty smoothly. I had a complete lesson plan detailing the schedule of the evening: we started watercoloring our panels since those took the longest to dry. Two participants started at that station, and two participants started at the ink blending station and then switched. One participant began putting together their layering roses from the Garden Picks 3D die set.
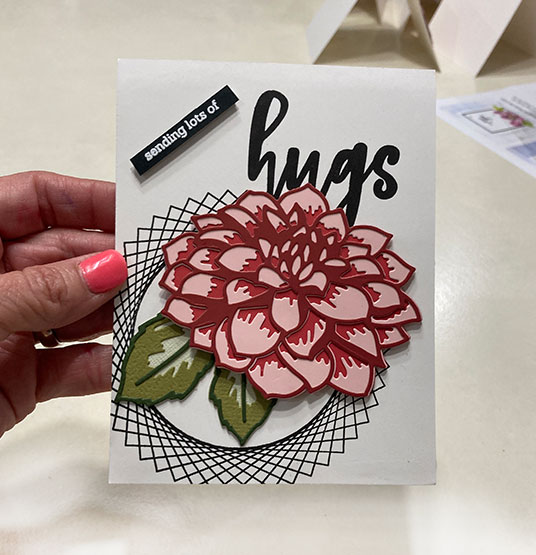
While those were drying, we went on to make and complete the Layering Dahlia die card.
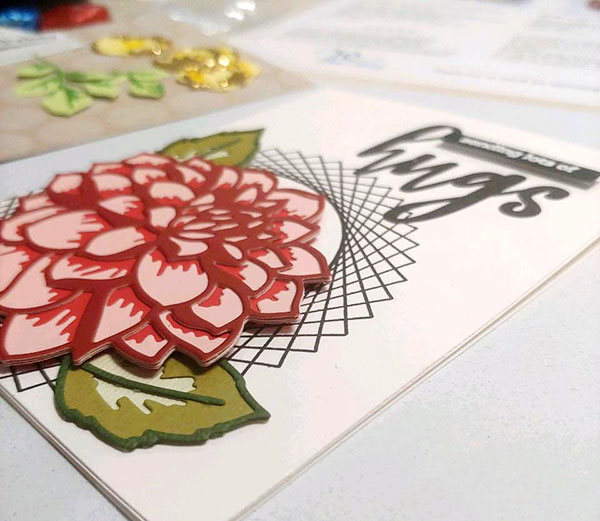
Everyone LOVED this large bloom and putting it together was easier than they thought. They also loved the “spirograph” stamp from the Spheres & Spirals Stamp set. “It brings back such happy memories,” one class participant said.
After we completed that card, we went on to make the Layered Stamp card using the Build-A-Flower: Anemone stamp set. Most of the participants had used a MISTI before, but NONE of them had ever used a layering stamp set!
There were so many OOOhs and AAAHs as the flower began to take shape with each layer added. It was so magical to see how excited they were to stamp and create this card. (That’s part of the reward of teaching!! I love to see the happy reactions!)
I taught them how to cut the black frame just a touch, so that it didn’t cover the lower petal on the flower. A great trick!
The last cards to finish now were the 2 Happy Birthday cards. The watercolor panels were now dry, so each participant cut their panels down to an A2 card size (4 1/4″ x 5 1/2″). I like to make the panels larger so if there are any weird edges from the watercoloring, we can just cut them right off!
Then they die cut the MEGA HAPPY die right out of the center of their watercolor panel. We turned the resulting panel and die cut into TWO cards.
Some participants did not like their watercolor panel at first, but after they assembled the card, it became a FAVORITE!
I like to encourage creativity in my card classes, and each participants cards were just a little different! It’s so fun to see that.
We finished the workshop in just over an hour and a half and created a whopping FOUR cards!! I was so excited that all participants loved their final cards and it was difficult for them to pick a favorite card.
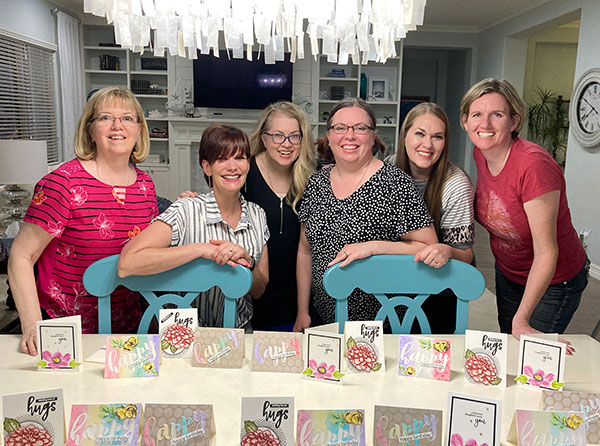
We had to take a quick group photo with all the cards!
At the start of class I asked how many of them were familiar with or had worked with Altenew products and NONE of them had heard of Altenew before.
The workshop was a complete success and went pretty smoothly. I do believe we now have FIVE NEW Altenew fans!! Lol.
I am so grateful for the Altenew Educator Certification Program. I learned quite a lot and grew so much in cardmaking over the course of all Levels (there are 3 levels total). I highly recommend the AECP to anyone who wants to improve their cardmaking skills, grow as a creator, and learn even more about Altenew and their beautiful layering dies and stamps.
A BIG THANK YOU to Virginia and Erum for all their support and encouragement along my journey. And for helping me to make this final card class a success!
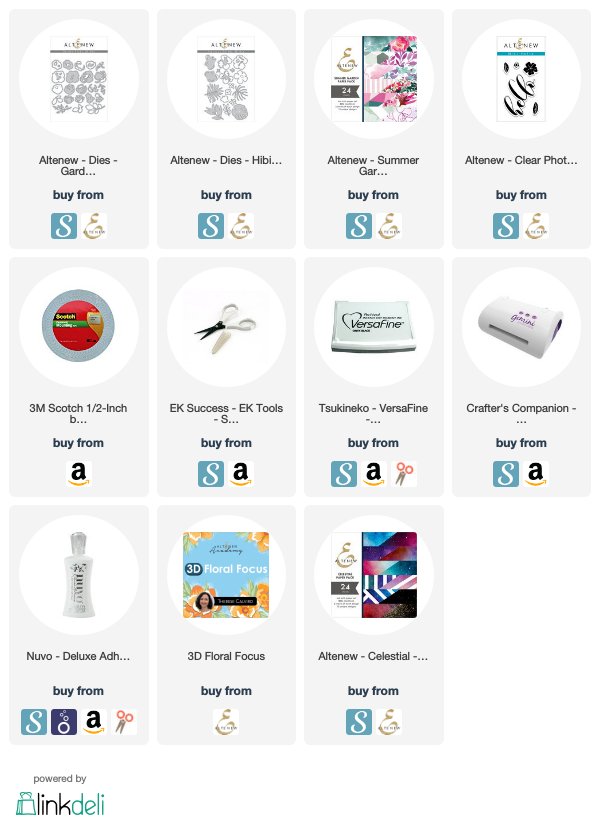
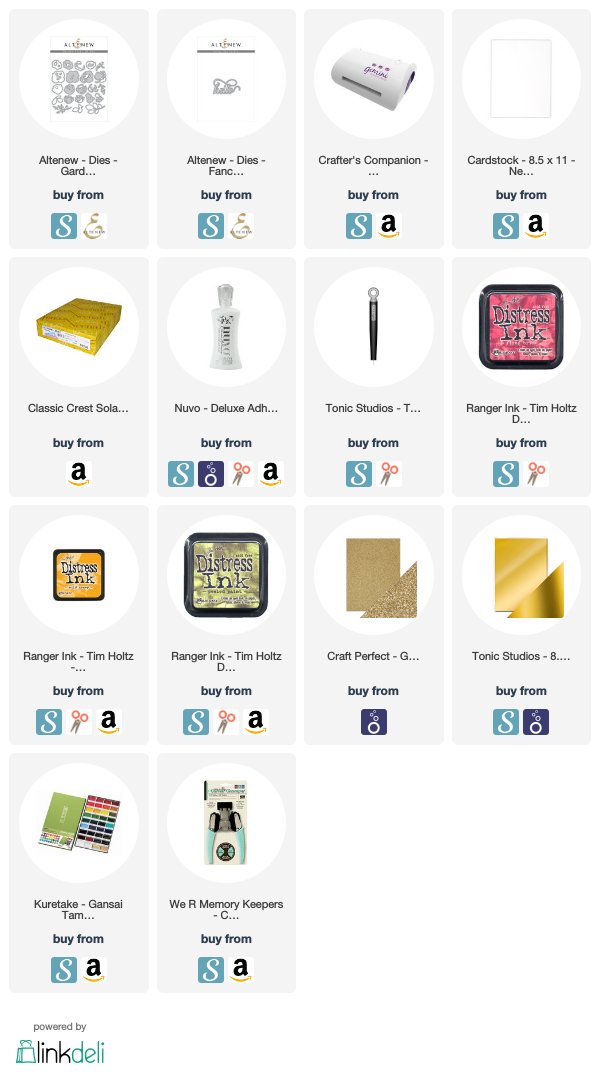
And, if you are still reading this until the end…thank you! I will list the supplies below if you are interested in any of them.
I’m often asked what supplies I use to make my cards and projects, so I’ve put together a list using affiliate links when possible. If you make a purchase with these links I may receive a small commission. These help me to keep up with blog costs and continue bringing you fun projects. Thank you so much for your support!