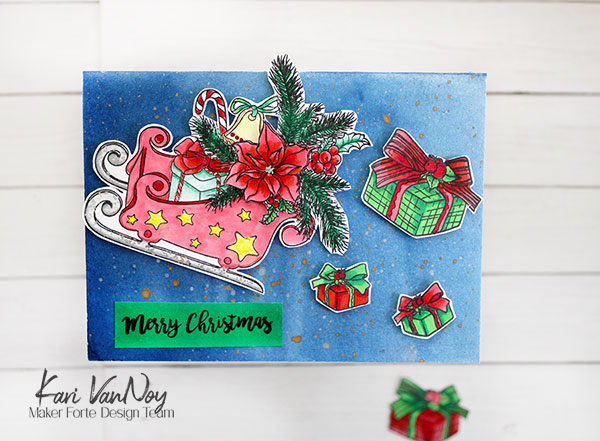
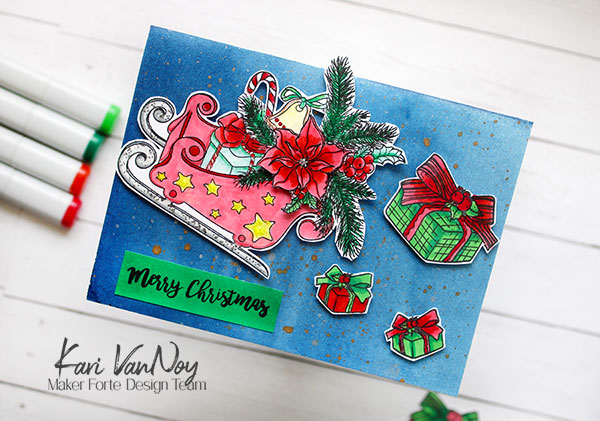
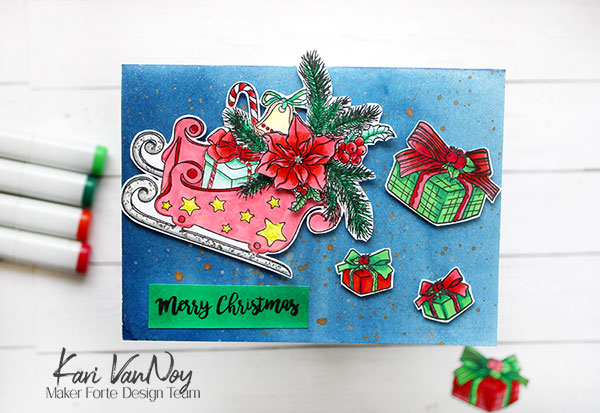
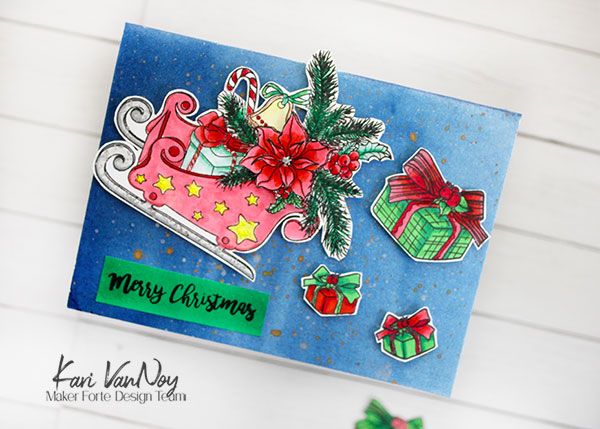
Today I’m a part of a video hop celebrating my friends Erica & Maria reaching some YouTube goals! This is a rainbow video hop and today I made 1 rainbow, and 2 cards with it.
Head on over to the video on YouTube to comment to win prizes:
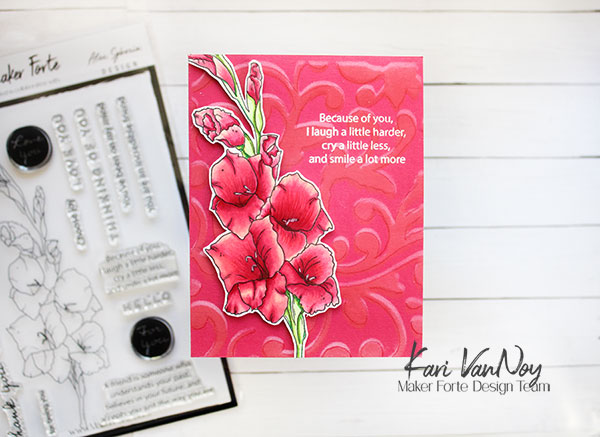
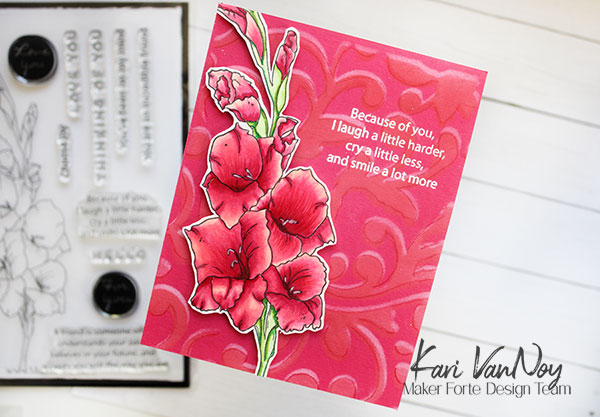
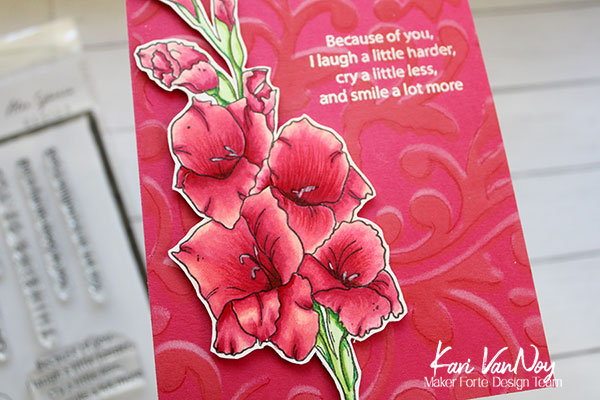
I hope you enjoy these tricks I’m sharing to make 1 rainbow and 2 cards! Today I made slimline cards, but you could certainly use this technique for an A2 size or mini slimline card.
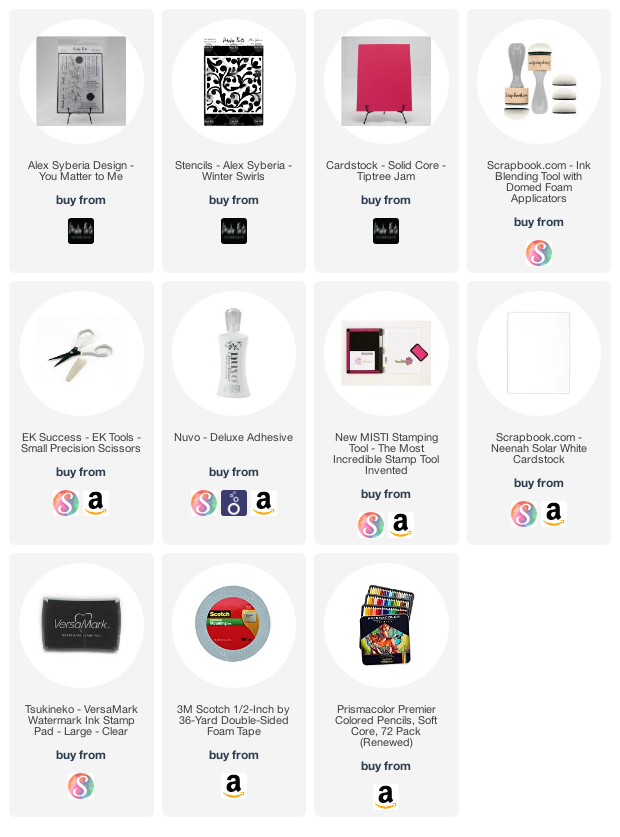
I’m often asked what supplies I use to make my cards and projects, so I’ve put together a list using affiliate links when possible. If you make a purchase with these links I may receive a small commission. These help me to keep up with blog costs and continue bringing you fun projects. Thank you so much for your support!
I really enjoyed joining in on this hop! See you soon!