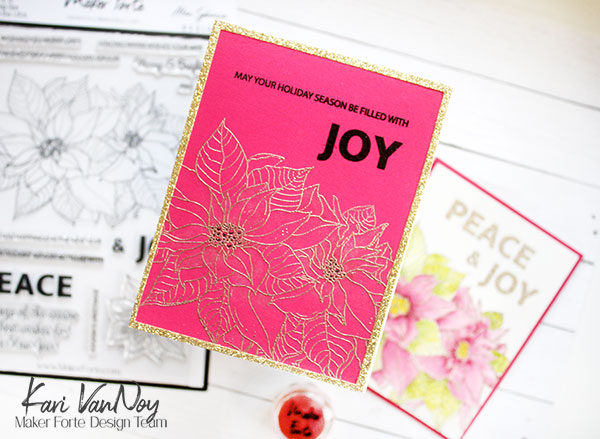
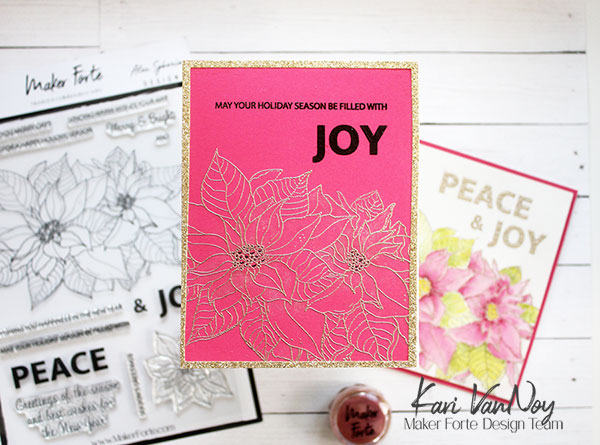
Hello! Today I have a new stamp set to share from Maker Forte. It’s a design by Alex Syberia and it’s so beautiful! I paired it with the Winter Swirls stencil for a Pretty In Pink card.
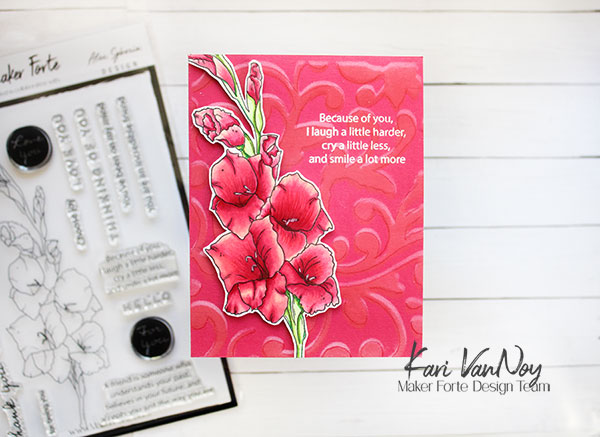
To start, I used the Offset Stencil technique: I first inked on some white pigment ink over the Winter Swirls stencil. Then I moved the stencil just a little bit, and inked on some Candy Apple Red ink over the top. I used my favorite Tiptree Jam cardstock for this card panel.
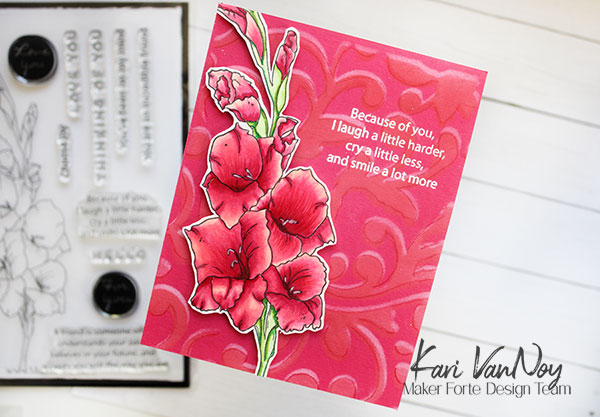
I set the panel aside to dry as I colored up the gladiolas from this stamp set with Copic Markers. Then I fussy cut the image and added it to the card panel with 3M foam tape.
I white heat embossed the sentiment using Versamark ink. I love this sentiment!

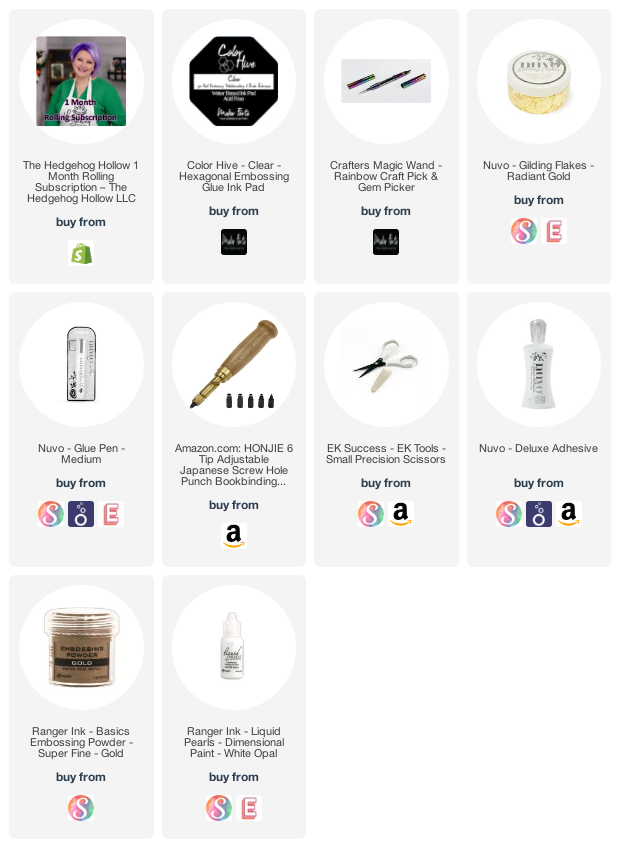
I’m often asked what supplies I use to make my cards and projects, so I’ve put together a list using affiliate links when possible. If you make a purchase with these links I may receive a small commission. These help me to keep up with blog costs and continue bringing you fun projects. Thank you so much for your support!


Thanks for stopping by!