Hello and welcome to the Altenew November 2021 Sparkle and Shine Collection release Blog Hop & Giveaway!

I am so excited to share SIX projects with you today with this new release. There are so many awesome products, and I just couldn’t stop making!
Card 1 & 2: Stunning Starflowers

This new Stunning Starflowers stamp set is a gorgeous Layering Stamp set! I wanted to create a RED flower first (since it reminded me of a Poinsettia). I used the new Crossweaves 3d Embossing Folder for the background…isn’t that design just so stunning?


When you get the coordinating dies for this set, you also get the die cut that cuts the word “STAR.”
I also had to create BLUE flower with the Stunning Starflowers set!

For this one, I created a yellow background with the awesome Illusion Diamonds stamp set. The sentiment is also from the same Illusion Diamonds set (there are 9 sentiments in this set with this beautiful sans-serif font)!

Card 3: Coloring with a Stencil

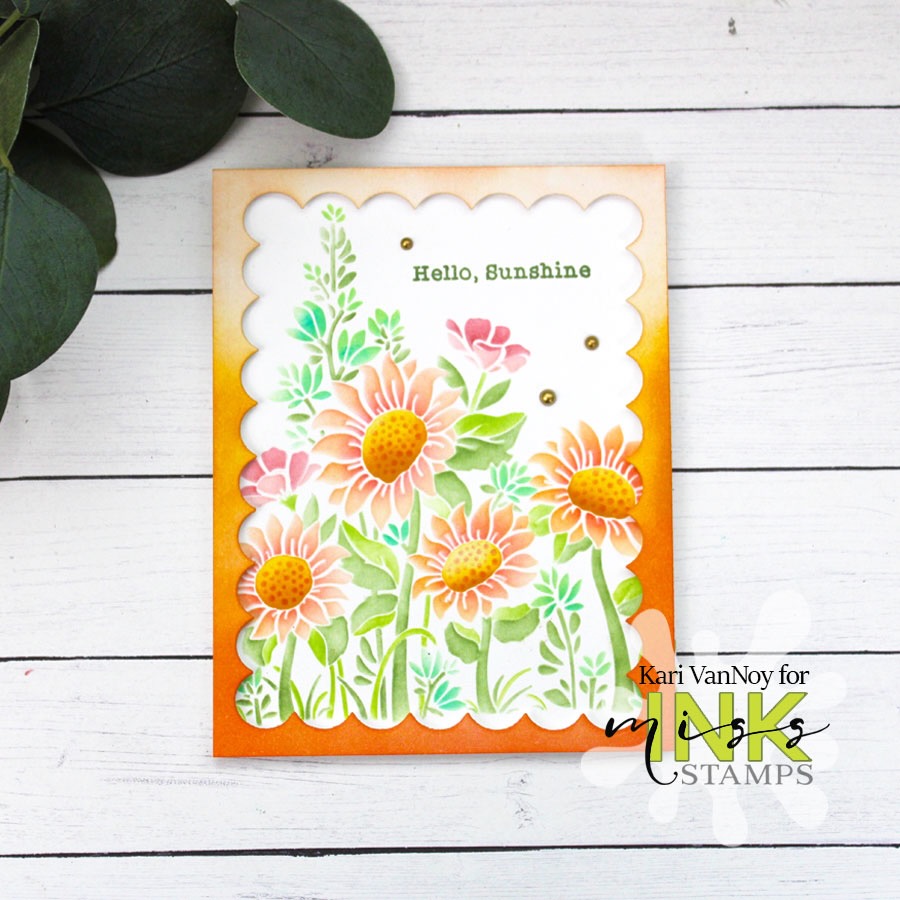
The new In the Woodland stamp set also has a coordinating coloring stencil, so you can color up this beautiful floral SO FAST! I loved this stencil…and I used some pinks and greens to get a soft color.

Card 4 & 5: Tree Mix
Oh, I love these die sets where you can MIX and MATCH the elements to get a different look. This new Tree Mix Die Set is a new favorite of mine!

There are so many options to mix and match the background of the tree, with the tree “branches.” For this first card, I inked up the background in greens, added some cream colored trees (with a little tan ink blending around the edges). For the tree branches, I cut out different dies with Altenew Gradient glitter paper!

I die cut the JOY letters from this Alphabet die set from Altenew.

I also created a simple tree for this card…and used the Crossweaves 3D embossing Folder for the background (inked up with a GOLD ink). I cut the Happy Holidays from the new All About Wishes Word die set.

Card 6: Fancy Star Builder
Oh, now to the Fancy Star Builder Stencil. I am in love with building different stars and looks with colors, and this one I created the stars to look like snowflakes!


Of course, I had to add some glitter and sparkle…so a little glitter gel on the top layer was just perfect!
For the word SNOW, I die cut out the background with THIS Alpha die, then added some cardstock to build it up before re-attaching the letters.
If you’d rather Stamp these Stars, there is also a Fancy Star Builder Stamp set! Try different color combos and have fun!
New INKS!
BUT WAIT…there’s more! Altenew has also released new ink colors and they are yummy! I fell in love with the new Frozen Delights Ink Set…. just take a look at these colors:

There are SIX new colors in this set (I love the names, too: Strawberry, Orange Sorbet, Lemon Ice, Pistachio, Mint Chocolate, Blueberry). I will have a video soon to share all the details and how to make this card and ink swatches. Also, if you are collecting the Mini Ink Cubes, they have those too!

They also released some yummy Jewel Tone Inks. There are also 6 colors in this collection.


These new inks are DELICIOUS! These names are just as awesome: Rhodolite, Red Jasper, Raw Amber, Green Opal, Green Onyx, and Tanzanite. Check them all out here. And of course, they also offer them in the Mini Ink Cubes size!
Is that enough cards for me today? Let’s get on to the giveaway info!!
Giveaway Prizes
$300 in total prizes! To celebrate this release, Altenew is giving away a $50 gift certificate to 2 lucky winners and a $25 gift certificate to 8 winners! Please leave a comment on the Altenew Card Blog and/or each designer’s blog post on the blog hop list below by 11/11/2021 for a chance to win.
Altenew will draw 10 random winners from the comments left on each stop of this blog hop and announce the winners on the Altenew Winners Page on 11/13/2021.
Blog Hop Order
- Altenew Blog
- Jennifer McGuire
- Norine Borys
- Jenny Colacicco
- Kelly Griglione
- Erum Tasneem
- Jaycee Gaspar
- Mindy Eggen
- Tenia Nelson
- Terri Koszler
- Dana Joy
- Nathalie DeSousa
- Emily Midgett
- Michelle Short
- Simon Hurley
- Therese Calvird
- Virginia Lu
- Kari VanNoy ** YOU ARE HERE
- Lilith Eeckels <—— GO HERE NEXT
- Agnieszka Małyszek
- Seeka
- Laurie Willison
- Svitlana Shayevich
- Amanda Baldwin
- Sandhya Iyer
- Maryam Perez
- Reiko Tsuchida
- Daniel Diaz
- Tania Ahmed
- Zinia Redo
- Teresa Litchfield
- Verity Biddlecombe
- Bridget Casey
- LauraJane
- Colleen Balija
- Eva Bussom
- Joy Baldwin
- Tina Smith
WHEW!! That was a long post today! Thanks for stopping by…and don’t forget to leave a comment to enter to win. Let me know your favorite set or favorite card from the new release.