all-3-vw-van-light-up-cards-Kari-V

Light up VW Van Cards

Hello! Today I’m sharing three Light Up Van cards. These are so fun to create and the light up headlights really take this card to the next level!

I created these cards with both EZ Lights and Twinkle Lights in my cards today, both of which have THREE lights in each set. However, today I only needed two lights for the headlights on these vans, and I show you how to do this in my video!

Watch the video here:

These van die cuts are a SOLID die cut and they do not have a way to let the light through. But I have a simple trick for you to alter this in an easy way to be able to add the lights! (Watch the video to find out!)

I actually added Twinkle Lights to this card, but I was lucky to be able to capture both lights on at the same time for this picture! They actually take turns lighting up and turn on and off when you press the button. It reminded me of taking a little beach break and having your flashing lights on! (Lol)

I really love these light up vans! You can create them in any color you’d like…today I made THREE cards: a blue van (of course), a pink van, and a yellow van! These are mostly traditional colors, but what would a PURPLE van be like? Or a Van with extra flowers and peace signs?!

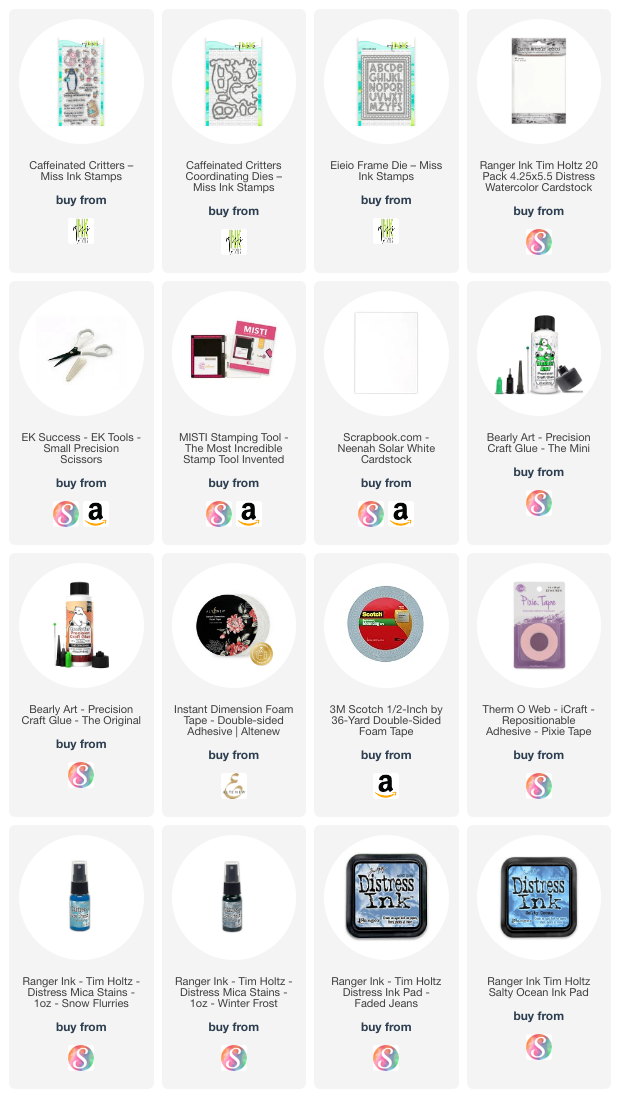
I’m often asked what supplies I use to make my cards and projects, so I’ve put together a list using affiliate links when possible. If you make a purchase with these links I may receive a small commission. These help me to keep up with blog costs and continue bringing you fun projects. Thank you so much for your support!


I hope you enjoyed these cards today featuring the EZ Lights and Twinkle Lights from Pear Blossom Press. They are my favorite way to light up a card! Happy Crafting!

Kari

Comments { 0 }
both-highland-cows-cards-1

Highland Cows Layering Stencils

Hello! Today I am featuring the Highland Cows Layering Stencils from Miss Ink Stamps in my video…this creates the cutest little scene: with the Highland Cow, a little bird, and some flowers.

Watch the video below or in HD on YouTube:

I’m creating two cards using a different set of browns for each: the first card I used a more yellow/brown colorway, and the second card I used a more red/brown set of ink colors. It turns out so cute no matter the colors you use! I love a great layering stencil, and this one is a cute one!

To finish off this first card, I used the stitched edge from the Punny Farms Frame Die set to cut the panel. I added some colored pencil to make some areas darker. Then, I added some gems and Liquid Pearls to finish off the look.

For this second card, I used the darker red/brown colors and made the flowers pinkish purple. To finish off this one, I added some Stickles to the center of the flowers.

I created my own sentiment, using a partial sentiment from the Sunshine & Rainbows stamp set, and cutting out the “Moo” from the EIEIO Frame Die set alpha. The scalloped edge is from the same die set.

That cute little fence is from the Coordinating die set from the Highland Cows stamp set (which I did not use…I only used the coordinating die to cut that fence from white cardstock).

I’m often asked what supplies I use to make my cards and projects, so I’ve put together a list using affiliate links when possible. If you make a purchase with these links I may receive a small commission. These help me to keep up with blog costs and continue bringing you fun projects. Thank you so much for your support!


Thanks for stopping by today!

Comments { 0 }
YT-7-12-24-Festive-Flora-Wreath-EAP-Craft-A-Round-Mini-Slimline-Die-Kari-V-1

Christmas in July card…so easy!

Hello! Today I’m sharing a video with the Festive Flora Wreath EAP from Crafty Meraki. This is the neatest paper…and perfect for a quick card or for when you don’t feel like coloring!

Watch the video here:

For the background I dry embossed the Craft-A-Round mini slimline die onto the background (after I had ink blended with Distress Oxide ink). It makes such a pretty soft texture!

I cut the wreath and all the sentiments at once from the Effortless Artistry Paper using the Coordinating die. It’s such a time saver!

I used a portion of the wreath on the bottom left and top right of the card panel. It’s a great way to create a different look!

I chose the sentiment “Warm Wishes” because it sure is warm here today (111 degrees!) and I thought it was appropriate. Lol. I finished off the card with the beautiful Fern Dew Drops.

I’m often asked what supplies I use to make my cards and projects, so I’ve put together a list using affiliate links when possible. If you make a purchase with these links I may receive a small commission. These help me to keep up with blog costs and continue bringing you fun projects. Thank you so much for your support!


I hope you enjoyed this project today!

Comments { 0 }
Kari-V-Panda-Get-Well-Good-Grief-Jungle-Frames-die-card-2

Panda Cards

Hello! Today I’m sharing FOUR Panda cards in my video. I love these little guys from the Panda Get Well stamp set from Whimsy Stamps. There are some get well images, but also others that can be used for other themes.

Watch the video below or in HD on YouTube:

Aren’t these pandas so cute!?!

I’m often asked what supplies I use to make my cards and projects, so I’ve put together a list using affiliate links when possible. If you make a purchase with these links I may receive a small commission. These help me to keep up with blog costs and continue bringing you fun projects. Thank you so much for your support!


Hope you enjoyed these projects today! See you soon!

Comments { 0 }
Teariffic-tea-card-3

Boba Tea Shaker: Last Ever Heffy Doodle video

Hello! Today I have a Boba Tea Shaker card and my Last Ever Heffy Doodle video! I hope you enjoy.

In this video I also use a little alcohol inks on different substrates. It’s fun to add it to acetate to get a swirly, beverage look! Watch the video below or in HD on YouTube:

This is one of my favorite dies from Heffy Doodle (the Coffee Cup Shaker Die) and unfortunately, it is already sold out at the Heffy Doodle Shop! The shop closes July 1, 2024 and many things are already gone. I will really, really miss this company!

I created the boba tapioca pearls with alcohol inks, the acetate cover with alcohol inks, and the ice cubes with vellum and Distress Oxide ink. It’s a very fun look, don’t you agree!? I added some Whipped Cream Sparkle mix for the shaker part of this card.

The Seagulls and that Happy, Snappy Croc are the cutest images. Again, I’m sorry these are already sold out in the Heffy Doodle Shop (but they were still available when I created this video!) You can find some products still there, so check it out while you can.

I’m often asked what supplies I use to make my cards and projects, so I’ve put together a list using affiliate links when possible. If you make a purchase with these links I may receive a small commission. These help me to keep up with blog costs and continue bringing you fun projects. Thank you so much for your support!


I hope this card makes you smile, like it makes me smile. Thanks for stopping by today!

Comments { 0 }