spell-book-7

Halloween Pop-Up Spell Book

Hello! Today I’m making a Halloween Pop-Up Spell Book and I hope you love it as much as I do!

Watch the video below or on YouTube:

First of all, the Spell Book Cover Plate Die is amazing and includes those spider web corners, cauldron, label die (with black cat at the top), and all the accessories you could want to decorate the front of your book! I completely fell in love when I saw it.

I cut the book base with metallic storm grey cardstock, which I think adds to the magical feeling of this spell book! Then of course I wanted to add some pink glitter…so I cut the background of that label with pink glitter cardstock.

For the inside, I built up a fun layered look using the book sides as places to secure my pieces. I also created an acetate “Bridge” to help stablize the witches. (watch the video to see how this works).

I love those dancing witches! I used the cauldron once again on the inside, this time with a hot pink glitter potion inside. I adore the book shelves with all the details in these dies: there are books, potions, a little witches hat, and many more dies to choose from!

I wanted a base of jack-o-lanterns, which I cut from the Pumpkin Kitties die set (along with that black glitter cat on the right).

For the inside of the book, I cut another label and used the remaining book shelf with hanging items (a spider, a scroll, and some herbs). I thought the “Pick Your Poison” die was appropriate! This is cut from the same hot pink glitter cardstock as the cauldron potion.

I had to put some pink stripes on the spine of my spell book! I think it ties everything together so well.

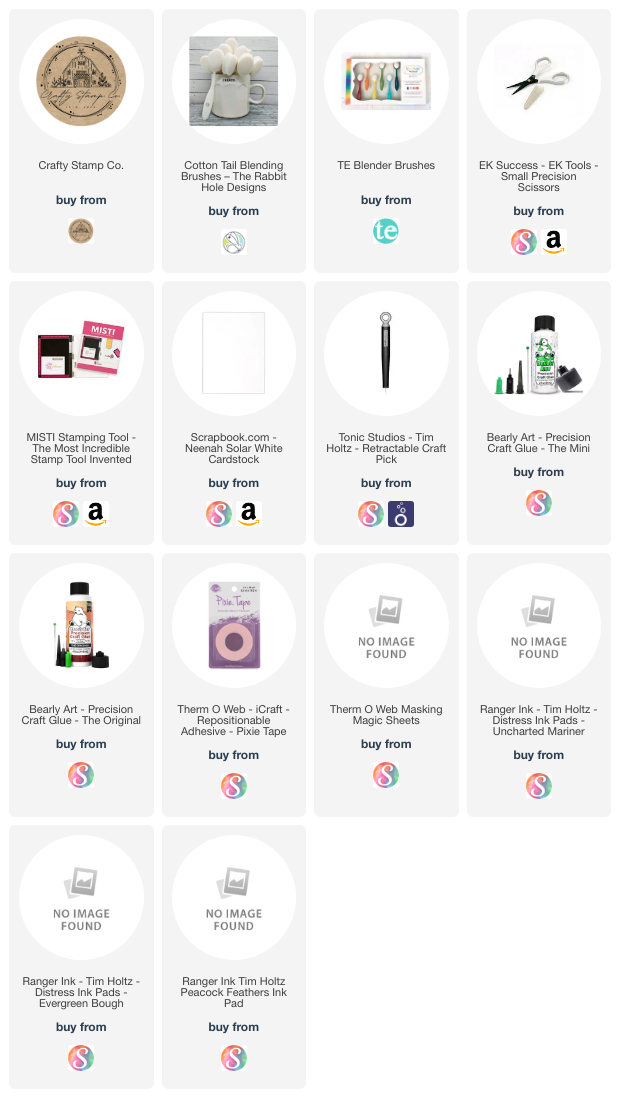
I’m often asked what supplies I use to make my cards and projects, so I’ve put together a list using affiliate links when possible. If you make a purchase with these links I may receive a small commission. These help me to keep up with blog costs and continue bringing you fun projects. Thank you so much for your support!



You can bet I will be making many more of these! I love, love, love how it turned out. I hope you enjoyed this Pop-Up Book today!
Thanks for stopping by.

Comments { 0 }
all-7-chipboard-tags

Decor for Chipboard Tags

Hello! Today I have a new love to share: chipboard tags! I am sharing some great ways to decorate your chipboard tags in my latest video.

Watch it below or in HD on YouTube:

These are super fun to decorate with inks or paints, and they come together so quickly! I am obsessed with these tag kits. Take a look at what I’ve made so far:

I think my favorite ways so far are Oxide Inks and Acrylic Paints (I used Dina Wakely acrylic paints). But I’ve also loved the results when you add gesso first…especially with inks over the top!

These tag kits are really something special. I hope you enjoy!

I’m often asked what supplies I use to make my cards and projects, so I’ve put together a list using affiliate links when possible. If you make a purchase with these links I may receive a small commission. These help me to keep up with blog costs and continue bringing you fun projects. Thank you so much for your support!


I WILL be making more tags soon! Thanks for stopping by.

Comments { 0 }
dazzle-dust-butterfly-card-5

Dazzle Dust Butterfly

Hello! Today I have a new card and video with Dazzle Dust and the Butterfly Layering stencil from Miss Ink Stamps!

Watch the video below or in HD on YouTube:

This layering stencil is beautiful in every color I’ve tried! It’s made even MORE beautiful with some Dazzle Dust. In my video I share how to add this Dazzle Dust to make sure it stays on your card!

I’m often asked what supplies I use to make my cards and projects, so I’ve put together a list using affiliate links when possible. If you make a purchase with these links I may receive a small commission. These help me to keep up with blog costs and continue bringing you fun projects. Thank you so much for your support!


I hope you enjoyed this project today! I really love the layering stencils from Miss Ink Stamps so I’m just so happy to share this card. See you soon with more cards to share!

Comments { 0 }
YT-8-23-24-rainbow-rose-card-2

Rainbow Roses with Crafty Meraki

Hello! Today I have a new video up on the Crafty Meraki channel making Rainbow Roses! I love this Artisan Rose die and I couldn’t resist turning them into the most colorful roses.

Watch the video below or in HD on YouTube:

https://youtu.be/f2cNVt1-waE

These are absolutely beautiful and when you use my proven method I share in my video, they are easy and pretty quick to put together, too!

I used a simple hot foiled background and sentiment (with an extra black shadow) to help those rainbow roses really pop off the page! I love how it turned out.

I’m often asked what supplies I use to make my cards and projects, so I’ve put together a list using affiliate links when possible. If you make a purchase with these links I may receive a small commission. These help me to keep up with blog costs and continue bringing you fun projects. Thank you so much for your support!


I hope you enjoyed this project today! Let me know if you give this a try!

Comments { 0 }
Hello-flamingo-card-2

Stencil Foiling

Hello! Today I have some stencil foiling…with a stencil mask and through a stencil! It’s a fun technique and I hope you’ll stop by to watch my video:

I’m using products from Miss Ink stamps. I had a couple extra flamingos already colored up from a previous project so that inspired my card today!

I started out with the foiling process, using Decofoil Gel duo through my stencil (but adding that mask first!) You really need to see my video to see what I am talking about! Lol.

Once the gel was set aside to dry, I turned my attention to the magnolia flowers. These are gorgeous and easy to put together! (which I really appreciate in a flower die cut). I colored them up with Cool Grey Copic markers to add shadows and shading.

Once the gel was dry, I added pink foil and ran it through my mini minc machine. After the foil was done, I could add some ink to that quatrefoil design using the stencil once again! I love this set…so many possibilities. There is also a frame stencil in the set, which I didn’t use this time.

This is a super fun technique and I couldn’t resist making two panels… which turned into two completed cards!

The sentiments are from the Sunshine and Rainbows stamp set, another absolute FAVORITE set, because it has so many great sentiments. I reach for this one again and again.

I’m often asked what supplies I use to make my cards and projects, so I’ve put together a list using affiliate links when possible. If you make a purchase with these links I may receive a small commission. These help me to keep up with blog costs and continue bringing you fun projects. Thank you so much for your support!


I always enjoy a little foiling and it’s been a while, so this was a fun one for me! Thanks for stopping by!
Comments { 0 }