Hello! It’s Kari and today I have a Happy Sparkly New Year shaker card and video to share.
Watch the video below or in HD on YouTube:
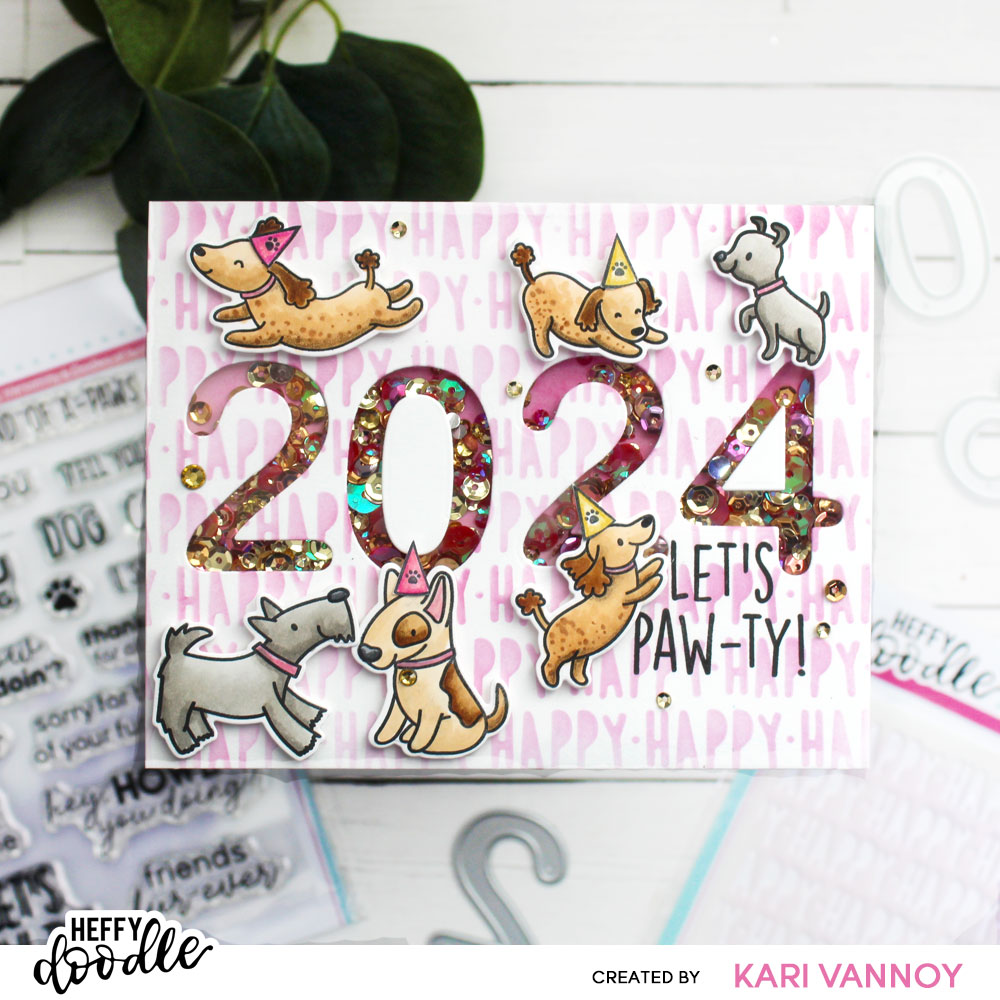
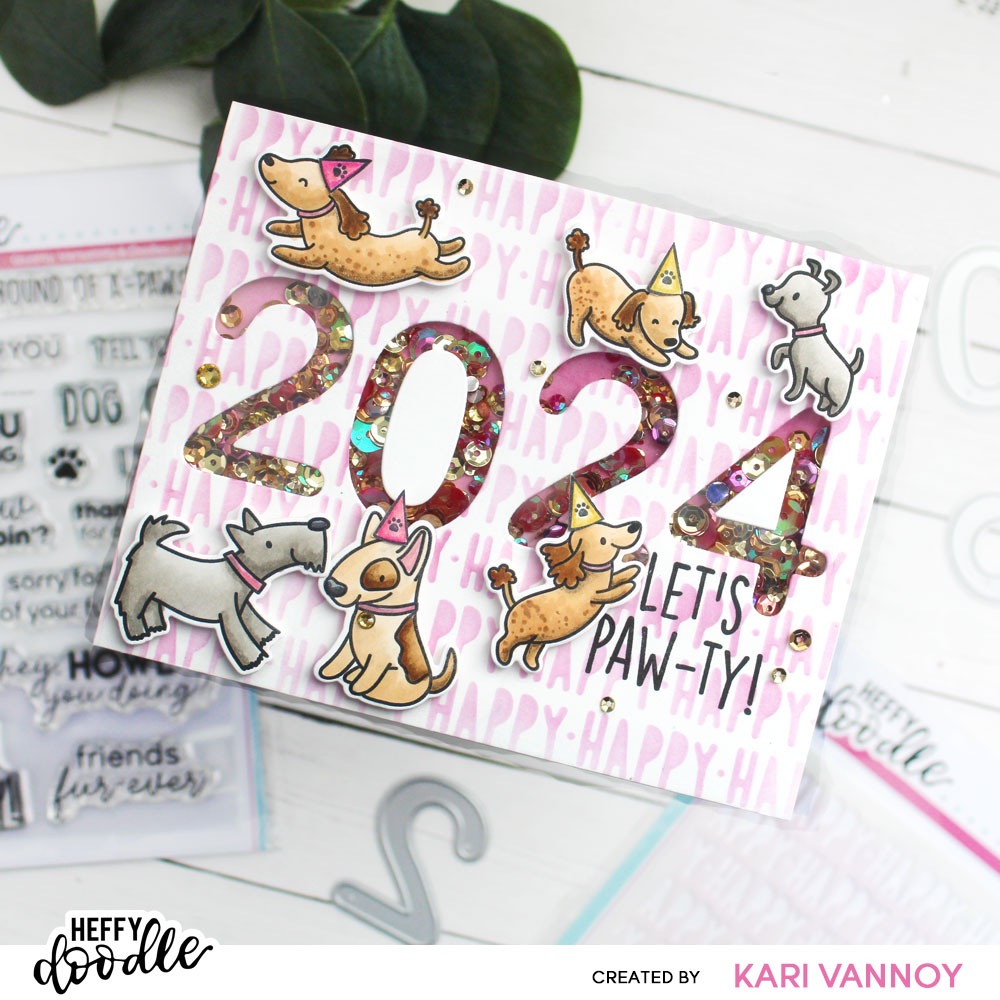
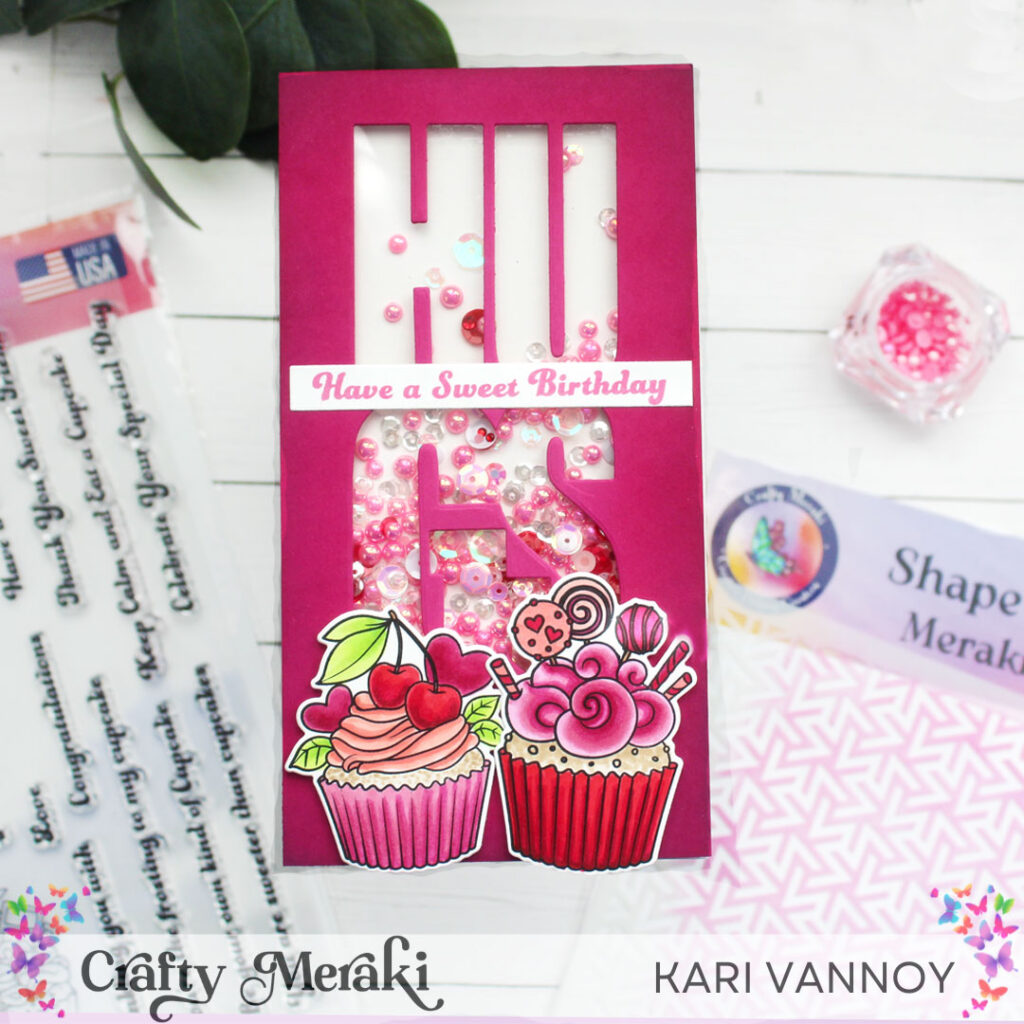
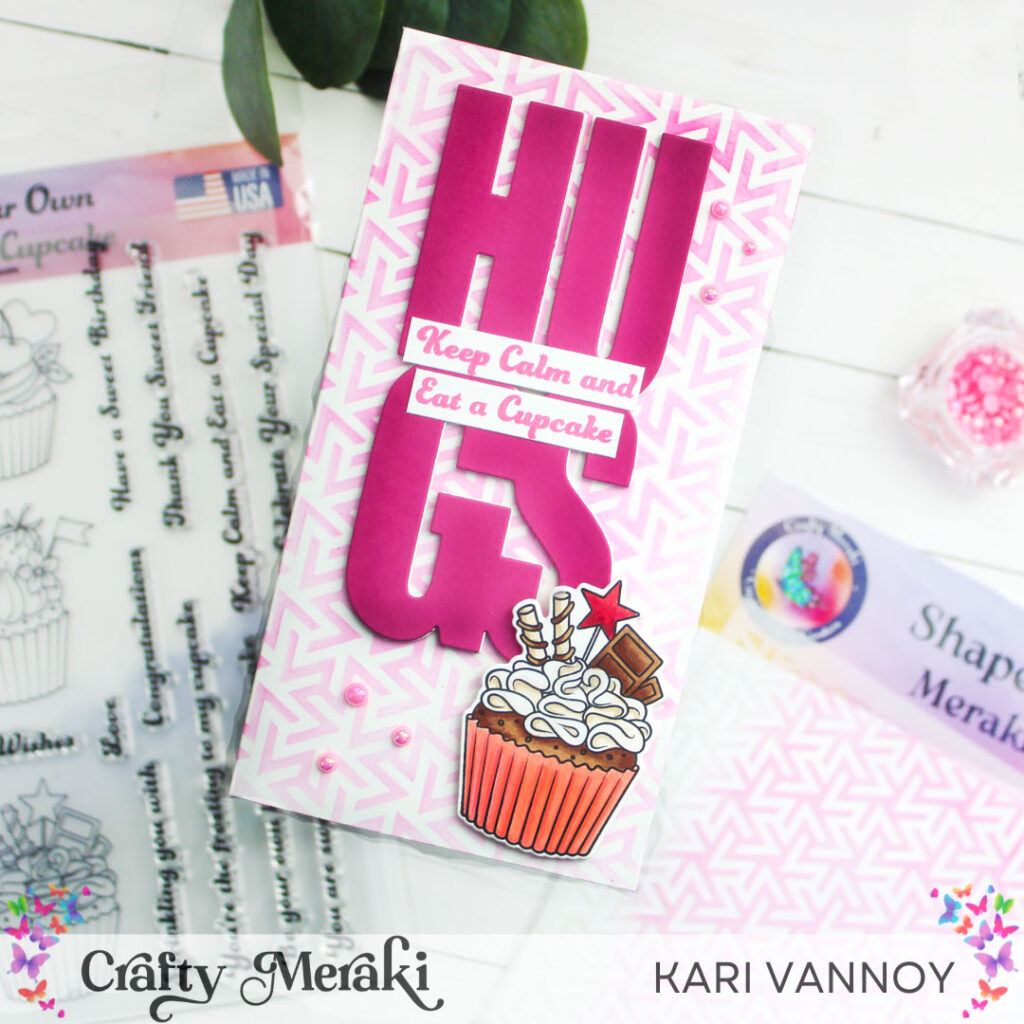
See how sparkly that Cherry Pie Sparkle Mix is?! So pretty for this New Years sparkle card.
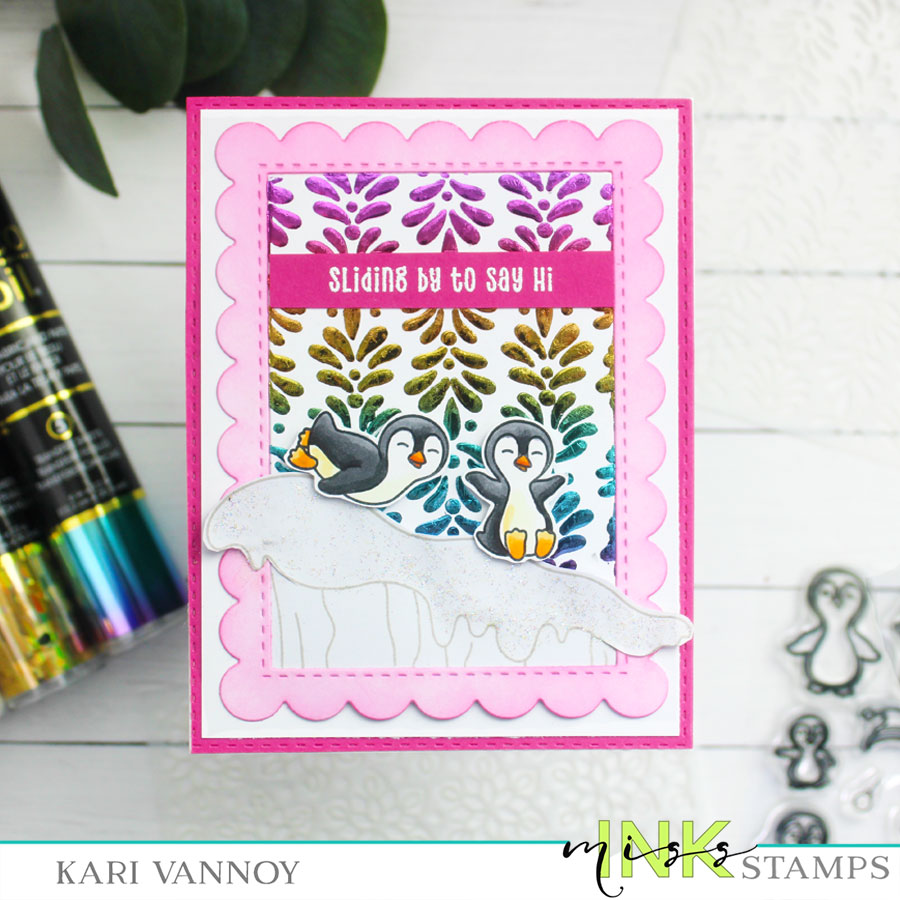
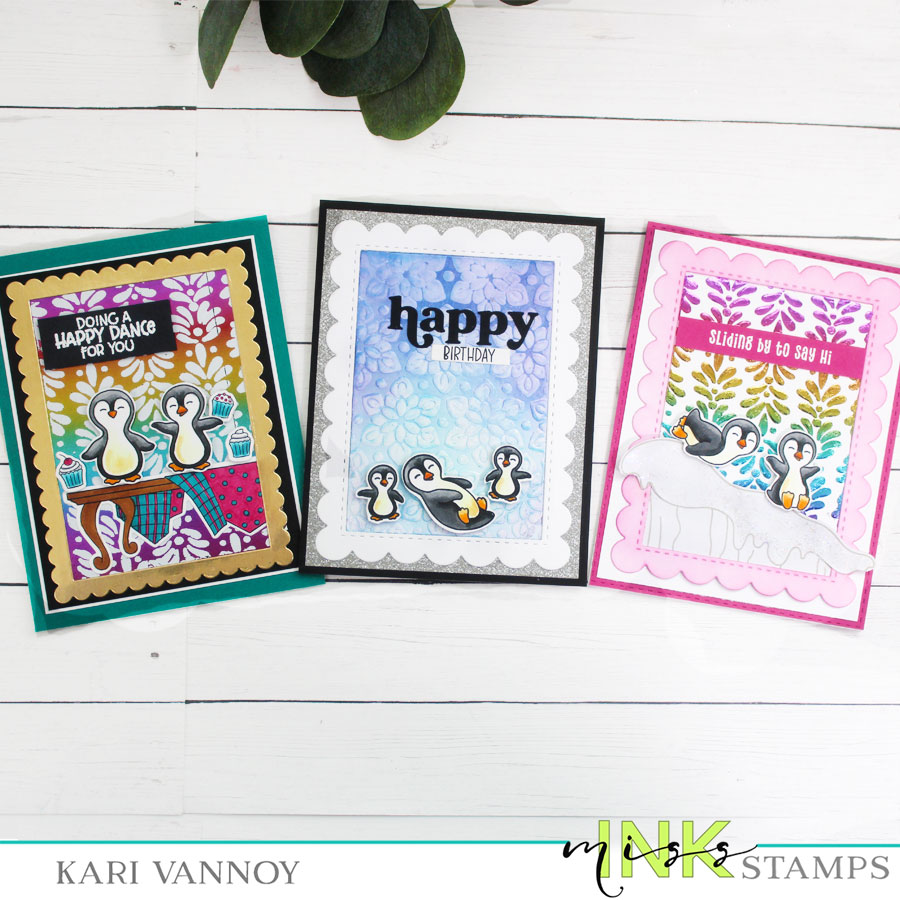
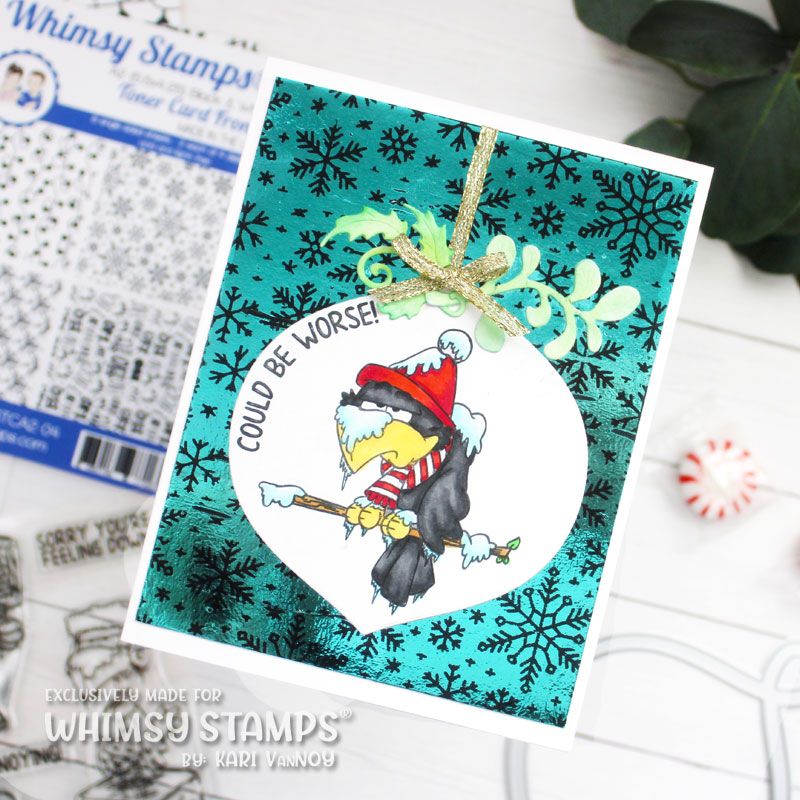
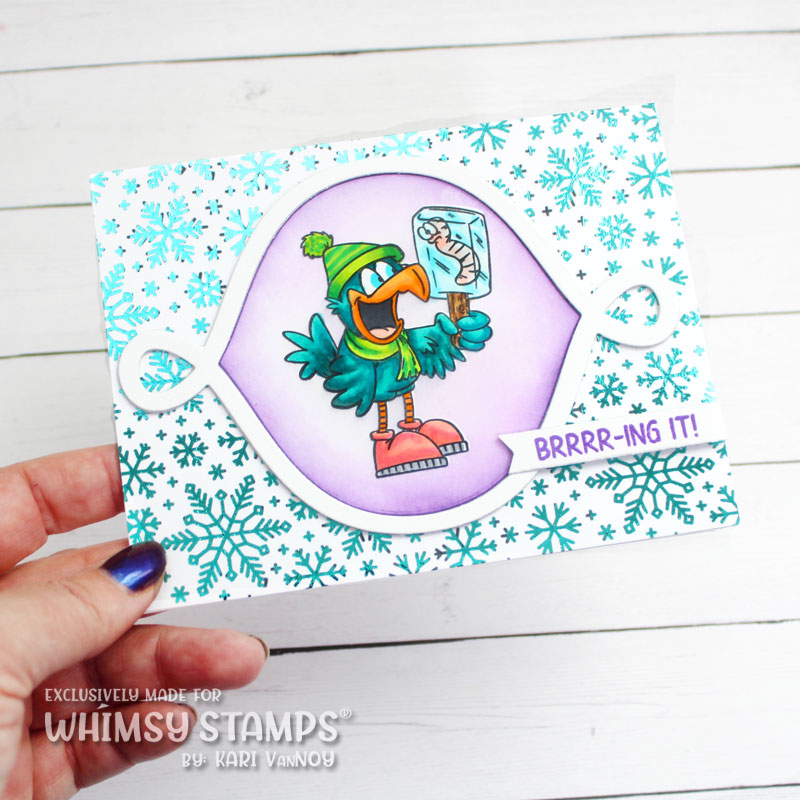
I chose a few of the dog stamp sets available at Heffy Doodle to make this party shaker card come to life!
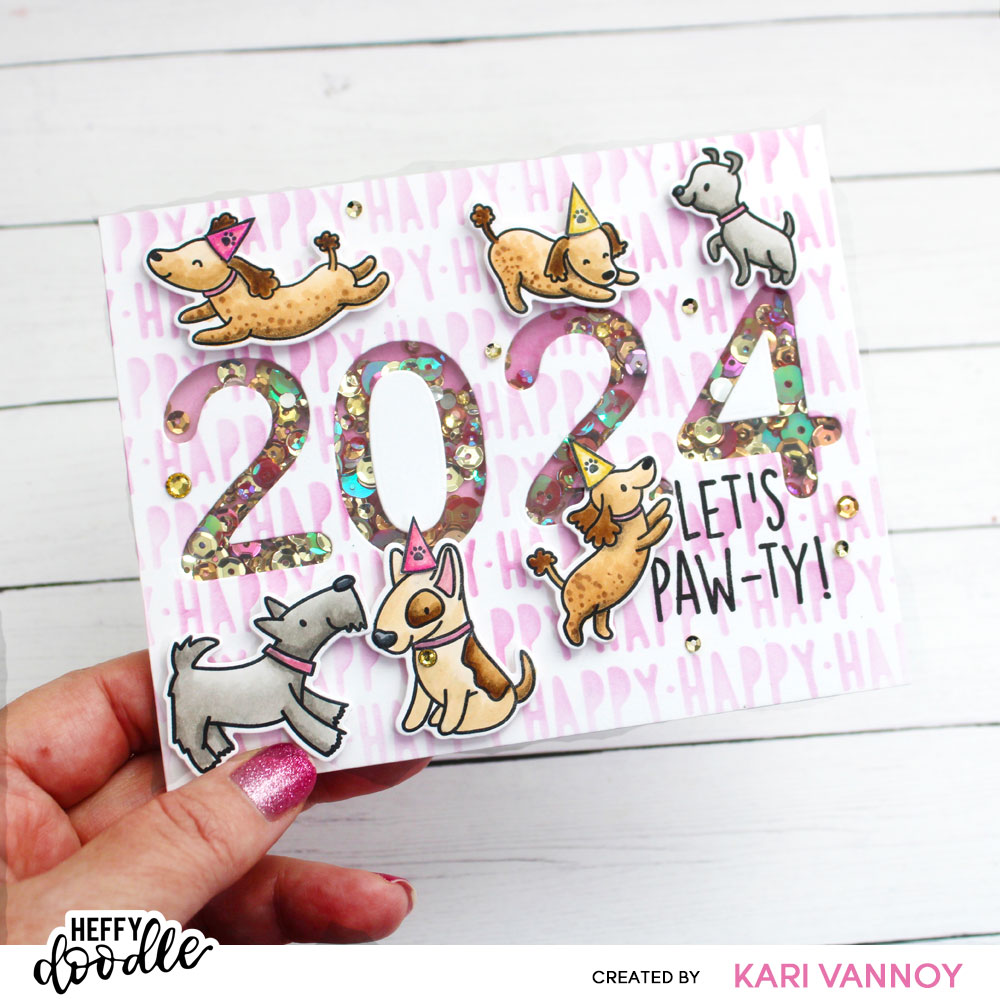
A Lot of Happy stencil for the background inking is perfect for this card. It’s going to be a very HAPPY new year!
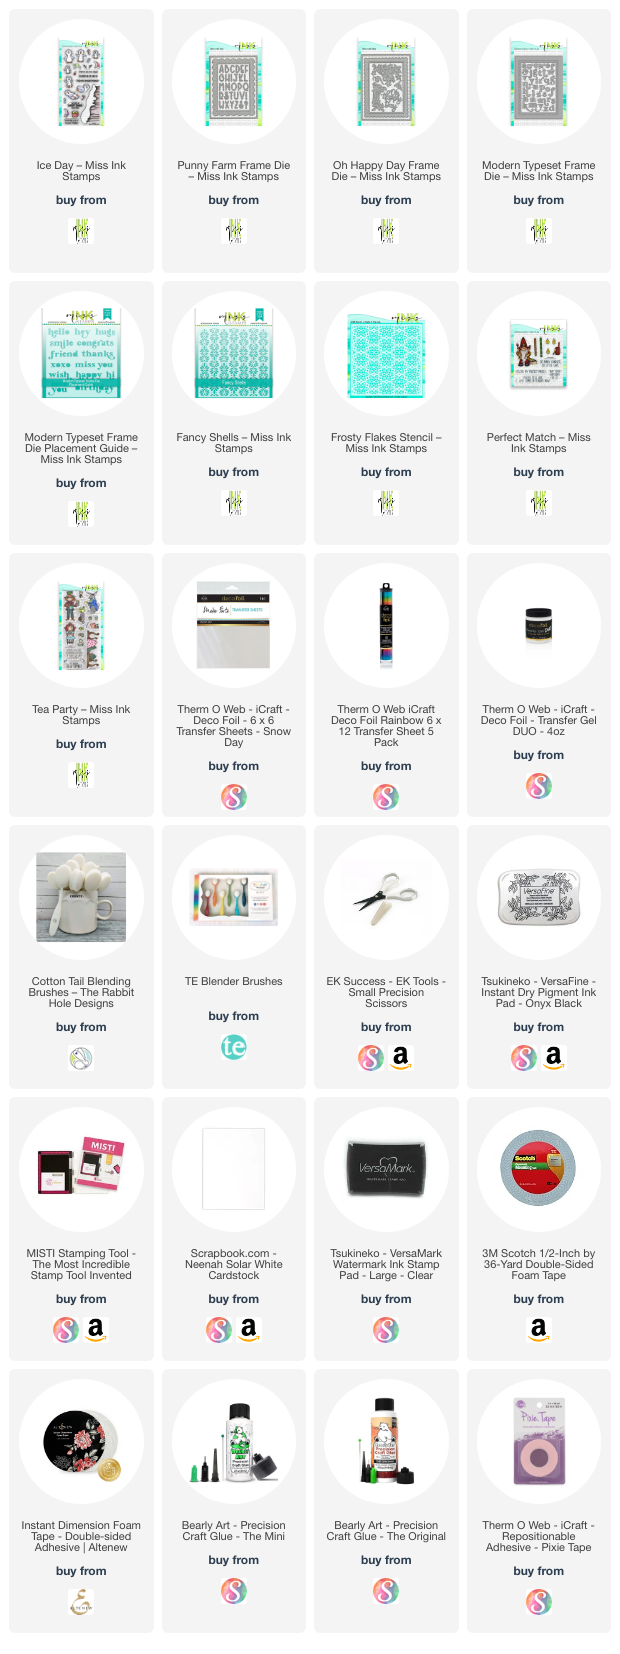
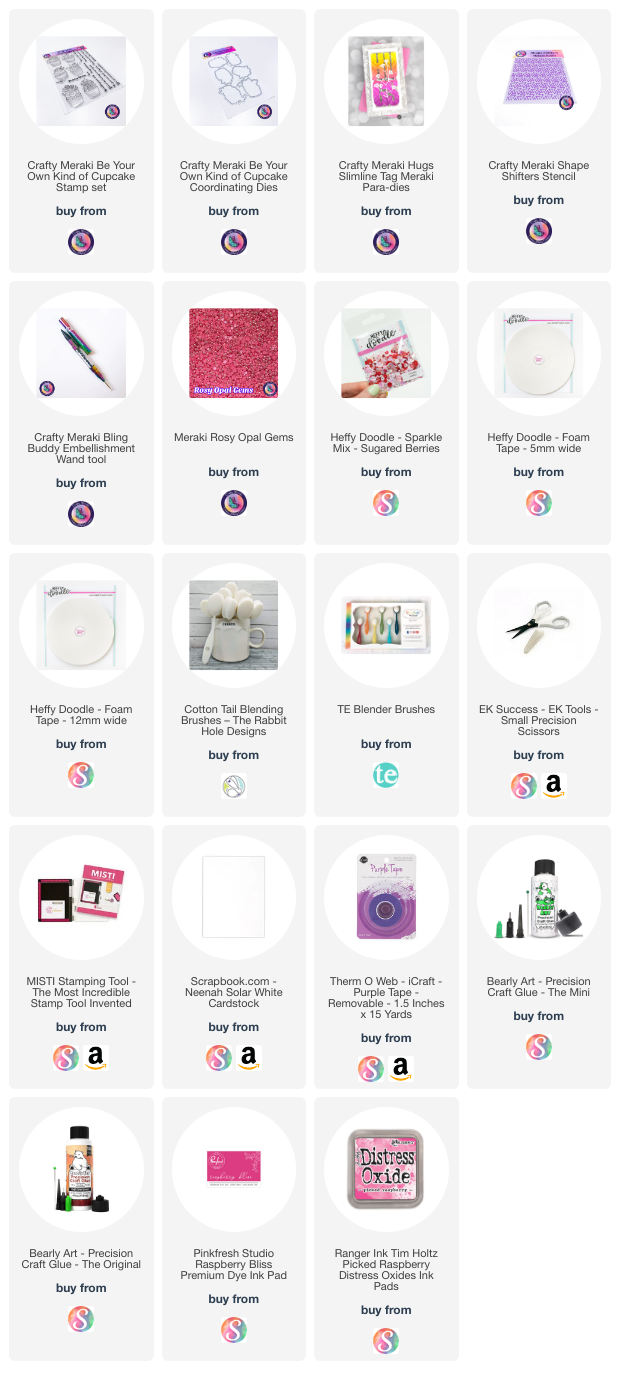
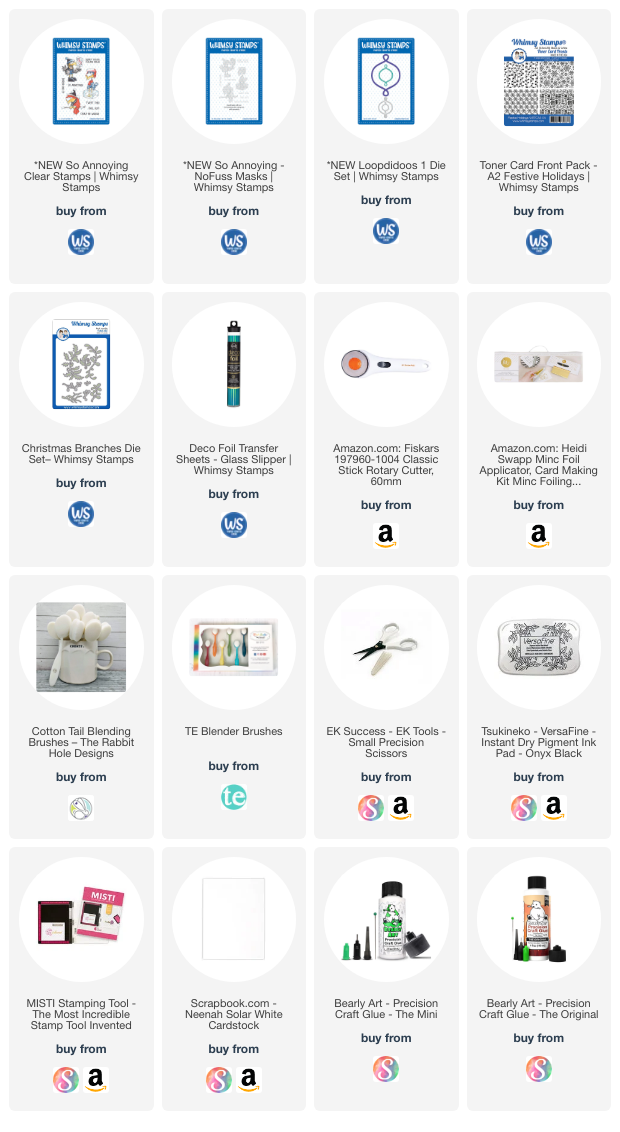
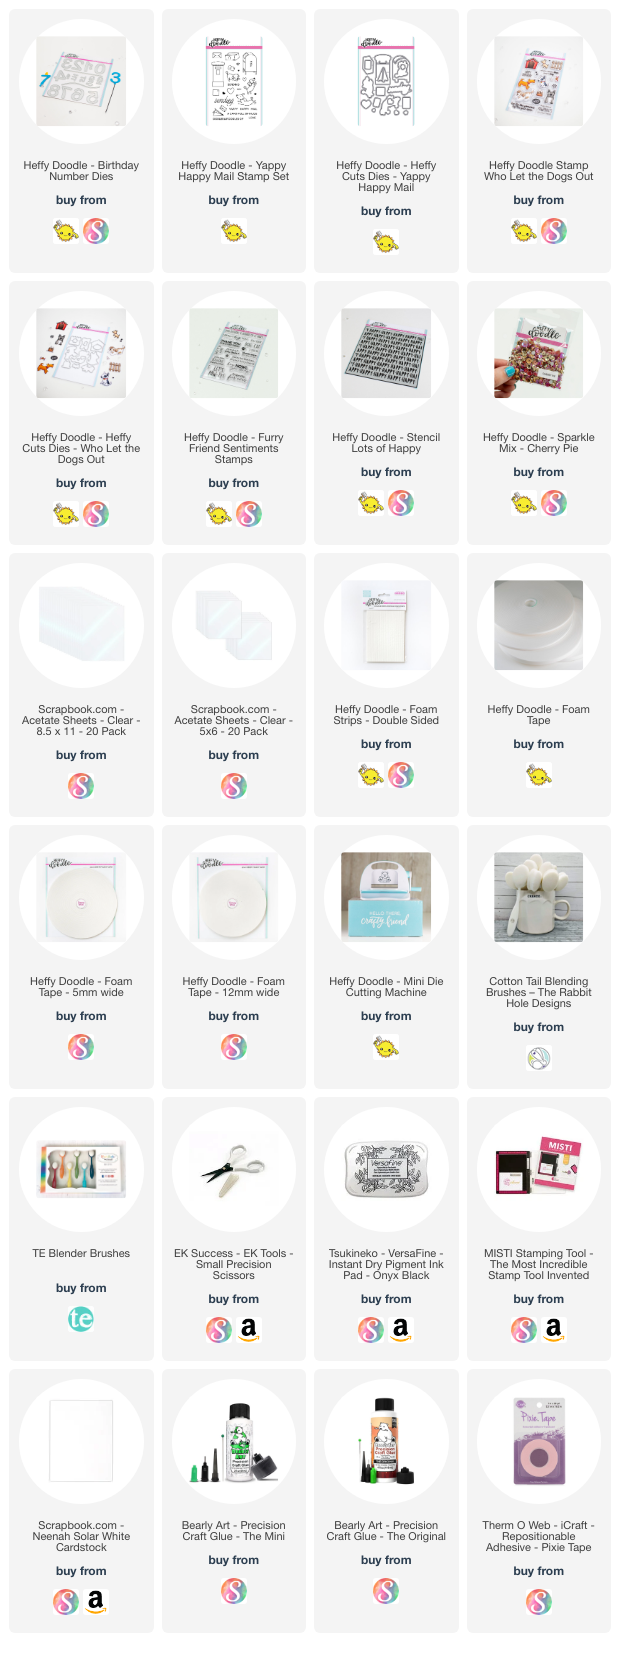
I’m often asked what supplies I use to make my cards and projects, so I’ve put together a list using affiliate links when possible. If you make a purchase with these links I may receive a small commission. These help me to keep up with blog costs and continue bringing you fun projects. Thank you so much for your support!
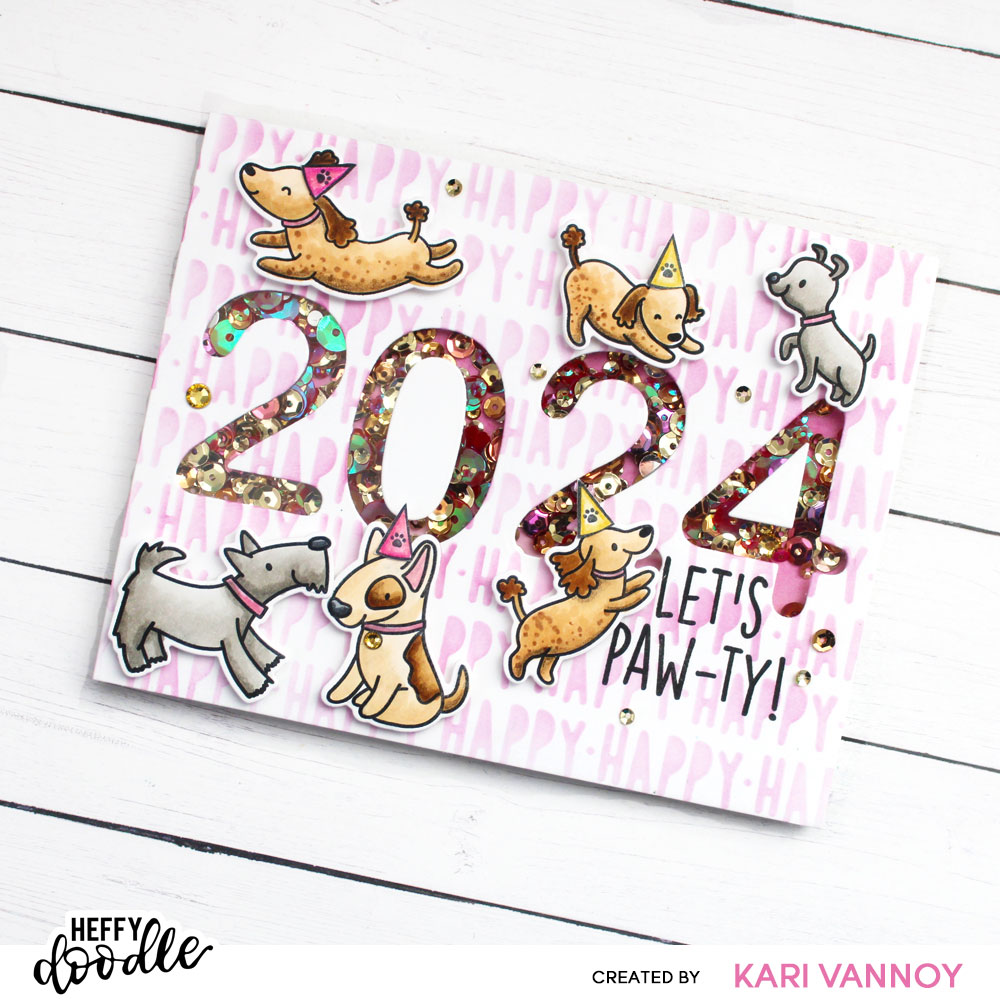
I hope you enjoyed this card share today. I wish you a very Sparkly and very Happy New Year!