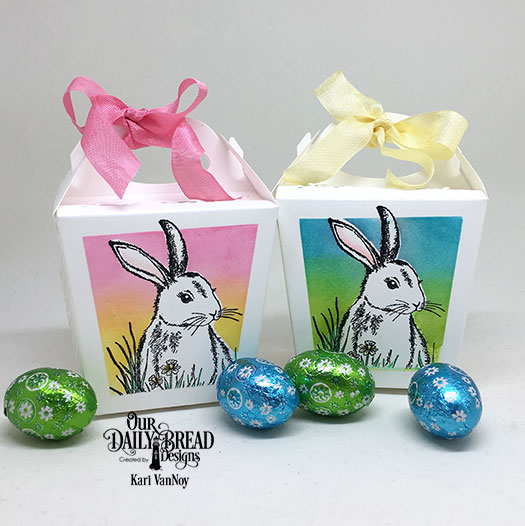
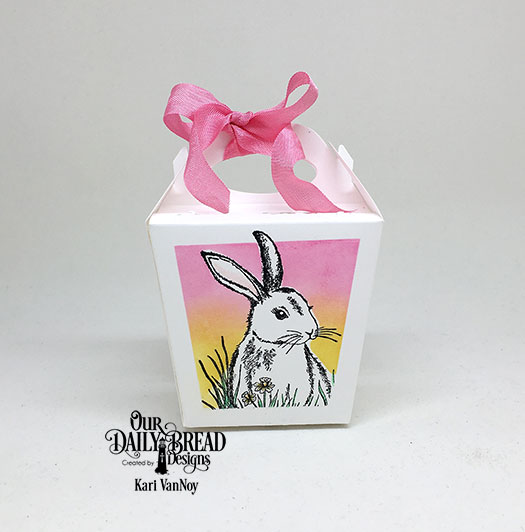
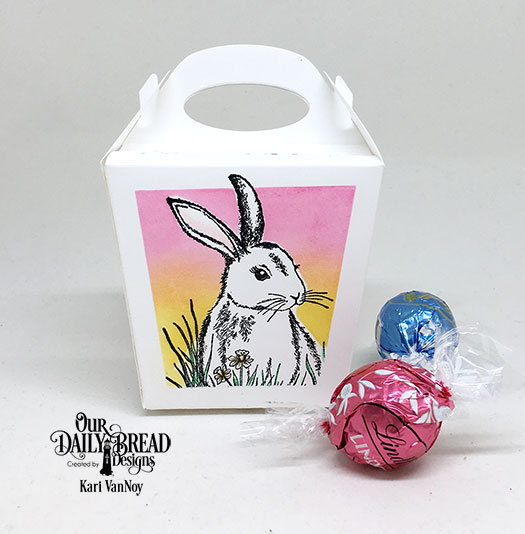
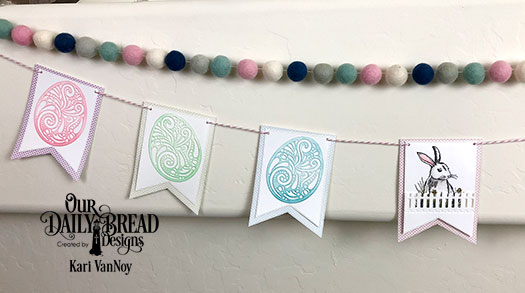
Hello again! Today I have a few more Easter projects to share using beautiful products from Our Daily Bread Designs. I used the same Hoppy Birthday stamp set to create a Bunny Banner and some Shaped Easter cards.
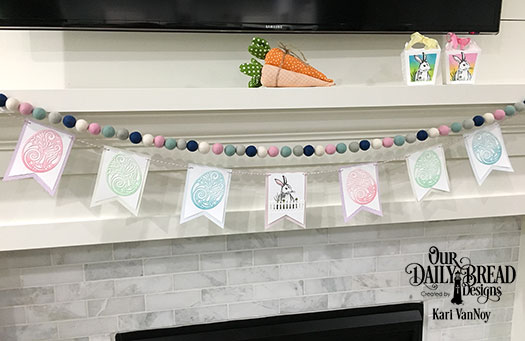
This banner was fun to make, but even more fun to display. I used all pastel colors with the star of the show in the center! That bunny is so cute.


The beautiful eggs are die cuts you can find here.
The next project is a shaped card using the same Boho Egg Die that I used above. This time, I used that cut out as a STENCIL and stamped the bunny over the top!
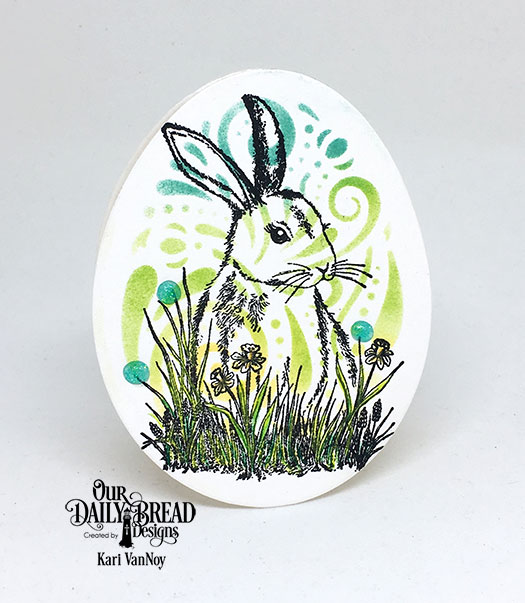
That Boho Egg die is sure beautiful…and look at how it performs as a stencil! I added a bit of colored pencil to the grass and daffodils, and a few Nuvo Drops to add more color. Isn’t this a fun card?
To make this egg shaped card stand up on its own, I just cut a portion of the lower part of the back of the card to be straight!
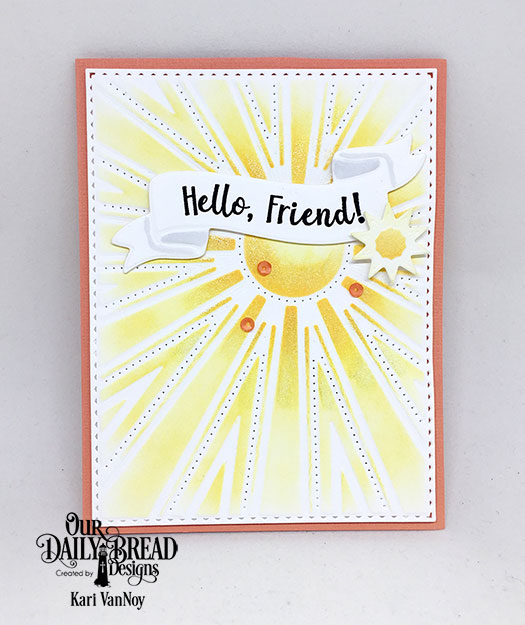
The last project is this shaped card using the Large Banner Die as the card base:
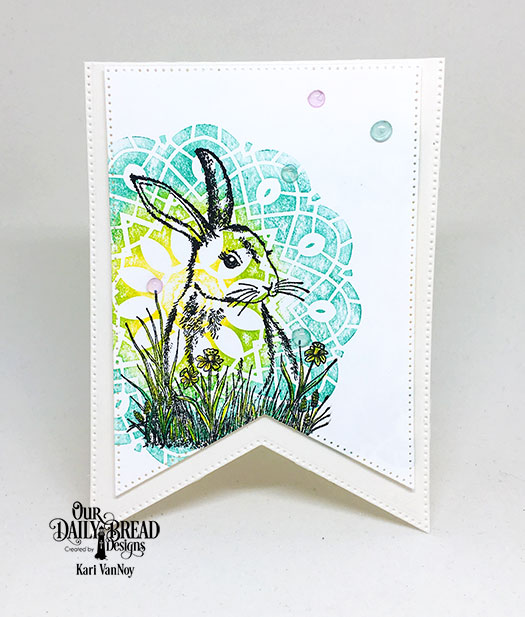
If you partially die cut the banner, leaving the top of the card in tact, it creates a banner shaped card base! So easy to do and it’s nice to have a different shape.
For this card, I took some finger daubers and added three different colors of ink to the Dazzling Doily stamp to create a softer look. Then I stamped the bunny image over the top. Some Nuvo Jewel Drops finish off the card.
I hope you enjoyed my banner project and shaped cards today. Will this inspire you to try some shaped cards of your own? Happy Easter!