all-six-cards-1

Heat embossing on Dark cardstock

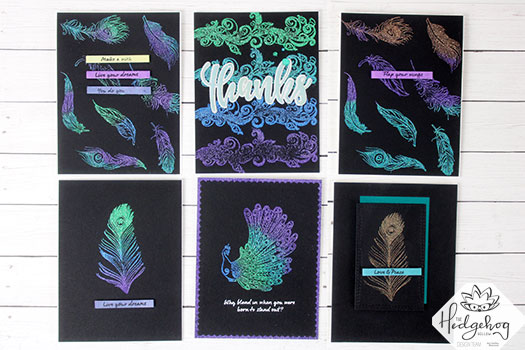
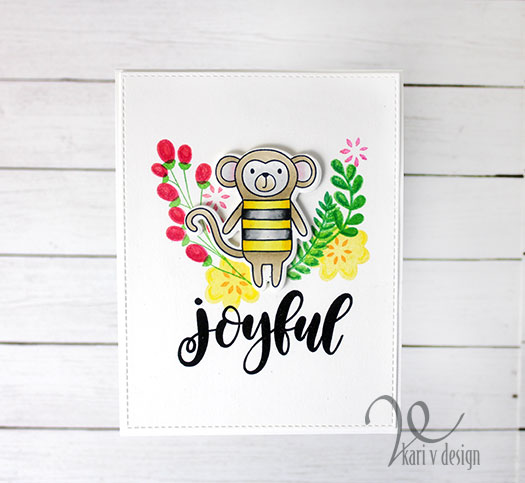
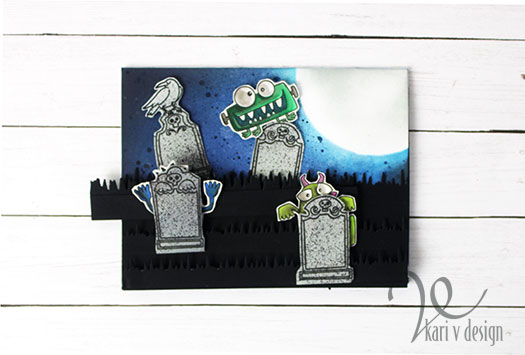
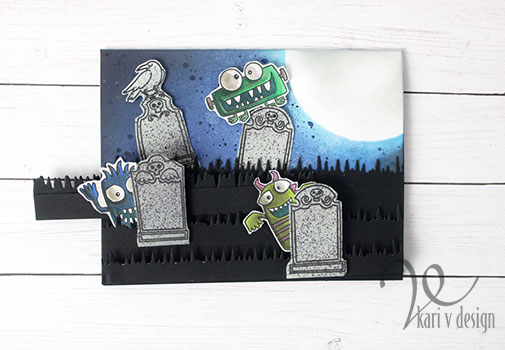
Hello! Today I have a card share with showing just how striking heat embossing can look on dark cardstock.

I used a variety of glitter embossing powders, including one from a previous Hedgehog Hollow kit. The feathers and all stamps I use here are from the current September Hedgehog Hollow kit.

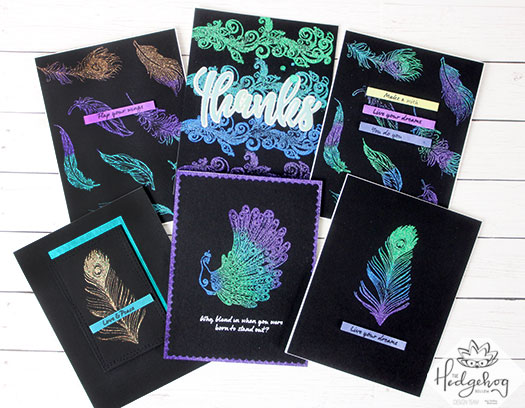
Start with a dark cardbase, I used black cardstock here. Then use an anti-static powder bag to prep it. Dark cardstock is notorious for holding onto stray bits of embossing powder so don’t skip this step!

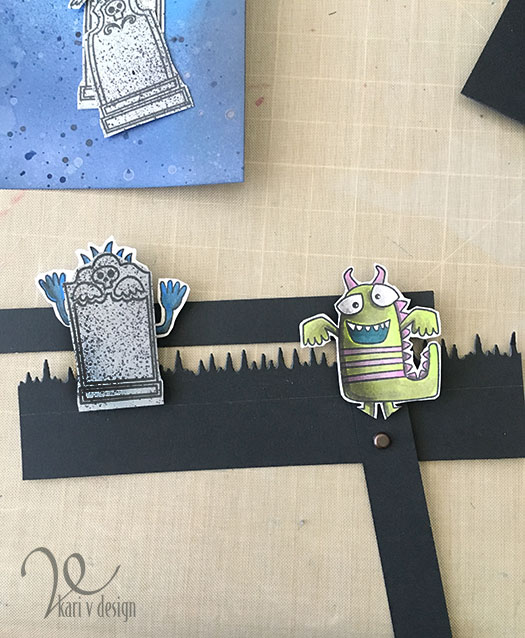
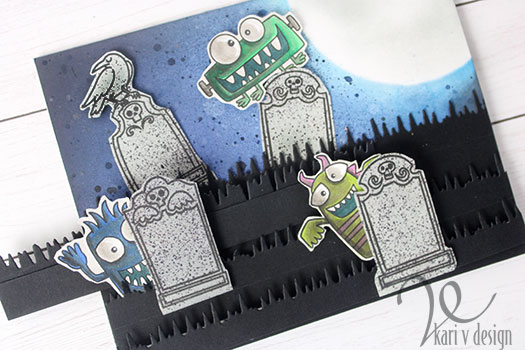
Then, using an embossing ink, stamp the image onto the cardstock and add various colors of glitter embossing powders. I used my Nuvo spoon to add a little of each color to get a smooth look.

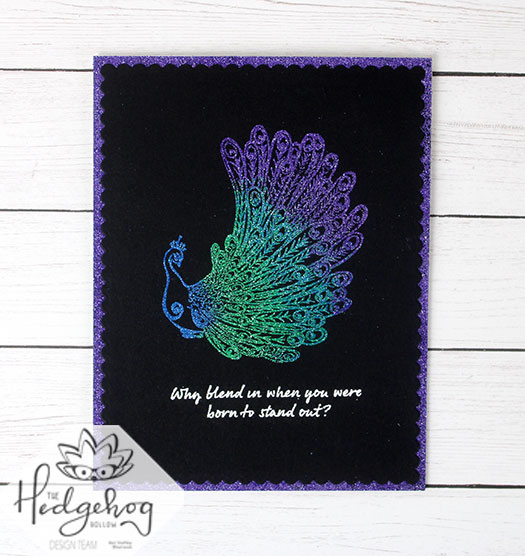
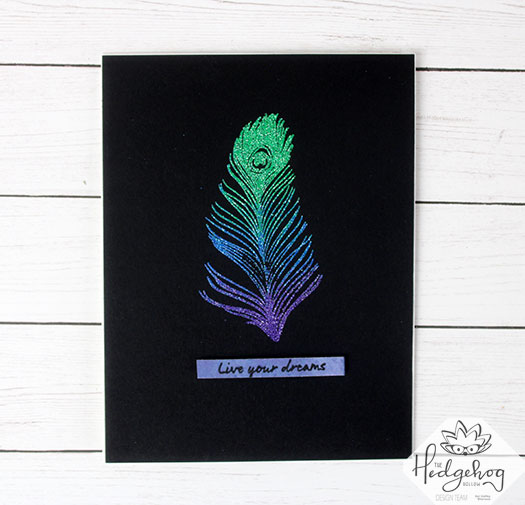
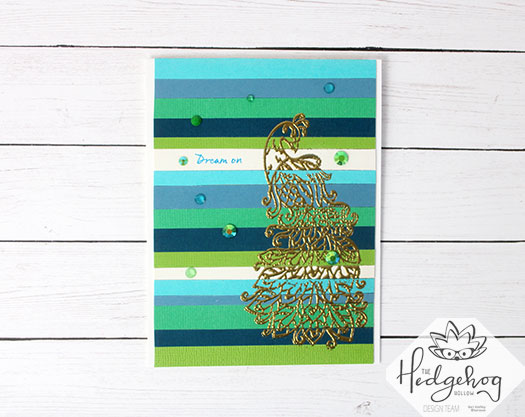
I love how this embossing powder really pops on the dark background.

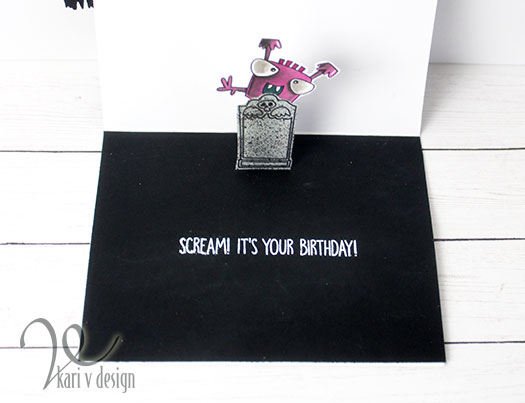
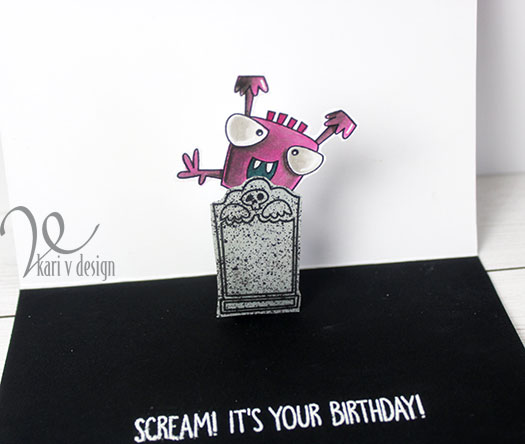
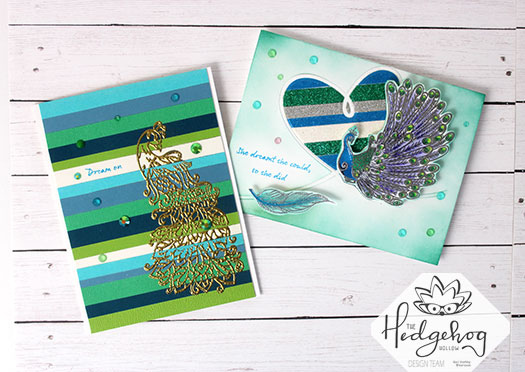
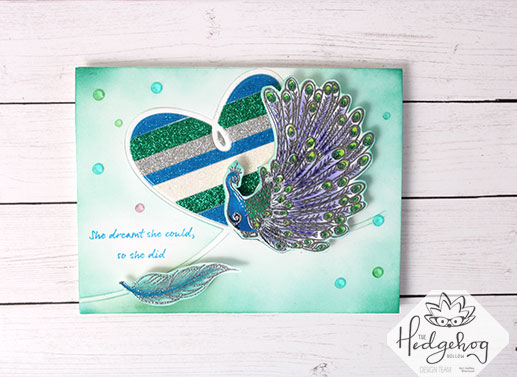
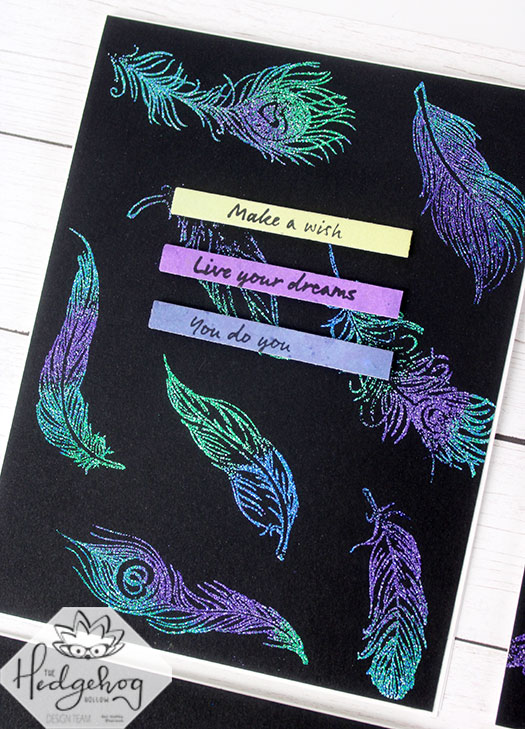
For the sentiments, I used Distress Oxides to blend the background colors. I gave it some time to dry before stamping the sentiments on with a black ink. Then, I cut out sentiment strips.

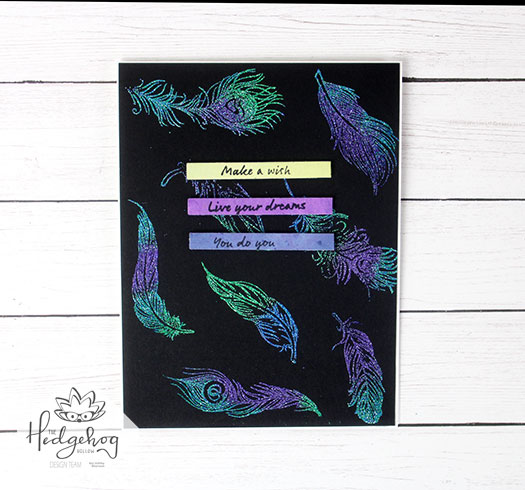
So take a look at your embossing powders and try it out on a dark cardstock base! It’s fun to see the different results.

I have a short video to show you some tricks for heat embossing and ways to get a softer blend between colors, watch it below or on YouTube:

I hope you enjoyed this project today. As you can see, I couldn’t stop making these cards once I got started!

I’m often asked what supplies I use to make my cards and projects, so I’ve put together a list using affiliate links when possible. If you make a purchase with these links I may receive a small commission. These help me to keep up with blog costs and continue bringing you fun projects. Thank you so much for your support!

Comments { 0 }
grizzly-bear-1

I’d Climb Any Mountain

Hi there! Today I’m joining in on the MFT Card Design Superstar challenge for the coloring virtuoso category. I’ve been working on fuzzy hair coloring techniques with colored pencil, so I thought I’d try that out with these polar bears!

But instead of a polar bear, I turned him into a Grizzly bear that hikes! (this cutie is from the Polar Bear Pals stamp set).

Climbing the mountains

This bear has a scarf because it’s cold on the mountain top! He would climb any mountain for you! And doesn’t he look quite fluffy?! He would give the best BEAR HUGS!!

For the background I used the Cloud Stencil from MFT (which is still one of my absolute favorite things in the craft room)! And for the mountain I ripped some paper to make a sort of stencil to create that jagged edge. I added an extra shadow below the bear to show the light is behind him.

He has planted his flag to let you know just how much he loves you! I cut the flag from the fishtail sentiment strips dienamics.

Hope you like this grizzly bear as much as I do. Thanks for stopping by!

Comments { 1 }
joyful-close-up

Joyful Monkey

Hello again! Today I’m participating in the MFT 2019 Card Design Superstar contest for the Clean & Simple category.

I was inspired by my nephew (who loves monkeys) and creates so much JOY in my life.

I used the Cheeky Monkey set and colored him up in bumblebee colors. Then I created some greenery and flowers using the In Bloom set. I love this set for some easy and beautiful floral arrangements.

Then, I added a JOYFUL sentiment from the Handwritten Holiday Set, which is another favorite of mine. Last, I die cut the panel with the Stitched Rectangle Staxs Dienamics and attached it to a top folding card base.

This Joyful monkey makes me smile!

I hope this card makes you smile, too! Thanks for stopping by!

Comments { 0 }
inside-of-card-close-up

Over the Hill Birthday

Hello! Today I’m participating in the MFT 2019 Card Design Superstar Contest: Innovation Master.

I had this idea to have some monsters peek out from behind some gravestones using a pull tab for action. It’s the perfect card for an Over the Hill Birthday (one foot in the grave). Lol.

The front of the card…I have a feeling we are being watched!

So first I set it up to have some of the monsters just peeking out from the gravestones….who’s lurking there?!

I set a pull tab mechanism up on a “pivot system” using small brads. I hid the black strip behind the black “grass” that I made with an older die from MFT called Icicle Border. It think it looks like a spookier grass! Lol.

I had to cut off the feet of this monster to make it work!

Poor monster. Sorry I had to cut off your feet.

When you pull on the pull tab, the monsters peek out from behind the gravestones!

Eep! Who’s sneaking around the graveyard?

I colored one side of the monsters darker, so it looks like the moonlight is lighting up one side…It’s a darker “night time” look for these scary monsters. For the gravestones, I used the Distress Marker Spritzer to give them a more stone-like appearance.

But INSIDE the card has a surprise too!

The pink monster POPS UP at you when you open the card!

It’s a great birthday card for an October birthday, don’t you think?!
Thanks for stopping by today, and wish me luck!

Comments { 1 }
stripes-background-card-1

Peacock cards using Paper Strips

Hello again! Today I have some peacock cards to share, using the stamps from The Hedgehog Hollow September Kit.

I gathered together some cardstock in various colors (inspired by a peacock) and cut them into strips for these easy-to-make cards.

Beautiful peacocks

I sometimes love a card that has no coloring…and this first card is just that! The colorful paper does the coloring “for you.” I heat embossed the peacock in gold over those strips of paper for an easy card.

The second card needed a bit more glitter! Lol. So I cut those strips from glitter cardstock for this one.

I have a quick video to show you the process for these cards, watch it below or on YouTube:

These cards were fun to put together and also just a little different. I hope it inspired you to try this technique on your cards!

I’m often asked what supplies I use to make my cards and projects, so I’ve put together a list using affiliate links when possible. If you make a purchase with these links I may receive a small commission. These help me to keep up with blog costs and continue bringing you fun projects. Thank you so much for your support!

I love these peacocks, and they are fun to use on a card. I will be back soon with more inspiration!

Dream…

Comments { 0 }