Archive | Uncategorized RSS feed for this section
logo-day-1-watercolor

Wonderful Watercolor (MFT Camp Create Day 1)

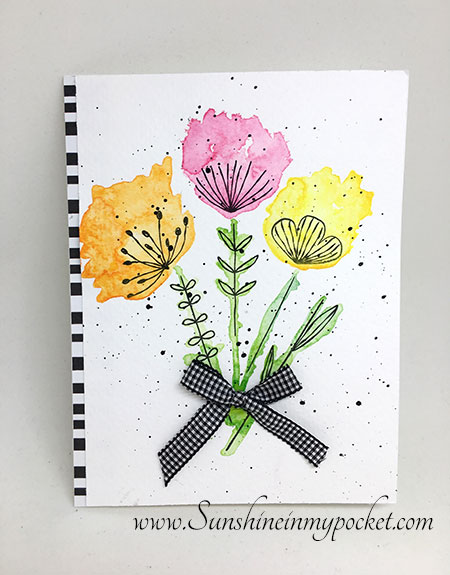
Today I’m playing along with MFT Camp Create. I’ve never fully tried watercolor on this flower stamp set and today was the day to give it a try! I usually try to stay in the lines and control where the color goes, but for this card I let the color go where it may.

day-one-watercolor-bunch

And go where it may, it did! It’s fun for a change to allow the chaos of a messy watercolor look. I added some black splatters to add to the fun, loose feeling. A black gingham bow and black striped paper finishes the look.

Linking up to MFT camp create: Wonderful Watercolor!

logo-day-1-watercolor

Comments { 0 }
making-colored-glitter-paper

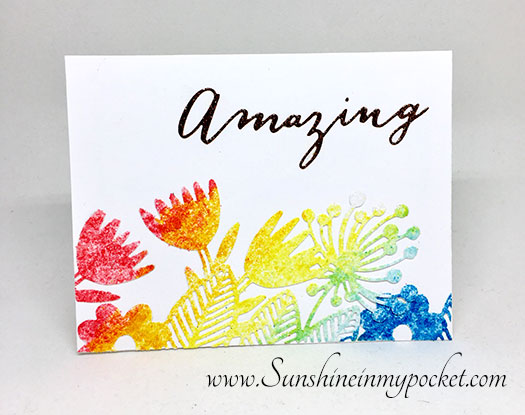
Homemade Glitter Paper (Sparkle & Shine: Day 1)

I just cannot miss an Online Card Class, and this Sparkle & Shine class was no exception! I love adding a little sparkle to my cards and I was excited to learn some additional ways to make my projects shine!

On Day 1, we learned quite a bit about glitter. Well, I don’t like glitter (but I DO like glitter paper!) because it gets all over the place. And I still don’t have Swiffer cloths in my craft room. BUT, I jumped right in and made my own glitter paper using clear Distress Glitter, then colored it with alcohol markers.

Here’s my card:

making-colored-glitter-paper

It was so fun, but glitter got EVERYWHERE! And I got some glitter on my markers (I hope it doesn’t hurt them). This Waffle Flower die “Magical Flower Border” was the perfect choice for my project. I added a sentiment to describe the way I felt about this colored glitter paper. You can’t tell in this picture, but that sentiment is actually bronze glitter…I thought it looked great with the colored glitter paper.

I’m loving this class so far! Thanks for all the fun!

There’s tons more to learn and try from just day 1, and you can bet I’ll go back and try a few more techniques. 🙂
Comments { 0 }
wed-challenge-badge_zpsf506d7ee

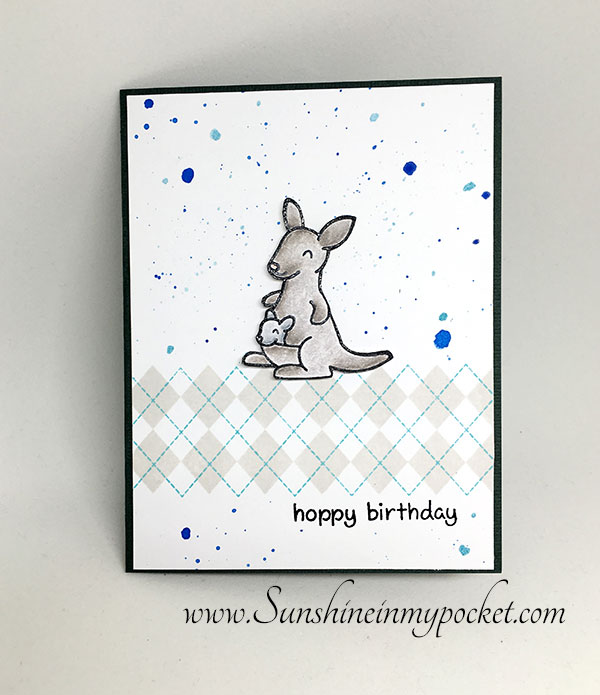
Hoppy Birthday

I can’t believe I have never used this Argyle stamp set from Lawn Fawn. It is so much fun to stamp, and it’s so cute!

hoppy-birthday

The inks I used are Simon Says Stamp in Fog and Audrey Blue. Then I took that blue ink and splattered some ink splotches on the background, making sure I covered that argyle border first so it stayed clean! I also used another darker blue for the background splotches (Gansai Tambi watercolor).

The kangaroo is colored with Prismacolor pencils.

Entering the Simon Says Stamp Make For the Border challenge.

wed-challenge-badge_zpsf506d7ee
Also entering the Lawnscaping Challenge: Punny Time

lawnscaping-136

Comments { 1 }
SYD_participant

Stretch Your Dies (day 4) — Patterned Paper die cutting

So I’m going a bit out of order! I am waiting for some packages to come in so I can finish up some homework. While I wait, I thought I’d just go ahead and post some other cards for class.

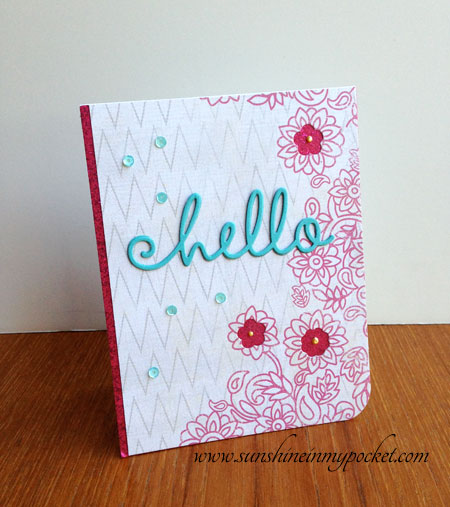
Today we learned about using a small die cut to enhance patterned paper. Such a great idea! But I have to admit, I was a little nervous about this one. I didn’t want to “mess up” the patterned paper.

I ended up die cutting only 3 little blossoms on this paper to see through to the glitter paper beneath it. What do you think?

day-4-new-mini-dies-to-enhance-patterns

I’ll be back to list the supplies I used on this one in a bit!

Comments { 0 }
_day-1-heat-shrink-craft-foam

Heat Shrink Craft Foam

I’m taking the Online Card Class: Stretch Your Dies. It is awesome! The first day I was impressed with Jennifer McGuire’s class on shrinking craft foam on your cards.

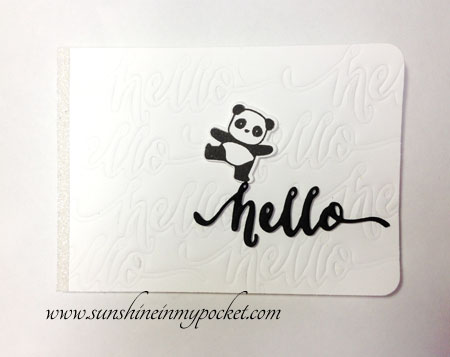
So for my card, I shrunk the word “hello” in black craft foam…and then dry embossed the original size on the background. It is a subtle change in size…can you tell?

_day-1-heat-shrink-craft-foam

Sorry about the shadows…it’s a bit dark today. If you look closely, you can see the black “hello” is a bit smaller than the embossed “hello” beneath it. I love this technique and had no idea that craft foam could shrink!

I think I’ll try a few more cards with this idea soon. 😉

Comments { 0 }