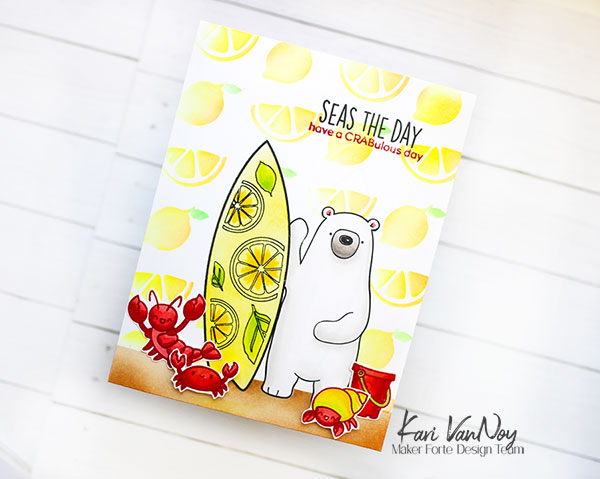
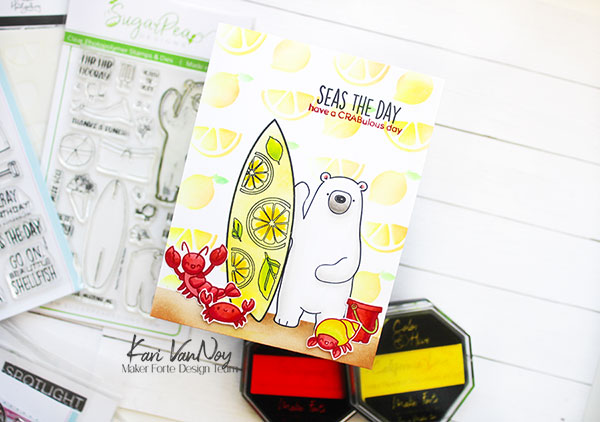
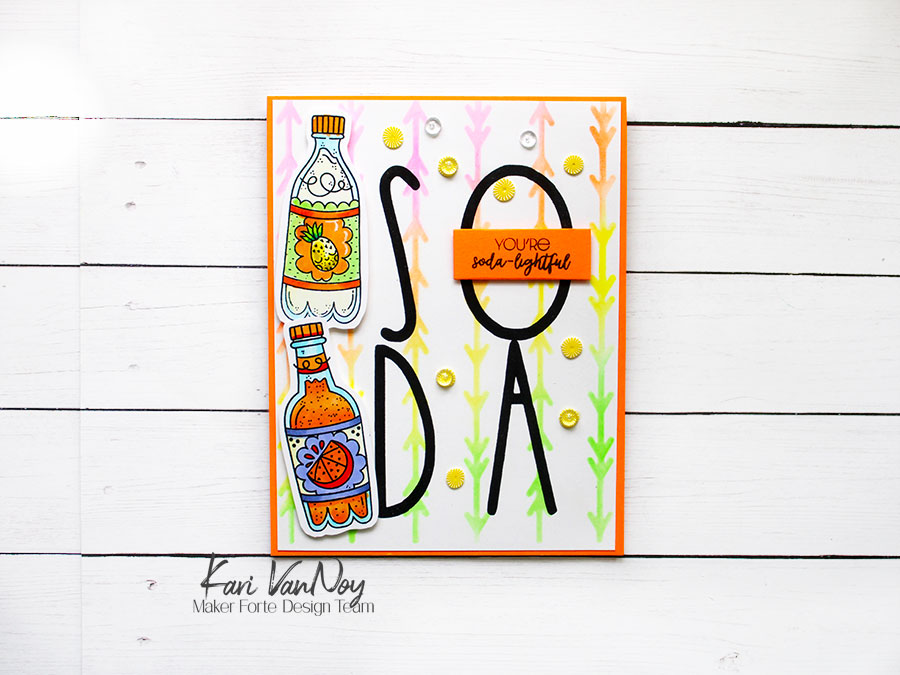
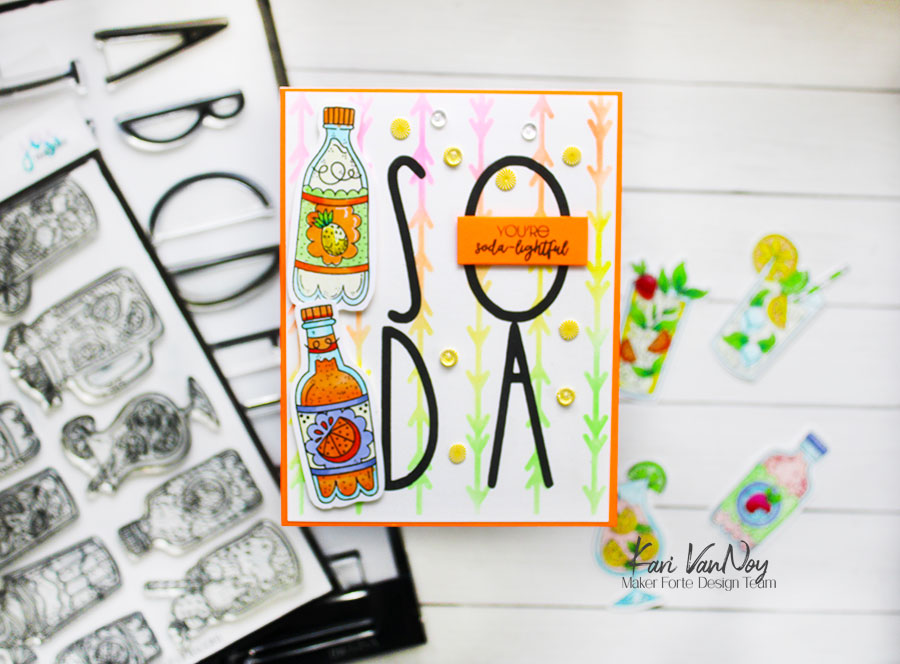
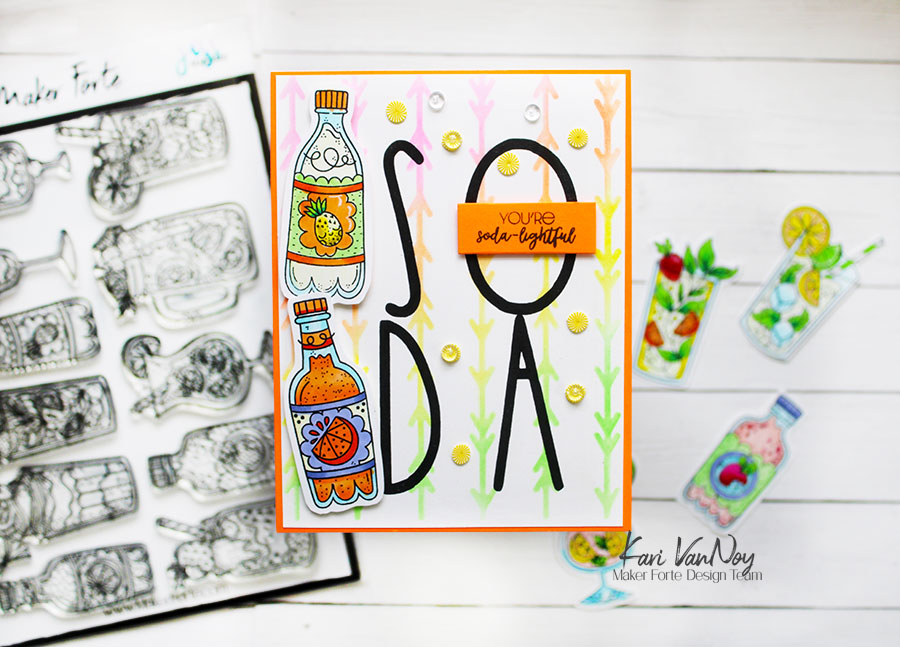
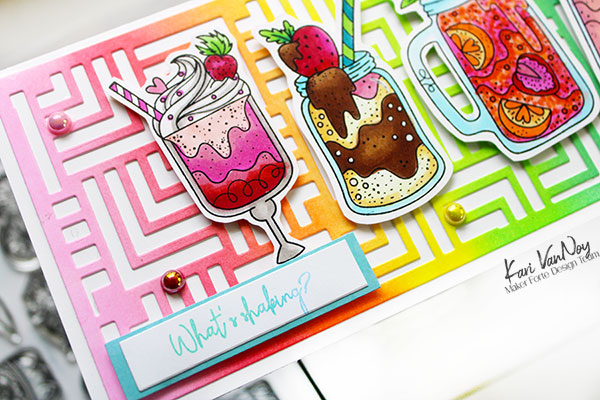
Hello! Today I have a video sharing some stencils I found that I use over and over again. I love these spotlight stencils and it’s such a bonus when they can be used for SO MANY types of cards.
Watch the video below or in HD on YouTube:
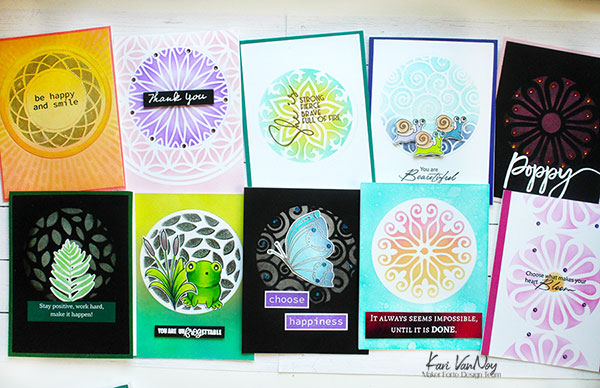
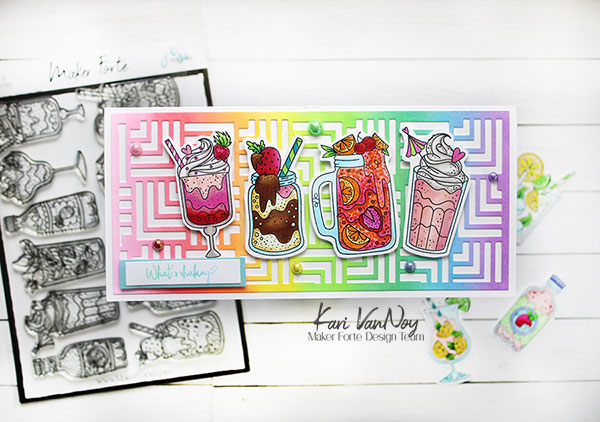
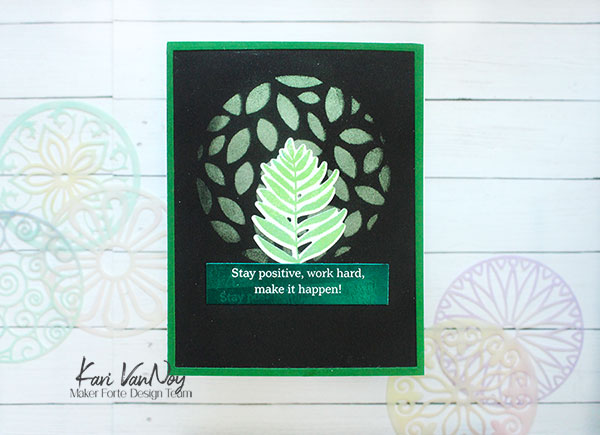
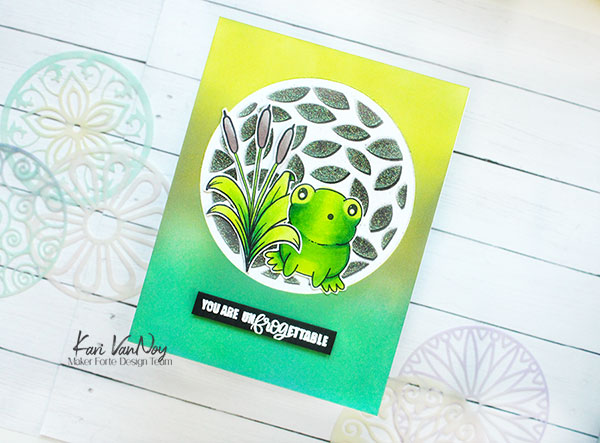
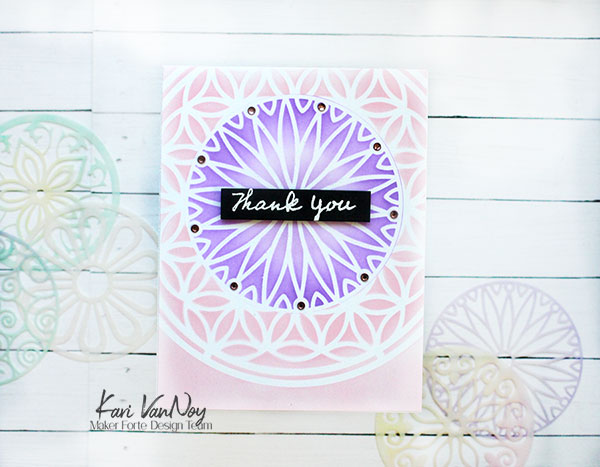
The beautiful thing about this spotlight stencil, is there are many designs that are INTERCHANGEABLE! So you get all kinds of different looks, and they are so easy to create.
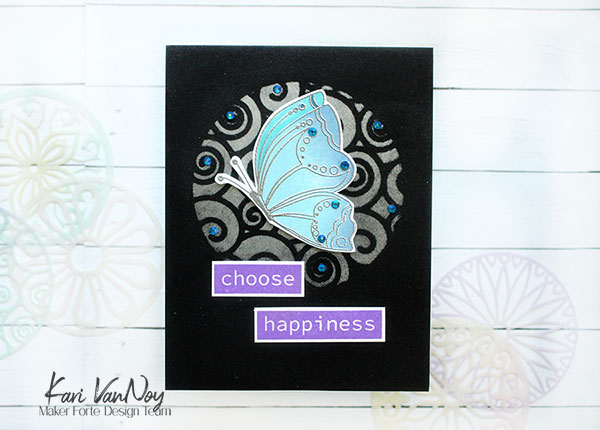
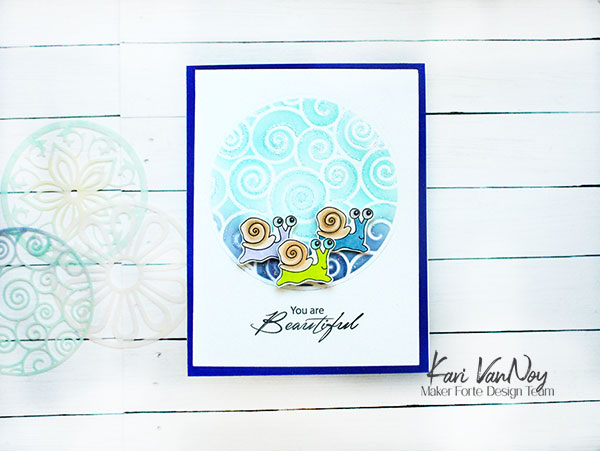
For this butterfly card, I used Kaleidoscope Powder in the background to get a glow and shine! I love the look on dark cardstock. (I show you how to do this in the video)
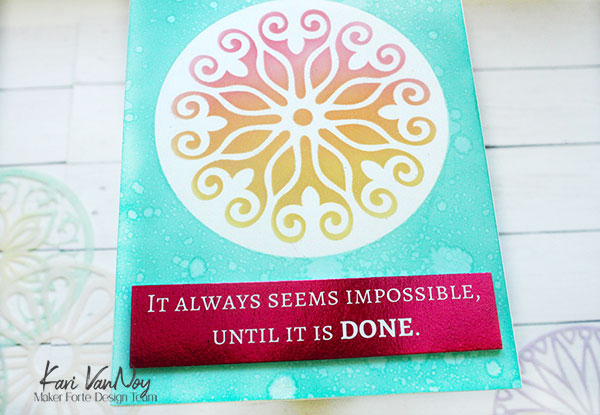

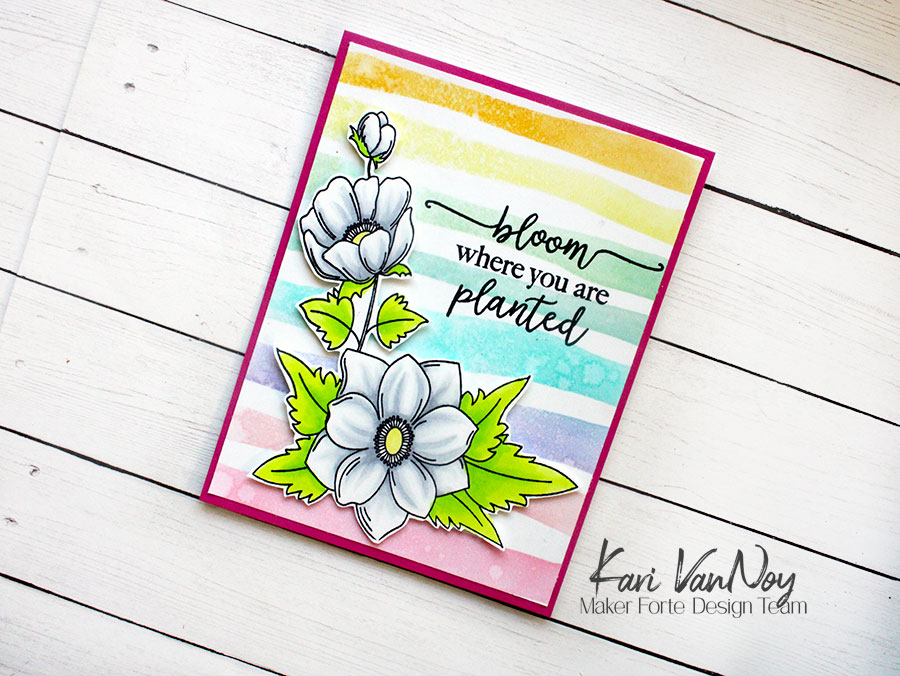
This card turned out to be one of my favorites and it was super simple! I added a heat-foiled sentiment to finish it off.
Be sure to check out the video to see it all!
And TODAY there is a SALE on these products and more…check it out HERE.
I’m often asked what supplies I use to make my cards and projects, so I’ve put together a list using affiliate links when possible. If you make a purchase with these links I may receive a small commission. These help me to keep up with blog costs and continue bringing you fun projects. Thank you so much for your support!

I hope you will check out the video and the sale today! I really enjoyed making these, and I hope you enjoyed the projects. See you soon!