Archive | Uncategorized RSS feed for this section
SUNSHINE-cat-love-card-1

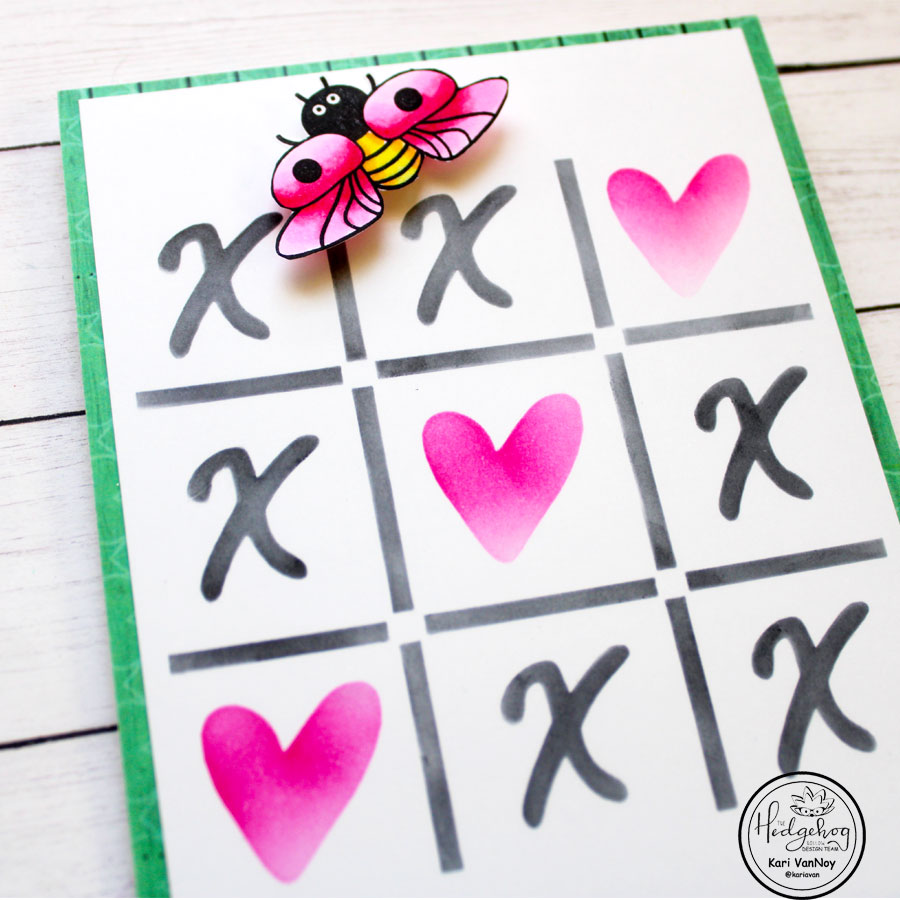
Love Bugs

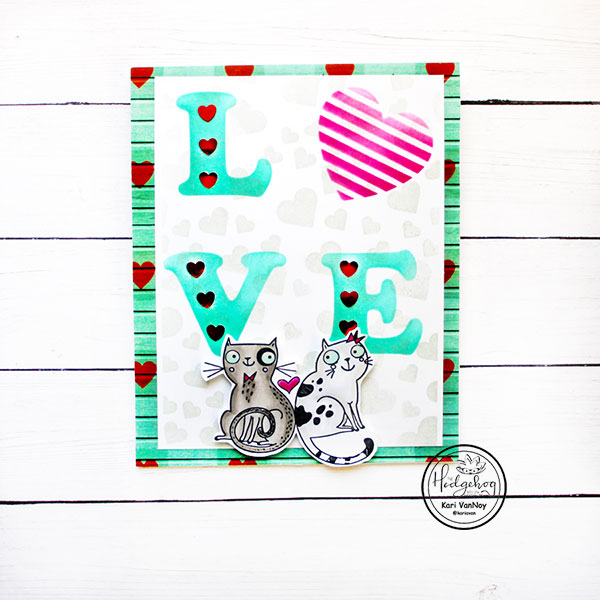
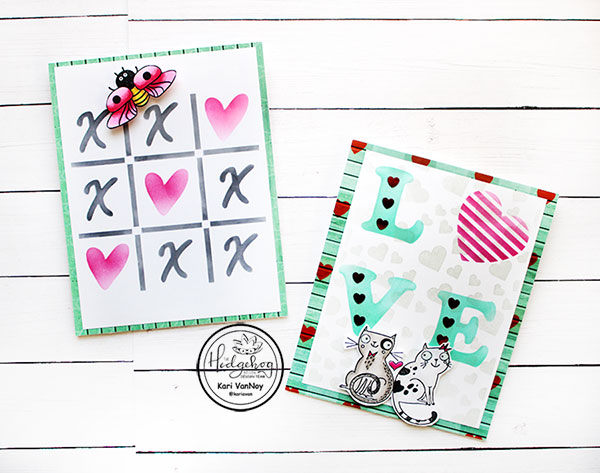
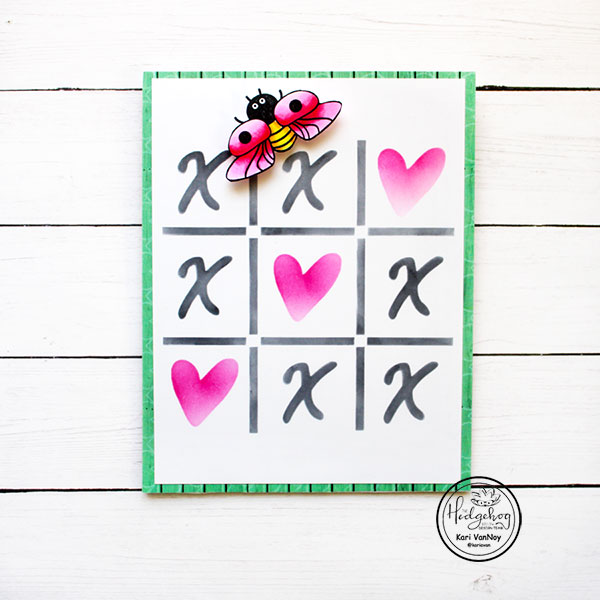
Hello! I have a couple more cards to share today using the Hedgehog Hollow January Kit. This kit is full of Valentine goodies, and I couldn’t stop making cards.

Here’s my last 2 cards to share…I have just learned that this kit is sold out already. (sorry!)

Aren’t these cats and love bugs just adorable! I’ll be back soon with more cards to share!

Comments { 0 }
SUNSHINE-both-cards-3

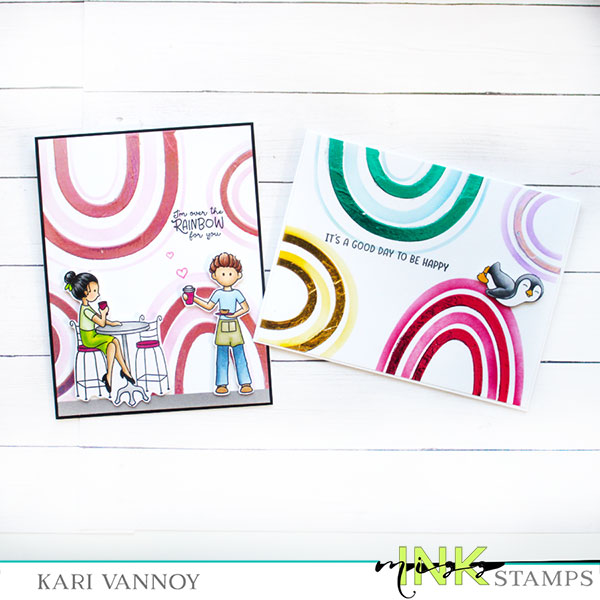
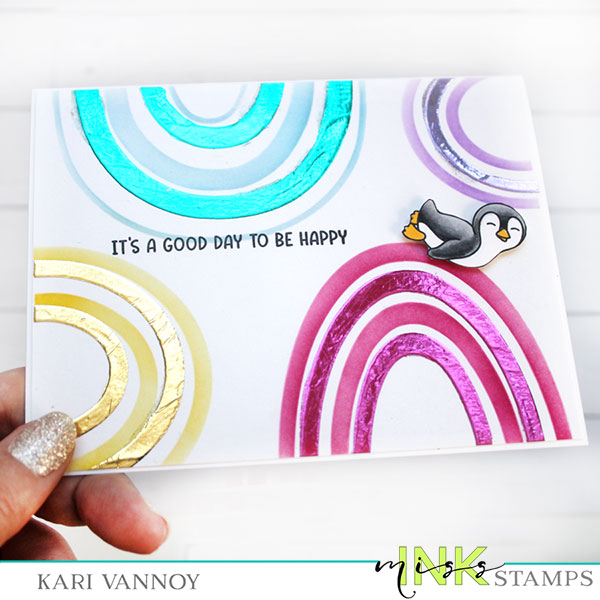
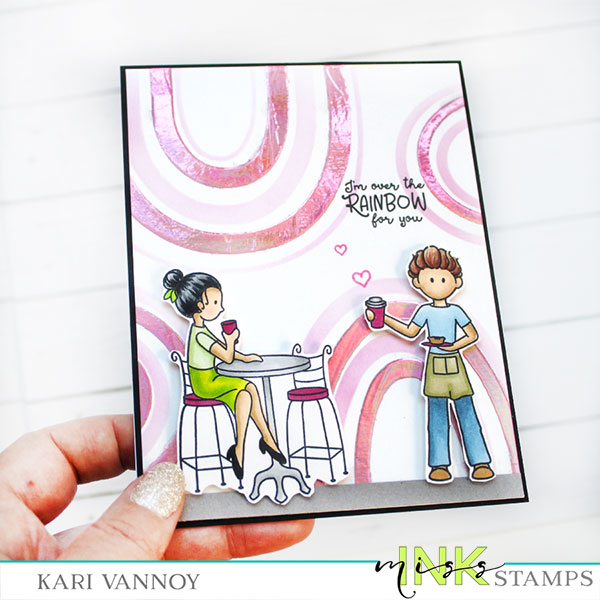
Foiled Rainbows

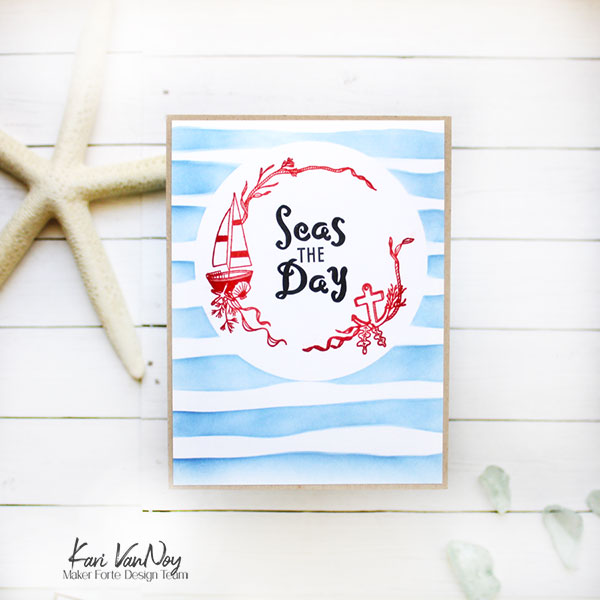
Hello! Today I’m sharing a fun partial foiling technique using the Rainbow Builder stencil from Miss Ink Stamps.

Watch the video below or in HD on YouTube:

This technique is so fun and so easy, too! I hope you enjoy!

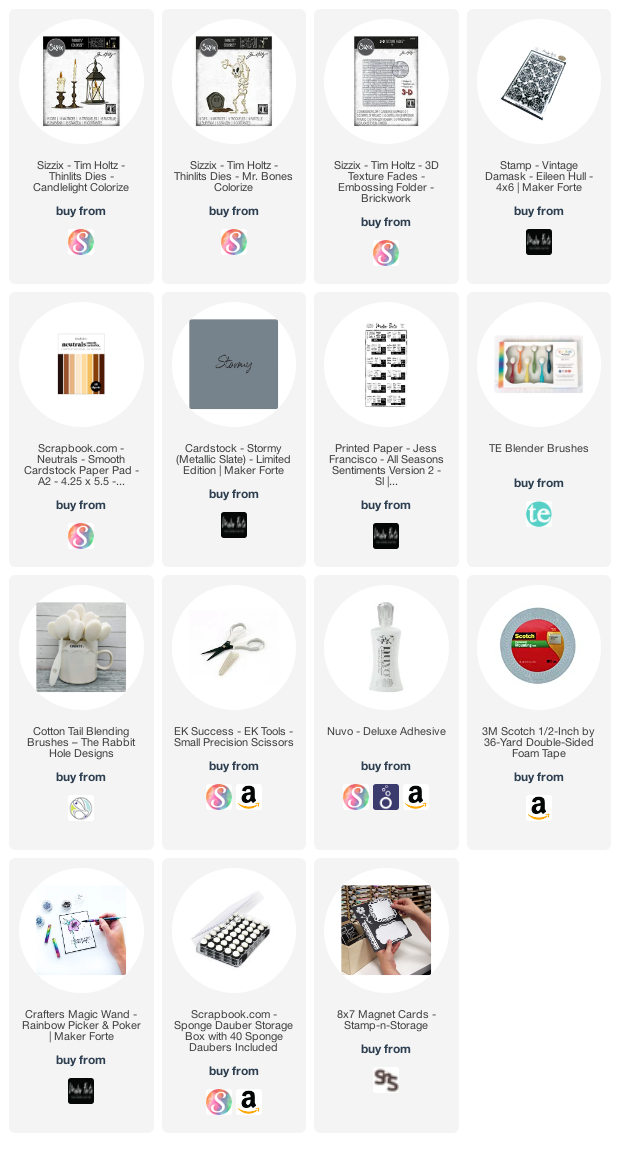
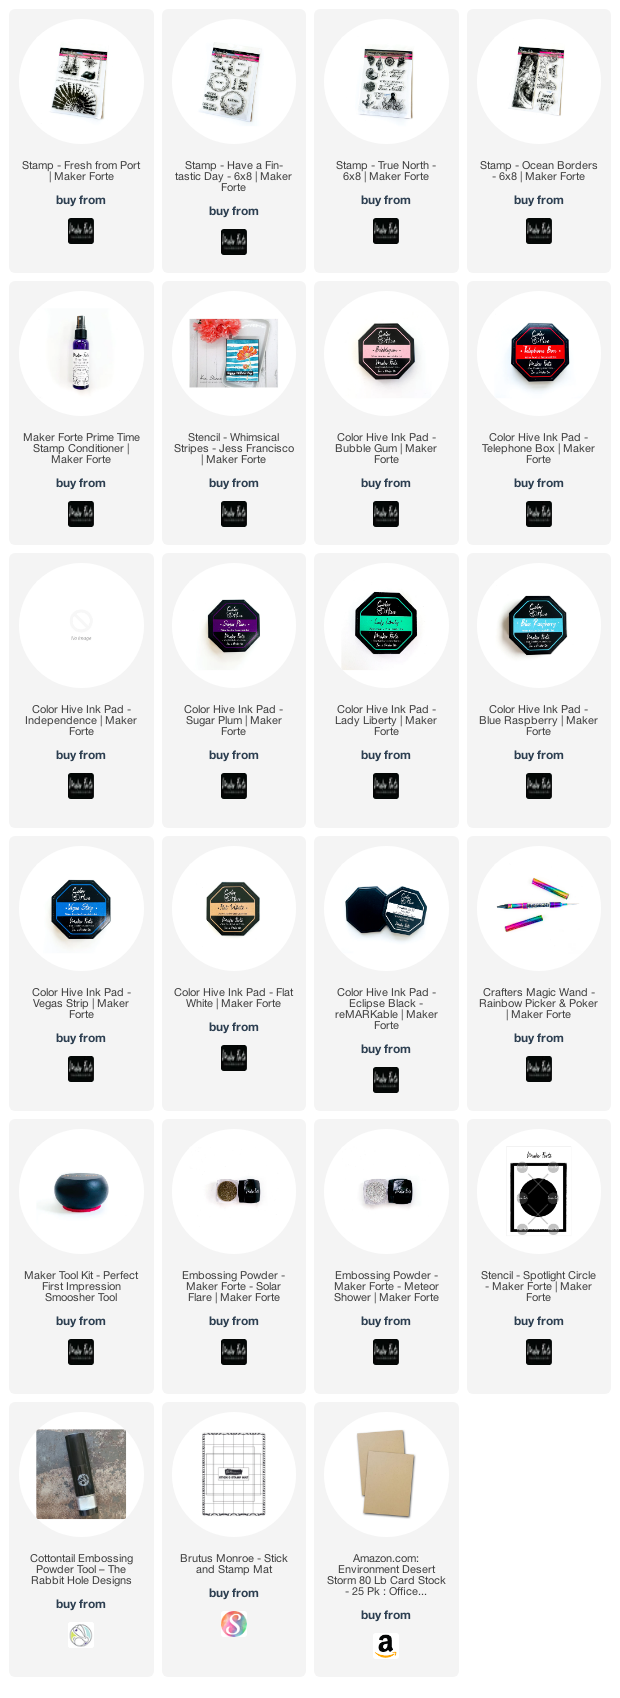
I’m often asked what supplies I use to make my cards and projects, so I’ve put together a list using affiliate links when possible. If you make a purchase with these links I may receive a small commission. These help me to keep up with blog costs and continue bringing you fun projects. Thank you so much for your support!


Thanks for stopping by!

Comments { 0 }
SUNSHINE-tags-on-presents

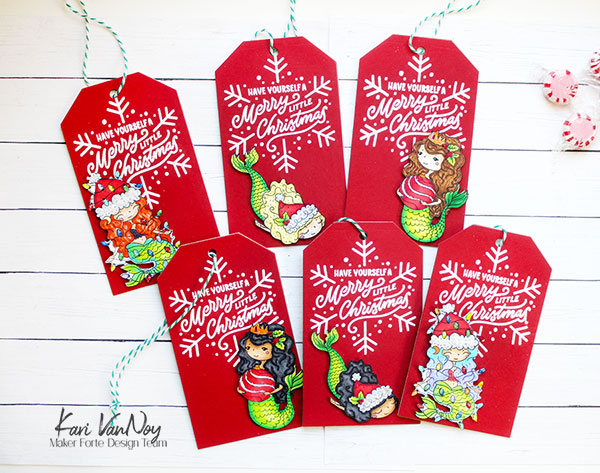
Christmas Mermaids: Tags & Ornaments

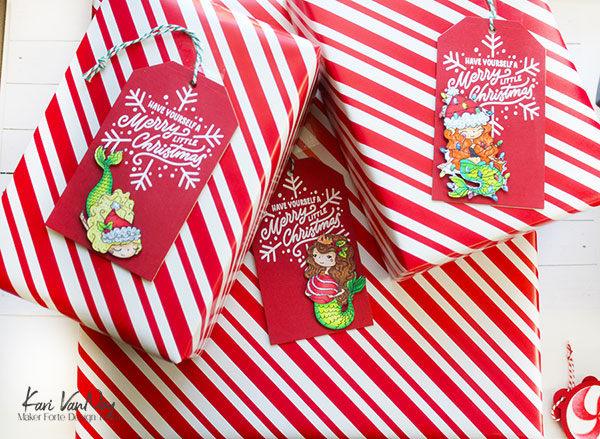
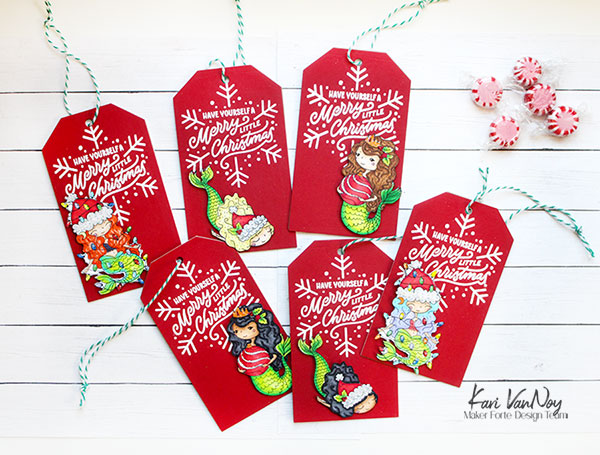
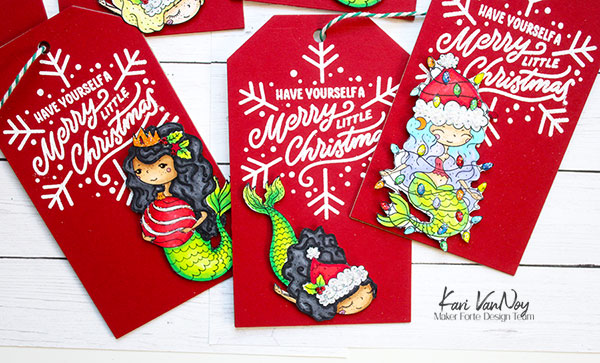
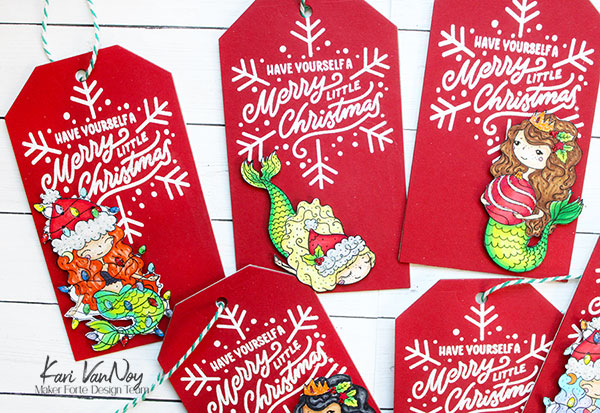
Hello! Today I have some mermaid tags to share that double as ornaments! These Christmas Mermaids are so cute and perfect for the holidays.

I have a quick video to share how these are put together and how to make them sturdy for hanging on the tree. Watch the video below or in HD on YouTube:

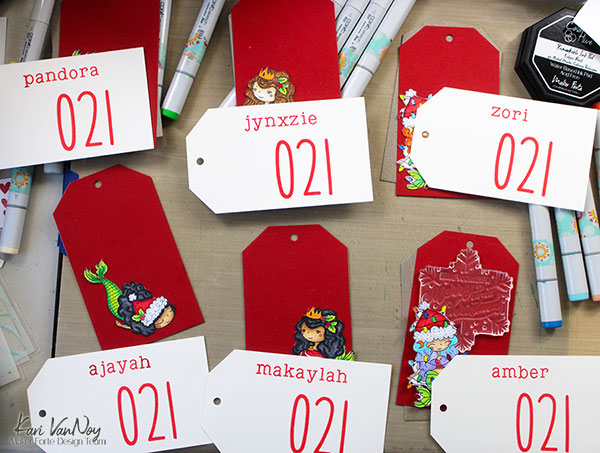
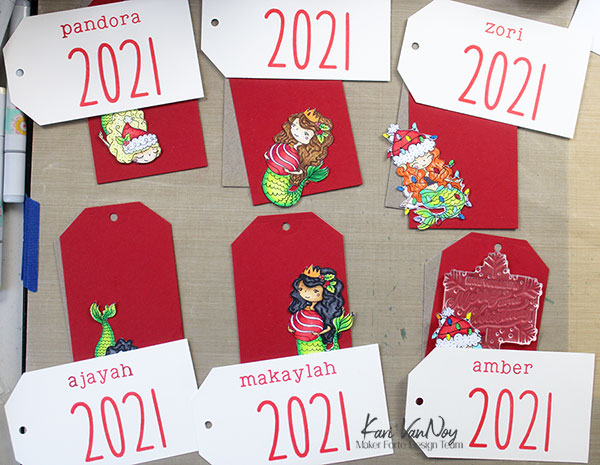
On the back of the tags, I stamped the year and the names of the recipients. I used the large number stamp from Maker Forte…and began by stamping “021” on all of them. Then I removed the 2 and stamped it in the front to create “2021.”

I cut 3 tags for each ornament: one out of red cardstock, one out of white cardstock, and one out of chipboard to sandwich in the middle. This chipboard makes the whole tag very sturdy and ready for hanging on the tree!

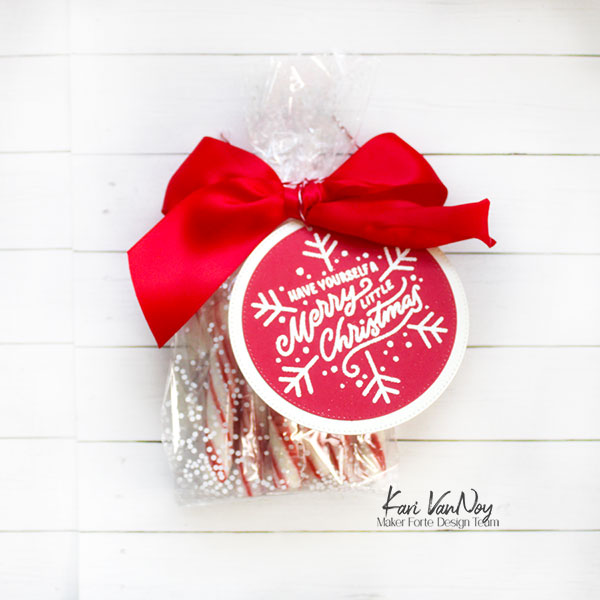
I stamped the snowflake greeting with clear, sticky ink on the red cardstock. Then I heat embossed with white embossing powder.

Once I had colored and cut out all the mermaids, I attached them with foam tape for extra dimension.

I think they look pretty great on some packages!

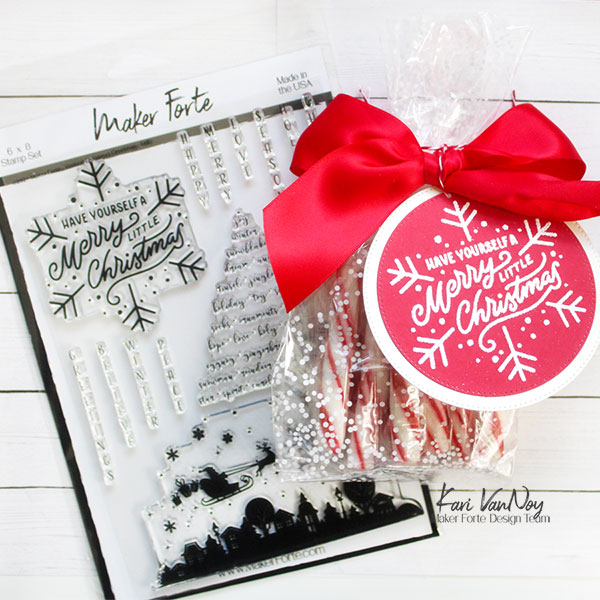
I wanted to mention, this snowflake sentiment is also cute on it’s own as a tag…if you don’t want to add the mermaids.

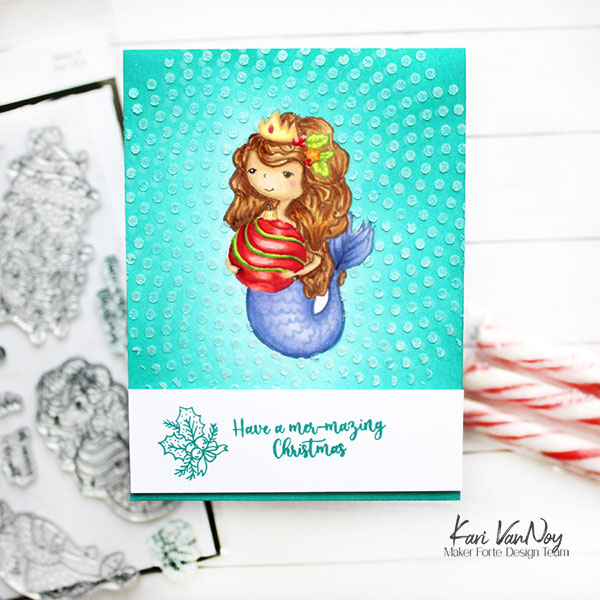
And these mermaids also make a pretty sweet little card, too….here is one I stamped in a light ink and did some “no-line coloring.”

Have a mermazing Christmas!

I’m often asked what supplies I use to make my cards and projects, so I’ve put together a list using affiliate links when possible. If you make a purchase with these links I may receive a small commission. These help me to keep up with blog costs and continue bringing you fun projects. Thank you so much for your support!


Hope you enjoyed these projects! Have a mermazing Christmas!

Comments { 1 }
both-skeleton-cards

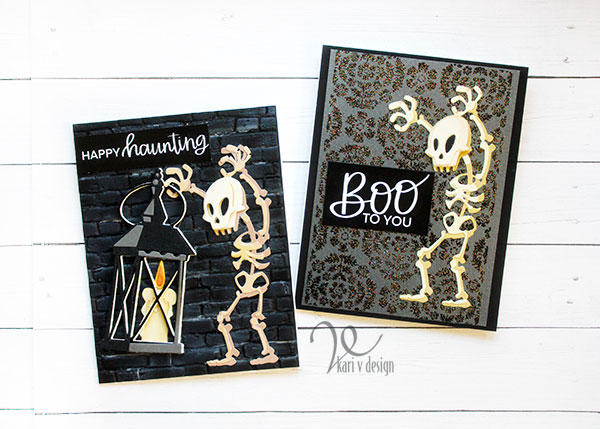
Introducing “Mr. Spooky”

Hello! Today I have some easy Halloween backgrounds to share with you, along with a story about Mr. Spooky. See, I saw this skeleton die cut and it reminded me of this story I had to tell you…so I made a couple cards and a video.

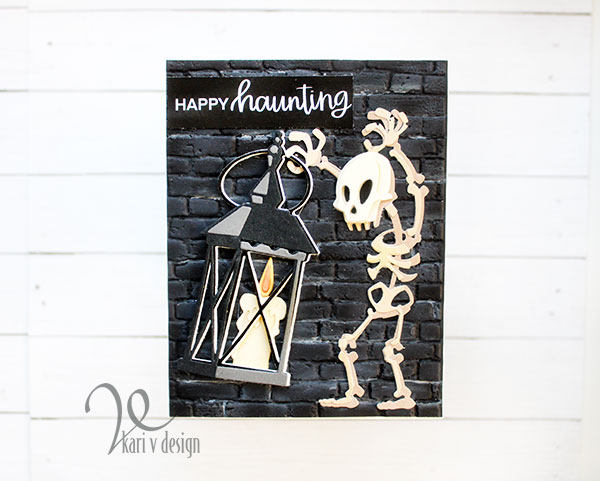
Isn’t he cute?! I couldn’t wait to create a card with him holding this giant lantern! Lol.

Watch the video (and hear about Mr. Spooky) below or in HD on YouTube:

I used my FAVORITE brick embossing folder for this first card on black paper, and highlighted parts of it with gesso. This made parts of the brick background really reflect some light.

I also added some cream cardstock behind that lantern to make it pop off the bricks.

For the second card, I heat embossed that damask stamp onto a Stormy Metallic cardstock. I used a new rainbow glitter embossing powder that looks amazing on this cardstock.

The sentiments are from the All Seasons Sentiments paper pack. These sentiments are foilable, but I wanted to keep them black for these Halloween cards.

I’m often asked what supplies I use to make my cards and projects, so I’ve put together a list using affiliate links when possible. If you make a purchase with these links I may receive a small commission. These help me to keep up with blog costs and continue bringing you fun projects. Thank you so much for your support!


I share the story of my Nephew and his skeleton he calls “Mr. Spooky” on the video! I love that kid.

Thanks for stopping by!
Comments { 0 }
heartbeat-stencil-card-crooked-1

Heartbeat Stencil

Hello! It’s Kari here with another card using products from the Hedgehog Hollow October kit. These stencils are amazing and make it so easy to make a fabulous card!

For this card I first inked up a card panel with the 4 Layer Stencil.

  1. The nurses hat and 1/2 the pill in blue
  2. The heart, other 1/2 pill and nurse hat insignia in red
  3. The pills and asterisk in green
  4. The Stethoscope and syringe in grey

I used mostly Distress inks and Maker Forte inks for these.

Once that was done, I put the heartbeat stencil over the top and inked it on with black ink. I love this heartbeat stencil….I think it would also make a great LOVE card with the sentiment “You make my heart skip a beat!”

To finish off this card, I used one of the simple sayings in the kit and popped it up with foam tape.

I added a black mat and DONE! This kit makes it so easy to create a quick, fantastic card! I hope you enjoyed this project.

Comments { 0 }