Archive | Cooking Light RSS feed for this section
end-of-post-salmon

The Secret to Amazing Grilled Salmon – and How to grill corn with the husks on

I love to get fresh salmon from the Market every time we visit California. It seems so much fresher than the fish in Arizona, and when we grill it up using this secret (that I’m going to tell you today) I am convinced that it’s even better than any restaurant salmon!

amazing-grilled-salmon

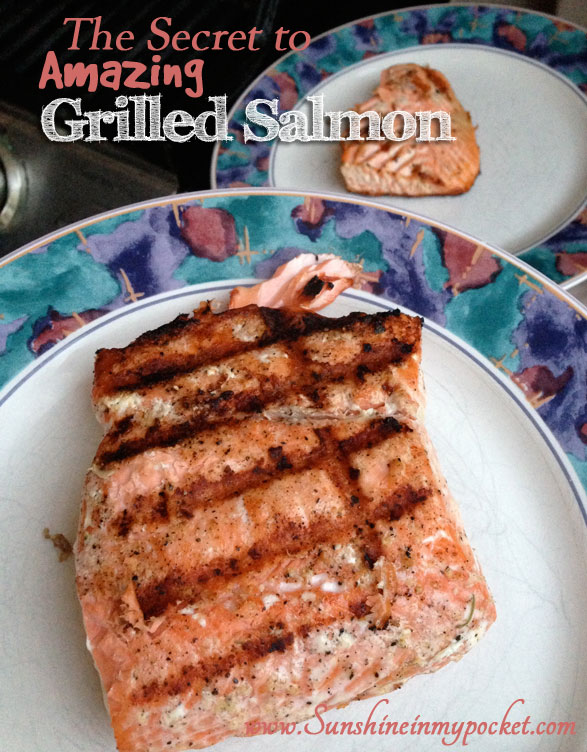
Yes, I’m going to share the secret with you to Grilling up amazing Salmon. My husband was shocked when I shared the secret with him, and now it’s going to be on the blog-o-sphere for all my dear readers to see!

Here it is: Fresh fish, simple ingredients, and a homemade foil tray! (That’s a secret, you ask?) Well, yes…and I’m going to give you the full instructions here.

a-few-simple-ingredients

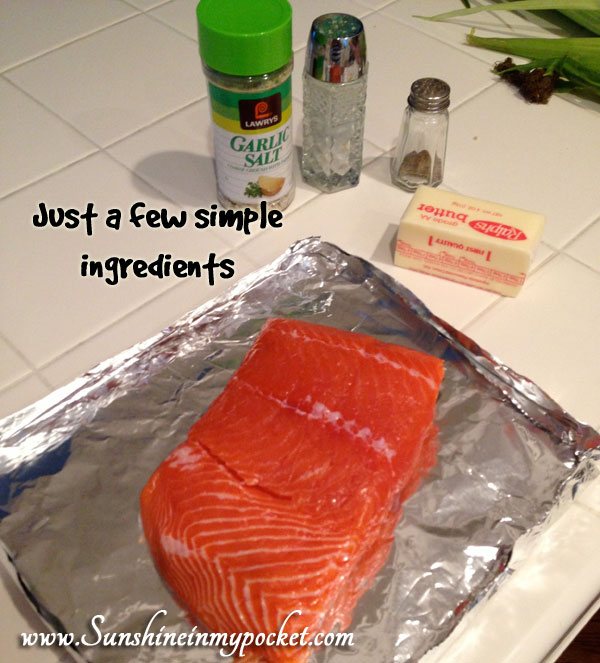
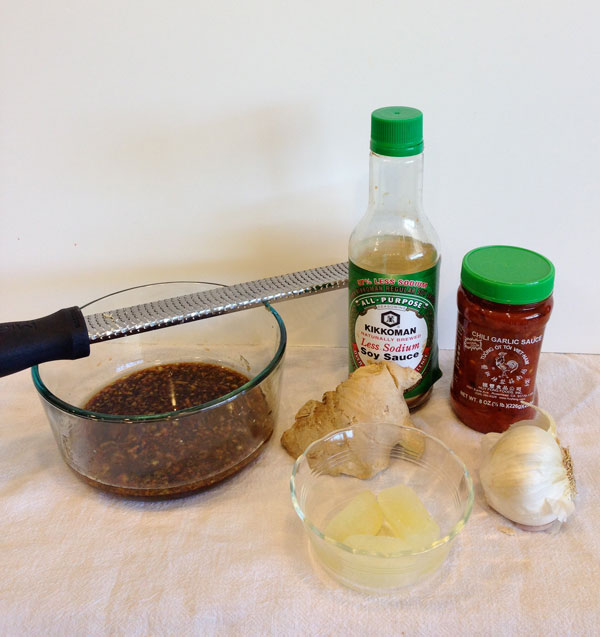
First, get your salmon at a fresh market and get the best quality you can find. We got Silver Salmon (not farm raised, no dyes added). Silver Salmon is known for it’s bright red flesh and a slightly more delicate texture than King Salmon. King salmon is considered the best tasting, but it also costs more because many use it raw in Sashimi (sushi) dishes. I also like Sockeye Salmon, and King Salmon for grilling, though. Then, gather a few easy ingredients of salt, pepper, garlic salt, and butter.

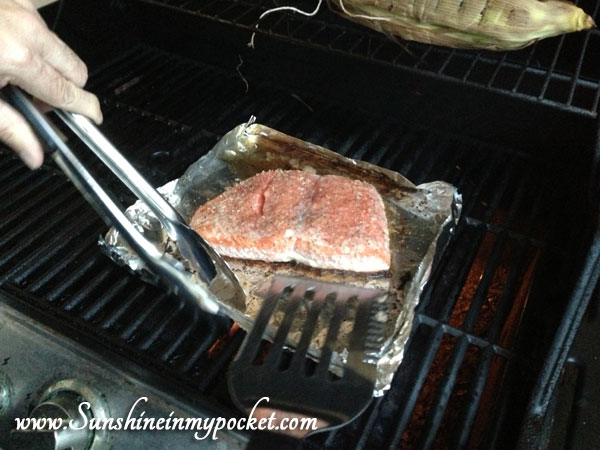
Take some aluminum foil and make up a simple tray by doubling the foil, then turning up the edges for a make-shift tray. Drizzle a bit of olive oil on the tray. Put the salmon skin-side DOWN on the tray. Then season up the top side of the salmon (only) with a few sprinkles of salt, pepper and garlic salt.

salt-pepper-and-butter

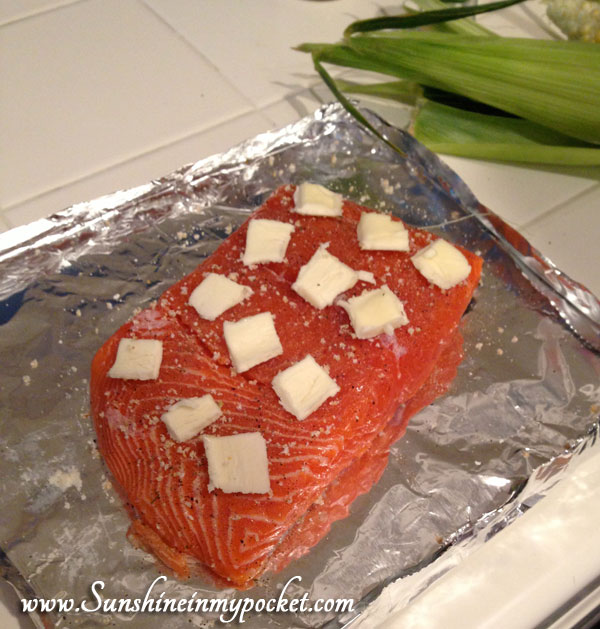
Add some small pieces of butter across the top of the salmon. This is going to melt into the salmon during the cooking process and make that salmon even more moist and amazing!

buttered-corn

Now for the corn.

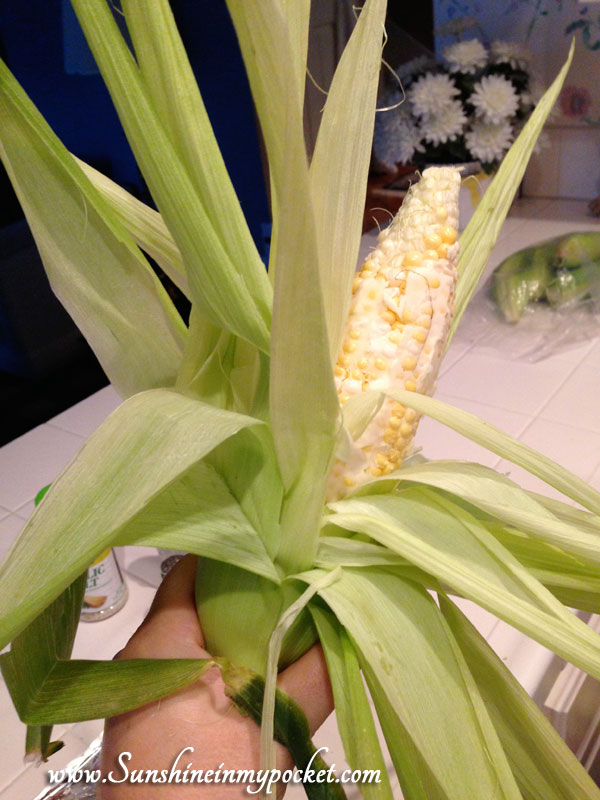
While at the farmer’s market, we picked up some amazing two-toned sweet corn and it’s delicious grilled up with your salmon dinner. Here’s how to cook it in the husks and all. (We discovered this while at the beach house a few years back and we didn’t have much foil…the answer? Cook it in the husks! It turned out SO good that this is the only way we cook it now.)

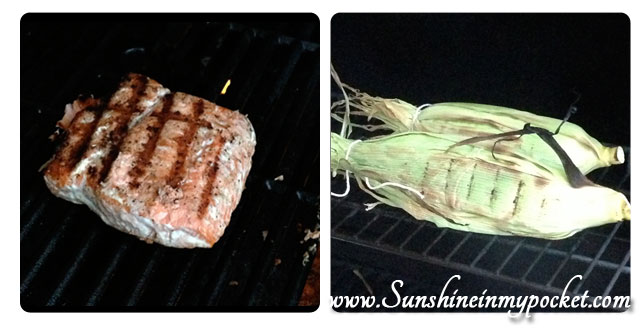
Here’s what you do: Peel back the husks, tear the silk off (as much as possible), butter up that ear of corn! Then, wrap the husks back around the corn and tie the end with a bit of bakers twine or string to keep it closed. Don’t salt the corn before you cook it…you will add it later.

put-them-on-the-grill

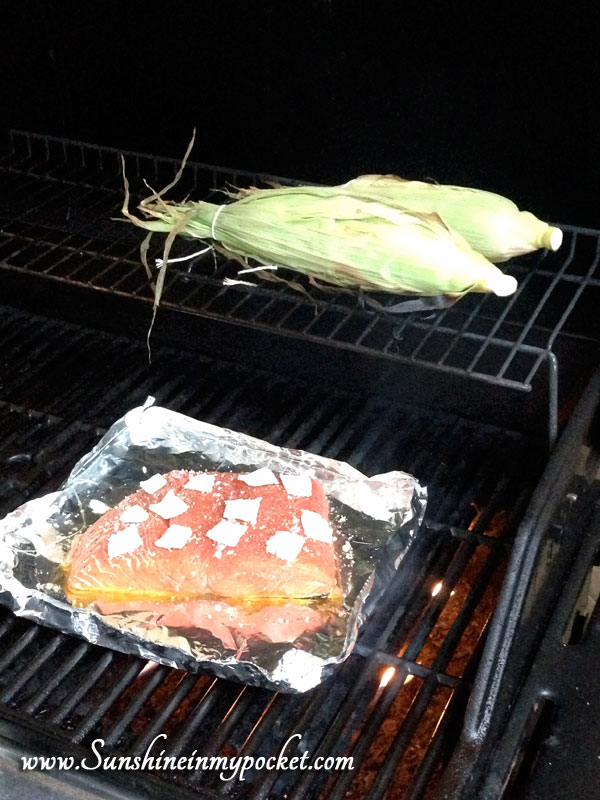
Put the corn on the top tier and the salmon, tray and all, on the bottom tier.
Note: Preheat the grill to 400 degrees. Since the corn takes a bit longer to cook than the salmon, put the corn on while the grill preheats. Then add the salmon.

Close the grill and set your timer for about 3-5 minutes, depending on the thickness of your salmon and the heat of the grill. When it cooked about 3/4 of the way through, it is ready to flip over!

Now, here’s the exciting part. You will take the salmon OFF the tray at this point and flip it directly onto the grill. When you take the salmon off the tray, the skin should peel off easily!

turning-salmon-over

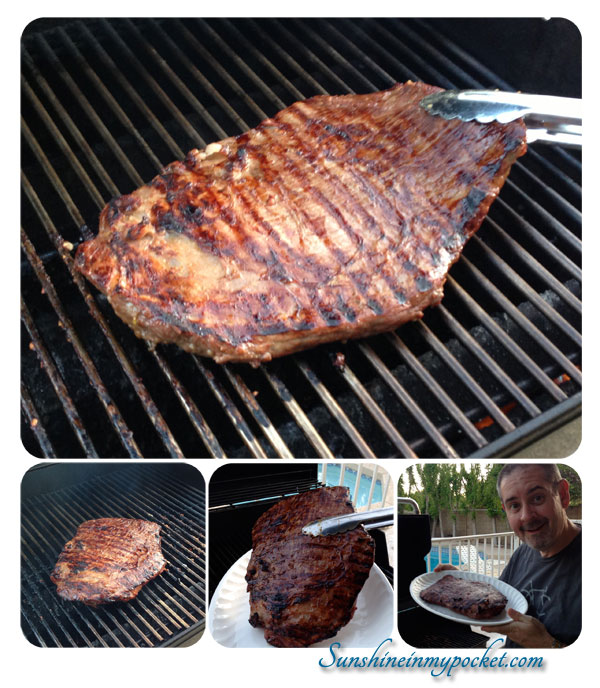
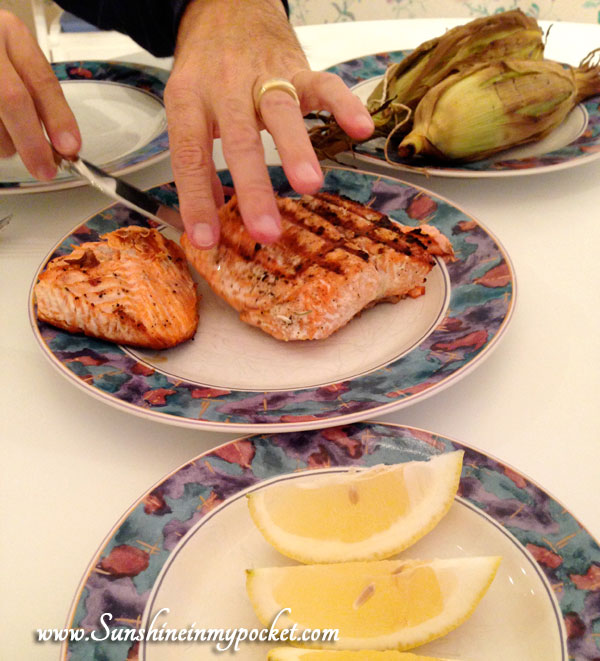
Now, cook it directly on the grill for just 2-3 minutes, so you get a nice grill mark. Then flip it to the other side for just about 1 minute so it gets nicely grilled. It doesn’t take long. Don’t forget to turn your corn!

grilled-salmon-and-corn-together

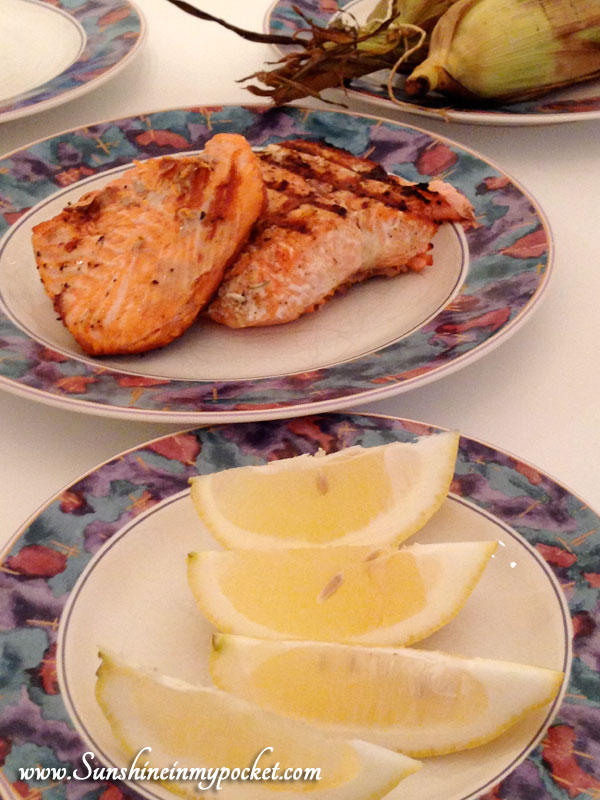
Just about ready to eat!

salmon-lemons-anc-corn

To serve the corn easily, cut the end off the corn and the husks should peel off completely. (use a cutting board, we really could have used one here!)

cut-the-end-of-the-corn

corn-closeup

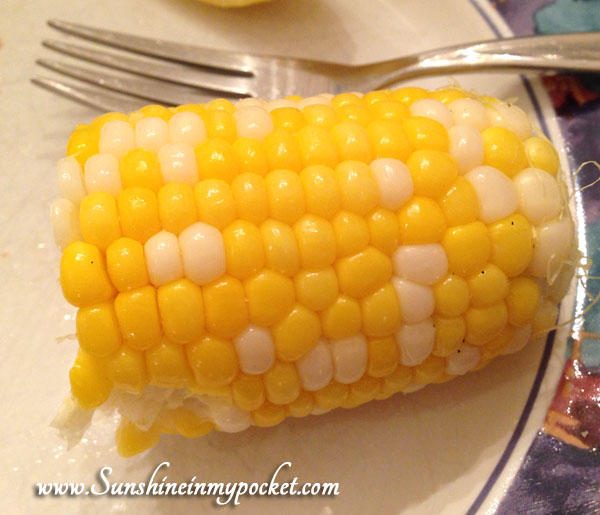
Oh, that corn was good! And the salmon, AMAZING!

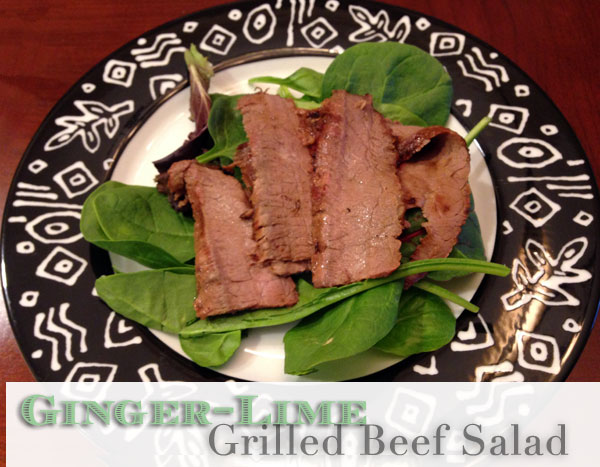
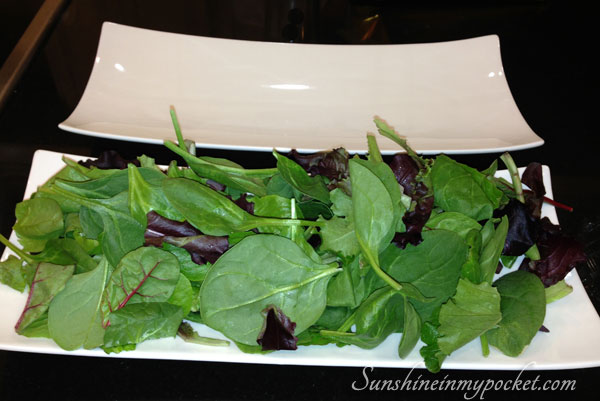
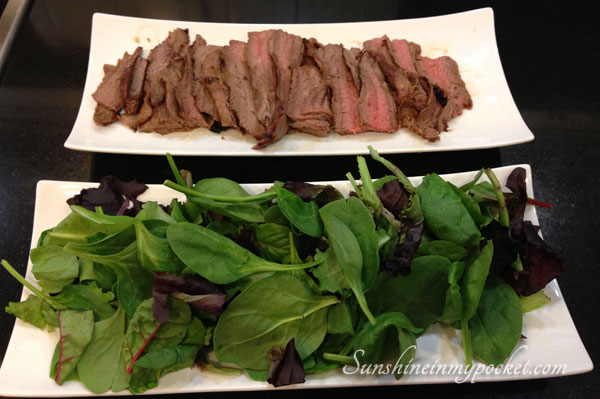
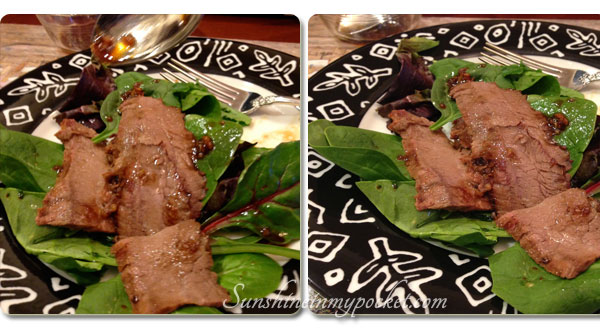
The nice thing about this salmon is: if you have leftovers, it makes an amazing topper for a big salad.
Enjoy!

end-of-post-salmon

Sometimes simple really is delicious. Thanks for reading!


Comments { 0 }
the-best-garden-bruschetta

The Best Bruschetta in Minutes (Guest Post)

It’s time for some Garden Bruschetta! I am excited to be guest posting at Mom Endeavors with my VERY favorite Bruschetta recipe. So if you have tomatoes from your garden (or even from the grocery store), then try this easy recipe here. I’m also sharing a tip for putting this together FAST (no more tedious chopping).

And while you are there,  don’t forget to leave a nice comment or two. Enjoy!

the-best-garden-bruschetta

I’m off to make some Bruschetta now…this has my mouth watering. 🙂

Comments { 0 }
end-of-post-pasta

Lemon Picnic Pasta and a Free Printable Label (Plus 20 more fantastic summer recipes!)

Summer is great for light and easy recipes and I’ve joined forces with some other fabulous bloggers to bring you some fantastic summer recipes!

I love the flavors of lemon in the summer. I usually think of lemon dessert when I have a bunch of lemons, but this savory pasta dish comes in as my favorite picnic dish ever!

lemon-picnic-pasta-with-basil

In fact, I am in love with this new pasta we made for our picnic last week. I call it “Lemon Picnic Pasta” because you can take it with you on a picnic, and it doesn’t have to be refrigerated. In fact, it is BEST when eaten warm or at room temperature. And that is the best kind of dish to take on a picnic!

It’s a quick recipe to throw together, too. {Bonus!} All you have to do is first, boil the bowtie pasta in water until al dente. Drain.
Add the butter, garlic, olive oil, salt, basil and lemon zest. (Find the full recipe near the end of this post). Stir well to well incorporate. Then simply enjoy!

cutting-the-basil

Have you ever used a pair of these herb scissors? They are so great for cutting your basil into ribbons (chiffonade) for this dish! Or you can use a knife or a pair of regular herb scissors, but these are WAY more fun. 🙂

add-the-basil-and-lemon-rind

That lemon zest adds just the right amount of freshness and flavor to the dish. It is so refreshing in this pasta dish!

close-up-pasta-with-basil

Just look at that pasta bursting with basil and lemon flavor! My husband prefers a little less lemon than what I usually put in, so I suggest you add a little at a time and taste it for yourself. You can always add more. 🙂

take-out-box-for-pasta

To take this on a picnic, just package it up in a chinese take-out box and add your label.  Oh, yes, I made a Lemon Picnic Pasta label just for you! If you don’t have printable label sheets, you can print it on regular paper and just tape it onto your take-out box.

lemon-picnic-pasta-tag

To download this tag, just like my blog here:

Then download the pdf tag here:  lemon picnic pasta tag pdf

Oh, and before I forget, here’s the RECIPE for Lemon Picnic Pasta:

[amd-zlrecipe-recipe:9]

Enjoy your picnic and your Picnic Pasta!

end-of-post-pasta

And now, take a look at these great summer recipes:

Summer Recipes

  1. Great-Grandma’s “Secret-Ingredient” Potato Salad
  2. Blueberry Pie Bars
  3. Watermelon Green Tea
  4. Independence Day Cranberry Pop Rocks Mocktail
  5. Fruit Pizza
  6. Zucchini Recipes
  7. Grilled Pizza
  8. Fruit Yogurt Parfaits
  9. Root Beer Float Popsicles
  10. Watermelon Smoothie
  11. Refreshing Summer Noodle Salad
  12. Frozen Banana Rum Cocktails
  13. Coke Float Popsicles
  14. Peach Cobbler Cupcakes
  15. Lemon Picnic Pasta
  16. Sand Castle Rice Krispies
  17. Frozen Chocolate Bananas
  18. BBQ Chicken Pizza
  19. Watermelon Berry Chia Seeds Pops
  20. Fresh Summer Melon Ideas
  21. How to cut a watermelon
  22. And, even more Favorite Summer Recipes


Comments { 22 }
its-a-hit

Ginger-Lime Grilled Beef Salad

Today is my wedding anniversary and what better way to celebrate and praise 14 years of wedded bliss than with a perfect and delicious recipe?! This is special tribute to my husband who is a grill master (you are awesome, Honey!) and he will grill anything I ask him to!! I love that we are such a perfect couple for this: I love to cook and deliver up great recipes, he loves to grill them…:)

Summer is perfect for grilling and for salads…and when you have a recipe that combines the two, you have the perfect summertime dinner!

We love this recipe at our house. In fact, whenever my son comes home from college, he requests it! It is easy to make and nice and light for summer. It’s a fast recipe too…just marinate the meat in the morning, then grill it up for dinner! I can’t even begin to tell you how flavorful and delicious this recipe is, you’re just going to have to try it yourself. 🙂

ginger-lime-grilled-beef-salad

To make the marinade, use some simple ingredients. I always keep these ingredients on hand so I can whip this up at (almost) any time!

the-ingredients

Less Sodium Soy Sauce, Chili-Garlic sauce, ginger root, lime juice, and a little brown sugar (not pictured). Those ice cubes in front are actually frozen lime juice…if I can’t use my limes up in time, I just squeeze them and freeze the juice. And did you know that you can freeze ginger root?! It’s true…I’ve had this ginger root in my freezer for a few months and it’s still delicious and fresh tasting in this marinade! (see the full recipe below)

Just mix together all these ingredients, then reserve some aside to use later as your salad dressing. Pour the rest into a resealable bag with the meat and add a little extra lime juice. Then make sure to coat all your meat and store it in the refrigerator until ready to grill. I found that if you marinate for four hours or longer, the taste is SO much better. So make sure to stir this up for marinating earlier in the day.

You can use either Flank Steak or London Broil for this recipe. I’ve tried both and we all seem to like the Flank Steak the best. I will be experimenting with other cuts of meat, I’m sure and I’ll report back. 🙂 Now just grill up the meat:

four-grilling-pictures

(Here’s the picture to prove it: My husband is the best at grilling…Happy Anniversary, Honey!)
And while that is on the grill, get your salad ready:

get-the-salad-ready

I like to use the organic salad mix from Costco. It has spinach and arugula, but sometimes I just make a simple romaine bed of lettuce for this recipe. It’s always just delicious! I will add tomatoes or green pepper from the garden, and sometimes I shred up a carrot to add, too. Mmmmm….

salad-and-meat-on-a-plate

Let the meat rest for a few minutes before you slice it thinly. This allows the meat to retain more of it’s juiciness! Since everyone at my house likes their salad different, I will put the additions on the side so it’s more like a salad bar…then you can build your own salad and top it off with a bit of the grilled meat. Add a little (believe me, this is flavorful stuff so you only need a little!) of the reserved dressing and enjoy!

{The recipe suggests that you add all the ingredients together and combine with the reserved salad dressing, but at my house everyone likes different amounts of the dressing (or none at all) and so I just let everyone make their own plate.}

add-dressing-two-squares


its-a-hit

See, it’s a hit! No leftovers!

*Recipe here

[amd-zlrecipe-recipe:7]

ginger-lime-grilled-beef-salad

Try this recipe and until next time, have a delicious summer!

Comments { 0 }
yakisoba-veggies-in-pan-sm

Food to Make you happy — Easy Yakisoba

We are celebrating around here for making our goal of 100 likes to our new Facebook page! Thank you, friends and dear readers! And what could be a better way to celebrate than with VEGETABLES!?! I’m serious! If you know me at all, you know that I LOVE my vegetables and I drink (yes, drink) them every morning. I will be sharing my delicious breakfast drink soon!

But I have been getting SO many requests for my Yakisoba recipe that I decided to post it today. I have to keep my favorite people happy!

Easy-Yakisoba-small

Truth is, this recipe makes me so happy…and I think you will agree when you try it out. It’s easy…it’s delicious…it’s filled with color. That is celebration right on a plate, friends! (Can we please officially change the title of this recipe to “Celebration on a Plate”?)

Let’s get started with the Yakisoba.

First, assemble your favorite veggies. I like to use all the colors of the rainbow (except maybe blue, I can’t even think of a blue vegetable!) My favorites for this dish are:

Onion, Carrots, Zucchini, Summer Squash, Red pepper, Broccoli, Red Cabbage, Garlic

Slice your onion (I use yellow onion). In a large pan (or stir fry pan), warm 2 T. of olive oil on medium high. Once oil is hot, add onion. Let this cook for 5-7 minutes or until the onion is soft and browned.

While the onion is cooking, cut your other veggies. Cut them in similar sizes for even cooking. When onions are browned, add carrots and zucchini. Cook for 4-5 minutes. I like to let the zucchini and squash cook without stirring for a few minutes. This allows them to get browned on one side. Oh! My mouth is watering just thinking about it! Turn them over to brown on the other side.

yakisoba-veggies

Once zucchini is browned, add peppers and broccoli. Allow those to cook for a bit, then add the cabbage.

While that is cooking together, get your meat ready. I used chicken for this recipe, but you can also use beef or pork, or keep it vegetarian! I cut my chicken (3 chicken tenders) into bite-sized pieces. Then warmed a small amount of olive oil in a separate skillet. Add chicken and cook, stirring occasionally. Add a couple cloves of garlic (minced) with the cooking chicken, if you like. (I like!)

When chicken is done…it only takes a few minutes! Add to the vegetables. Then, add your noodles, water, and seasoning mix from the package. I usually include 2 packages of noodles, both seasoning packets, and 1 cup of water. Here are the noodles I like to use:

yakisoba-noodles

[Note: If I don’t have these on hand when I crave Yakisoba, I have also used angel hair pasta or spaghetti…and I make sauce using a bit of soy sauce, cornstarch, and water!] You have to coax these particular noodles to separate, but please be careful and don’t break them. It just doesn’t taste the same with broken noodles!

Now, dish up and enjoy! (here’s another secret: I sometimes add a bit of low-sodium soy sauce to mine)

yakisoba-veggies-in-pan-sm

How’s that for a celebration!?

Comments { 0 }