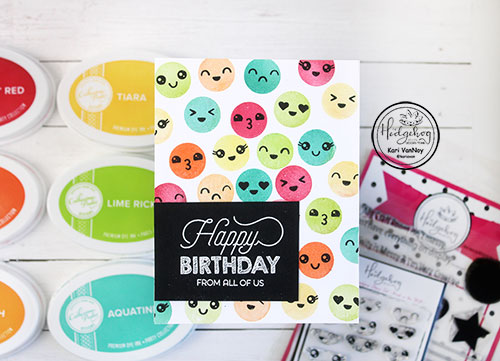
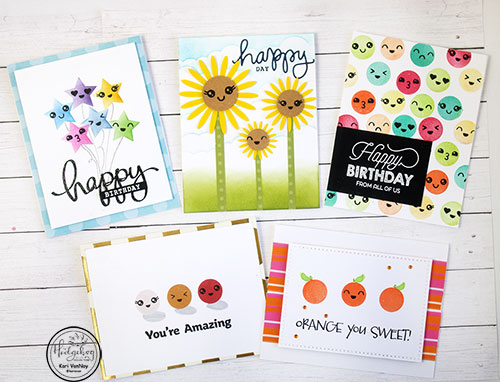
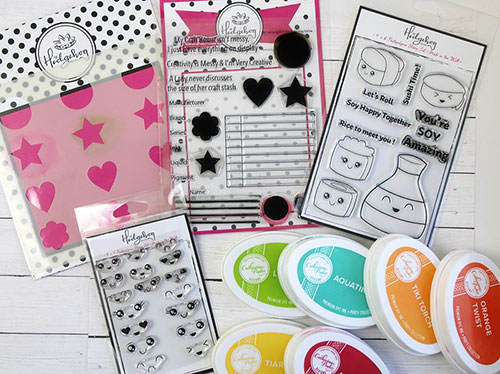
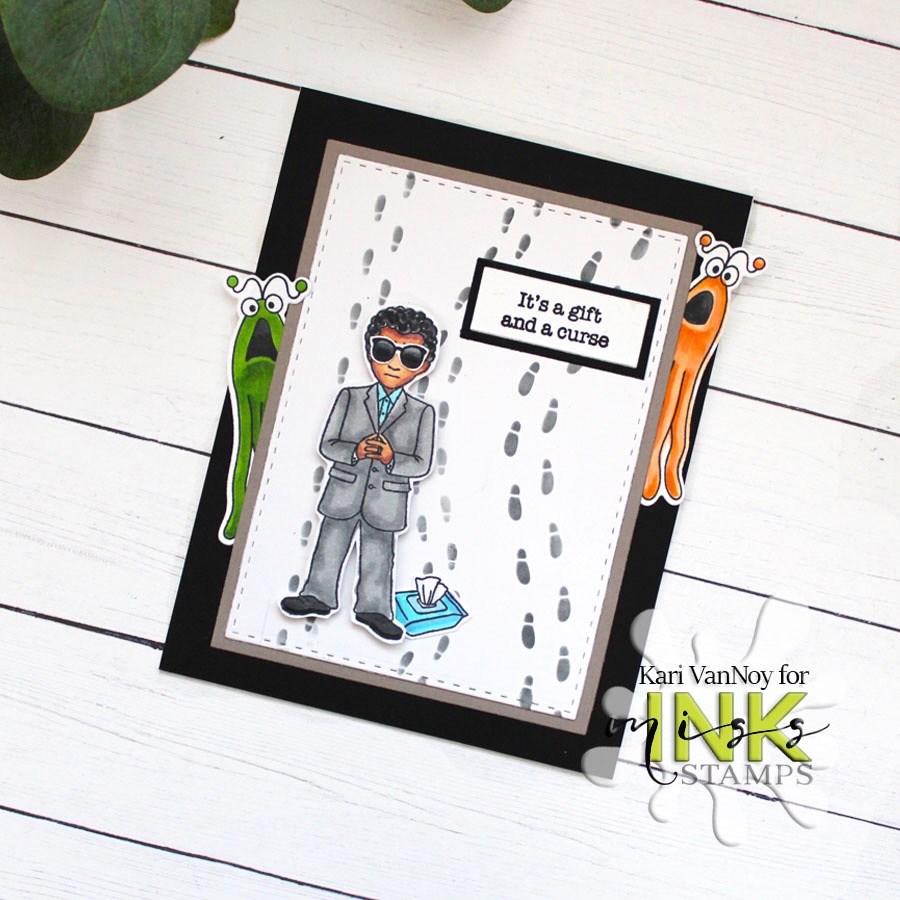
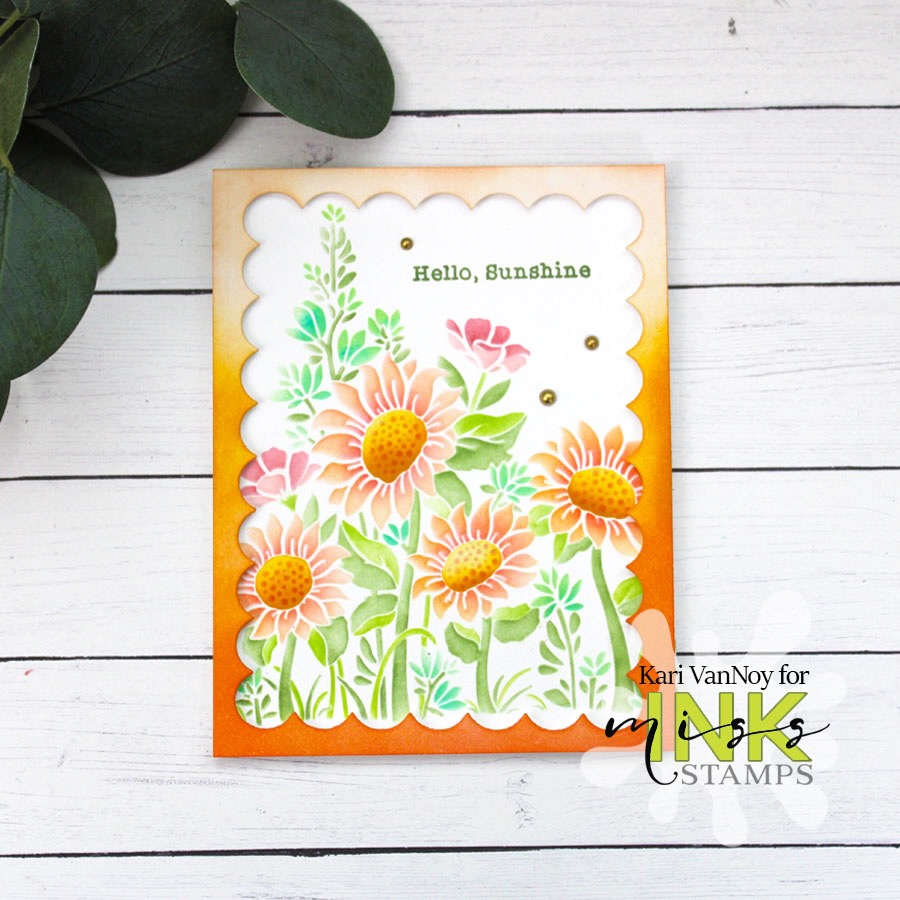
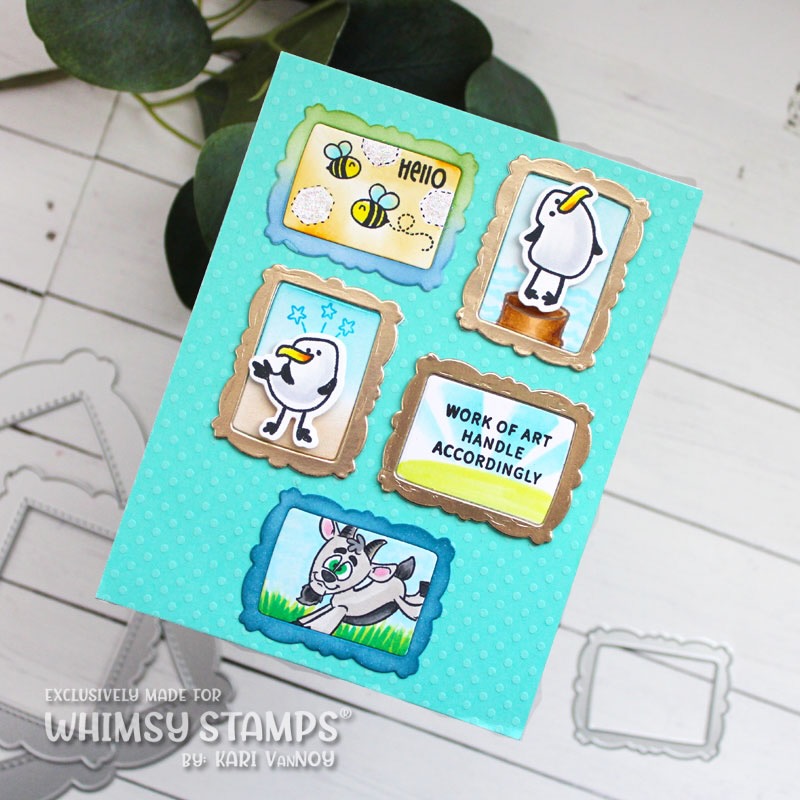
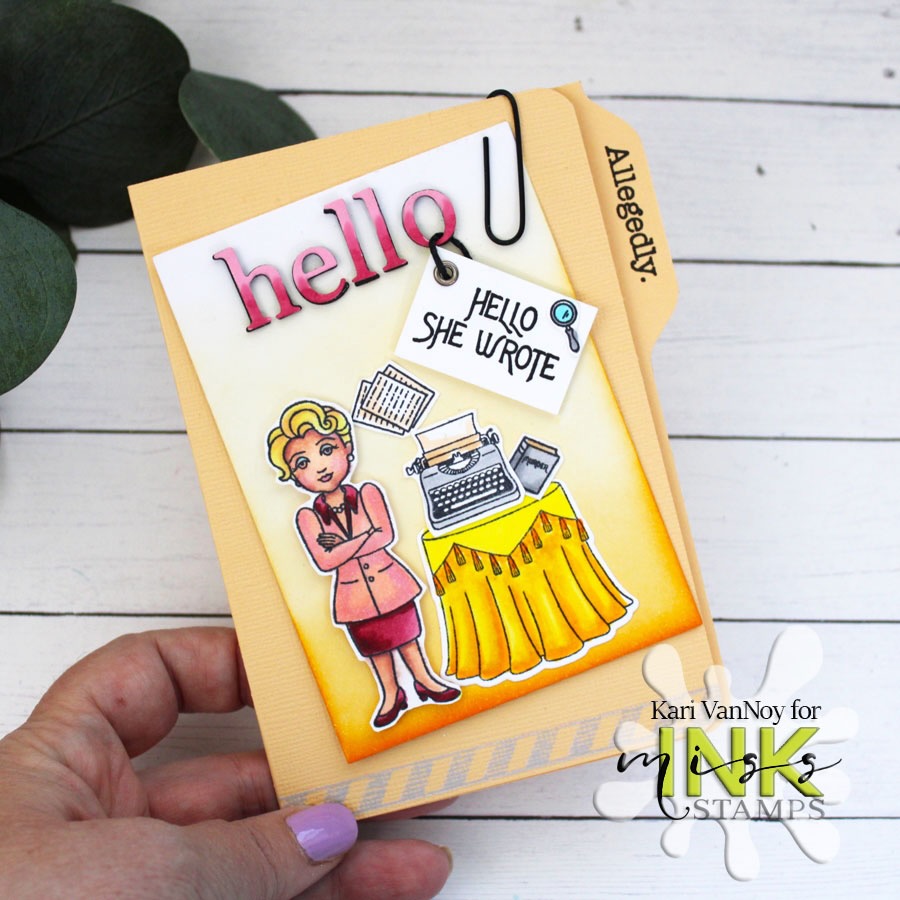
Hello! Today I’m up at The Hedgehog Hollow to share three different ways to add emoji faces.
I’m sharing ways to use stamps, stencils and dies to feature the emoji faces! Head on over and check it out HERE.
I’m often asked what supplies I use to make my cards and projects, so I’ve put together a list using affiliate links when possible. If you make a purchase with these links I may receive a small commission. These help me to keep up with blog costs and continue bringing you fun projects. Thank you so much for your support!
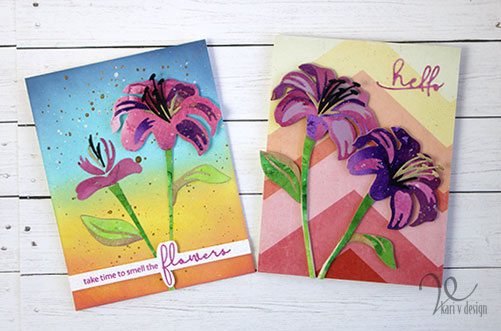
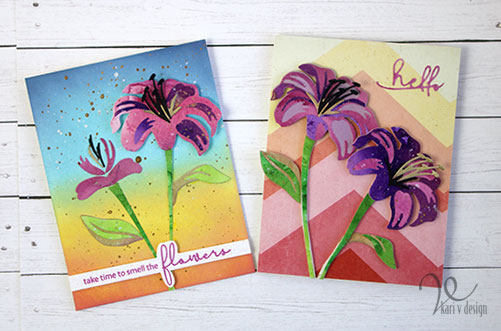
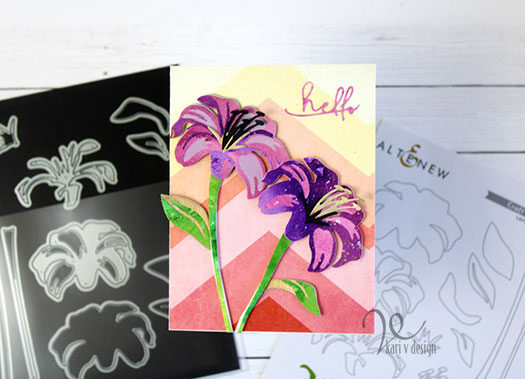
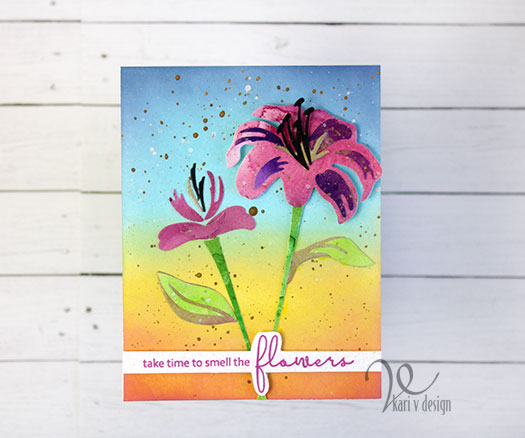
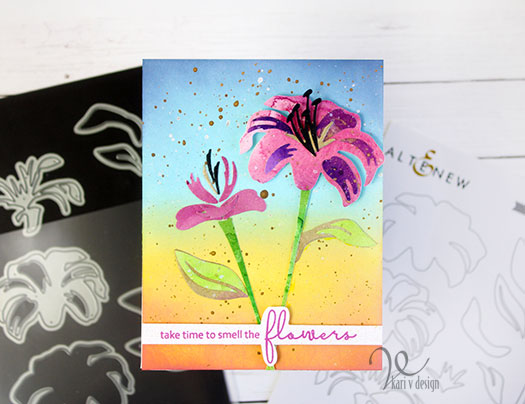
Hello again! I am excited to share a 3D Lily card with you today, inspired by the latest course I took at Altenew Academy. I’m going to share with you my favorite way to add extra interest/texture to a layered 3D die, and my inspiration for the background!
First of all, I enjoy watercoloring my 3D dies to get so much variation in color. I love this technique and I share just how I did this in my video below.
Then I was completely inspired by Therese in this class, she uses patterned paper and I thought that would make a wonderful background for my card!
Here’s the video, watch it below or in HD on YouTube:
This lily die set is one of my favorites already! I love how easy it is to layer up a gorgeous flower, whether you ink up your paper, watercolor, or use colored cardstock.
For my first card I made different layers of color with watercolors, then cut out the images. I used some patterned paper for the background in a rainbow colorway, and added the hello sentiment die cut from the leftover watercolor I painted.
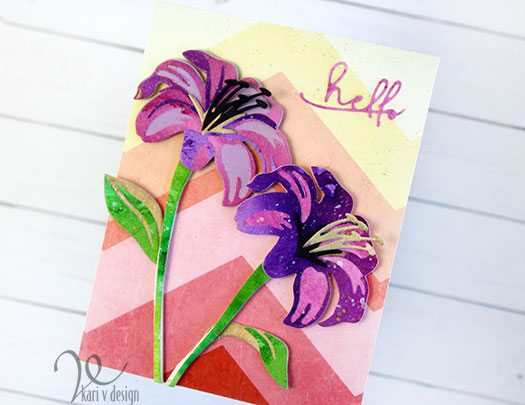
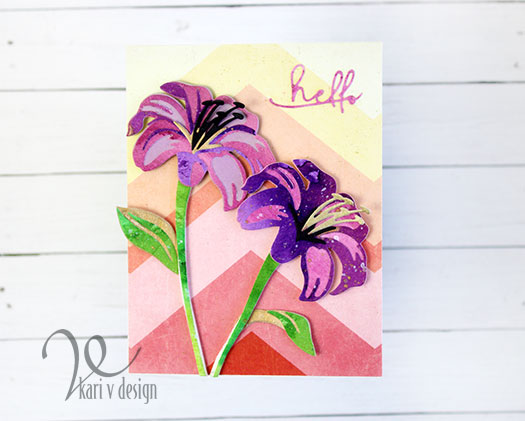
On my second card I used the negative pieces from the above lilies! I like to save all the pieces to create even more flowers (that are also so interesting)!
I pieced these flowers together to look like smaller flowers that haven’t fully bloomed yet. I love the variety you can get by using all the extra pieces! For the flower on the right, I die cut the very back layer, but then used the cut out pieces on top of that to finish it off.
For this background, I did some ink blending and watercolor splatters. I used a sentiment from the Hero Arts/Altenew collaboration set, matching the ink color to the flowers.
I’m often asked what supplies I use to make my cards and projects, so I’ve put together a list using affiliate links when possible. If you make a purchase with these links I may receive a small commission. These help me to keep up with blog costs and continue bringing you fun projects. Thank you so much for your support!
Thanks for stopping by! I hope you enjoyed…and if you haven’t used 3D dies I highly recommend them! I’ll be back soon with more projects.
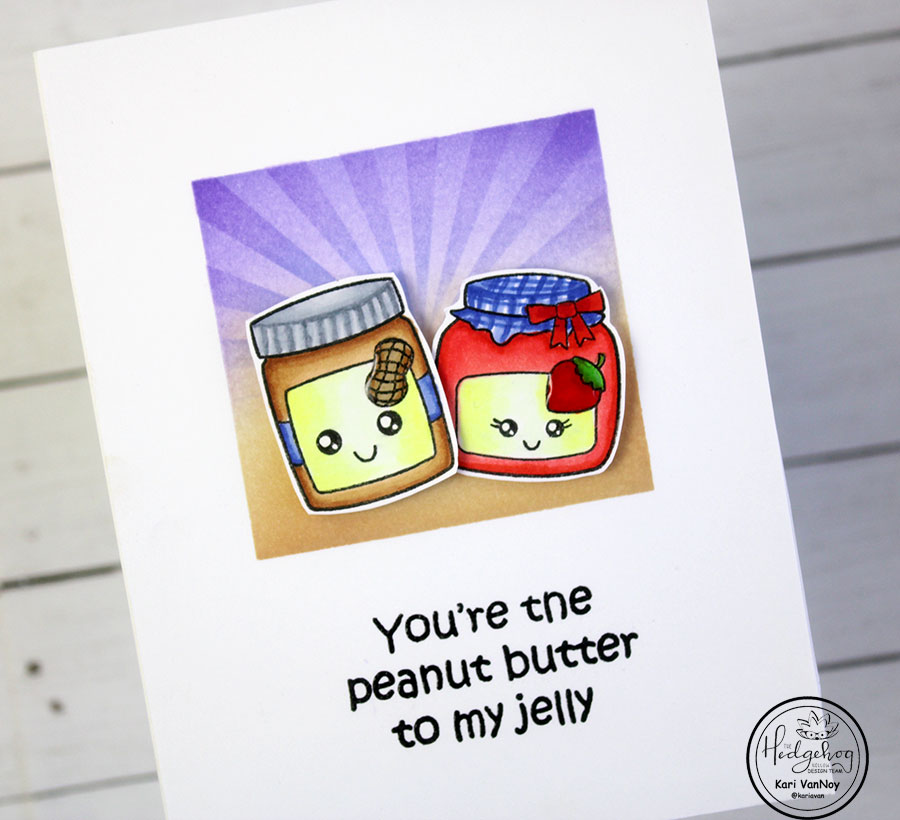
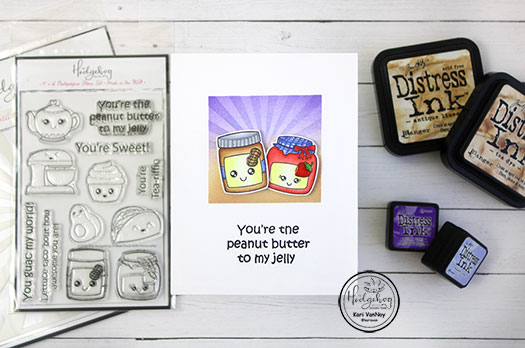
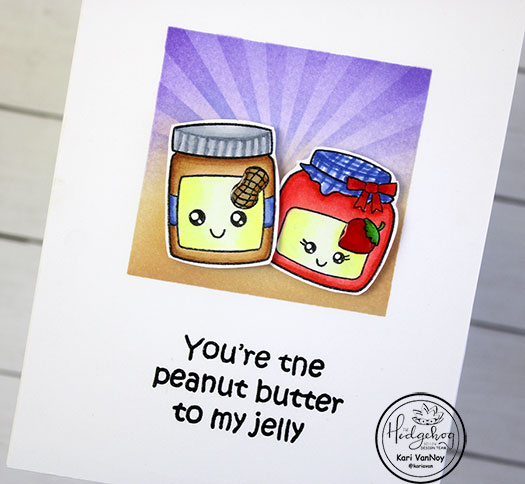
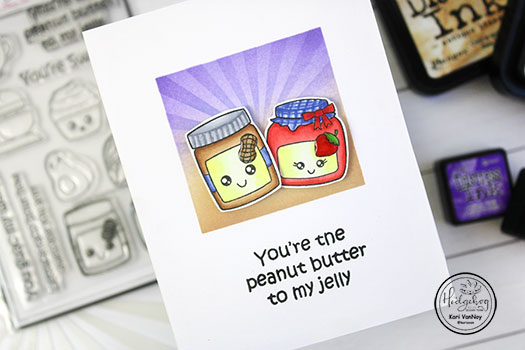
Hello! Today I have the sweetest little peanut butter and jelly jars for you, with some added detail that you won’t want to miss!
I’m working with the Hedgehog Hollow July 2020 Kit today, and the cutest food stamps and sentiments are included in this kit.
Just take a look at those peanut butter & jam jars!! So cute. But definitely needing some detail on the lids. So today I show you how to do just that.
Watch my video below or in HD on YouTube for all the fun details:
I’m often asked what supplies I use to make my cards and projects, so I’ve put together a list using affiliate links when possible. If you make a purchase with these links I may receive a small commission. These help me to keep up with blog costs and continue bringing you fun projects. Thank you so much for your support!
I finally got up the courage to use my NEW favorite blending brushes! I had them on my desk for a couple weeks before I finally put them to use, they were just so pretty!
And if you want even more details, don’t forget to check out The Hedgehog Hollow Blog and leave a comment to show some love.
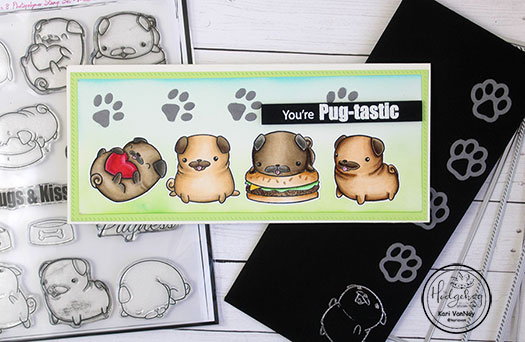
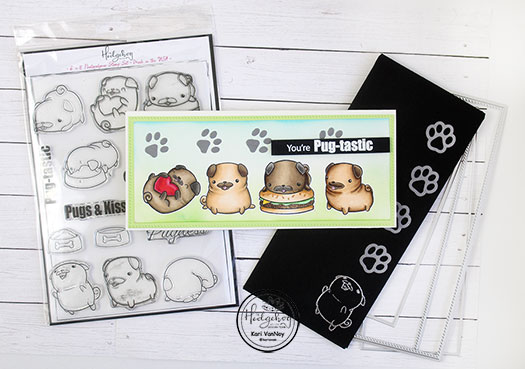
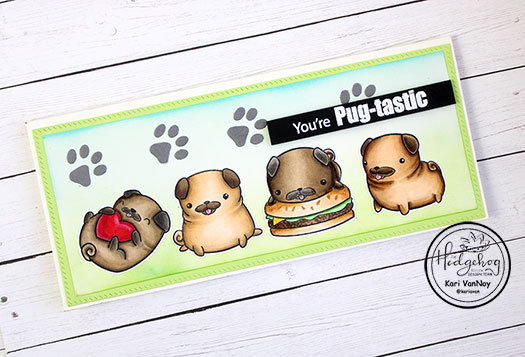
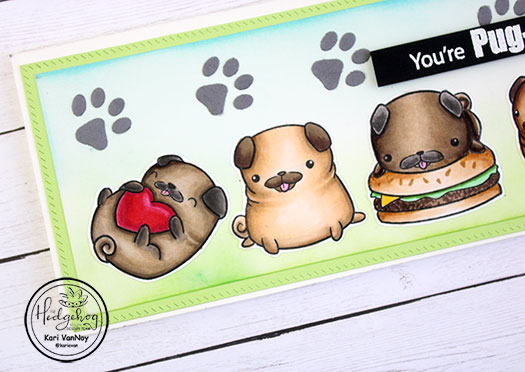
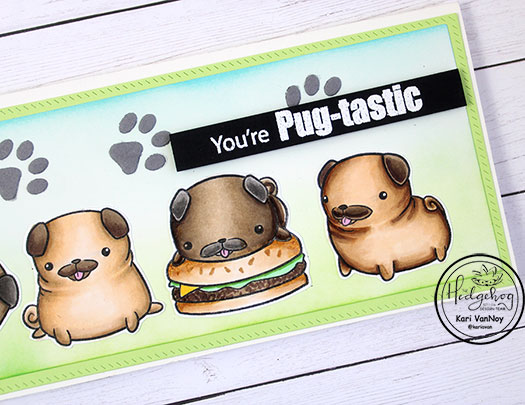
Hello! Today I’m excited to bring you a preview of the Hedgehog Hollow July 2020 Kit…and I have a Copic Colored Pug Slimline card to share.
Take a quick look at the video below for a Copic color choices, coloring, and putting the card together! I also show you how to make a coordinating slimline envelope. Watch below or in HD on YouTube:
This was a super fun project to make, I hope you enjoy! Check out more details at the Hedgehog Hollow, and please do come back to see more projects with this kit throughout the month!
I’m often asked what supplies I use to make my cards and projects, so I’ve put together a list using affiliate links when possible. If you make a purchase with these links I may receive a small commission. These help me to keep up with blog costs and continue bringing you fun projects. Thank you so much for your support!
Hello! Today I am sharing my original plan for storing paper scraps and why it didn’t work!! If you ever save scraps of paper for your cards or scrapbooks, you are going to want to watch this!
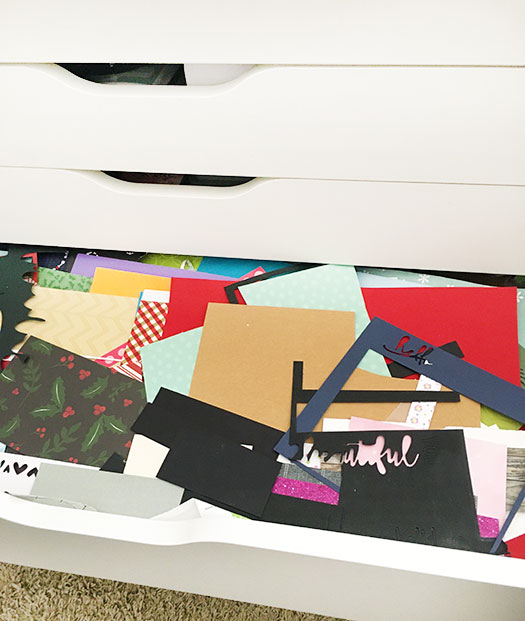
I always wanted a drawer set aside for scrap paper. I was in absolute heaven when I finally had the space to have this EXTRA drawer. I thought it was the best thing ever! I could just throw all my scrap paper in this drawer and have it ready and on hand when I needed it.
For a while, it was a dream. Until it got a little out of hand…
After a short while, the drawer got filled up, and overflowing so that it became hard to even close the drawer without paper falling out. It got so bad, that one day I decided this was NOT THE WAY!!
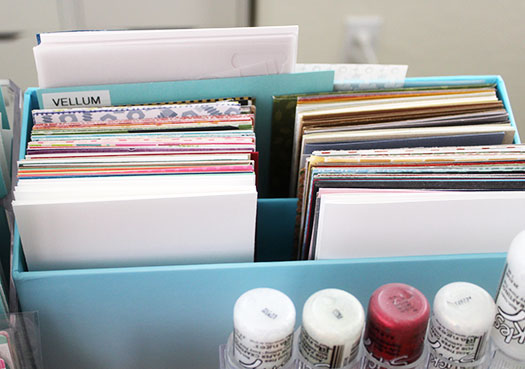
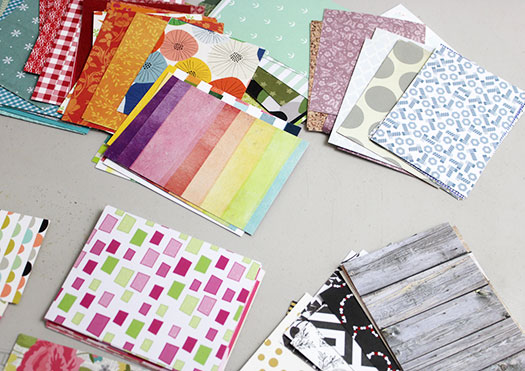
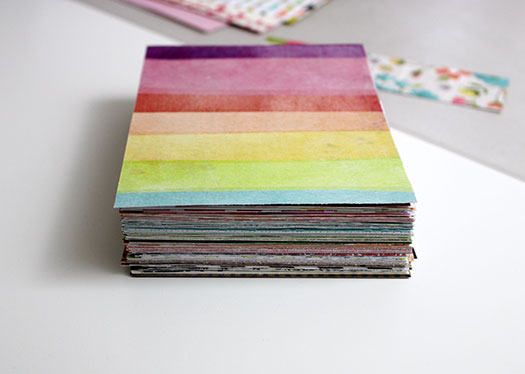
So I took the larger pieces of paper and cut them into card-size pieces (4 1/2″ x 5 1/2″). The rest of the smaller paper I made into piles of color families.
I now have a good size collection of patterned paper for cards. And I keep them at the top of my desk for ready access.
As for the scraps, threw away quite a bit. But I do like to keep scraps for easy die cutting (especially for my favorite layering flower die cuts)!
Watch the video to see how I keep it ready and organized now!! It’s my new favorite system. I love the change and now I have an empty drawer to organize my next obsession…which I will share very soon!
Thanks for stopping by! How do you keep your scraps organized?
Hi I'm Kari. I'm a creator, a card maker, and a day maker! I am Lucky in love to a supportive husband, blessed to raise 3 kids (all moved away now!), and happy to be watched over by 2 dogs.
I originally started this blog to remind me to be happy amid adversity, and I hope it inspires you, too!