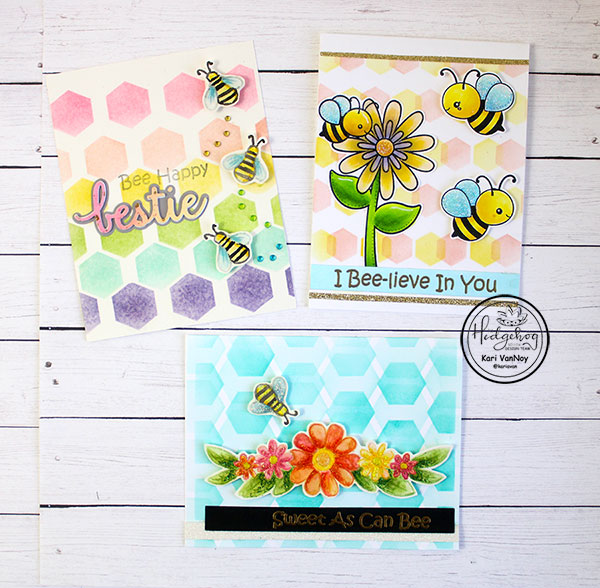
Hello! Today I’m up on the Hedgehog Hollow blog sharing three backgrounds using the Hexagon Stencils from the August Kit.
These stencils are layering stencils, but there are so many other ways to use them, too!
Tape off a line of hexagons and use rainbow colorsUse the same stencil, ink in one color then offset to the right and add another colorUse the same color ink, and two sizes of hexagons
I’m often asked what supplies I use to make my cards and projects, so I’ve put together a list using affiliate links when possible. If you make a purchase with these links I may receive a small commission. These help me to keep up with blog costs and continue bringing you fun projects. Thank you so much for your support!
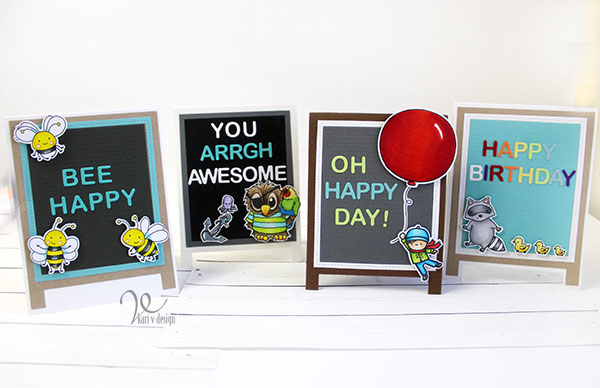
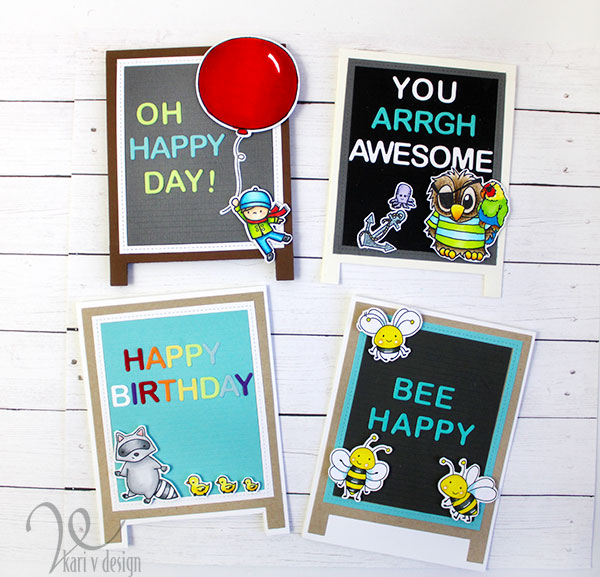
Hello! Today I have a secret for creating Letterboard Cards fast! I’m using one of my favorite dies from Mama Elephant for this one, and I created 4 cards so quickly using this secret.
How cute are all these lined up in a row?
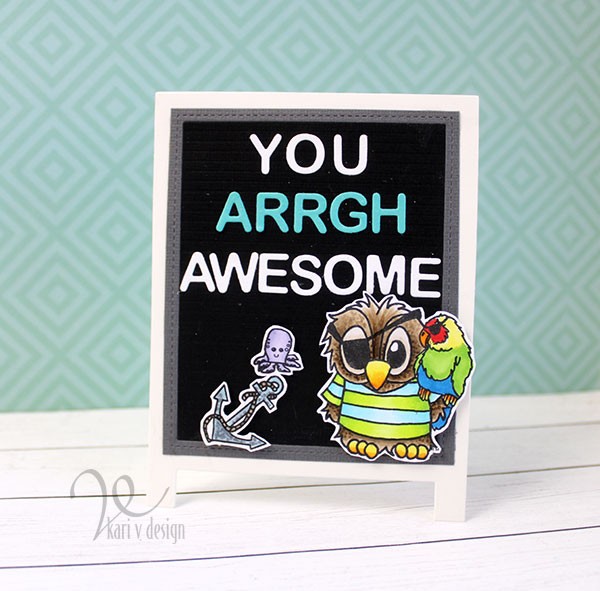
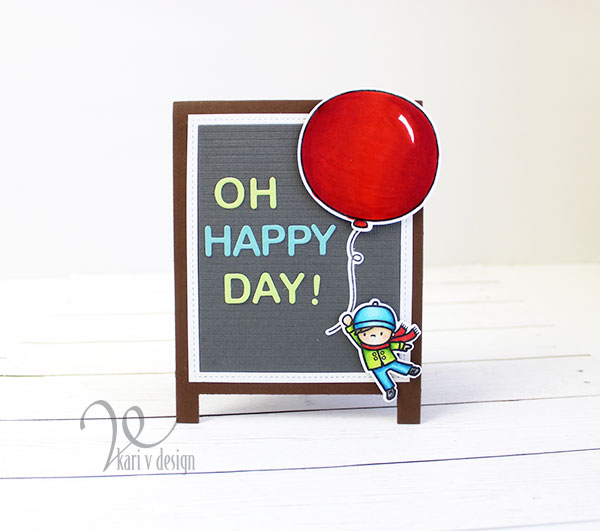
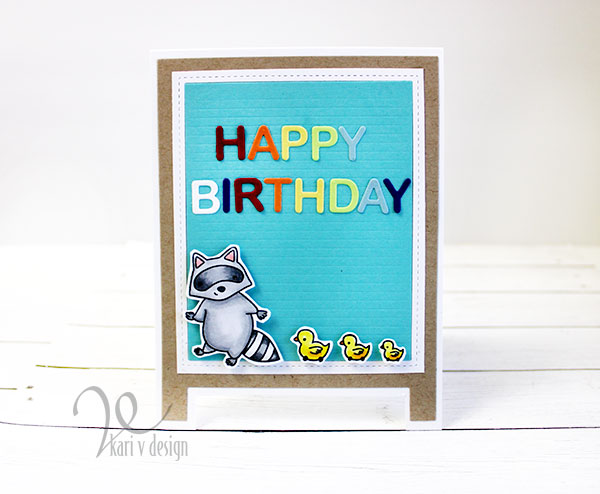
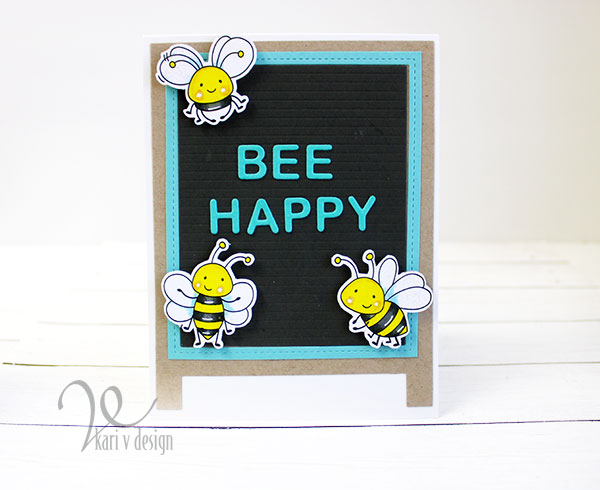
I used lots of my favorite stamp sets to decorate these letterboards: Honeybees from Studio Katia, Pirate Brentwood Owl from Jessica Lynn Original, Boy with balloon and Raccoons from Mama Elephant.
You could use ANY of your favorite images for these. Or, just create a letterboard phrase for the card front!
I have a video to show you how easy these came together using my trick, watch it below or in HD on YouTube:
I really, REALLY love these letterboards. They are great for creating whatever sentiment you want! The trick is, to create all the letters into stickers first…and create a bunch of colors. Then, when you are ready to make the cards, you just have to choose the sentiment you want and then peel them off the sticker sheet and attach them to your cards. So easy!
You must use a pirate accent when you read this out loud…Lol!
Look at that cute Pirate Owl with his pirate sidekick! Sure to bring a smile….I actually sent this very card to Jessica Lynn (the artist and owner of Jessica Lynn Originals) herself to tell her THANK YOU for interviewing me on YouTube. If you missed that interview you can catch it HERE.
For this one, I used a Mama Elephant set (I’ve linked them all below so you can check them out if you are interested). This little guy with a GIANT balloon is still a favorite of mine. I made letters in the same colors of his outfit.
This crazy raccoon has some ducklings following him…Lol. It’s a sort of parade for the birthday recipient! For this one, I used a rainbow of letters and that is a fun way to add more color to your card. If you don’t have an array of colored cardstock, you could always color up white cardstock with copic markers…or any coloring medium you have.
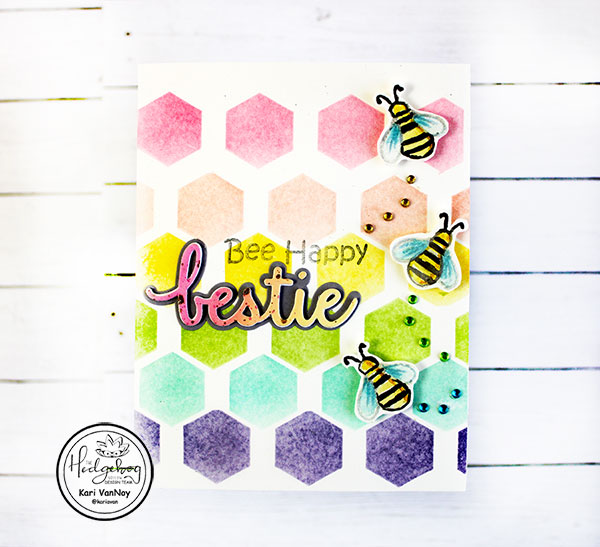
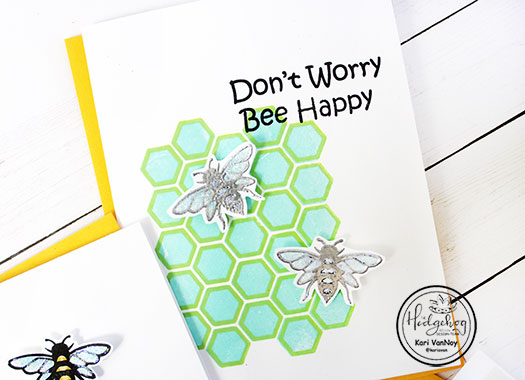
Bee Happy
These bees make me happy, with their cutie little smiling faces! It’s easy to add a little foam tape to give your card dimension and interest.
I’m often asked what supplies I use to make my cards and projects, so I’ve put together a list using affiliate links when possible. If you make a purchase with these links I may receive a small commission. These help me to keep up with blog costs and continue bringing you fun projects. Thank you so much for your support!
I hope you enjoyed these cards today. Thanks for stopping by!
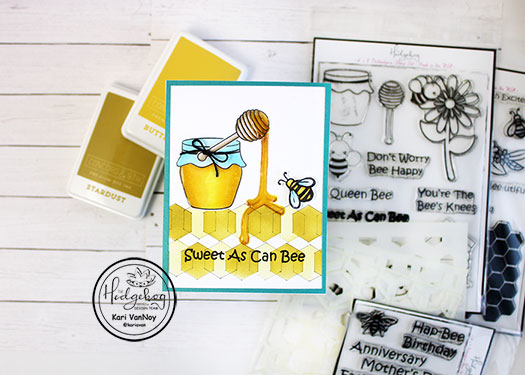
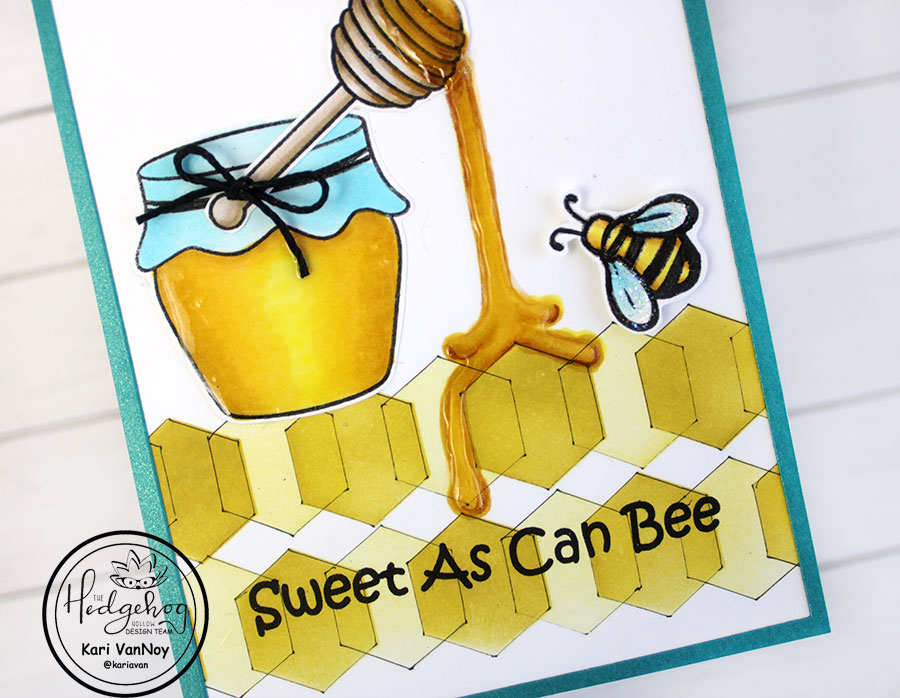
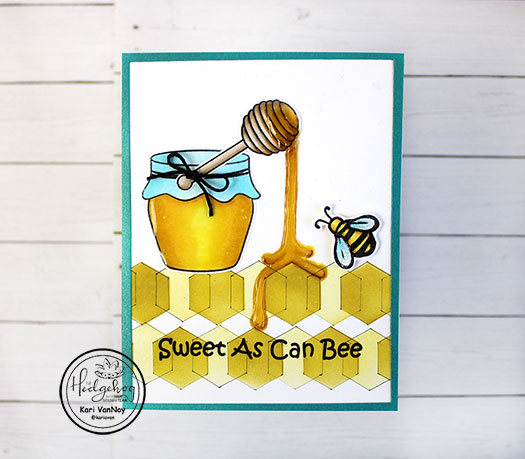
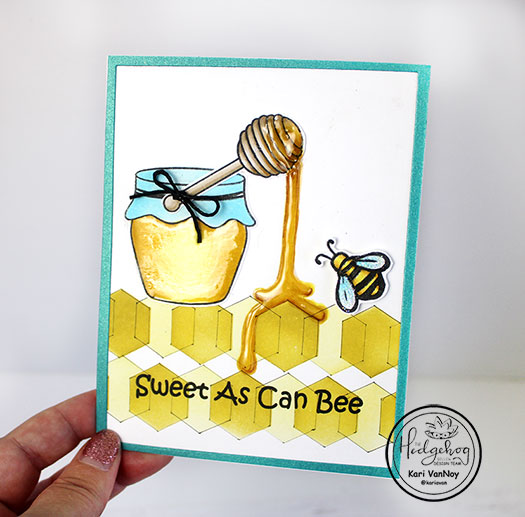
Hello! Today I have a fun card to share…with some REALISTIC looking honey dripping down the front.
I couldn’t wait to make this card when I saw the new August Kit from the Hedgehog Hollow.
I have a quick video to show you just how to make this realistic honey (that isn’t sticky!! Lol) Watch it below or in HD on YouTube:
I’m often asked what supplies I use to make my cards and projects, so I’ve put together a list using affiliate links when possible. If you make a purchase with these links I may receive a small commission. These help me to keep up with blog costs and continue bringing you fun projects. Thank you so much for your support!
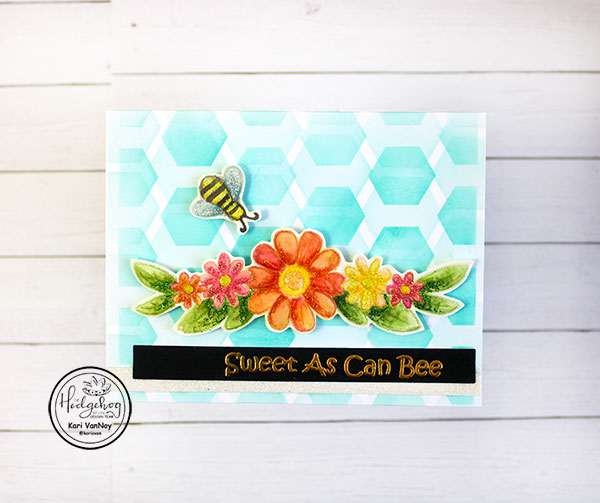
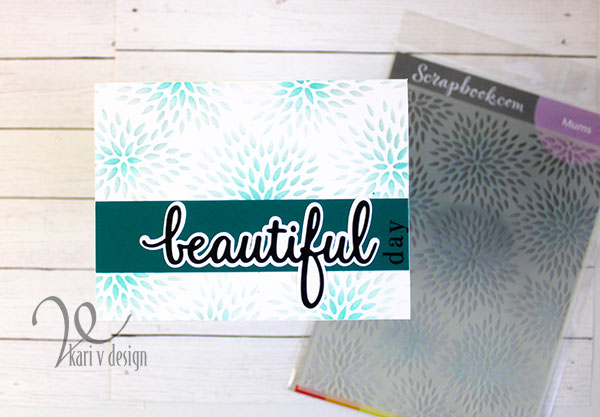
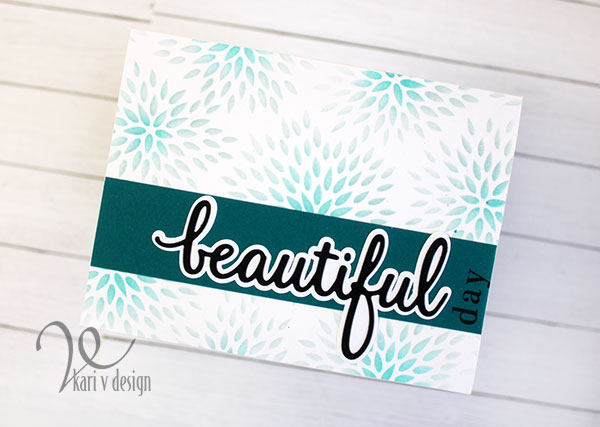
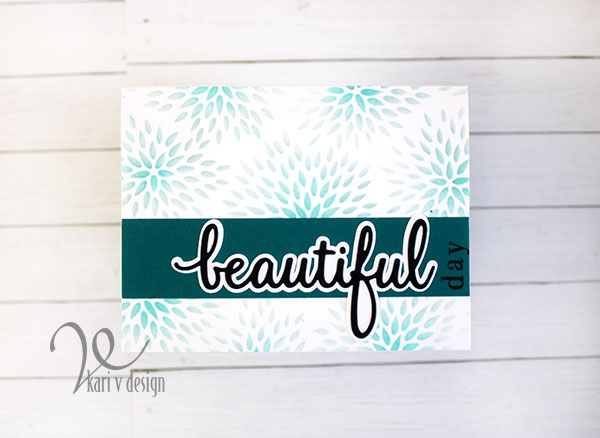
Hello! It’s a Monday, and I had to make this card to remind me that there is something beautiful in every day.
I adore this stencil! It’s a new favorite! I first dry embossed the background so it was raised, and then I inked on the mums, with the darkest color in the middle.
I added a strip of the new, beautiful Concord & 9th cardstock and added the die cut sentiment. There, that really brightens up my day!
I’m often asked what supplies I use to make my cards and projects, so I’ve put together a list using affiliate links when possible. If you make a purchase with these links I may receive a small commission. These help me to keep up with blog costs and continue bringing you fun projects. Thank you so much for your support!
Thanks for stopping by! I hope your Monday was beautiful.
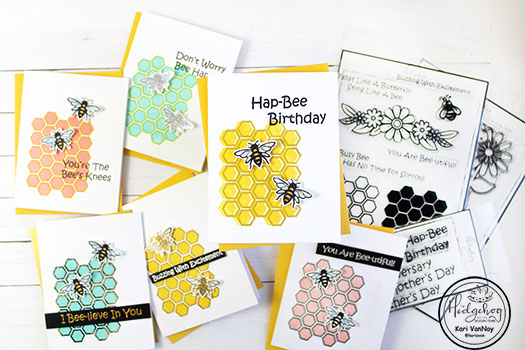
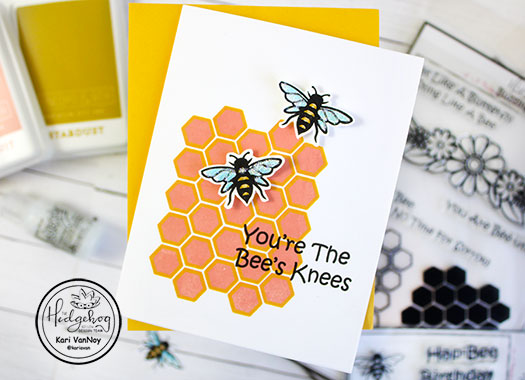
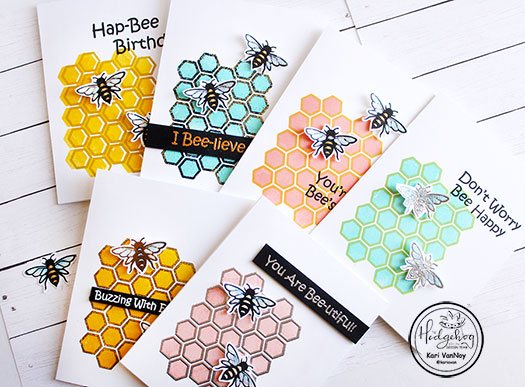
Hello! Today I’m back with FIVE Ways to Uplevel the Honeycomb Layering Stamp from The Hedgehog Hollow August Kit. This kit is so full of sweetness: honey and Bees, Flowers and sentiments….I love it all!
I have this short video showing you the five ways, watch it below or on YouTube:
If you can’t watch the video, I’ll also share these tips quickly here.
Choose unexpected colors to stamp with.
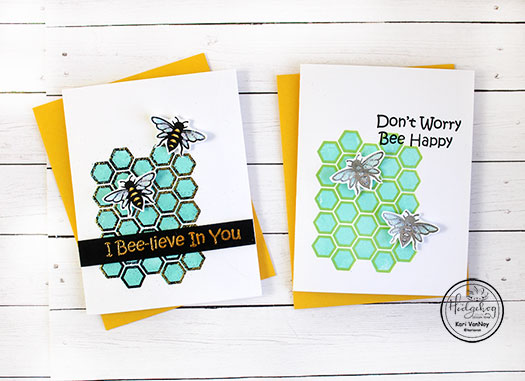
Stamp Layer 1 with one color, and Layer 2 with a completely different color
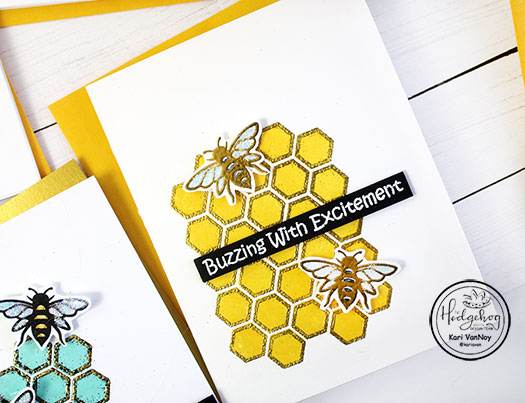
Try embossing Layer 2 for a different look
Offset Stamping – Layer 2 doesn’t have to completely match up
Stamp sentiments directly on card panel OR use sentiment strips popped up with foam tape
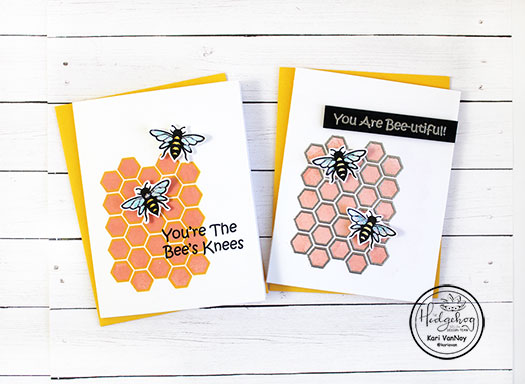
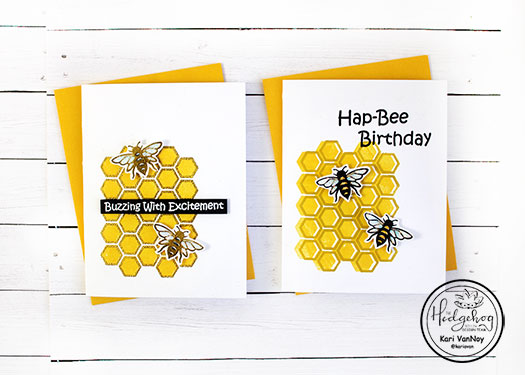
blue with black & gold heat embossed Layer 2 | blue with green Layer 2 Grapefruit with yellow stamped Layer 2 | Grapefruit ink with silver embossed Layer 2 Yellow with gold heat embossed Layer 2 | Yellow with offset Stardust ink Layer 2
I’m often asked what supplies I use to make my cards and projects, so I’ve put together a list using affiliate links when possible. If you make a purchase with these links I may receive a small commission. These help me to keep up with blog costs and continue bringing you fun projects. Thank you so much for your support!
Hi I'm Kari. I'm a creator, a card maker, and a day maker! I am Lucky in love to a supportive husband, blessed to raise 3 kids (all moved away now!), and happy to be watched over by 2 dogs.
I originally started this blog to remind me to be happy amid adversity, and I hope it inspires you, too!