Archive | Paper Crafting RSS feed for this section
Kari-V-Some-Pig-sunset-card-2

Storybook Pig card and NEW release!

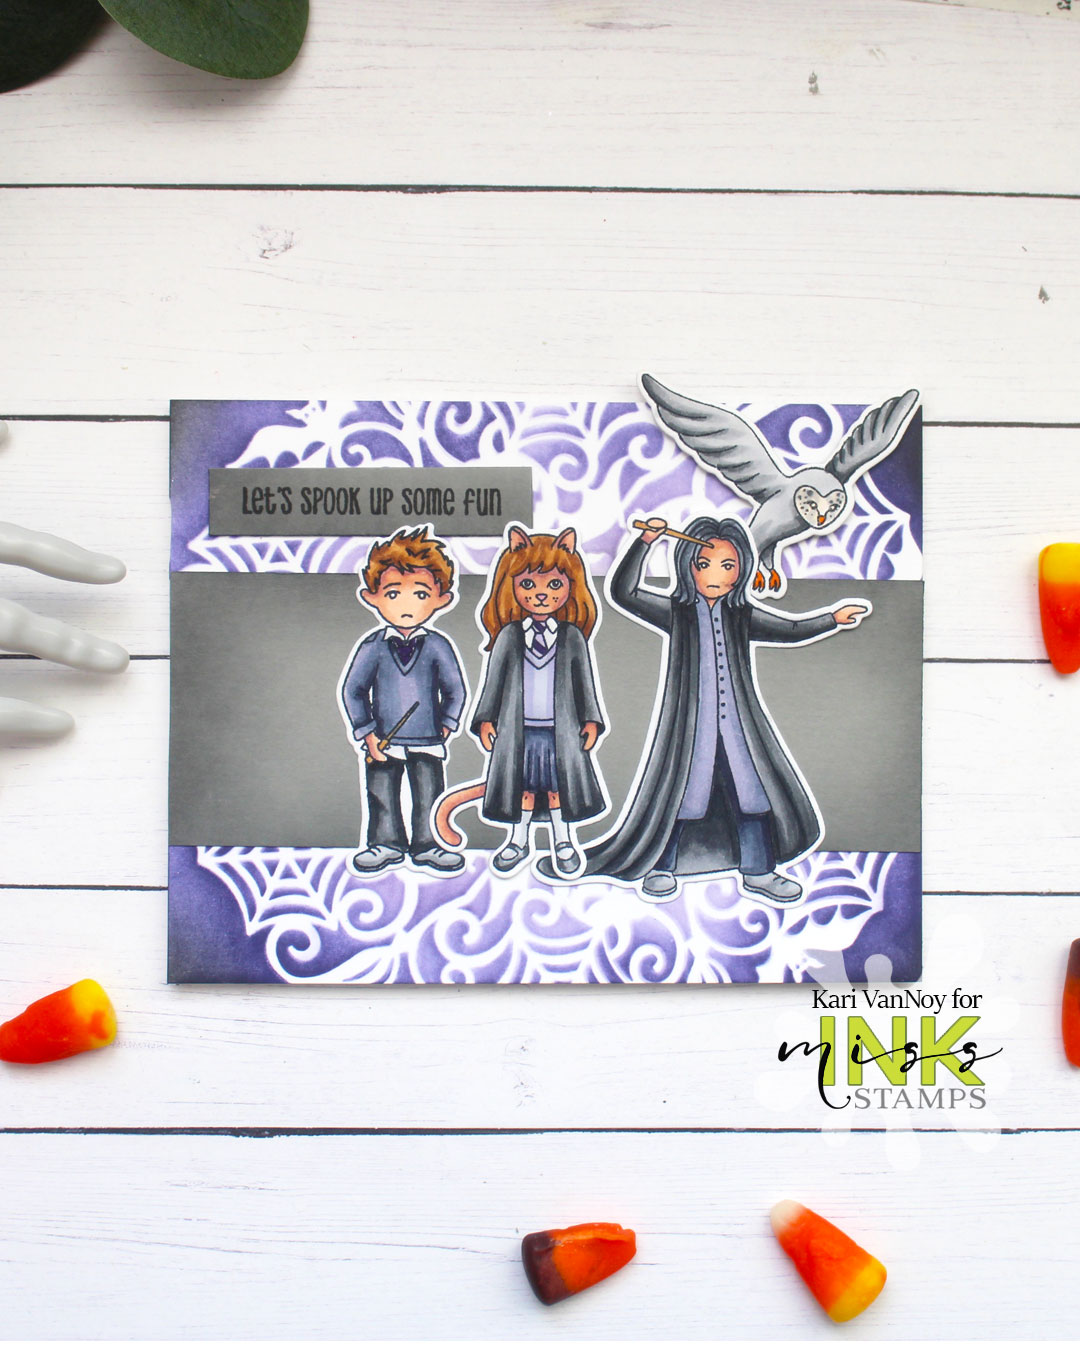
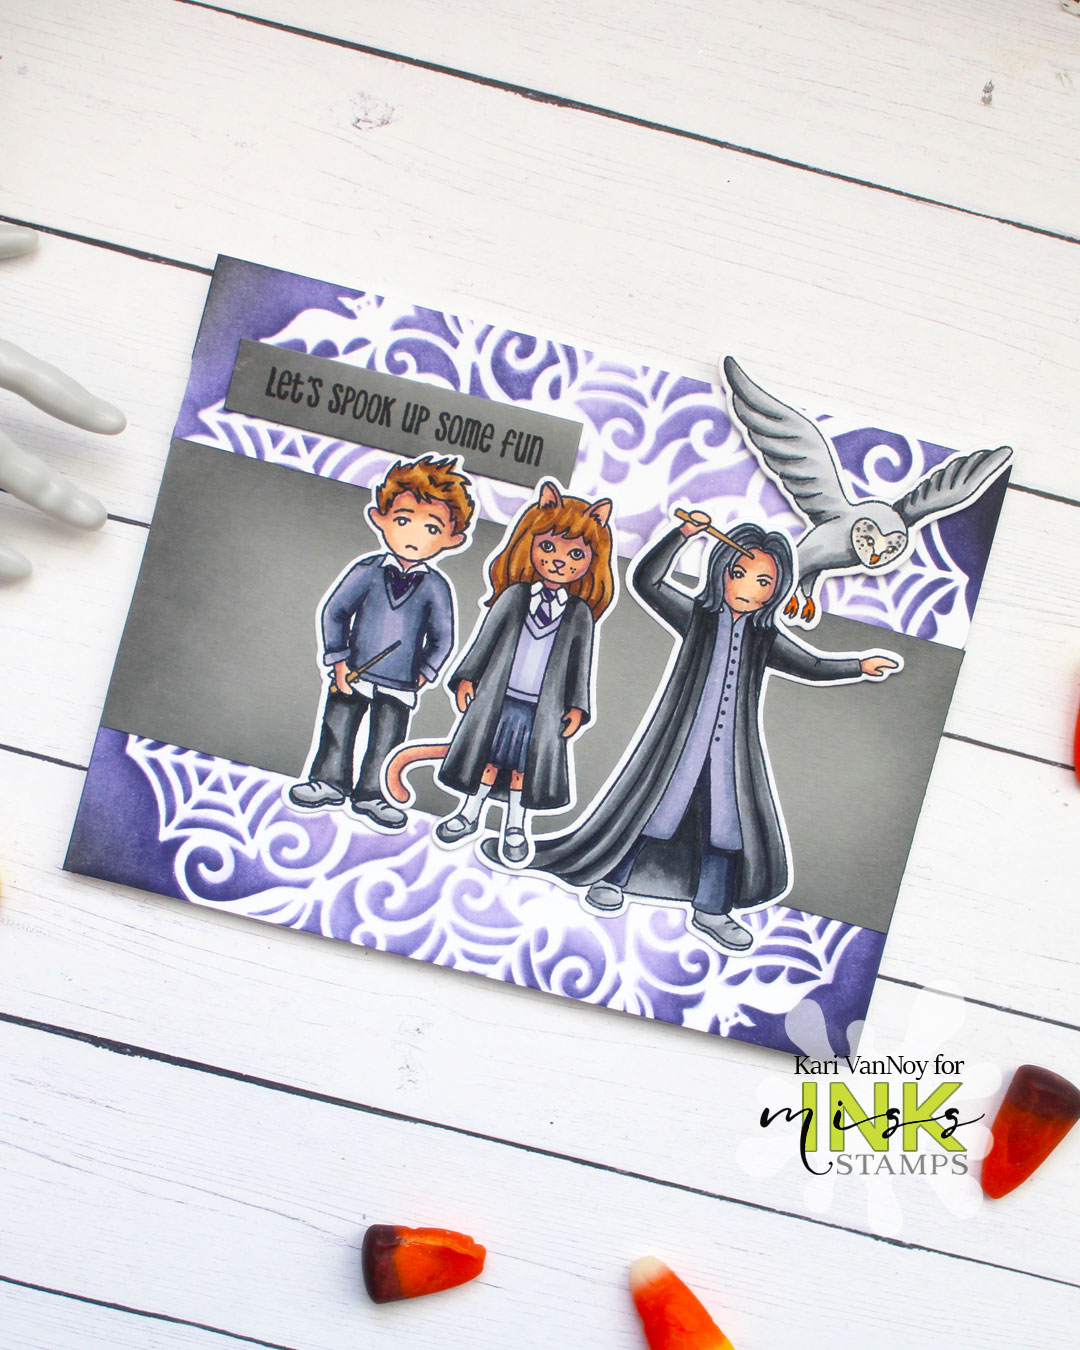
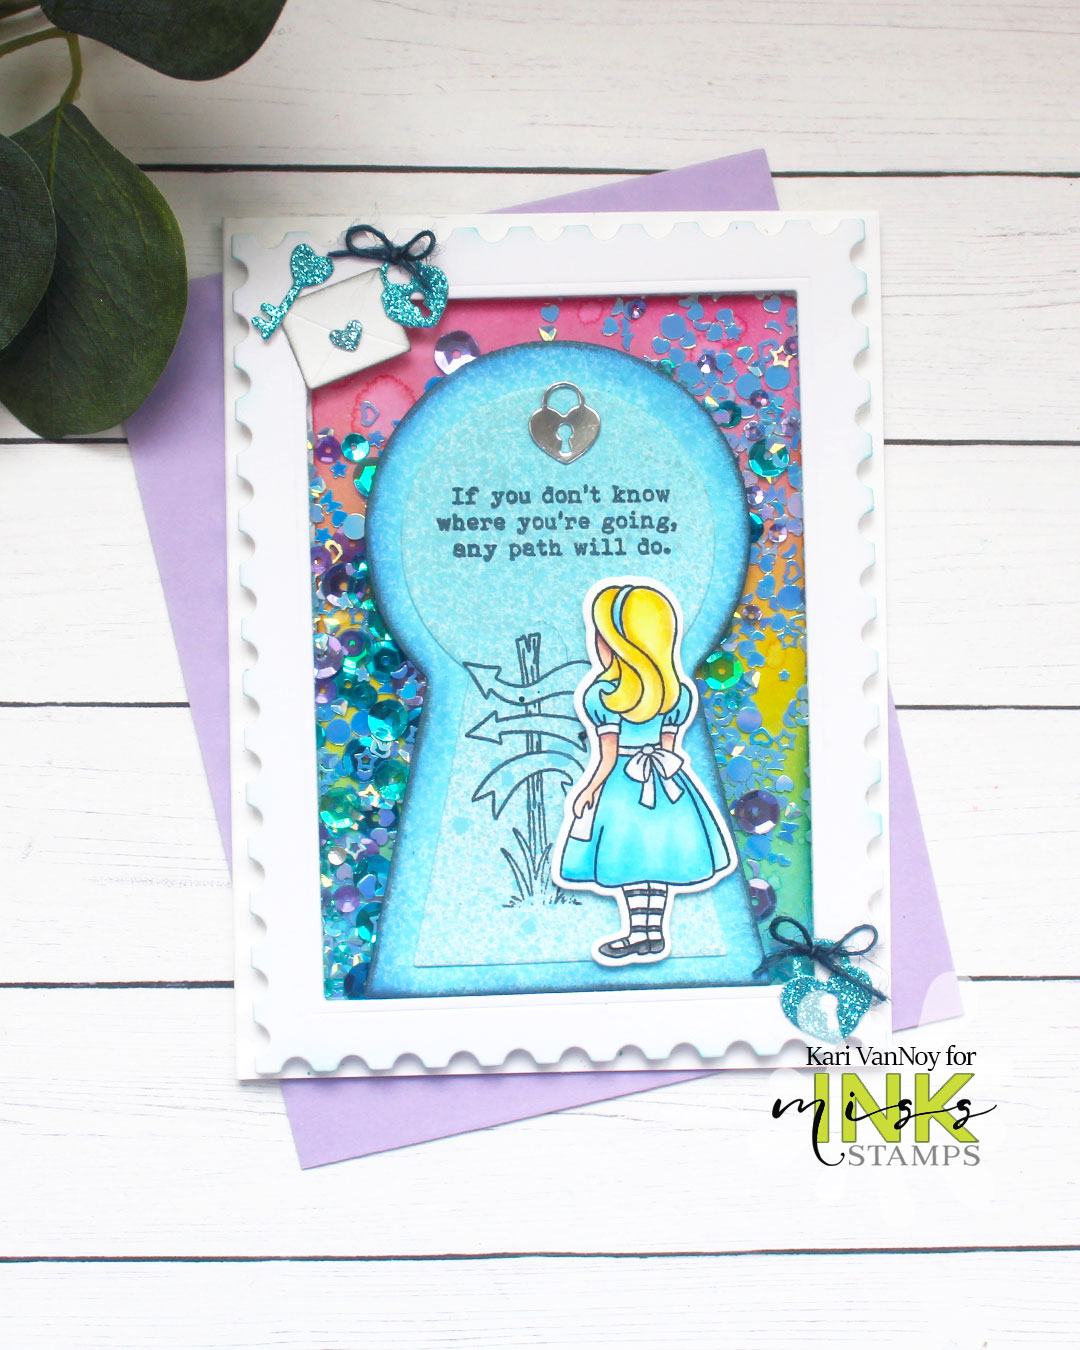
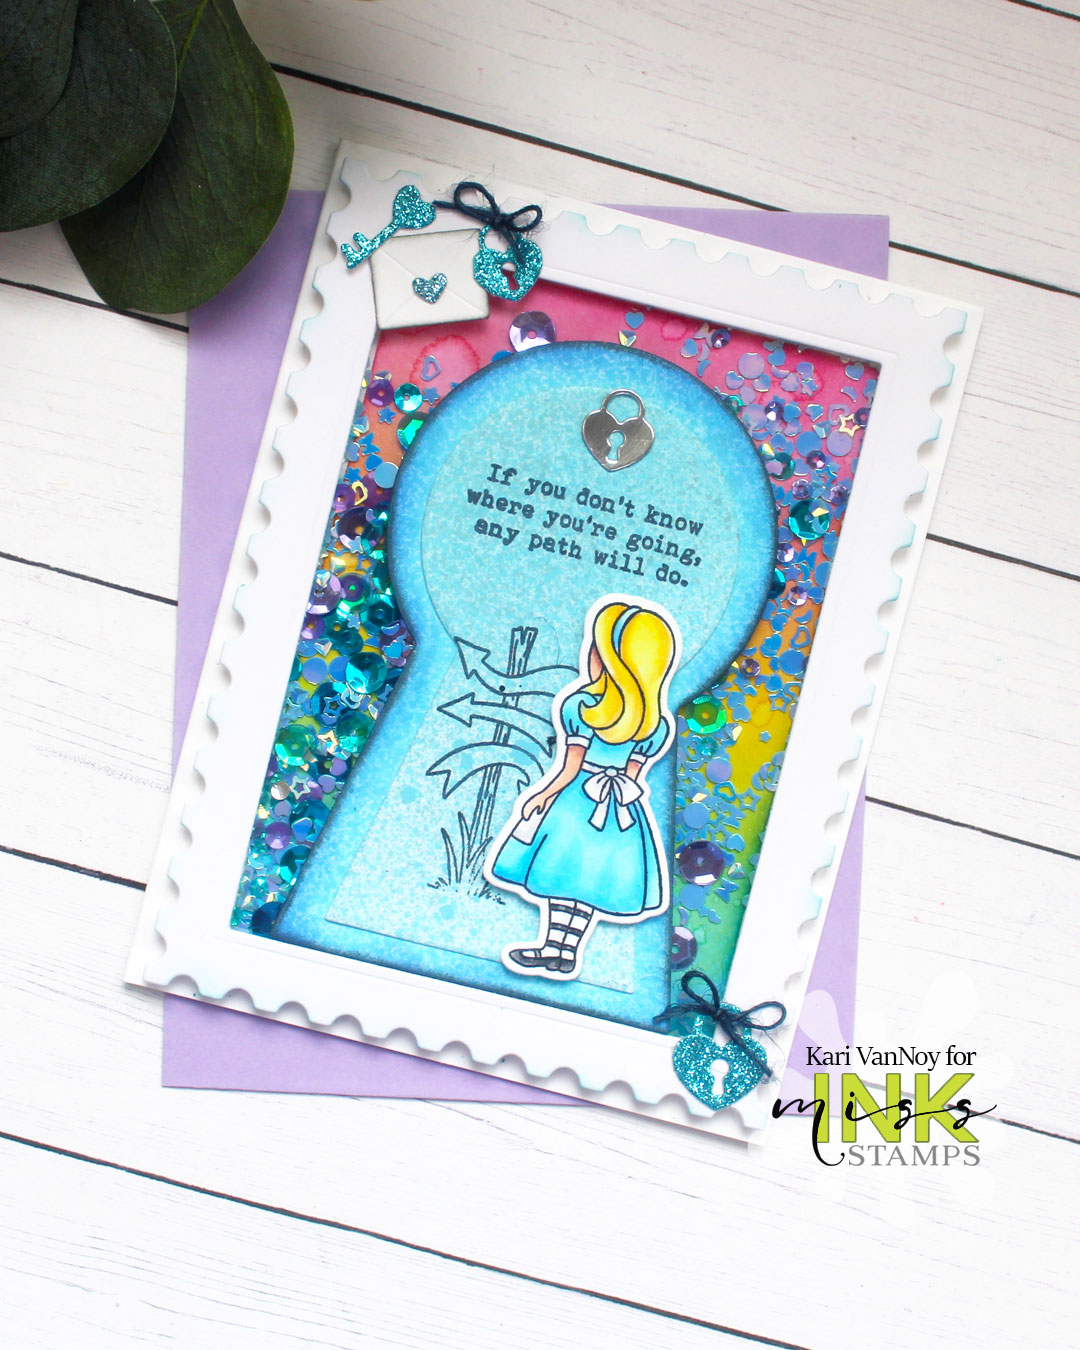
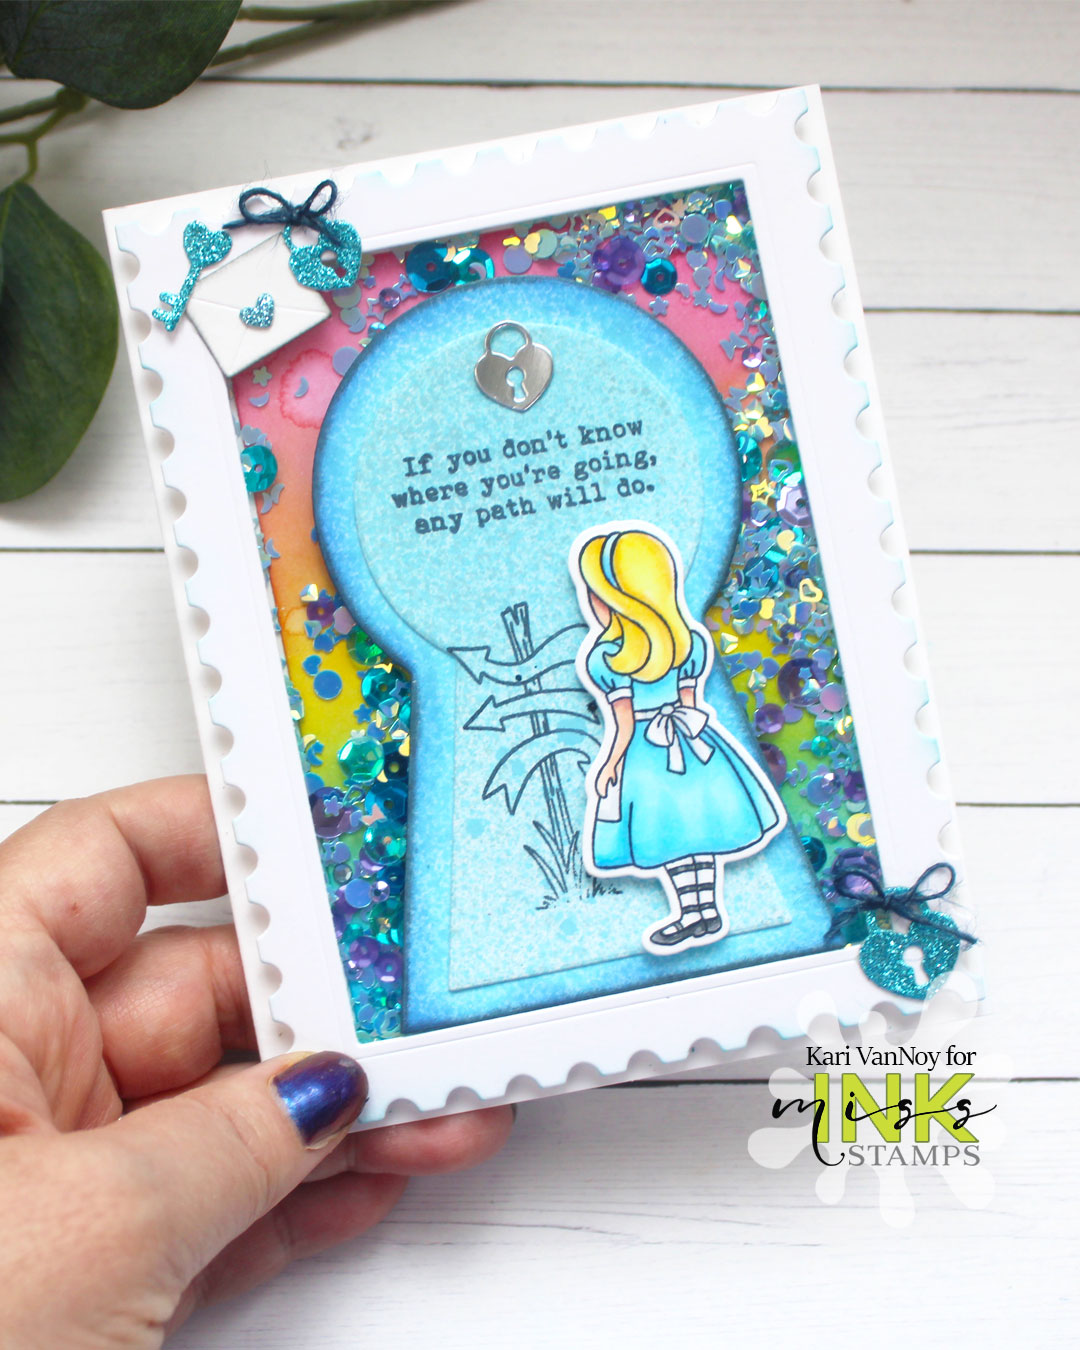
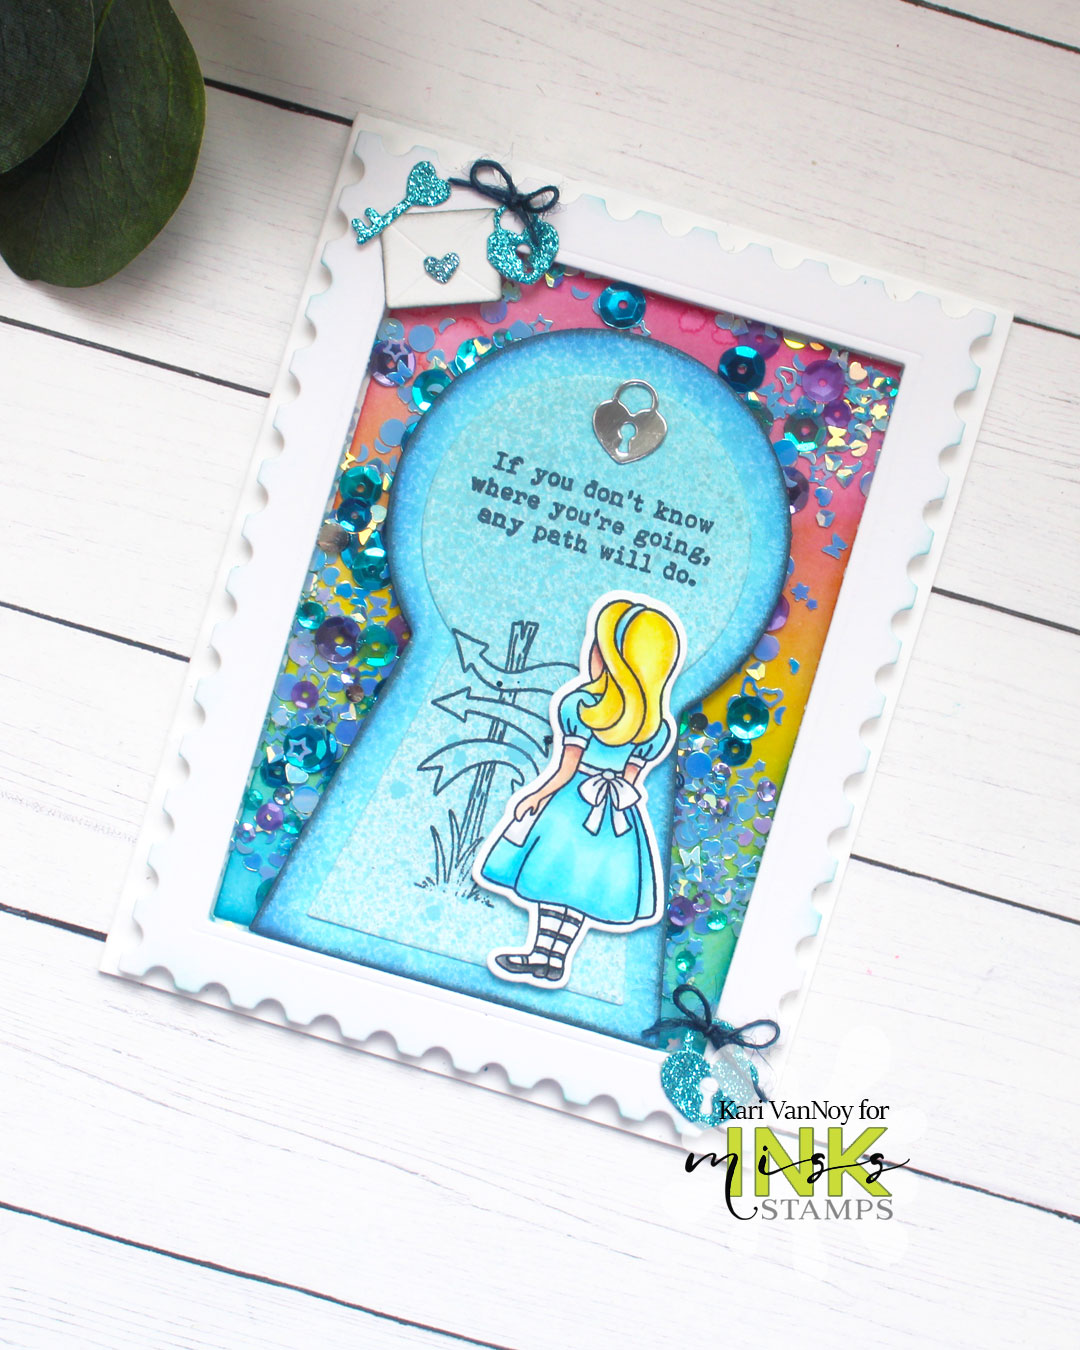
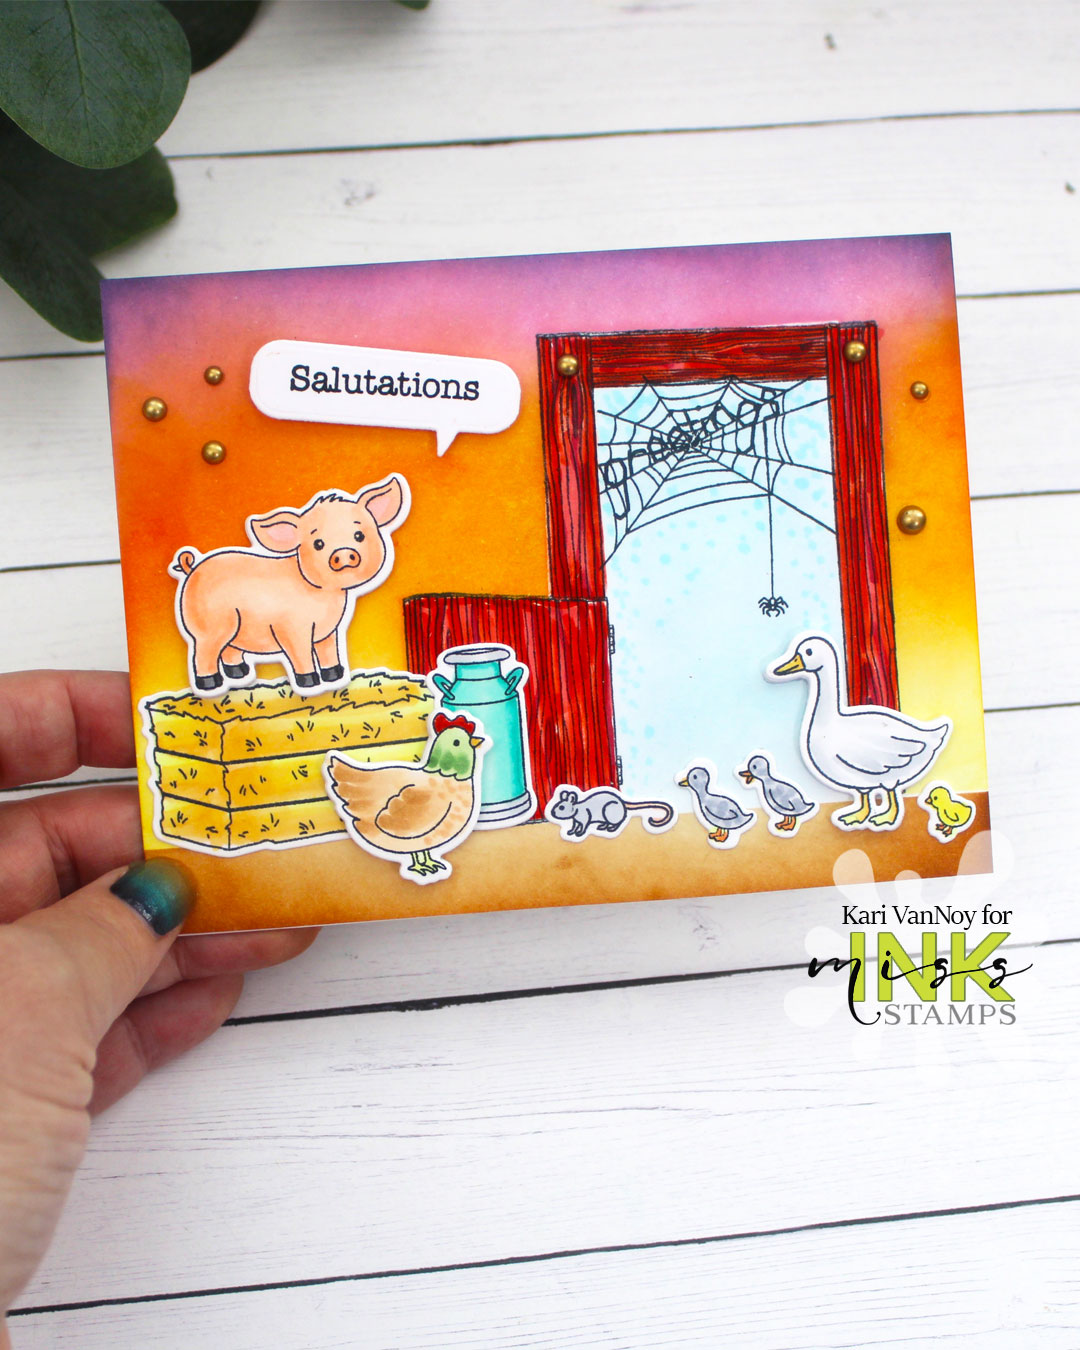
Hello! It’s Kari and I have a new card and video sharing a storybook pig that I just love! It’s new release day at Miss Ink Stamps and I’m so excited to share all the cards. Check out the video below or on YouTube:

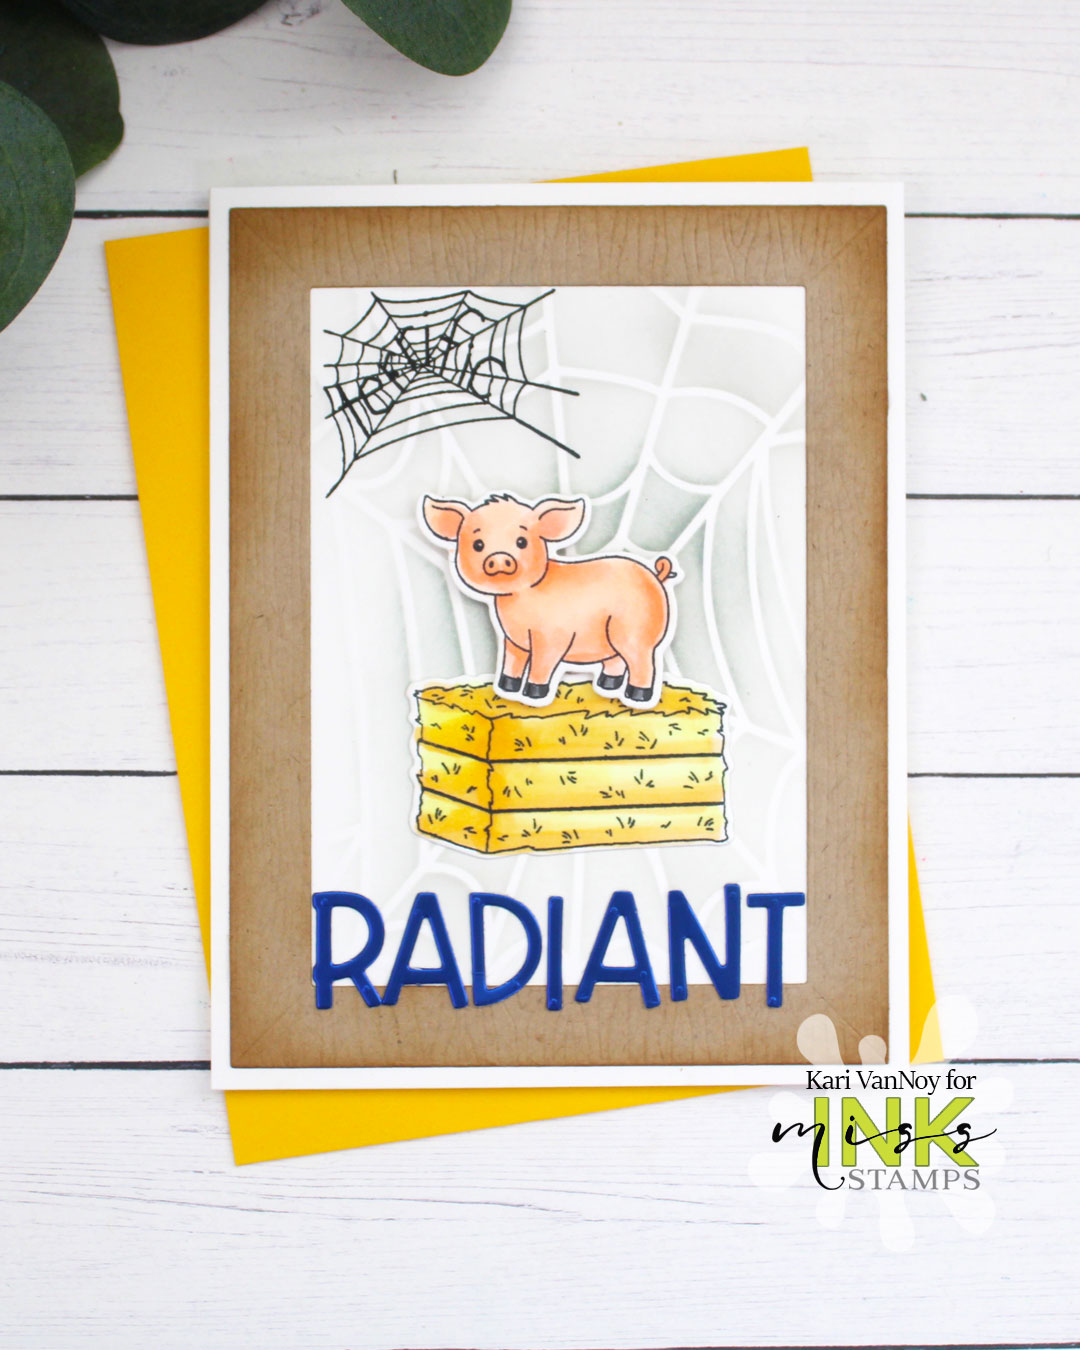
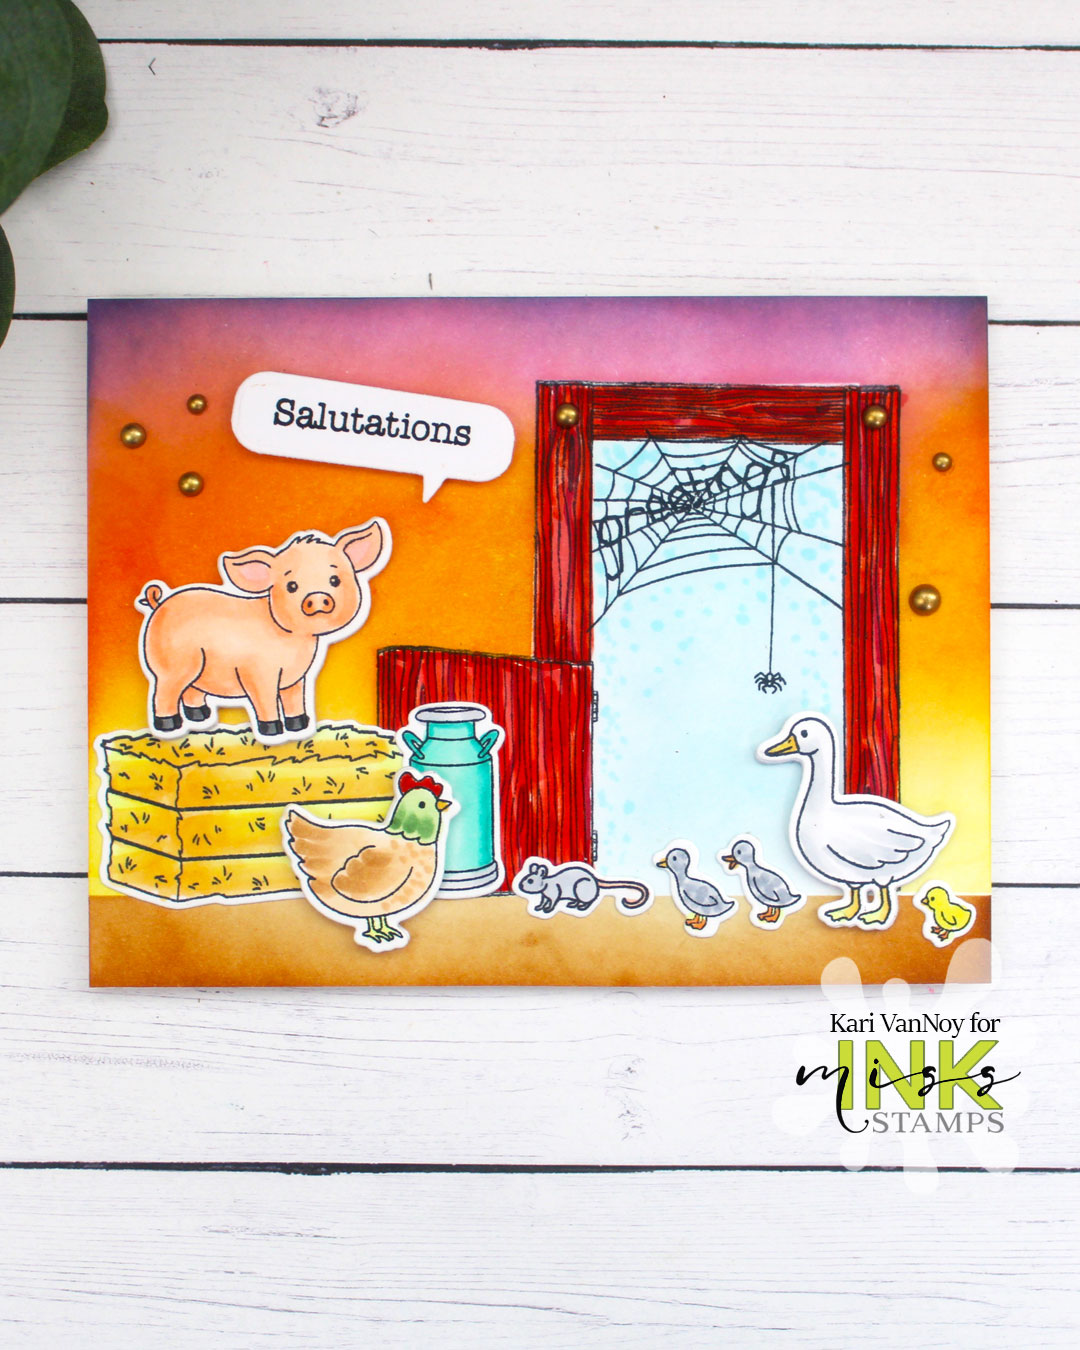
This new set is so fun to create scene cards and little farm scenes. I love it…and there’s multiple different spider webs you can use with sayings woven into them like “greetings,” “terrific,” “some teacher,” and more!

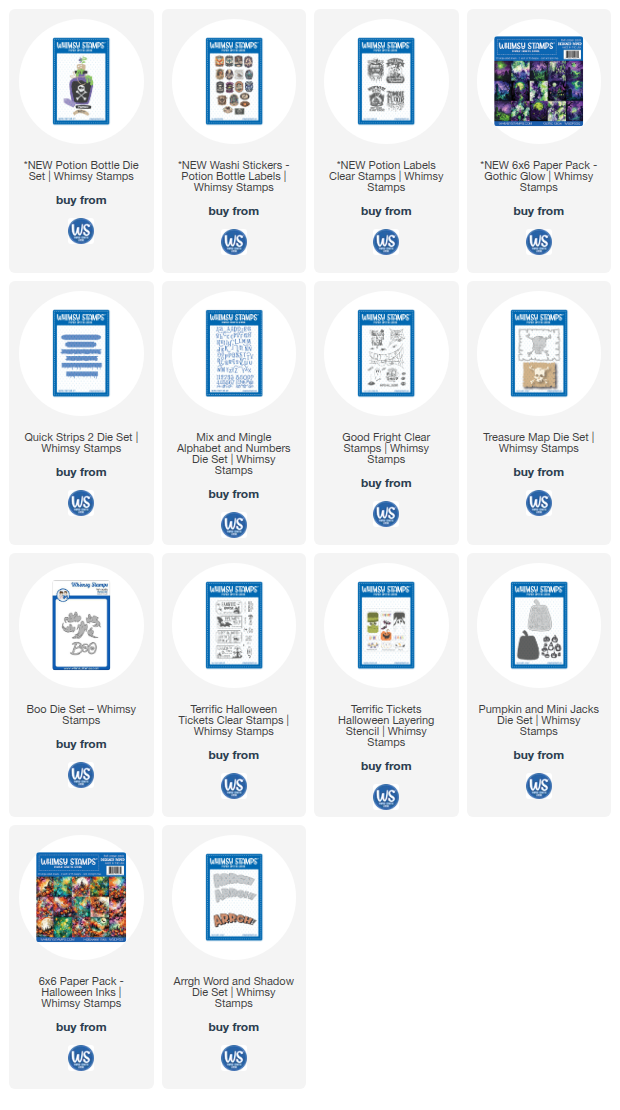
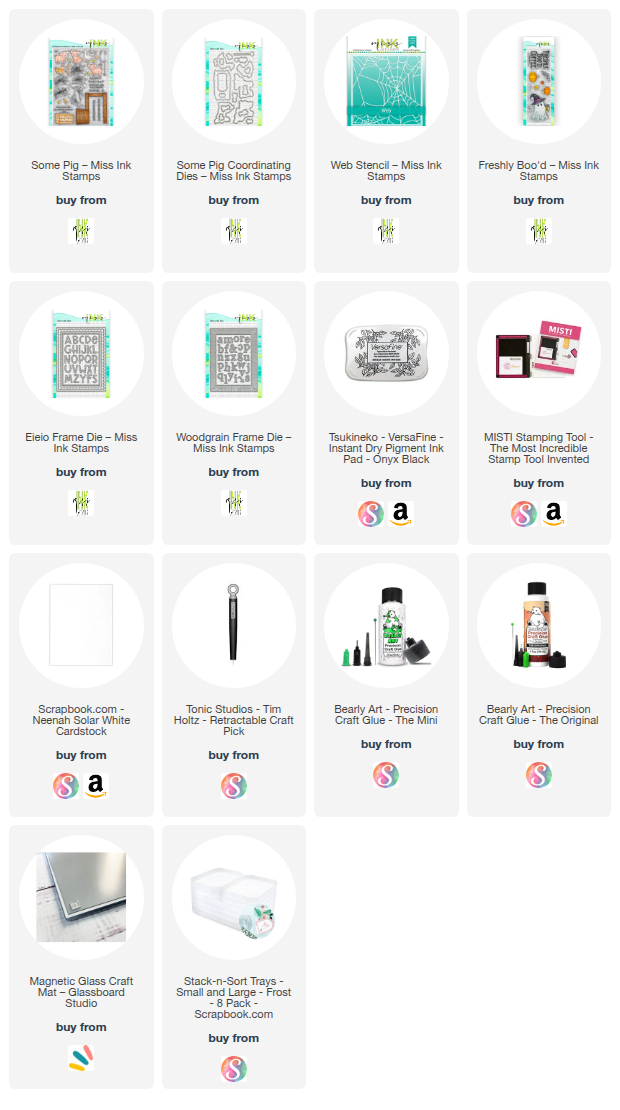
Check out the new release using my affiliate links below!

I’m often asked what supplies I use to make my cards and projects, so I’ve put together a list using affiliate links when possible. If you make a purchase with these links I may receive a small commission. These help me to keep up with blog costs and continue bringing you fun projects. Thank you so much for your support!


I hope you enjoyed these cards today! Head on over to the Miss Ink Stamps shop to see all the new release!

See you soon,

Kari

Comments { 0 }
Kari-V-Potions-Bottle-die-all-12-treat-boxes

Potion Bottles

Hello! I’m so excited to share some new Potion Bottles projects with you, using some new products from Whimsy Stamps. Watch the video below or on YouTube:

I had a great time making these potion bottle treat boxes, but I also made MANY more samples and I just couldn’t stop creating with these new sets! Whimsy Stamps really knows how to do Halloween!

I created these tags into shakers and added my own sentiments using the Mix ‘n Mingle Alphabet die set. I love creating my own sentiments with this alpha die: Newt, Eep, and Spooky!

For each of these, I broke into the Washi Tape labels for the front of these bottles, and created faux shakers using some fun embellishments: half-bead pearls for the frog warts, and eye stickers for the pickled eyeballs.

Next, I created some cards using the Terrific Tickets Layering stencil…these fit great inside the potion bottles! I cut the cork tops with real cork paper!

Then of course, I HAD to create a poison bottle…the dies in the Potion Bottles die set are perfect for this!

I’m often asked what supplies I use to make my cards and projects, so I’ve put together a list using affiliate links when possible. If you make a purchase with these links I may receive a small commission. These help me to keep up with blog costs and continue bringing you fun projects. Thank you so much for your support!


all potion bottle treat boxes made with the Potion Bottles Die set

I hope you enjoyed these projects today! See you next time,

Kari

Comments { 0 }
Let's-Spook-up-some-fun-2

The Halloween Stencil you NEED in your Stash

Hello! Today I have an absolutely amazing Halloween Stencil to share and you NEED this in your Stash! This stencil is amazing and you can use it for a focal point on your card or for a beautiful background. I pull it out every year around this time to make at least one Halloween card!

Watch the video below or on YouTube:

Just look at that detail from the stencil!! There are jack-o-lanters, brooms, bats, and spider webs! It really is a fun one. Today I used a bunch of stamps from the Magical Collection to create this card. The sentiment is from another product that’s a favorite that I pull out EVERY YEAR! It has so many sentiment and even some large sentiments…everything you need!

I’m often asked what supplies I use to make my cards and projects, so I’ve put together a list using affiliate links when possible. If you make a purchase with these links I may receive a small commission. These help me to keep up with blog costs and continue bringing you fun projects. Thank you so much for your support!


Thanks for stopping by today. Let’s Spook up some Fun!

Comments { 0 }
Kari-V-Terrific-Tickets-tt-layering-stencil-tt-window-die-card-1

Terrific Tickets Shaker Cards

Hello! Today I have some Terrific Tickets Shaker cards to share with a video! These new products from Whimsy Stamps are so fun and easy to mix and match! Today I decided to make two shaker cards to give you an idea of some of the cards you could make. Let your imagination soar!

Watch the video below or on YouTube:

The Terrific Tickets die has a matching Terrific Tickets Window die, which is what makes it so easy to turn these into shaker cards! I first cut the Terrific Tickets die and used the Layering Stencil on it (all products are linked below for you to check them out). Then I cut the Window die out of black cardstock and used that as the top portion for the shaker. I cut some acetate from the original Terrific Tickets die to adhere to the window die. Please watch the video to see all the details on this!

To make it tall enough to allow the sequins to shake around, I used double-thick foam tape in thin strips for the frame/window die. I just LOVE that you have the option to shake it up!

For a few details, I added some Mini Jacks, mini bats, and bones.

For my second card, I created a graveyard shaker…I wanted to use that “Graveyard Tours” ticket (that I stamped on the ticket with the stamps that match). So I ink blended those tickets in purple & orange. The skeleton from the No Bones About It stamp set works perfectly on these gravestones!

I made this into a circular card, with a secret trick I use to make them STAND UP on your table! I hope you’ll stop by the video to take a look!

I’m often asked what supplies I use to make my cards and projects, so I’ve put together a list using affiliate links when possible. If you make a purchase with these links I may receive a small commission. These help me to keep up with blog costs and continue bringing you fun projects. Thank you so much for your support!


Thanks for stopping by today! Which shaker is your favorite?

Comments { 0 }
Alice-key-shaker-4

Alice Shaker

Hello! Today I have an Alice Shaker card and video. This is a fun one! I used the Nested Keyholes set to start off the entire card…watch the video below or on YouTube:

I love the postage frame from the Miss Ink Stamps Postage, Seal and Shaker Collection. While there IS a full shaker panel to use in the set, I wanted to turn the postage frame portion into a shaker! So I cut that out, ink blended the inner panel (which will act as the background for the shaker), and put it all together with some acetate and foam tape. Watch the video for the full tutorial.

I’m often asked what supplies I use to make my cards and projects, so I’ve put together a list using affiliate links when possible. If you make a purchase with these links I may receive a small commission. These help me to keep up with blog costs and continue bringing you fun projects. Thank you so much for your support!


I hope you enjoyed this project today! I really loved making it. Shake, shake, shake! I’ll be back soon with more cards to share.

Kari

Comments { 0 }