Hello! It’s Kari with a new video to share. Today I’m creating a spring card using the Magnolia Sympathy stamp set from Miss Ink Stamps. These flowers make perfect cherry blossoms.
Watch the video below or in HD on YouTube:
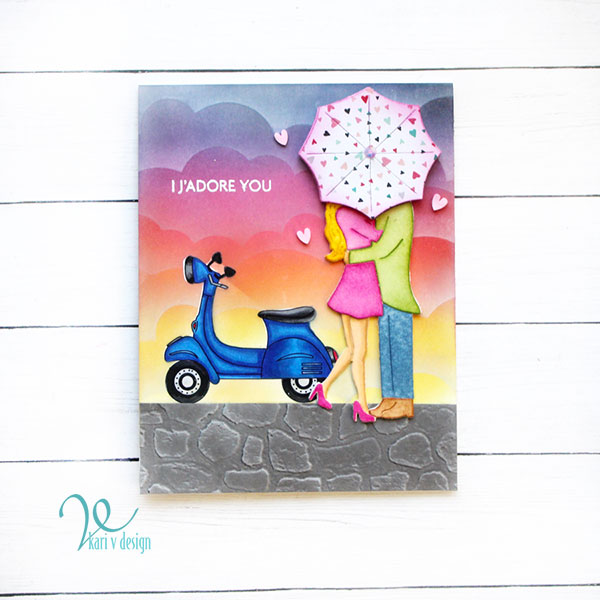
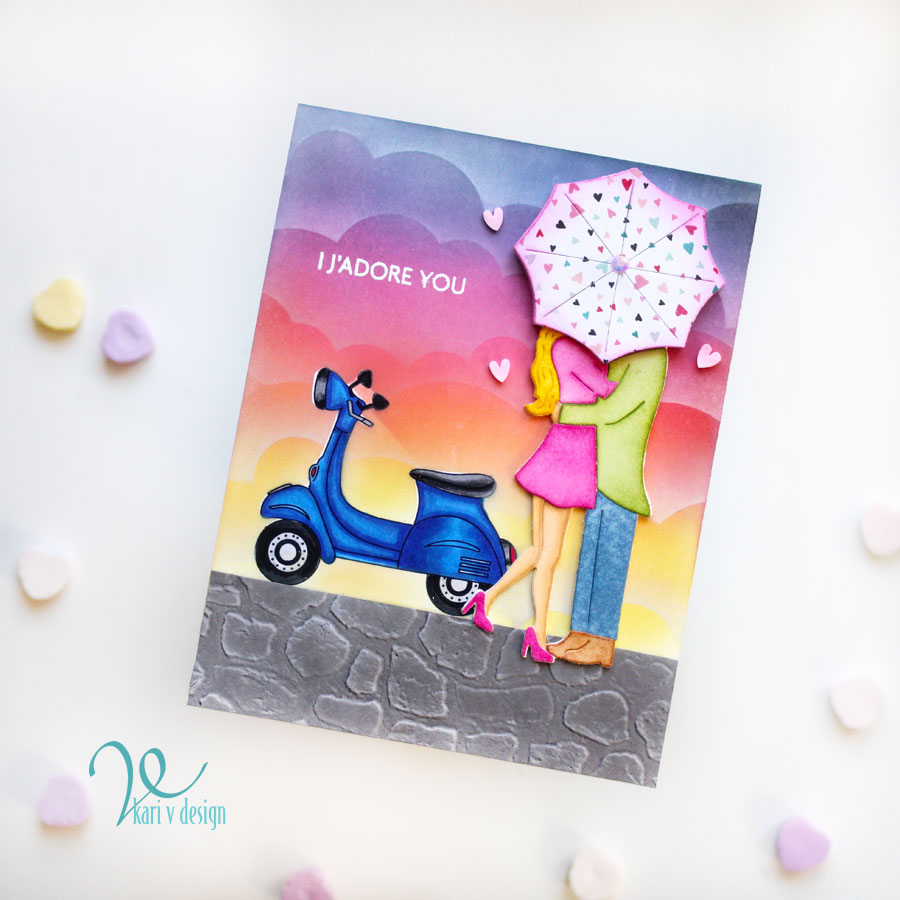
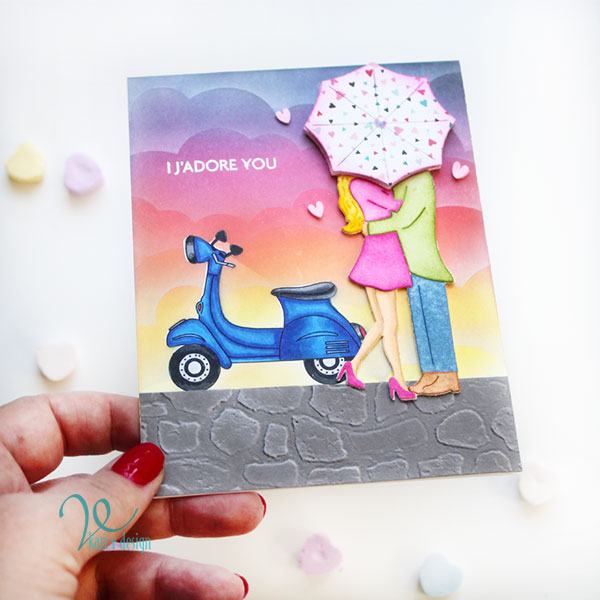
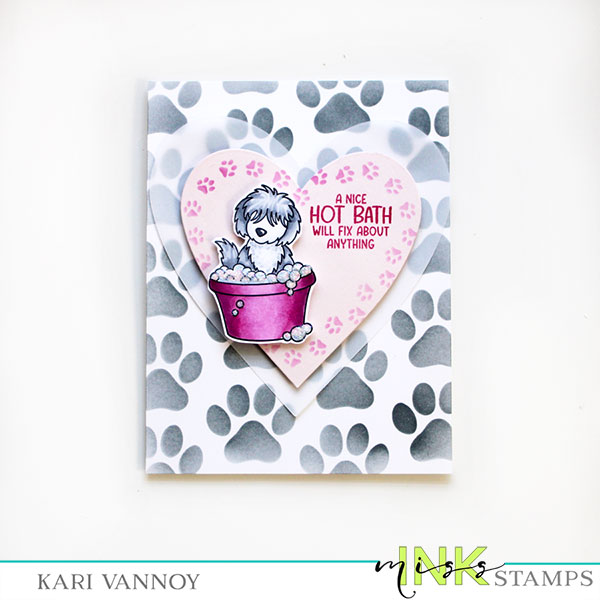
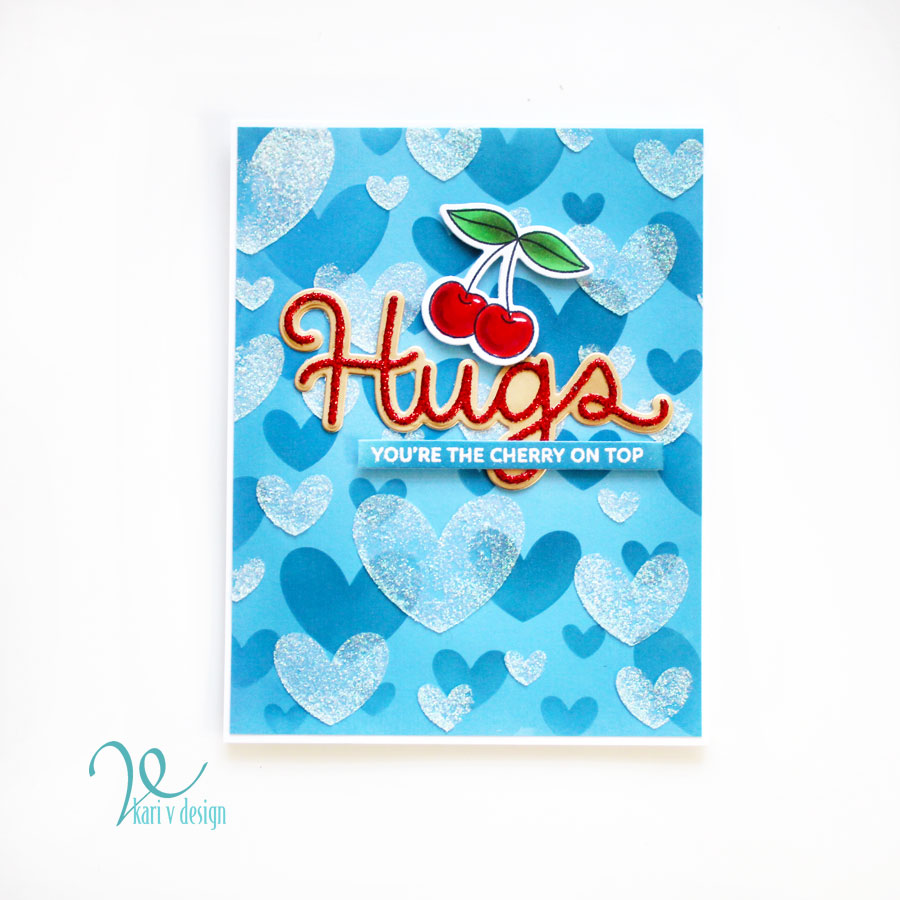
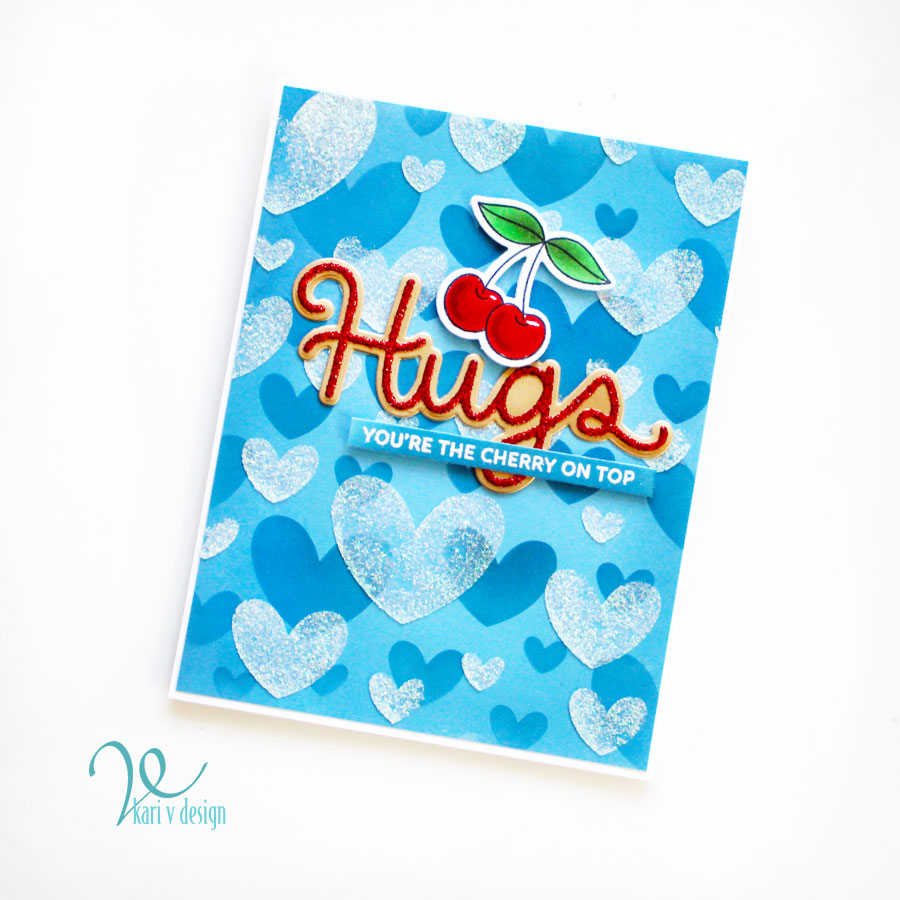
I love this set for spring…you really can have a lot of fun building up any bouquet look. Here I stamped the branches and extra flowers and leaves to create my bundle.
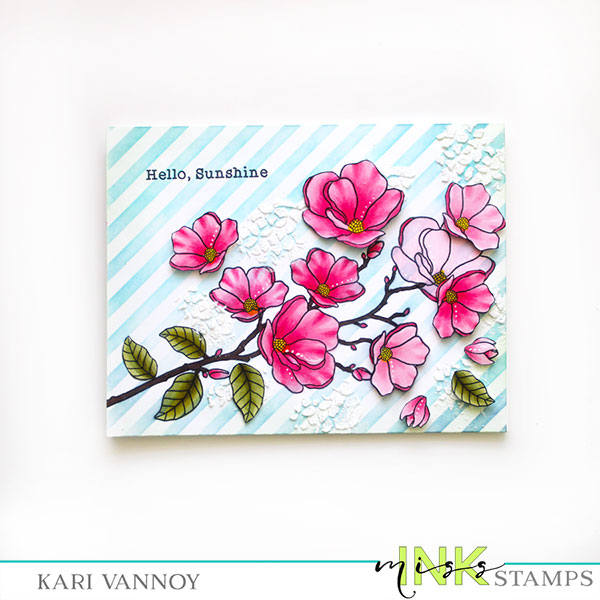
After I stamped on the flowers, I used the Diagonal Stripes stencil to add some shades of blue.
I added some Grit Paste through the Heirloom Blooms stencil. It reminds me of pollen…and that’s a perfect nod to Spring!! LOL.
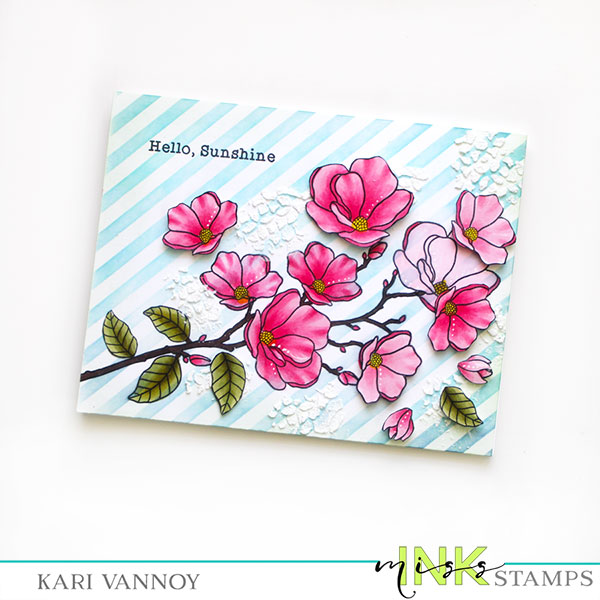
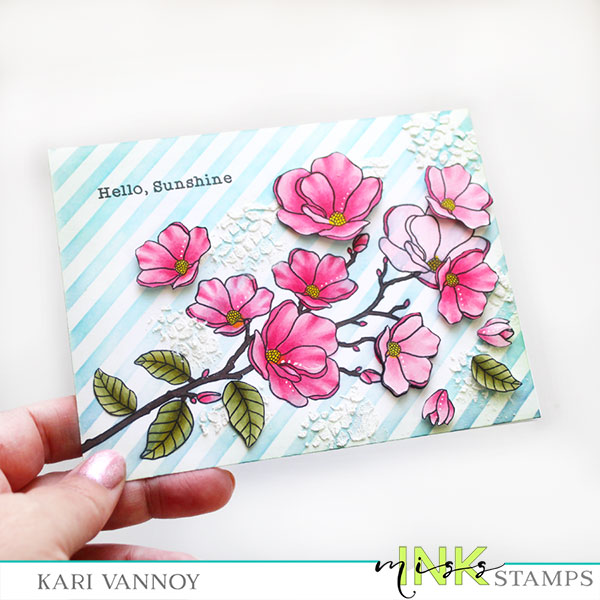
Then I added some of the extra flowers and leaves with foam tape for some dimension. This was a fun card to create! I hope you enjoy!
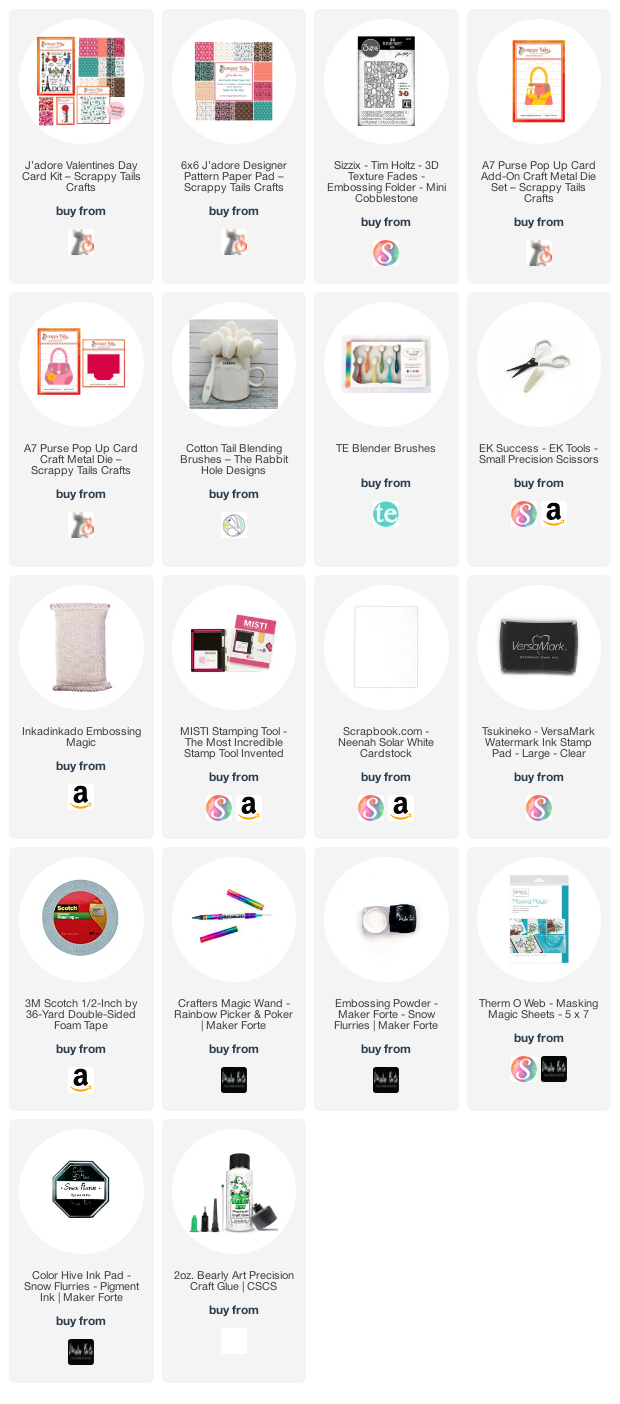
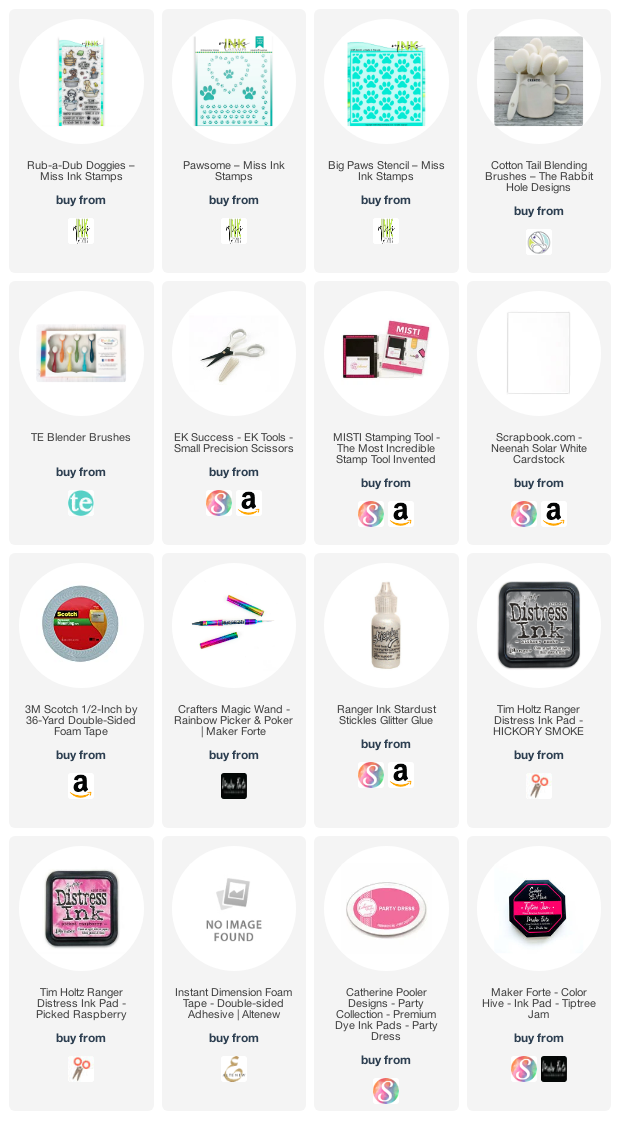
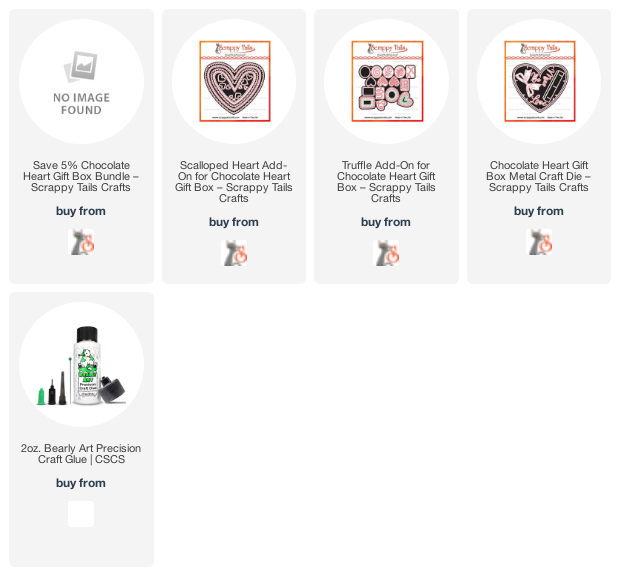
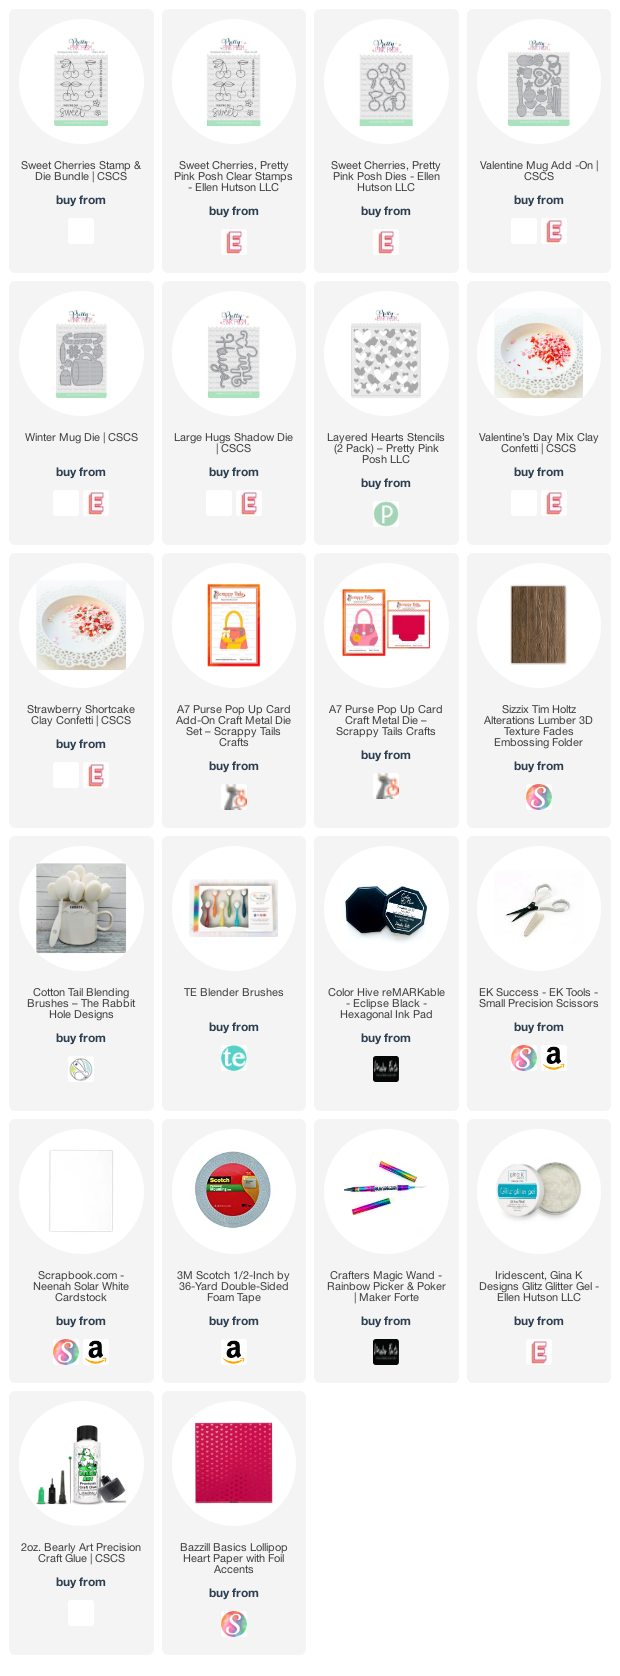
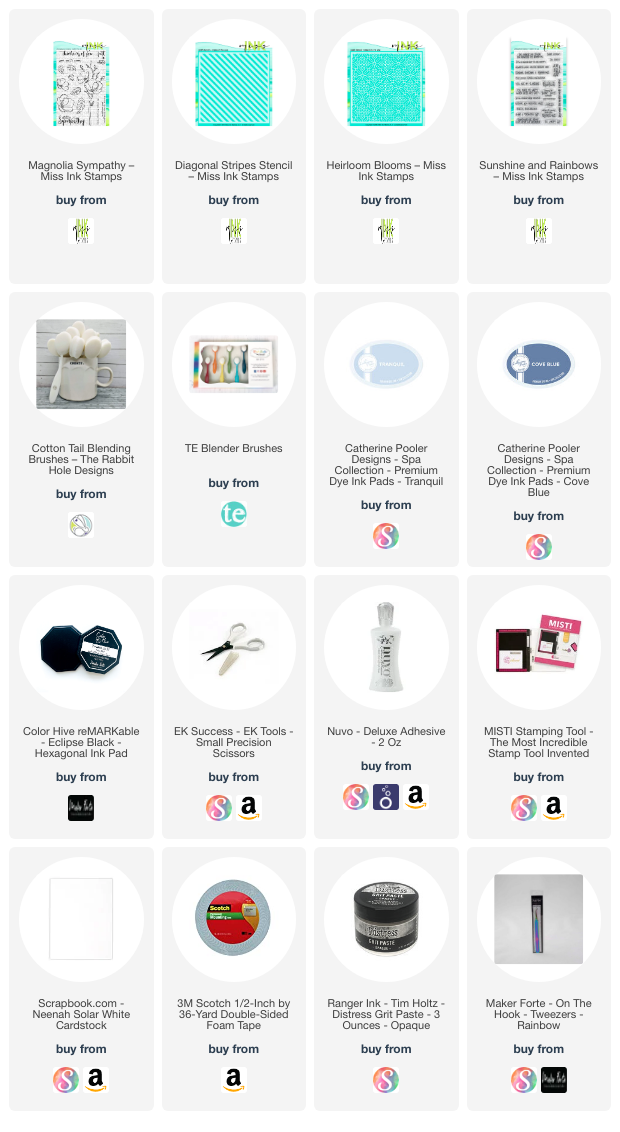
I’m often asked what supplies I use to make my cards and projects, so I’ve put together a list using affiliate links when possible. If you make a purchase with these links I may receive a small commission. These help me to keep up with blog costs and continue bringing you fun projects. Thank you so much for your support!
Thanks for stopping by today!